
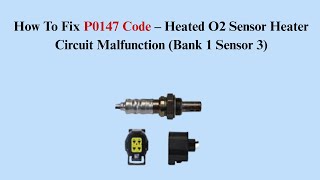
P0147 on 2014-2016 Land Rover LR4: O2 Heater Circuit Causes and Fixes
P0147 on a 2014-2016 LR4 indicates a fault in the heater circuit of the rearmost oxygen sensor on Bank 1 (passenger side). The most common fix is replacing the failed sensor itself, which can cost between $70 for an aftermarket part and $200+ for OEM. This is a known issue often caused by thermal shock from water exposure, as documented by Land Rover.
- P0147 specifically refers to a problem with the heater inside the rearmost oxygen sensor on the passenger side of your LR4.
- The most likely cause is a failed sensor, a known issue for this vehicle, sometimes caused by water splashing on the hot sensor, as confirmed by a Land Rover TSB.
- This is a straightforward DIY repair for those comfortable working under their vehicle; the main challenge is accessing the sensor and its connector without breaking the plastic clip.
- Before buying a new sensor, always perform a resistance test on the old one and check for 12V at the harness connector to confirm the diagnosis.
What's Unique About the 2014-2016 Land Rover LR4
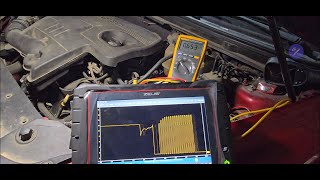
The 3.0L Supercharged V6 in the LR4 uses a complex exhaust system with three oxygen sensors per bank: one before the catalytic converter (pre-catalyst), one in the middle (post-catalyst), and one at the very end (post-catalyst, rear). Code P0147 specifically points to this rearmost sensor. 🎬 Watch: A complete guide to fixing the P0147 code. Land Rover has issued Technical Service Bulletin LTB00671NAS3, which explicitly acknowledges that these sensors can fail due to thermal shock when hot sensor elements are exposed to water, such as from driving through puddles. The bulletin confirms this is a known condition for the 3.0L SC V6 engine. The service action for this TSB involves not only replacing the sensor but also performing an ECM software update to prevent recurrence.
Diagnostic Flowchart
Tap your situation to follow the diagnostic path that matches what you're seeing on this vehicle.
Symptoms You May Notice
- Check Engine Light is on.
- Noticeable decrease in fuel economy (potentially 10-15%).
- Vehicle will fail an emissions test.
- Possible rough idle or engine hesitation, especially during cold starts.
- Replacing the wrong oxygen sensor. These vehicles have six O2 sensors in total. P0147 is specifically for the rearmost sensor on the passenger side (Bank 1, Sensor 3). A repair video confirms Bank 1 is the passenger (right) side.
- Assuming a vacuum leak is the cause. While vacuum leaks can cause other O2 sensor codes (related to fuel trim), P0147 is specific to the heater circuit's electrical function, not the sensor's readings.
Most Likely Causes
- Failed Bank 1, Sensor 3 Oxygen Sensor 🔴 High Probability → Shop Oxygen Sensor Land Rover TSB #LTB00671NAS3 directly states the cause for this code is often "thermal shock when water contacts the heated sensing element". The internal heater element simply burns out. TSB #SSM72448 further supports this by noting that diagnosis often reveals no fault with the wiring, pointing to an internal sensor failure.
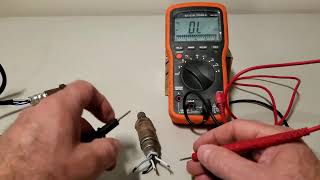
How to confirm: Disconnect the sensor and measure the resistance between the two heater pins (often the same color wires). A healthy heater circuit will have a low resistance (typically 2-20 Ohms). An open circuit (infinite resistance) or a direct short (<1 Ohm) confirms the heater has failed.
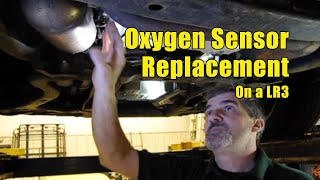
Typical fix: Replace the Bank 1, Sensor 3 oxygen sensor. A video from Fixty on YouTube shows the process on a similar platform, which involves accessing the sensor from underneath the vehicle. Per TSB LTB00671NAS3, an ECM software update should also be performed to prevent recurrence.
Est. part cost: $70-$250 - Wiring or Connector Issue 🟡 Medium Probability The sensor wiring is routed under the vehicle and is exposed to significant heat, road debris, and moisture. This can lead to melted or chafed insulation, corrosion in the connector pins, or broken wires. Forum users on Land Rover Forums have discussed the difficulty in accessing and repairing this harness due to its location at the rear of the engine bay.
How to confirm: Visually inspect the wiring harness and connector for the rearmost passenger-side O2 sensor. Look for melted insulation, corrosion in the pins, or broken wires. Check for 12V power at the heater circuit wires in the connector with the ignition on. A lack of voltage points to a problem upstream of the connector.
Typical fix: Repair the damaged section of the wiring harness or clean/replace the connector. In some cases, an O2 sensor wire extender can be used if the harness is too short after repair. It is critical to use crimp connectors for repairs, not solder, as soldering can alter the resistance and affect sensor readings.
Est. part cost: $10-$50 - Blown Fuse ⚪ Low Probability
How to confirm: Check the vehicle's fuse box diagrams for the fuse related to the O2 sensor heaters. On a Discovery 4, this is often Fuse 2 in the engine compartment fuse box. Visually inspect the fuse to see if it has blown.
Typical fix: Replace the blown fuse. If it blows again, a short circuit exists in the heater circuit that must be diagnosed, likely in the sensor itself or its wiring.
Est. part cost: $1-$5
Rare But Worth Checking
- Engine Control Module (ECM) Fault: → Shop Engine Control Module (ECM) This is extremely rare. Before condemning the ECM, all other possibilities (sensor, wiring, fuses) must be exhaustively ruled out. TSB #SSM72448 notes that sometimes no fault is found with wiring, which can lead to this conclusion, but the sensor is still the more likely culprit. An ECM fault might involve a damaged driver transistor or cracked solder joint internally.
Diagnosis Steps
- Confirm the code P0147 is present using an OBD-II scanner.
- Identify Bank 1, which is the passenger side on North American LR4 models.
- Locate Sensor 3 on Bank 1. This is the rearmost sensor in the exhaust system on the passenger side, downstream of the last catalytic converter.
- Raise the vehicle safely or set the air suspension to off-road height for better access.
- Inspect the sensor's wiring harness and connector for any signs of physical damage, melting, or corrosion.
- Check the fuse for the O2 sensor heater circuit in the vehicle's fuse box.
- If the wiring and fuse are good, disconnect the sensor connector. This may require a pick tool to release the tab.
- Using a multimeter, test the resistance of the heater circuit on the sensor side (between the two same-colored wires). A reading between 2-20 Ohms is typical. An open circuit (infinite resistance) or short circuit (<1 Ohm) indicates a failed heater element, and the sensor must be replaced.
- If resistance is within spec, test for 12V power on the harness side of the connector (with the ignition on). If there is no power, there is a wiring issue between the fuse box and the sensor.
- If all tests pass but the code returns, the fault may be intermittent or, in very rare cases, an issue with the ECM driver circuit. Consider having a dealer check for and apply the ECM software update mentioned in TSB LTB00671NAS3.
Parts You'll Likely Need
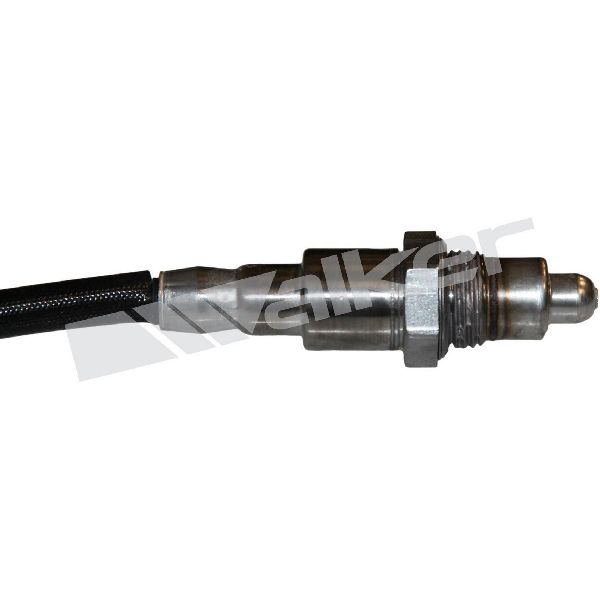
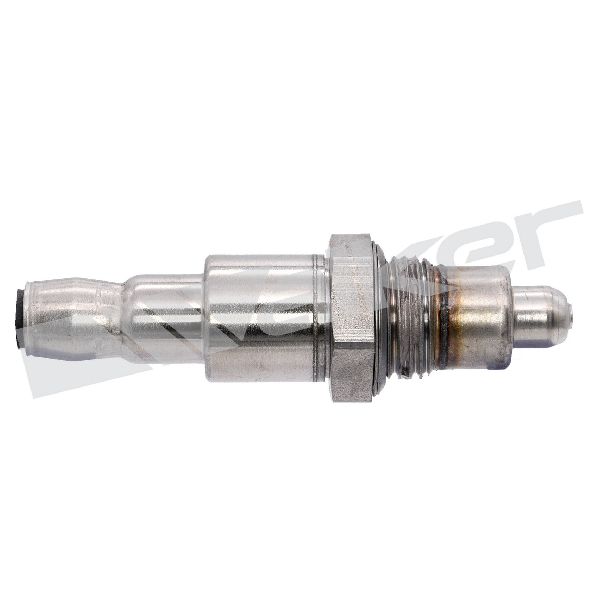
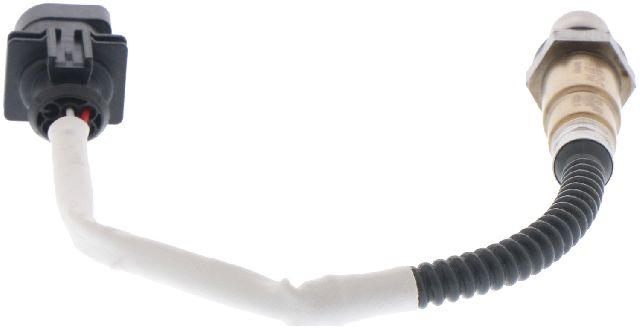
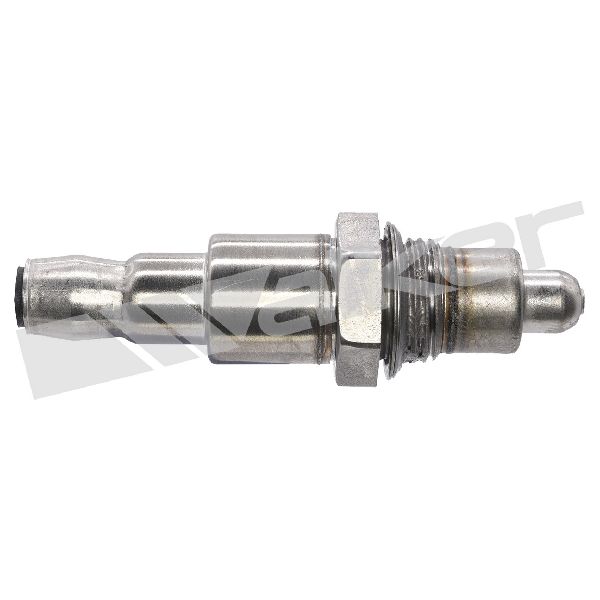
- Oxygen Sensor (Bank 1, Sensor 3)
(OEM #LR035746)— This is the rearmost, post-catalyst oxygen sensor for the passenger side. The internal heater element is the component that fails, triggering code P0147. This is the most common failure point, as confirmed by Land Rover TSBs. This part number is sometimes listed as fitting the 'Center Left' position on other models but is correct for Bank 1, Sensor 3 on the LR4.
Trusted brands: Bosch (e.g., 17452), Denso (OEM supplier), NGK
OEM price range: $180-$250
Aftermarket price range: $70-$150
Related Codes That Often Appear With This One
- P0167 — P0167 is the identical heater circuit fault code but for Bank 2, Sensor 3 (driver's side). It's not uncommon for both rearmost sensors to fail around the same time due to similar age and exposure to the elements.
- P0142 — P0142 is a general circuit fault for Bank 1, Sensor 3. It can appear alongside P0147 if there are broader electrical issues with the sensor or its wiring. TSB LTB00671NAS3 lists both codes as potential results of the same thermal shock issue.
Technical Service Bulletins (TSBs) & Recalls
- LTB00671NAS3: Mentions the MIL can illuminate with DTC P0147 (and others) relevant to the post-catalyst heated oxygen sensors. Explicitly states the cause as thermal shock and recommends sensor replacement and an ECM software update.
- LTB00671NAS2: An earlier version of the same bulletin with the same information regarding P0147.
- SSM72448: Groups P0147 with many other O2 sensor codes and notes that diagnosis may reveal no fault with the wiring harness or connector, suggesting an internal sensor issue.
Platform-Specific Known Issues
- A known issue documented in Land Rover TSB #LTB00671NAS3 involves the Malfunction Indicator Lamp (MIL) illuminating with various post-catalyst oxygen sensor codes, including P0147. The stated cause is 'thermal shock when water contacts the heated sensing element'. The official service action includes replacing the sensor and updating the ECM software.
- TSB #SSM72448 also lists P0147 among a large group of O2 sensor codes where diagnosis may find no fault with the wiring or connectors, pointing towards an internal sensor failure as the root cause.
- A YouTube video by 'LR-Tech' demonstrates the replacement on a similar L494 Range Rover Sport, noting the Bank 1 Sensor 3 location on the passenger side and the tools needed, including a 22mm O2 sensor socket or wrench.
Mechanic-Grade Diagnostic Values
- O2 Sensor Heater Element Resistance — expected: 2 to 20 Ohms (when cold). Failure: An open circuit (infinite resistance/OL) or a direct short (near 0 Ohms) indicates a failed heater element.
- Voltage at Harness Connector (Heater Power Pin) — expected: 10V to 14V (with ignition on, engine off). Failure: Voltage significantly below 10V or 0V indicates a problem with the power supply wiring or fuse.
- Wiring Continuity (ECM to Sensor Connector) — expected: Less than 0.1 Ohms. Failure: Resistance greater than 0.1 Ohms indicates damage or corrosion in the wiring harness.
Scan Tool Commands That Help
- Symptom Driven Diagnostics (SDD): Configure existing module – Powertrain control module — This function is used to apply a software update to the ECM after replacing the oxygen sensor, as recommended by TSB LTB00671NAS3. This update helps prevent future failures caused by thermal shock.
Wiring & Ground Locations
- Fuse F2 (Engine Compartment Fuse Box) — Located in the fuse box in the engine bay.. This fuse supplies battery power to the heaters for all four (or six) oxygen sensors. If this fuse is blown, multiple O2 sensor heater codes will likely be present.
- Connector C1E807 (Bank 1, Sensor 3) — On the passenger side exhaust pipe, near the transfer case, connecting the vehicle harness to the O2 sensor.. This is the primary test point for P0147. Pin 1 (Green/Orange) should have 12V power, and Pin 2 (White/Brown) is the heater control ground from the PCM.
- Ground Point G3D362 — Under the right side of the rear seat.. While not a direct ground for the sensor heater (which is grounded by the ECM), poor chassis grounds can cause a variety of electrical issues. This is a major ground point in the vicinity of the rear sensors.
Real Owner Repair Stories
- AULRO.com (Australian Land Rover Owners) forum user (Land Rover Discovery 2 (similar wiring principles)) — O2 sensor codes, one sensor reading negative voltage (-0.85V) on a multimeter.
❌ Tried (didn't work) Cleaning all earth points., Checking harness continuity., Inspecting the ECU.
✅ What actually fixed it The user discovered they had a faulty new aftermarket (NTK brand) sensor with reversed internal wiring (reverse polarity). Replacing it with a genuine Bosch sensor resolved the negative voltage reading and the fault codes.
OEM Part Supersession History
LR035746→LR098285— Standard part lifecycle update by the manufacturer.
Heads up: LR098285 is the direct, backward-compatible replacement for LR035746. Some vendors may also list LR140078 as a cross-reference or alternative supersession.
Helpful Videos

We Have This Part in Stock


The information in this article is provided for general reference and educational purposes only. Vehicle specifications, procedures, and part compatibility can vary by production date, trim level, and region. Always consult your vehicle's factory service manual and verify part numbers before purchasing or performing repairs. Safety-critical components such as airbags, seat belts, and braking systems should be installed by a qualified professional.
- Land Rover LR4:
- 🧭 Diagnostic Flowchart
- 🎬 Helpful Videos
- 🛍️ Shop This Part
- What's Unique About the 2014-2016 Land Rover LR4
- Symptoms You May Notice
- Most Likely Causes
- Rare But Worth Checking
- Diagnosis Steps
- Parts You'll Likely Need
- Related Codes That Often Appear With This One
- Technical Service Bulletins (TSBs) & Recalls
- Platform-Specific Known Issues
- Mechanic-Grade Diagnostic Values
- Scan Tool Commands That Help
- Wiring & Ground Locations
- Real Owner Repair Stories
- OEM Part Supersession History
- 🎟️ Get 5% Off