
P0163 on 2014-2016 Land Rover LR4: O2 Sensor Causes and Fixes
This code points to a fault with the Bank 2, Sensor 3 oxygen sensor. On the 3.0L V6 LR4, Land Rover Technical Service Bulletins (TSBs) indicate the sensor itself is the most common failure, not the wiring. The failure is often caused by thermal shock. The official fix involves replacing the sensor and updating the Powertrain Control Module (PCM) software. Expect to pay $70-$150 for an OEM-quality aftermarket sensor or $315-$375 for a Genuine Land Rover part, with replacement being a 2/5 difficul
- P0163 on a 2014-2016 LR4 almost always means you need a new Bank 2, Sensor 3 (driver's side, rearmost) oxygen sensor.
- Don't waste time on extensive wiring diagnostics unless a visual inspection shows obvious damage; Land Rover TSBs point directly to the sensor failing from thermal shock.
- The complete, official fix requires BOTH replacing the sensor AND getting the vehicle's ECM software updated by a dealer or specialist to prevent the new sensor from failing again.
- The old sensor is often seized with rust, making removal the hardest part of the job; be prepared with penetrating oil and patience.
- Use a quality OEM-supplier brand like Bosch (P/N 0258030078) for the replacement part to ensure longevity and save money over the 'Genuine' part.
What's Unique About the 2014-2016 Land Rover LR4
For the 2014-2016 LR4, Land Rover has issued multiple Technical Service Bulletins (TSBs) regarding this and a family of related oxygen sensor codes. These bulletins, like SSM72448 and LTB00671NAS3, explicitly state that the fault is almost always with the sensor itself, rather than a problem with the wiring harness. More importantly, TSB LTB00671NAS3 identifies the cause as thermal shock and specifies that the complete repair requires both replacing the sensor and updating the ECM software to prevent future failures.
Diagnostic Flowchart
Tap your situation to follow the diagnostic path that matches what you're seeing on this vehicle.
Symptoms You May Notice
- Check Engine Light (MIL) is illuminated
- Possible slight decrease in fuel economy
- Vehicle will fail an emissions inspection
- Slight hesitation or dip in power during acceleration.
- Replacing the catalytic converter when the issue is only with the monitoring O2 sensor.
- Performing extensive wiring repairs before confirming the sensor itself is functional, contrary to TSB guidance.
- Replacing the O2 sensor but failing to perform the required ECM software update, leading to a repeat failure of the new sensor.
Most Likely Causes
- Faulty Bank 2, Sensor 3 Oxygen Sensor 🔴 High Probability → Shop Oxygen Sensor Land Rover TSB #SSM72448 explicitly states that for a group of O2 sensor codes including P0163, the fault is determined to be with the sensor itself. TSB #LTB00671NAS3 further specifies the cause is often 'thermal shock' when water hits the hot sensor.
How to confirm: Use a diagnostic scan tool to graph the voltage of the Bank 2, Sensor 3 O2 sensor. A healthy sensor will show fluctuating voltage. A sensor that is slow to respond, or has a flat or fixed voltage, is faulty. The sensor's internal heater circuit resistance can also be tested with a multimeter; a healthy post-catalyst sensor should measure between 11.7-14.5 Ω. With the key on, a healthy sensor should read approximately 0.450 volts.
Typical fix: Replace the Bank 2, Sensor 3 oxygen sensor. After replacement, the Engine Control Module (ECM/PCM) software must be updated by a dealer or specialist to prevent repeat failures, as per TSB LTB00671NAS3.
Est. part cost: $70-$375 - Damaged Wiring or Connector ⚪ Low Probability While possible due to exposure to road debris and heat, TSB #SSM72448 suggests this is an uncommon cause for this specific code on this vehicle.
How to confirm: Visually inspect the wiring harness and connector leading to the Bank 2, Sensor 3 O2 sensor for any signs of melting, corrosion, or physical damage. Test for continuity and proper voltage with a multimeter. Check for a complete circuit from the ECM connector C0635 to the sensor connector.
Typical fix: Repair the damaged section of the wiring harness or replace the connector pigtail. O2 sensor wires must be crimped, not soldered, to ensure proper sensor operation.
Est. part cost: $20-$100 - Exhaust Leak ⚪ Low Probability
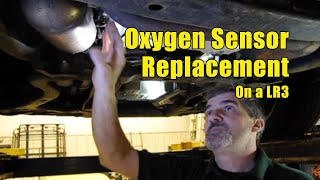
How to confirm: Listen for hissing or ticking sounds from the exhaust system, especially when the engine is cold. A visual inspection may reveal soot trails near gaskets or pipe connections. A smoke test is the most definitive way to find a leak. 🎬 Watch this general overview of how to replace an O2 sensor.
Typical fix: Replace the leaking gasket or repair the damaged section of the exhaust pipe.
Est. part cost: $50-$200
Rare But Worth Checking
- Faulty Engine Control Module (ECM): → Shop Engine Control Module (ECM) This is extremely rare. The ECM should only be considered after all other possibilities, including the sensor, its entire circuit, and required software updates, have been exhaustively tested and ruled out.
Diagnosis Steps
- Connect an OBD-II scanner to confirm the P0163 code and check for any other related codes.
- Use the scanner's live data function to monitor the voltage output of the Bank 2, Sensor 3 oxygen sensor. Compare its activity to the corresponding sensor on Bank 1 (Sensor 3).
- A healthy downstream sensor should have a relatively stable, but not completely flat, voltage. If the voltage is stuck low, stuck high, or responds very slowly to changes in engine conditions, the sensor is likely faulty.
- Perform a thorough visual inspection of the sensor's wiring harness and connector. Look for any signs of melting, chafing, corrosion, or loose pins.
- Inspect the exhaust system for any leaks upstream of the sensor, as this can introduce extra oxygen and cause incorrect readings.
- Based on the strong evidence from Land Rover's TSBs, if the wiring and exhaust are intact, the most probable cause is the sensor itself. Replace the Bank 2, Sensor 3 O2 sensor.
- After replacement, contact a Land Rover dealer or qualified independent shop to have the ECM software updated per TSB LTB00671NAS3 to prevent recurrence.
- After the sensor and software update are complete, clear the codes and perform a drive cycle to ensure the fault does not return.
Parts You'll Likely Need
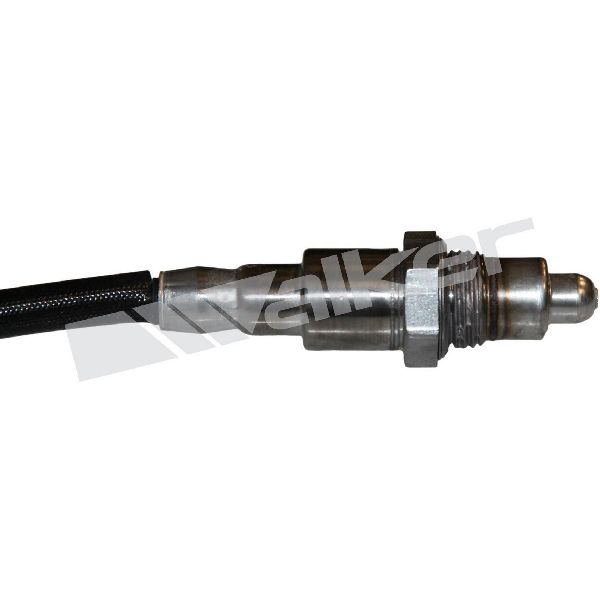
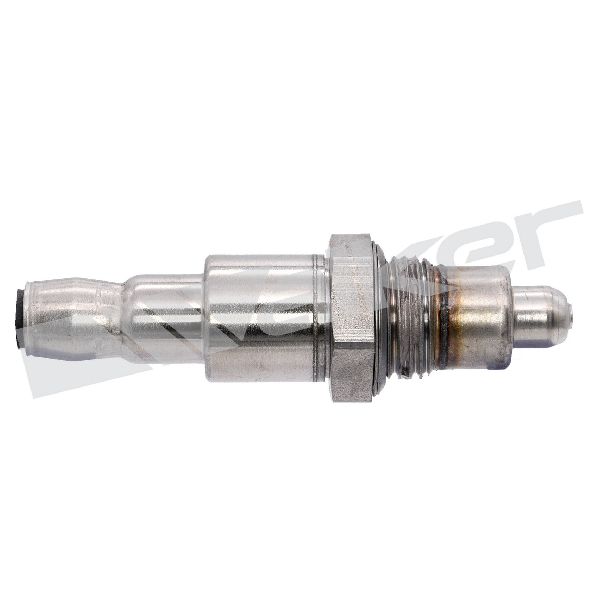
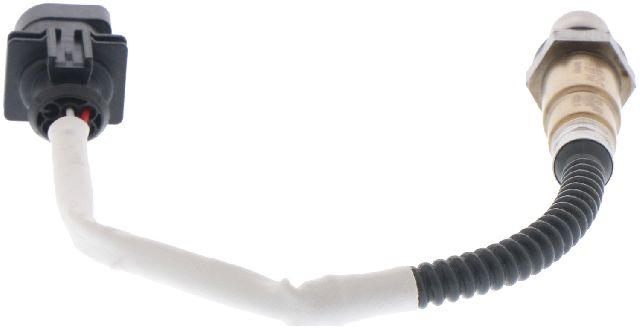
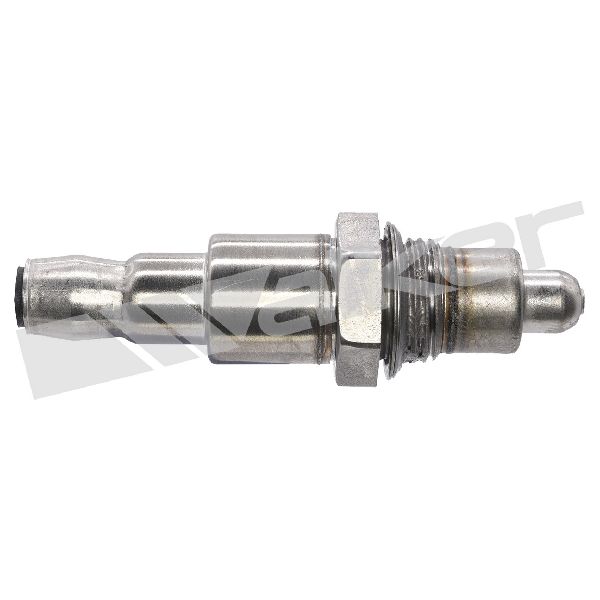
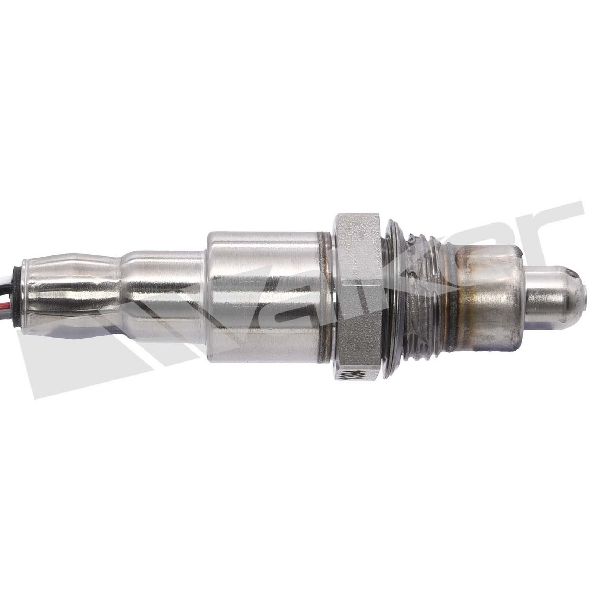
- Oxygen Sensor (Bank 2, Sensor 3)
(OEM #LR052425)— This is the rearmost oxygen sensor on the driver's side exhaust. Land Rover TSBs identify this part as the most common point of failure for code P0163, often due to thermal shock.
Trusted brands: Genuine Land Rover, Bosch (OEM Supplier, P/N: 0258030078 or 12018), Denso (P/N: 234-4981), NGK (P/N: 25755)
OEM price range: $315-$375
Aftermarket price range: $70-$180
Related Codes That Often Appear With This One
- P0162 — This code indicates a malfunction in the same sensor circuit, and they are often triggered together.
- P0164 — This code indicates a slow response from the same sensor circuit, which is a common failure mode.
- P0062 — This is another related HO2S heater control circuit code for the same sensor (Bank 2, Sensor 3) mentioned in the same TSBs.
Technical Service Bulletins (TSBs) & Recalls
- SSM72448: Notes that for a list of O2 sensor codes, diagnosis reveals the fault is with the sensor, not the wiring or connector, though the root cause was still under investigation at the time.
- LTB00671NAS3: The most critical TSB. Identifies the cause as 'thermal shock when water contacts the heated sensing element' and states the official fix requires replacing the affected sensor AND updating the ECM software to prevent recurrence.
- LTB00671NAS2: An earlier version of the above bulletin, also linking P0163 to issues with the post-catalyst heated oxygen sensors and requiring a software update.
Platform-Specific Known Issues
- Mandatory Software Update: Land Rover has issued several Technical Service Bulletins (e.g., SSM72448, LTB00671NAS3) that cover a wide range of oxygen sensor codes, including P0163. The consistent theme is that the sensor itself is the root cause due to thermal shock, and a mandatory ECM software update is required after replacement to prevent the new sensor from failing again.
- Seized/Rusted Sensor: Due to its location under the vehicle, the oxygen sensor is highly susceptible to rust and can become seized in the exhaust pipe. Owners report extreme difficulty in removing the original sensor. Liberal use of penetrating oil and allowing it to soak is recommended. In severe cases, a new threaded bung may need to be welded onto the exhaust pipe.
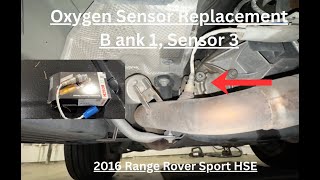
- Access for Replacement: To gain better access to the sensor, it is helpful to raise the vehicle's air suspension to 'Off-Road Height'. The job typically requires a 22mm slotted oxygen sensor socket. 🎬 Watch this step-by-step guide for replacing LR4 oxygen sensors. A heat shield may need to be removed to access the sensor and its electrical connector.
Mechanic-Grade Diagnostic Values
- O2 Sensor Heater Circuit Resistance — expected: ~6-15 Ω (cold). Failure: An open circuit (infinite resistance) or a dead short (near zero resistance).
- O2 Sensor Signal Voltage (Key On, Engine Off) — expected: ~0.450 V. Failure: A reading near 0.0V, as reported by a user with a 'no signal' fault.
- Mode $06 Test ID for O2 Sensors — expected: Status: Pass. Failure: A 'Fail' status, or a test value that is very close to the minimum or maximum limit, indicates a sensor that is degrading or responding slowly, even if it hasn't set a code yet.
Scan Tool Commands That Help
- Land Rover SDD (Symptom Driven Diagnostics): Recommendations Tab — After reading DTCs, selecting the symptom (e.g., emissions light), and viewing the codes, the 'Recommendations' tab will often link directly to relevant TSBs, guiding the technician to the known software update fix.
- Land Rover SDD (Symptom Driven Diagnostics): Data Logger — To view and graph the live voltage of the O2 sensor in question to check for slow response, or a flat-lined/stuck voltage reading.
- Land Rover SDD (Symptom Driven Diagnostics): Configure new module / Update module software — This is the final, critical step after replacing the sensor. This function is used to apply the software update specified in TSB LTB00671NAS3 to prevent the new sensor from failing prematurely.
Wiring & Ground Locations
- ECM Connector C0635, Pin 7 — At the Engine Control Module (ECM).. This is the heater control (ground path) for the downstream Left Hand (Bank 2) oxygen sensor. A continuity test between this pin and the corresponding pin at the sensor connector can verify the heater control circuit.
- ECM Connector C0635, Pin 17 — At the Engine Control Module (ECM).. This is the signal input from the downstream Left Hand (Bank 2) oxygen sensor. Testing for voltage here can confirm if the signal from the sensor is reaching the ECM.
- Engine Compartment Fuse Box, Fuse 2 — Under the hood.. This fuse provides the direct battery supply to the heater element for all four O2 sensors. While a failure would likely trigger codes for multiple sensors, it's a primary power source to check.
- O2 Sensor Connector (Bank 2, Sensor 3) — On the driver's side exhaust, post-catalytic converter. The connector itself is often tucked up with very little slack.. This is the primary point for testing the sensor and harness. A user-reported trick for easier disconnection is to tie a wire to the old sensor, pull it up into the engine bay for better access, and use a pick tool to release the connector's plastic hook.
Real Owner Repair Stories
- Land Rover Forums user (Land Rover Discovery (similar wiring architecture)) — O2 sensor code with 'no signal' and live data showing 0.0V on one downstream sensor, while the other three read 0.450V with key on.
❌ Tried (didn't work) Swapping the suspect sensor with the known-good one from the other bank; the fault stayed on the same side, proving the sensors were good.
✅ What actually fixed it The user found a section of the wiring harness with damaged wires from a previous, poor repair. Critically, the harness had been misrouted, causing the scanner to report a fault for Bank 1 when the physical damage was on the harness section leading to the Bank 2 sensor. Repairing the damaged wires resolved the code. - Land Rover Forums user 'scooterforever' (Land Rover LR3 (similar access challenges)) — O2 sensor code, needing to replace a sensor.
❌ Tried (didn't work) Attempting to disconnect the electrical connector from underneath the vehicle with one hand, but there was not enough slack or leverage.
✅ What actually fixed it The user tied a string to the old sensor's wire, pulled the connector up into the engine bay where there was more room to work, and used a straight pick to release the connector's internal locking tab. This allowed for easy disconnection and reconnection.
Model Year Variations Within This Range
- 2014: A specific Powertrain Control Module (PCM) calibration update was released via DVD 138 patch file 4 in June 2014 to address P0163 and other related oxygen sensor codes for 2014 model year LR4 vehicles with the 3.0L V6. This reinforces the need for a software check on these early models.
Helpful Videos


We Have This Part in Stock


The information in this article is provided for general reference and educational purposes only. Vehicle specifications, procedures, and part compatibility can vary by production date, trim level, and region. Always consult your vehicle's factory service manual and verify part numbers before purchasing or performing repairs. Safety-critical components such as airbags, seat belts, and braking systems should be installed by a qualified professional.
- Land Rover LR4:
- 🧭 Diagnostic Flowchart
- 🎬 Helpful Videos
- 🛍️ Shop This Part
- What's Unique About the 2014-2016 Land Rover LR4
- Symptoms You May Notice
- Most Likely Causes
- Rare But Worth Checking
- Diagnosis Steps
- Parts You'll Likely Need
- Related Codes That Often Appear With This One
- Technical Service Bulletins (TSBs) & Recalls
- Platform-Specific Known Issues
- Mechanic-Grade Diagnostic Values
- Scan Tool Commands That Help
- Wiring & Ground Locations
- Real Owner Repair Stories
- Model Year Variations Within This Range
- 🎟️ Get 5% Off