
P0324 on 2014-2017 Buick Regal: Knock Control Error Causes and Fixes
On a 2014-2017 Buick Regal with the 2.0L Turbo LTG engine, code P0324 is most frequently caused by loose intake manifold bolts. This is a well-known issue covered by GM TSB PIP5529B. Before replacing any parts, the first and most crucial step is to check the torque on these bolts. The fix is often as simple as re-torquing the bolts to spec with threadlocker, which is a very low-cost repair that resolves the root cause—a vacuum leak that triggers multiple codes.
- For a 2014-2017 Buick Regal with P0324, check for loose intake manifold bolts before buying any parts, especially if other codes like P0171 or P0106 are present.
- This is a known issue covered by GM Technical Service Bulletin PIP5529B, which affects many vehicles with the 2.0L LTG engine.
- The fix may only require a torque wrench and medium-strength threadlocker, making it a very low-cost repair. The correct torque is 22 lb-ft (30 Nm).
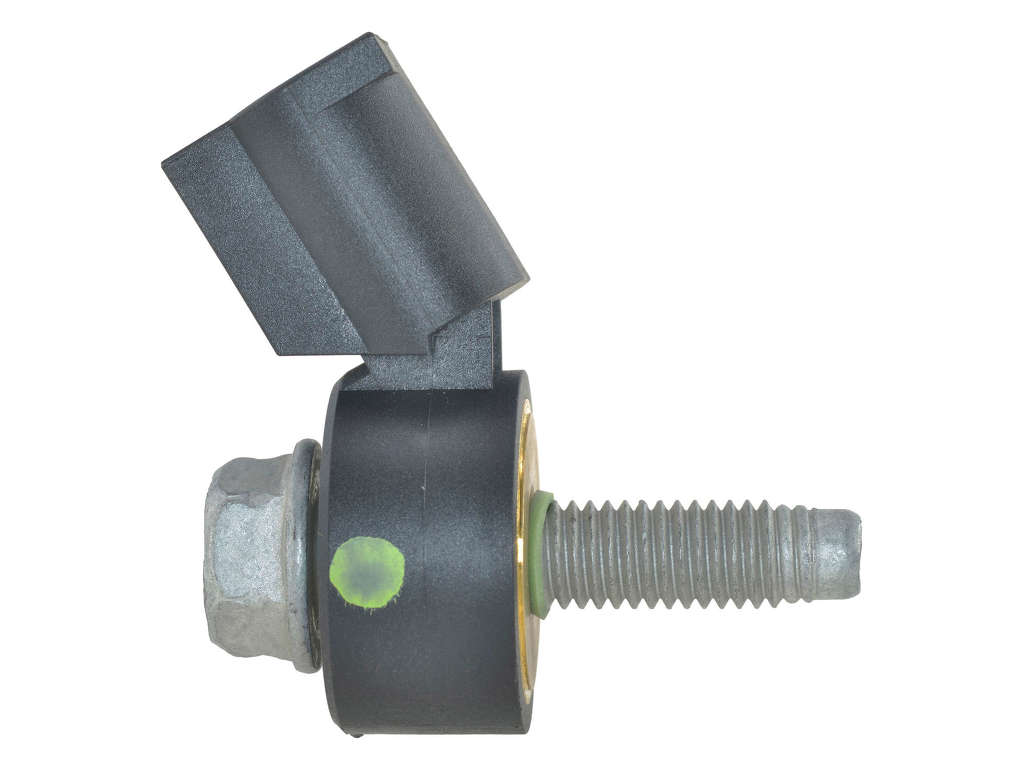
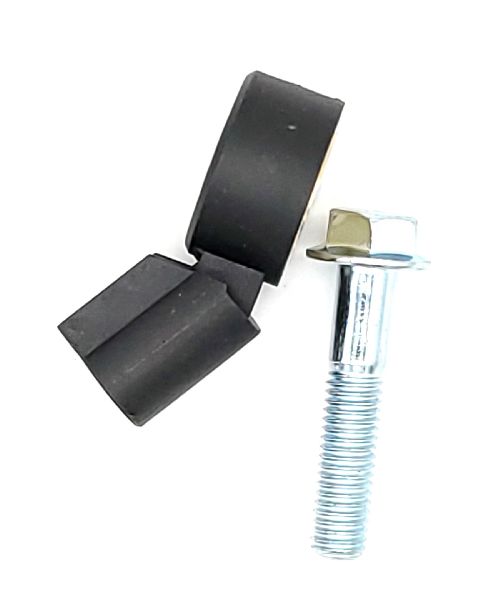
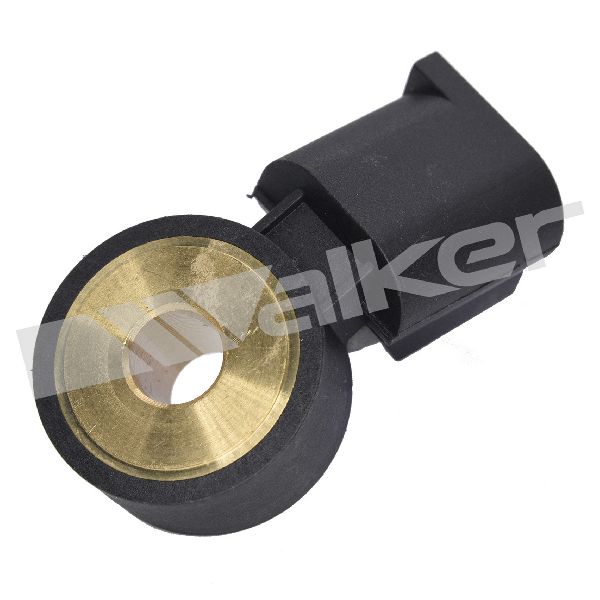
- If the intake bolts are tight, the next most likely cause is a faulty knock sensor (OEM Part #12643810) or its wiring.
- Ignoring this code can lead to poor performance, reduced fuel economy, and leaves the engine unprotected from potentially damaging knock events.
What's Unique About the 2014-2017 Buick REGAL
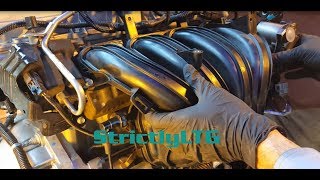
For the 2014-2017 Buick Regal with the 2.0L LTG turbo engine, P0324 is often a symptom of a larger, well-documented issue. General Motors issued Technical Service Bulletin (TSB) PIP5529B, which identifies that loose intake manifold bolts can cause a vacuum leak. This leak leads to a host of seemingly unrelated engine codes, including P0324, along with symptoms like hesitation or stalling, especially when coming to a stop. While a bad knock sensor is possible, checking the intake manifold torque should be the absolute first step on this specific vehicle, as it is the most common and cheapest fix.
Diagnostic Flowchart
Tap your situation to follow the diagnostic path that matches what you're seeing on this vehicle.
Symptoms You May Notice
- Check Engine Light illuminated
- Engine hesitation or stumbling during acceleration
- Vehicle may stall, particularly when coming to a stop or at low speeds
- Reduced engine power or 'limp mode'
- Rough or fluctuating idle
- Audible engine pinging or knocking noises
- Replacing the knock sensor immediately without first checking for loose intake manifold bolts. This is the most common mistake on this platform, leading to the code returning because the root cause (vacuum leak) was not addressed.
- Assuming the engine is knocking. The P0324 code indicates a fault in the control *system*, not necessarily active engine knock.
Most Likely Causes
- Loose Intake Manifold Bolts 🔴 High Probability → Shop Engine Intake Manifold This is a widely documented issue for the GM LTG engine family, as per TSB PIP5529B. Thermal cycles and engine vibration can cause the bolts to back out over time, creating a small vacuum leak that the PCM cannot reconcile, leading to P0324 and other air/fuel correlation codes.
How to confirm: Check for other related DTCs (see 'often_seen_with_codes'). Inspect the intake manifold bolts to see if they can be turned easily by hand or with a socket. Use a torque wrench to verify they are below the manufacturer's specification of 22 lb-ft (30 Nm). The presence of multiple codes from the TSB list is a strong indicator.
Typical fix: Per TSB PIP5529B, remove one bolt at a time, apply medium-strength threadlocker (like Loctite Blue 242) 🎬 Watch: How to remove the intake manifold on an LTG engine., reinstall, and torque all bolts in the correct sequence to 22 lb-ft (30 Nm). Do not replace the intake manifold gasket unless it's confirmed to be leaking after the bolts are properly torqued.
Est. part cost: $5-$15 for threadlocker - Faulty Knock Sensor 🟡 Medium Probability → Shop Ignition Knock (Detonation) Sensor Like any electronic sensor, it can fail over time due to heat and vibration. The sensor is a piezoelectric crystal that generates a voltage signal when it vibrates; this crystal can crack or degrade.
How to confirm: If intake bolts are confirmed tight, test the sensor. The sensor is often located on the side of the engine block, sometimes under the intake manifold. Test its resistance and voltage output with a multimeter and compare readings to the service manual's specifications. Visually inspect the sensor for cracks or physical damage.
Typical fix: Replace the knock sensor. It is critical to torque the new sensor to the manufacturer's specification (often around 15-20 lb-ft), as over-tightening can damage the new part and cause the code to return immediately.
Est. part cost: $40-$90 - Wiring or Connector Issue ⚪ Low Probability The wiring harness to the knock sensor can be exposed to high heat and vibration, potentially leading to chafing, melting, or corrosion at the connector pins over the vehicle's life.
How to confirm: Visually inspect the entire wiring harness leading to the knock sensor for any signs of damage, melting, or breaks. Check for corrosion or loose pins inside the connector at both the sensor and the PCM.
Typical fix: Repair the damaged section of wire or clean/replace the connector. High-temperature reflective tape may be used to protect the repaired harness.
Est. part cost: $5-$25 for wiring repair supplies
Rare But Worth Checking
- Faulty Powertrain Control Module (PCM): → Shop Engine Control Module (ECM) This is very rare and should be considered a last resort. The PCM should only be suspected after the TSB, sensor, and all wiring have been exhaustively tested and ruled out.
- Internal Engine Mechanical Issues: In very rare cases, an internal engine problem (e.g., timing chain issue, bearing failure) could produce vibrations that the knock sensor system misinterprets, setting a P0324. This would typically be accompanied by other severe symptoms and codes.
Diagnosis Steps
- Scan for other trouble codes. The presence of any codes listed in TSB PIP5529B (P0068, P0101, P0106, P0171, P0326, etc.) alongside P0324 strongly points to the loose intake manifold bolts.
- Crucial Step: Inspect the intake manifold bolts. Using a socket, check if any are loose. Use a torque wrench to confirm they are below the 22 lb-ft (30 Nm) specification. If they are loose, this is the most likely cause.
- If the intake bolts are tight, proceed with standard diagnosis. Perform a thorough visual inspection of the knock sensor and its wiring harness. Look for obvious damage, corrosion, or loose connections. The sensor is typically on the engine block.
- Test the knock sensor itself. Using a digital multimeter, check the sensor's internal resistance and compare it to the specifications in the factory service manual.
- If the sensor tests good, check the wiring harness. Test for continuity and check for voltage/ground between the sensor connector and the PCM to rule out an open or shorted wire.
- If the sensor and wiring are confirmed to be good, the issue may be with the PCM, but this is extremely unlikely and should be the final diagnostic step.
Parts You'll Likely Need
- Medium-Strength Threadlocker — Required to secure the intake manifold bolts to prevent them from loosening again, which is the most common fix for this code on this vehicle per TSB PIP5529B.
Trusted brands: Loctite Blue 242, Permatex Blue
OEM price range: $10-$20
Aftermarket price range: $5-$15 - Knock Sensor
(OEM #12643810)— This is the next most likely cause if the intake manifold bolts are not loose. This is the GM OE recommended replacement part.
Trusted brands: ACDelco (GM Original Equipment), Bosch, Delphi
OEM price range: $60-$100
Aftermarket price range: $40-$90
Related Codes That Often Appear With This One
- P0068 — MAP/MAF - Throttle Position Correlation. Listed in TSB PIP5529B.
- P0101 — Mass Air Flow (MAF) Circuit Range/Performance. Listed in TSB PIP5529B.
- P0106 — Manifold Absolute Pressure (MAP) Sensor Performance. Listed in TSB PIP5529B.
- P0171 — System Too Lean (Bank 1). A classic symptom of a vacuum leak, which is the root cause of the loose intake bolts. Listed in TSB PIP5529B.
- P0326 — Knock Sensor 1 Circuit Range/Performance. Also listed in TSB PIP5529B.
- P0506 — Idle Air Control System RPM Lower Than Expected. Caused by the vacuum leak disrupting idle stability. Listed in TSB PIP5529B.
Technical Service Bulletins (TSBs) & Recalls
- PIP5529B: Addresses a potential stall, hesitation, and MIL illumination with various codes (P0068, P0101, P0106, P0171, P0324, P0326, etc.) caused by loose intake manifold bolts. The fix is to apply medium strength threadlocker and torque bolts to specification.
Platform-Specific Known Issues
- TSB PIP5529B documents that a combination of codes, including P0324, can be triggered by loose intake manifold bolts on the 2.0L LTG engine. The prescribed fix is to re-torque the bolts with threadlocker to 22 lb-ft (30 Nm).
- Owners on forums frequently report resolving P0324 and a host of other drivability issues (stalling, hesitation) simply by tightening the intake manifold bolts, often finding them to be only finger-tight.
Mechanic-Grade Diagnostic Values
- Knock Sensor Resistance — expected: 93k to 110k Ohms. Failure: An open reading (OL) or a value outside the specified range indicates a faulty sensor.
- Knock Sensor Bolt Torque — expected: 18 lb ft (25 N.m). Failure: Incorrect torque can lead to improper vibration detection. Over-tightening can damage the sensor, while under-tightening can cause a loss of signal.
- Knock Sensor AC Voltage Output (Dynamic Test) — expected: A small AC voltage should be generated when the engine block is tapped near the sensor.. Failure: No voltage output when tapping indicates a dead sensor. Very low voltage compared to a known good sensor can also indicate a problem.
Wiring & Ground Locations
- Knock Sensors (x2) — On the back side of the engine block, located underneath the intake manifold.. The 2.0L LTG engine in this vehicle uses two knock sensors. Their location under the intake manifold makes access difficult, reinforcing the need to check easier items (like intake bolt torque) first. A video shows one sensor with a red connector.
- G105 — Located at the left front of the engine compartment, behind the cooling fan relays.. This ground point serves multiple sensors and components in the engine bay. While not directly tied to the knock sensor in the provided diagram, a poor ground at this common location can introduce electrical noise and cause erratic behavior in various sensor circuits, potentially contributing to control system errors like P0324.
Real Owner Repair Stories
- Reddit user in r/Buick (2014 Buick Regal AWD Turbo, ~100k miles) — Not specified for P0324, but general reliability issues were discussed.
✅ What actually fixed it A user reported experiencing a cracked header and a failed vacuum pump on their 2014 Regal. While not directly causing P0324, a significant exhaust leak pre-turbo or a major vacuum system failure could potentially create conditions (abnormal noise, lean mixtures) that might trigger a knock system error as a secondary effect.
OEM Part Supersession History
12643810→12643810— No supersession found.
Heads up: Part number 12643810 appears to be for a Drive Motor Control Module in some GM catalogs, not a knock sensor. The correct OEM part number for the knock sensor on this engine is more likely 12623095, as referenced for other LTG applications. Using 12643810 will result in ordering the wrong part entirely.
Helpful Videos

We Have This Part in Stock


The information in this article is provided for general reference and educational purposes only. Vehicle specifications, procedures, and part compatibility can vary by production date, trim level, and region. Always consult your vehicle's factory service manual and verify part numbers before purchasing or performing repairs. Safety-critical components such as airbags, seat belts, and braking systems should be installed by a qualified professional.
- Buick REGAL:
- 🧭 Diagnostic Flowchart
- 🎬 Helpful Videos
- 🛍️ Shop This Part
- What's Unique About the 2014-2017 Buick REGAL
- Symptoms You May Notice
- Most Likely Causes
- Rare But Worth Checking
- Diagnosis Steps
- Parts You'll Likely Need
- Related Codes That Often Appear With This One
- Technical Service Bulletins (TSBs) & Recalls
- Platform-Specific Known Issues
- Mechanic-Grade Diagnostic Values
- Wiring & Ground Locations
- Real Owner Repair Stories
- OEM Part Supersession History
- 🎟️ Get 5% Off