
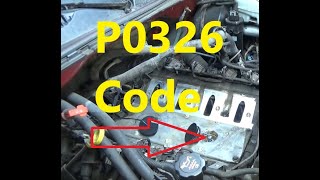
P0326 on 2013-2017 Cadillac ATS: Knock Sensor Fault or Loose Intake?
On a 2013-2017 Cadillac ATS, especially with the 2.0L LTG or 2.5L LCV engine, code P0326 is frequently caused by loose intake manifold bolts, a known issue covered by GM Technical Service Bulletin #PIP5529B. Before attempting to replace the hard-to-access knock sensor located under the intake manifold, the first and most crucial step is to check and tighten the intake bolts. This simple check can often resolve the code and save over $500 in unnecessary labor.
- For the 2013-2017 Cadillac ATS with a 2.0L or 2.5L engine, always check for loose intake manifold bolts before considering any other repair for code P0326.
- The official GM-recommended fix for this common issue is to tighten the bolts with threadlocker.
- Replacing the knock sensor is an expensive, labor-intensive job because it is located under the intake manifold.
- P0326 is often accompanied by other codes related to air/fuel mixture (P0171, P0101, P0106), which further points to the loose intake manifold as the root cause.
What's Unique About the 2013-2017 Cadillac ATS
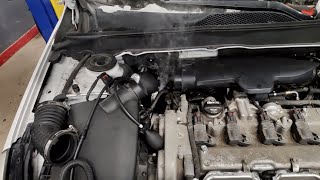
For the Cadillac ATS, particularly models with the 2.0L Turbo (LTG) and 2.5L (LCV) engines, P0326 is frequently not a sensor failure. General Motors issued a Technical Service Bulletin (TSB #PIP5529B) indicating that loose intake manifold bolts can cause this code, along with a host of others like P0068, P0101, P0106, and P0171. The vibration or unmetered air leak from the loose manifold can create a condition that the ECM misinterprets as a knock sensor fault. This makes checking the intake manifold torque a critical first step before attempting an expensive knock sensor replacement, which requires removing the entire intake manifold for access.
Diagnostic Flowchart
Tap your situation to follow the diagnostic path that matches what you're seeing on this vehicle.
Symptoms You May Notice
- Check Engine Light is on
- Engine hesitation or stumbling, especially when accelerating.
- Audible engine pinging or knocking sounds.
- Reduced fuel economy.
- Rough idle.
- Reduced engine power or 'limp mode'.
- Replacing the knock sensor without first checking for loose intake manifold bolts. This is a common mistake that leads to an expensive and unnecessary repair when the root cause was the loose manifold, as highlighted in TSB #PIP5529B.
Most Likely Causes
- Loose Intake Manifold Bolts 🔴 High Probability → Shop Engine Intake Manifold This is a widely documented issue for 2.0L (LTG) and 2.5L (LCV) engines across multiple GM platforms, as noted in GM TSB #PIP5529B. The bolts can back out over time, causing a vacuum leak or vibration that triggers P0326 and other related codes.
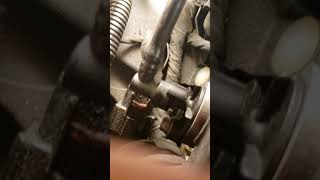
How to confirm: Visually inspect and check the torque on the intake manifold mounting bolts. The specified torque for the 2.0L/2.5L intake manifold bolts is 18 ft-lbs (24 N·m). Check if they can be turned easily by hand or with a wrench with minimal force.
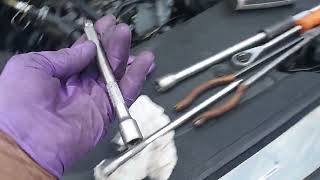
Typical fix: Per TSB #PIP5529B, the fix is to remove one bolt at a time, apply medium-strength threadlocker (like Loctite), reinstall, and torque to 18 ft-lbs (24 N·m) in the correct sequence. This is a low-cost repair that can be done with basic tools.
Est. part cost: $5-$15 for threadlocker - Faulty Knock Sensor 🟡 Medium Probability → Shop Ignition Knock (Detonation) Sensor Sensors can fail due to prolonged exposure to engine heat and vibration. However, this should only be considered after definitively ruling out the loose intake manifold issue.
How to confirm: After confirming the intake manifold is secure, the sensor's circuit must be tested. The sensor is located under the intake manifold, making access difficult. With the manifold removed, its resistance can be tested with a multimeter or its live voltage data can be observed with an advanced scan tool during a 'tap test'.
Typical fix: Replace the knock sensor. Due to its location, this involves removing the intake manifold. 🎬 Watch: A walkthrough of knock sensor and starter access. It is highly recommended to also replace the intake manifold gasket (Part No. 12655276) and the knock sensor wiring harness at the same time.
Est. part cost: $40-$60 for the sensor, plus $20-$40 for the gasket - Damaged Wiring or Connector ⚪ Low Probability The wiring harness to the knock sensor is routed in a high-heat area under the intake manifold. Wires can become brittle and break, or the connector can become loose, corroded, or contaminated with oil.
How to confirm: Visually inspect the wiring harness leading to the knock sensor for any signs of damage, melting, or corrosion. Check for continuity using a multimeter. The connector itself should be inspected when the intake manifold is removed for sensor access.
Typical fix: Repair the damaged section of wire or replace the knock sensor connector pigtail. It is often replaced as a preventative measure when the knock sensor is replaced due to the high labor involved.
Est. part cost: $15-$45 for a new connector
Rare But Worth Checking
- Faulty Engine Control Module (ECM): → Shop Engine Control Module (ECM) This is very rare. The ECM should only be considered as the cause after all other possibilities, including the sensor and its entire circuit, have been exhaustively tested and ruled out. An ECM software glitch could also be a cause, which might be resolved by a re-flash.
- Internal Engine Noise: Excessive noise from other failing components (e.g., timing chain, bearings, catalytic converter brackets) can sometimes be picked up by the knock sensor and misinterpreted as detonation, triggering the code. This is usually accompanied by other serious symptoms and codes.
- Incorrect Fuel Octane: Using a lower octane fuel than recommended for the 2.0L Turbo engine can cause genuine engine knock, which may cause the P0326 code to set if the PCM cannot compensate enough by adjusting timing.
Diagnosis Steps
- Read all stored fault codes with an OBD-II scanner. Note any other codes that appear alongside P0326, as they strongly point towards the loose intake manifold issue per TSB #PIP5529B.
- For the 2.0L or 2.5L engine, your first step is to inspect the intake manifold bolts for looseness. The torque specification is 18 ft-lbs (24 N·m).
- If bolts are loose, follow the TSB procedure: remove one bolt at a time, apply medium-strength threadlocker, reinstall, and torque to 18 ft-lbs (24 N·m) in the proper sequence.
- Clear the codes, start the engine, and perform a test drive with varied loads to see if P0326 returns. If it does not, the problem is solved.
- If the bolts were tight or the code returns, the next step is to test the knock sensor circuit. This requires removing the intake manifold.
- Once the intake is removed, visually inspect the knock sensor (GM Part #12623095) and its wiring harness for any signs of damage, melting, or corrosion at the connector.
- With the key on, engine off, check for a 5-volt reference at the sensor connector with a multimeter.
- Test the knock sensor's internal resistance with a multimeter to see if it is within the manufacturer's specifications. An open circuit indicates a failed sensor.
- Given the high labor cost to access it, it is strongly recommended to replace the knock sensor, its connector pigtail, and the intake manifold gasket (GM Part #12655276) while the intake manifold is off.
- If the problem persists after replacing the sensor and verifying wiring, a more complex diagnosis of the ECM's input circuit may be required by a professional.
Parts You'll Likely Need
- Medium-Strength Threadlocker
(OEM #GM P/N 89021297)— Required to fix the most common cause of this code on 2.0L and 2.5L engines: loose intake manifold bolts, per TSB #PIP5529B.
Trusted brands: Loctite, Permatex
OEM price range: $10-$15
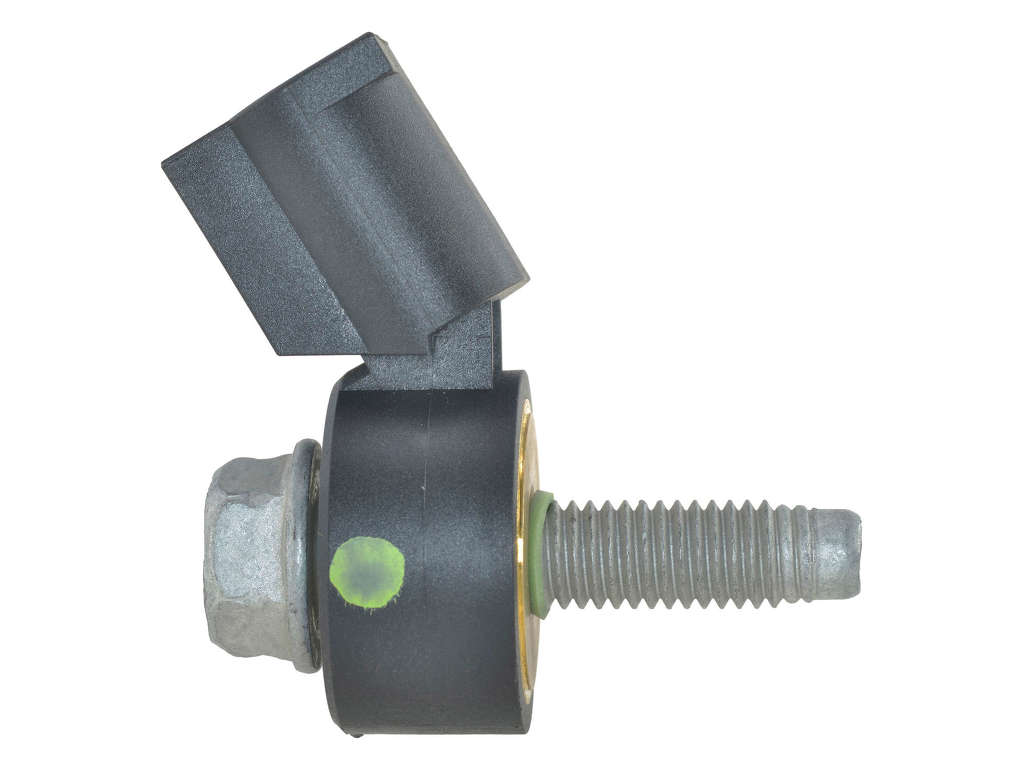
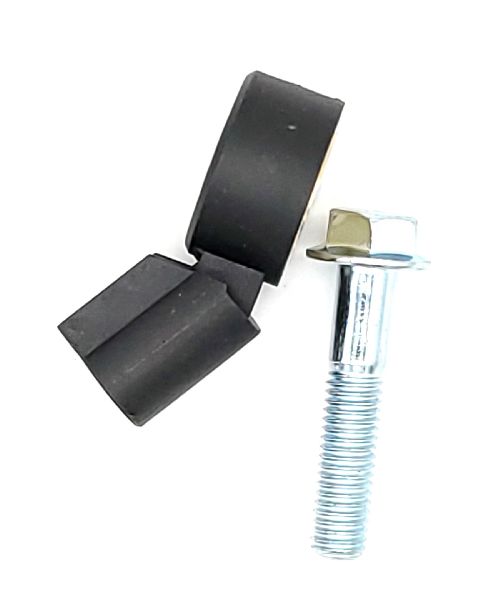
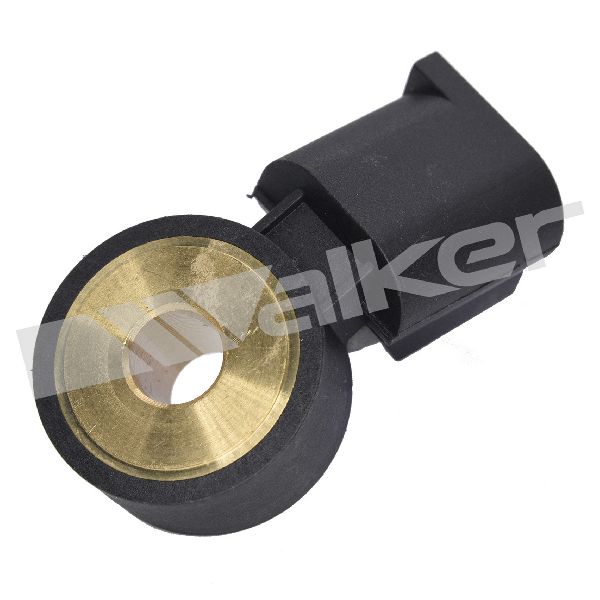
Aftermarket price range: $8-$12 - Knock Sensor
(OEM #12623095)— This is the sensor that triggers the code. It is often replaced once the labor-intensive task of removing the intake manifold is performed, even if the cause is uncertain.
Trusted brands: ACDelco, GM Genuine Parts, Delphi, Standard Motor Products
OEM price range: $25-$55
Aftermarket price range: $20-$45 - Intake Manifold Gasket
(OEM #12655276)— This gasket should be replaced whenever the intake manifold is removed to access the knock sensor to prevent future vacuum leaks. TSB #PIP5529B notes not to replace it for the bolt-tightening procedure unless it's proven to be leaking after torquing.
Trusted brands: ACDelco, GM Genuine Parts, Fel-Pro
OEM price range: $25-$40
Aftermarket price range: $15-$30 - Knock Sensor Connector — The connector can become brittle from heat cycles. It's wise to replace it when replacing the sensor, as a bad connection can mimic a failed sensor.
Related Codes That Often Appear With This One
- P0068 — MAP/MAF - Throttle Position Correlation. Often appears with P0326 due to loose intake manifold bolts causing unmetered air.
- P0101 — Mass Air Flow (MAF) Circuit Range/Performance. Often appears with P0326 due to loose intake manifold bolts.
- P0106 — Manifold Absolute Pressure (MAP) Sensor Performance. Often appears with P0326 due to loose intake manifold bolts.
- P0171 — System Too Lean (Bank 1). A vacuum leak from a loose intake manifold is a classic cause for a lean condition.
- P0506 — Idle Air Control System RPM Lower Than Expected. Often appears with P0326 due to loose intake manifold bolts affecting idle stability.
- P0324 — Knock Control System Error. This is another knock-related code that can be triggered by loose intake manifold bolts per TSB #PIP5529B.
Technical Service Bulletins (TSBs) & Recalls
- PIP5529B: Addresses a potential stall, hesitation, and MIL illumination with a combination of codes including P0326, caused by loose intake manifold bolts. The bulletin explicitly lists the Cadillac ATS and other GM vehicles with the LTG and LCV engines.
Platform-Specific Known Issues
- TSB #PIP5529B: Documents that on 2013-2017 ATS models with LTG and LCV engines, a group of DTCs including P0326 can be caused by loose intake manifold bolts. The recommended fix is to re-torque the bolts with medium-strength threadlocker.
Mechanic-Grade Diagnostic Values
- Knock Sensor Internal Resistance — expected: 93,000 to 110,000 Ohms (93kΩ - 110kΩ). Failure: An open circuit (OL) or a reading significantly outside this range indicates a faulty sensor. However, a sensor can pass this test and still be functionally bad.
- Knock Sensor Circuit Bias Voltage — expected: ~5 Volts DC. Failure: No voltage at the sensor connector (with sensor unplugged, key on, engine off) points to a wiring or ECM issue.
- Knock Sensor AC Voltage Output (Tap Test) — expected: A fluctuating AC millivolt or volt signal when the engine block is tapped near the sensor.. Failure: No AC voltage produced during a tap test indicates the sensor is dead and not generating a signal.
Scan Tool Commands That Help
- GDS2 / Professional Scan Tool: Knock Retard Live Data (PID) — During a test drive, monitor the 'Knock Retard' value. If it shows significant degrees of retard under acceleration without audible knock, it can indicate a hypersensitive sensor or false knock from other vibrations (like a loose intake). If it shows 0 degrees even when a real knock is present, the system is not functioning.
- OBD-II Scanner: Clear Fault Codes — After a repair, the codes must be cleared. The ECM will not instantly recognize the fix. A complete OBD-II drive cycle may be required for the system to run its internal tests and confirm the repair before the Check Engine Light will stay off.
Wiring & Ground Locations
- G104 — On the cylinder head, specifically the lower rear of the head on 2.0L/2.5L engines.. This is a primary engine ground point. A poor connection here can introduce electrical noise or cause incorrect readings for sensors grounded to the block, including the knock sensor.
- Main Engine Block Ground Strap — A large cable connecting the engine block to the vehicle's frame/chassis.. Because the ATS has its battery in the rear, the engine block's ground path to the chassis is critical for all engine electronics. A corroded or loose main ground can cause a voltage differential between the block and the rest of the car, leading to bizarre sensor behavior and codes like P0326.
- Knock Sensor Location — Under the intake manifold, mounted to the engine block. For the 2.0L, it is located to the right of the crankshaft position sensor.. Its location makes it susceptible to heat damage but also means the wiring is hidden. The main reason it matters is the high labor cost to access it, which makes ruling out other causes (like the loose intake) critical.
OEM Part Supersession History
12634693→12655276— This is the Intake Manifold Gasket. GM likely updated the material or design for better sealing and longevity.
Model Year Variations Within This Range
- 2013-2017: The primary diagnostic tool required by dealerships transitioned during this period. While some 2013 models may be accessible with a Tech 2, the official and required tool for comprehensive diagnostics on these vehicles is the GM GDS2 (Global Diagnostic System 2).
Helpful Videos
We Have This Part in Stock


The information in this article is provided for general reference and educational purposes only. Vehicle specifications, procedures, and part compatibility can vary by production date, trim level, and region. Always consult your vehicle's factory service manual and verify part numbers before purchasing or performing repairs. Safety-critical components such as airbags, seat belts, and braking systems should be installed by a qualified professional.
- Cadillac ATS:
- 🧭 Diagnostic Flowchart
- 🎬 Helpful Videos
- 🛍️ Shop This Part
- What's Unique About the 2013-2017 Cadillac ATS
- Symptoms You May Notice
- Most Likely Causes
- Rare But Worth Checking
- Diagnosis Steps
- Parts You'll Likely Need
- Related Codes That Often Appear With This One
- Technical Service Bulletins (TSBs) & Recalls
- Platform-Specific Known Issues
- Mechanic-Grade Diagnostic Values
- Scan Tool Commands That Help
- Wiring & Ground Locations
- OEM Part Supersession History
- Model Year Variations Within This Range
- 🎟️ Get 5% Off