
P0330 on 2003-2008 Honda Pilot 3.5L V6: Knock Sensor 2 Circuit Causes and Fixes
On a 2003-2008 Honda Pilot, code P0330 is most often caused by a failed Bank 2 knock sensor or rodent damage to its wiring harness. The repair is labor-intensive, requiring removal of the intake manifold. Expect a shop cost of $420-$610. It is critical to inspect the wiring and consider replacing the sub-harness during the repair.
- P0330 on a 2003-2008 Pilot points to a circuit problem with the front knock sensor (Bank 2).
- Do not assume the sensor is bad. Rodent damage to the wiring is an extremely common cause on this vehicle and must be inspected.
- This is not a simple repair; the intake manifold must be removed to access the sensor and wiring, making it a 4/5 difficulty for DIY.
- Always replace the intake manifold gaskets during this repair to avoid creating new problems.
- The OEM part number for the knock sensor is 30530-P8F-A01.
What's Unique About the 2003-2008 Honda Pilot
First-generation Honda Pilots, like many Hondas of this era, used soy-based insulation for their wiring harnesses. This material is known to attract rodents, which chew the wires located in the sheltered engine valley. Consequently, a P0330 code on this vehicle is just as likely to be caused by a chewed wire as it is by a failed sensor. Because the knock sensors are buried under the intake manifold, it is critical to inspect the wiring and sub-harness during the repair, as simply replacing the sensor may not fix the problem.
Symptoms You May Notice
- Check Engine Light is on
- Reduced engine power and sluggish acceleration
- Decreased fuel economy
- Engine may make a pinging or knocking sound, especially under load
- Vehicle may enter a 'limp mode' with severely restricted performance 🎬 Watch: How to test and identify bad knock sensor symptoms.
- Replacing the knock sensor without inspecting the wiring harness. Given the high probability of rodent damage on this specific vehicle, the wiring is a primary suspect and should always be checked.
- Replacing only one knock sensor. Due to the high labor involved, it is strongly recommended to replace both knock sensors (Bank 1 and Bank 2) and the sub-harness at the same time.
Most Likely Causes
- Damaged Knock Sensor Wiring or Connector 🔴 High Probability → Shop Ignition Knock (Detonation) Sensor Honda used soy-based wiring insulation that is known to attract rodents, which chew the wires. The knock sensor harness is located in the warm, protected engine valley, a common area for nesting.
How to confirm: After removing the intake manifold, visually inspect the wiring harness (Part No. 30531-RCA-A01 or similar) leading to the knock sensor for any signs of chewing, fraying, or corrosion at the connector.
Typical fix: Repair the damaged section of the wire or, more reliably, replace the entire knock sensor sub-harness. 🎬 See this DIY walkthrough for swapping the knock sensor harness. Honda dealers sell rodent-deterrent tape (Part No. 4019-2317) containing capsaicin that can be wrapped around the new repair to prevent future damage.
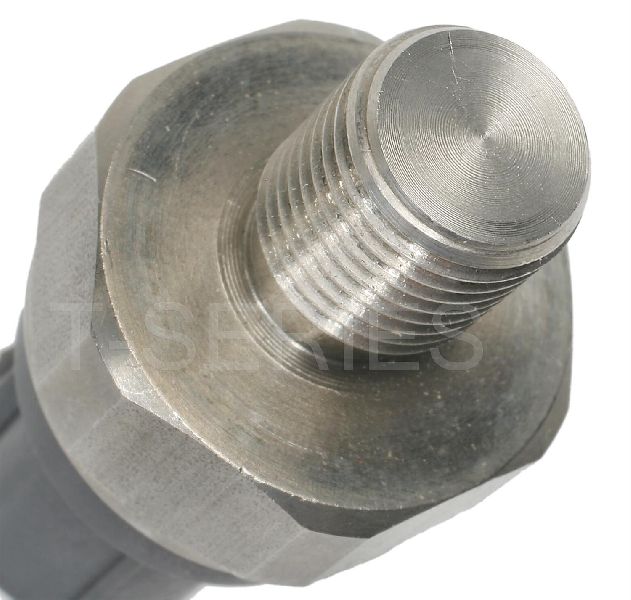
Est. part cost: $25-$70 for sub-harness and tape - Failed Knock Sensor (Bank 2) 🔴 High Probability → Shop Ignition Knock (Detonation) Sensor The sensor is located in a high-heat area of the engine valley, and the internal piezoelectric crystal can fail from years of heat cycles and vibration.
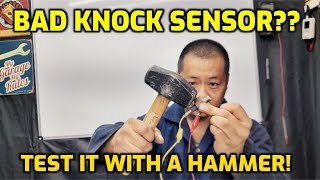
How to confirm: Once the sensor is accessed, test its internal resistance with a multimeter. A reading that is open-circuit (infinite resistance) or significantly different from the specification indicates failure. While specs vary, a good sensor is often a high-impedance device. A more definitive test uses an oscilloscope to check for a proper AC voltage signal when the engine block is lightly tapped near the sensor.
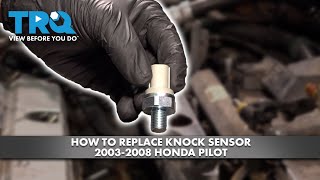
Typical fix: Replace the Bank 2 knock sensor. It is highly recommended to use a new O-ring and torque the sensor to the manufacturer's specification, which is typically 34 lb-ft (46 Nm) for this engine. Using an OEM or high-quality NGK/NTK sensor is advised due to the high labor cost of the job.
Est. part cost: $40-$190
Rare But Worth Checking
- Faulty Powertrain Control Module (PCM): → Shop Engine Control Module (ECM) This is very rare. The PCM should only be considered after the sensor and wiring have been thoroughly tested and confirmed to be good.
- Internal Engine Mechanical Problems: If the engine has severe mechanical issues (e.g., worn bearings, piston slap), the excessive noise can sometimes overwhelm the knock sensor system, potentially setting a circuit code. This is usually accompanied by other severe symptoms and codes.
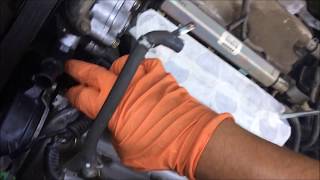
Diagnosis Steps
- Confirm the presence of code P0330 using an OBD-II scanner.
- Check for any other accompanying codes. If P0325 is also present, it strongly suggests a wiring harness issue common to both sensors.
- Disconnect the battery.
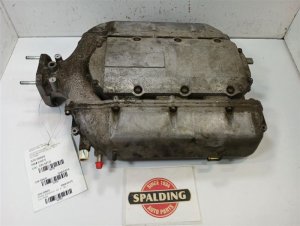
- Begin disassembly to access the knock sensors. This involves removing the engine cover, air intake assembly, throttle body, and upper and lower intake manifolds. Label all hoses and connectors.
- Once the intake manifold is removed, carefully inspect the entire visible length of the knock sensor sub-harness for both Bank 1 and Bank 2. Look for obvious signs of rodent damage, such as chewed or frayed wires, and check for corrosion in the connectors.
- If wiring damage is found, replace the sub-harness (recommended) or perform a durable, sealed wire repair.
- If the wiring appears intact, disconnect the connector for the Bank 2 knock sensor.
- Use a multimeter to test the resistance of the knock sensor. Compare the reading to the specification in the service manual. If the reading is out of range or shows an open circuit, the sensor has failed.
- Replace the knock sensor(s) if necessary. Ensure you use a new O-ring and tighten the bolt to the correct torque specification (typically 34 lb-ft / 46 Nm).
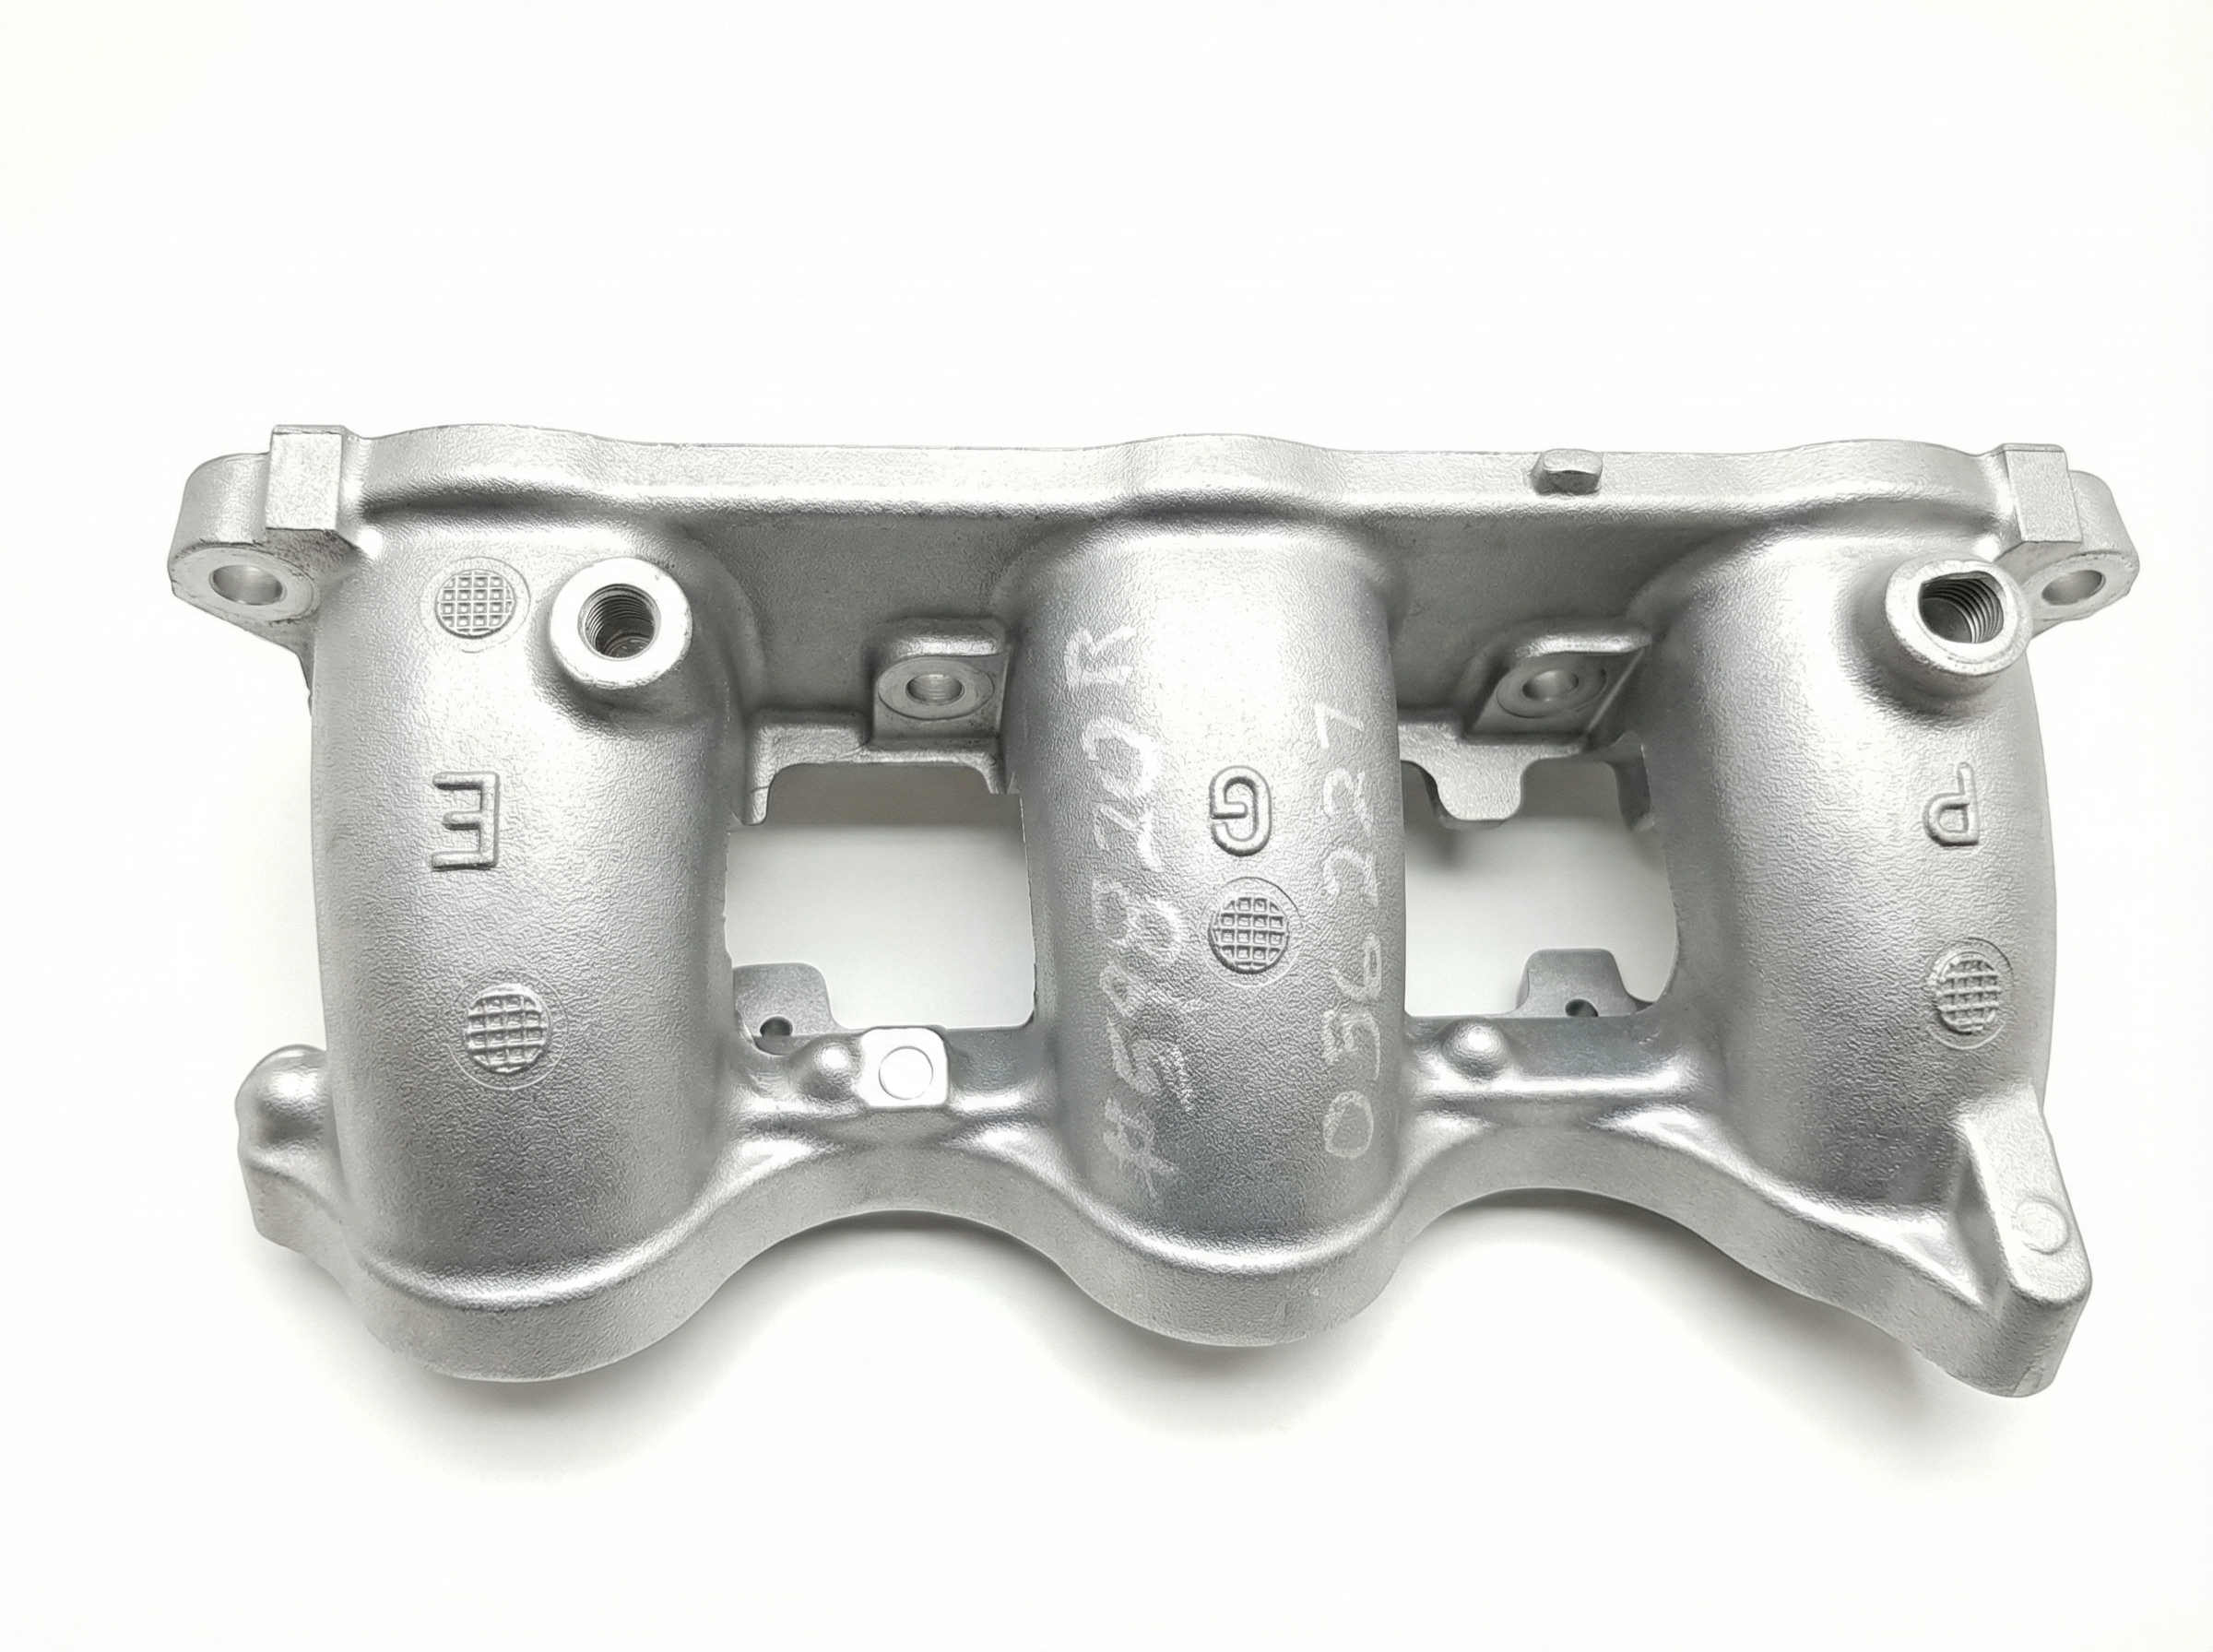
- While the manifold is off, it is best practice to replace the upper and lower intake manifold gaskets and the throttle body gasket to prevent future vacuum or coolant leaks.
- Consider wrapping the new harness with rodent-deterrent tape (Honda Part No. 4019-2317) as a preventive measure.
- Reassemble all components in the reverse order of removal.
- Reconnect the battery, clear the trouble codes with the scanner, and perform a test drive to ensure the code does not return.
Parts You'll Likely Need
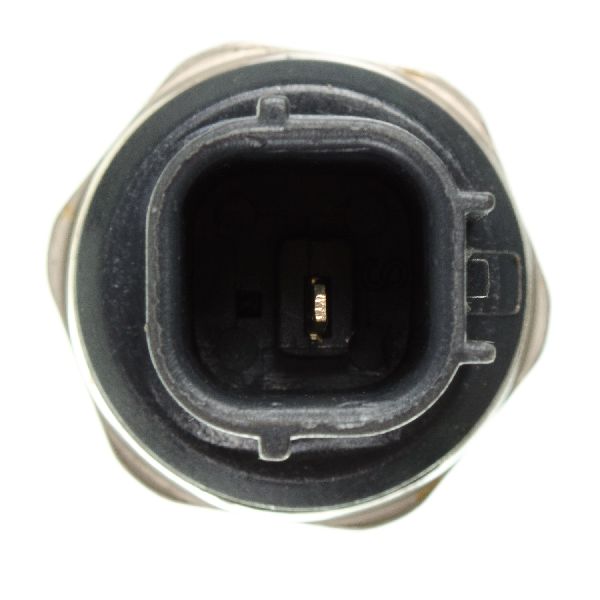
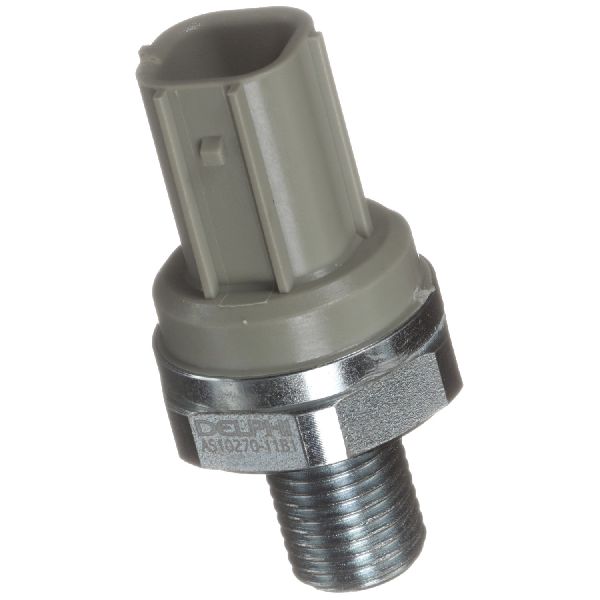
- Knock Sensor
(OEM #30530-P8F-A01)— This is the sensor that fails or whose circuit is compromised, triggering the code. Both banks use the same part number.
Trusted brands: Honda (Genuine), NGK/NTK, Delphi
OEM price range: $60-$90
Aftermarket price range: $40-$75 - Knock Sensor Sub-Harness
(OEM #30531-RCA-A01)— This harness connects both knock sensors to the main engine harness. It is the most common point of failure due to rodent damage.
Trusted brands: Honda (Genuine), Standard Motor Products
OEM price range: $40-$60
Aftermarket price range: $25-$40 - Upper and Lower Intake Manifold Gasket Set
(OEM #17146-P8E-A21 (Upper), 17055-P8E-A01 / 17065-P8E-A01 (Lower))— These gaskets are single-use and must be replaced when the intake manifolds are removed to prevent vacuum or coolant leaks upon reassembly.
Trusted brands: Honda (Genuine), Fel-Pro, Mahle
OEM price range: $40-$60 (Set)
Aftermarket price range: $25-$40 (Set) - Rodent-Deterrent Electrical Tape
(OEM #4019-2317)— This special tape is infused with capsaicin (hot pepper) to deter rodents from chewing on the new wiring harness repair.
Trusted brands: Honda (Genuine)
OEM price range: $40-$55
Aftermarket price range: N/A
Related Codes That Often Appear With This One
- P0325 — This is the code for the Bank 1 knock sensor. It is common to see both P0325 and P0330 if rodents have damaged the wiring for both sensors in the engine valley, as they are bundled in the same sub-harness.
Technical Service Bulletins (TSBs) & Recalls
- NHTSA ID #10014213 / Honda TSB #06012004: While the exact text is not public, this TSB is widely referenced in relation to rodent damage on the knock sensor sub-harness for various Honda models of this era, including Accords and Pilots.
- NHTSA ID #10014120 / Honda TSB #105 (May 2004): Specifically mentions P0325 and knock sensor harness rodent damage.
Platform-Specific Known Issues
- Rodent Damage: The use of soy-based wire insulation makes the knock sensor harness a common target for rodents, leading to chewed wires that trigger P0330 and/or P0325.
Mechanic-Grade Diagnostic Values
- Knock Sensor Installation Torque — expected: 23 ft-lbs (31 Nm). Failure: Over-torquing can make the sensor overly sensitive and trigger false codes. Under-torquing can prevent it from detecting real knock events.
- Knock Sensor AC Voltage Output (Bench Test) — expected: Generates a small AC voltage pulse (e.g., 2.0V - 6.0V) when the sensor body is tapped.. Failure: No voltage pulse when tapped indicates a failed internal piezoelectric crystal.
- Knock Sensor Internal Resistance — expected: Open Line (OL) or infinite resistance between the pin and the sensor body (ground).. Failure: Any continuity or measurable resistance between the signal pin and the sensor body indicates an internal short.
- PCM Voltage Monitoring — expected: PCM expects a signal between 0.2V and 4.8V when engine speed is above 2000 RPM.. Failure: A voltage reading outside this range will trigger the P0330 code.
- Knock Sensor Return Circuit Resistance — expected: Less than 3.0 Ohms.. Failure: Resistance higher than 3.0 Ohms indicates an open or high resistance in the return wire between the sensor connector and the PCM connector.
Wiring & Ground Locations
- G101 — Main engine-to-chassis ground, typically located on the thermostat housing on the left side of the engine compartment.. This is a critical power and logic ground for the PCM. A poor connection at G101 can cause erratic behavior from multiple sensors, including the knock sensor, due to an unstable ground reference. It should be inspected for corrosion and tightness if multiple, seemingly unrelated electrical codes are present.
- Knock Sensor Sub-Harness Connector — In the engine valley, between the cylinder heads, underneath the lower intake manifold. It connects the main engine harness to the pigtails for both knock sensors.. This is the single most common failure point for P0330 and P0325 codes on this vehicle, primarily due to rodent damage to the soy-based wiring insulation.
- PCM Connector D, Pin D6 — At the Powertrain Control Module (PCM).. On many Honda/Acura ECUs of this era, pin D6 is the input for the knock sensor signal. This is the final destination for the sensor's signal wire and a key point for advanced circuit testing (continuity, short-to-ground) if the sensor and sub-harness are confirmed good.
Real Owner Repair Stories
- YouTube channel 'DIYNorth' (2005 Honda Pilot) — Check Engine Light after a timing belt replacement.
✅ What actually fixed it The knock sensor was physically broken (cracked plastic top) during the re-assembly of the previous job. The fix was to remove the intake manifolds and replace both the knock sensor and the sub-harness. - YouTube channel 'BundysGarage' (Honda J-Series V6 (similar to Pilot)) — Check Engine Light, P0325 (Bank 1 code, but same component/issue).
❌ Tried (didn't work) Attempting to glue the broken sensor back together failed because the internal connection points were severed.
✅ What actually fixed it The plastic housing of the original knock sensor had become brittle and simply broke apart. Replacing the sensor with a new one from an auto parts store resolved the issue. - YouTube channel 'P0325 Honda Accord J Series V6 Knock Sensor' (Honda with J-Series V6) — Check Engine Light with code P0325.
✅ What actually fixed it Upon inspection, the wiring for the knock sensor sub-harness was clearly chewed by rodents right at the connector. The fix was to replace the sub-harness.
OEM Part Supersession History
30531-RCA-A00→30531-RCA-A01— Standard part revision/update by Honda.
Model Year Variations Within This Range
- 2003-2004: These years primarily used the J35A4 engine.
- 2005: This was a refresh year. The engine was updated to the J35A6 (FWD) or J35A9 (AWD), which introduced a Drive-by-Wire throttle system. The transmission was also significantly improved over the 03-04 models.
- 2006-2008: These models continued the refresh, using the J35A9 (FWD) and introducing the J35Z1 (AWD). While the knock sensor location and part number remain the same, the engine management and control systems differ from the earlier 2003-2004 models.
Diagnostic Flowchart
Other Known Issues on This Vehicle
Issues unrelated to this code that are worth knowing about as an owner of this generation:
- Automatic Transmission Failure/Harsh Shifting 🔴 High — Very common, especially in 2003-2004 models. Problems include gear slipping, harsh shifts, and complete failure, often occurring around 100,000-125,000 miles. (Ref: Honda had a recall to install a revised oil cooler return line to improve lubrication for 2nd gear on 2003-2004 models. Later models (2005+) had revised transmissions but can still experience issues.)
- Worn/Leaking Front Compliance Bushings 🟠 Medium — Extremely common across all first-generation Pilots. The fluid-filled rubber bushings on the front lower control arms crack and leak, causing clunking noises over bumps, poor alignment, and vague steering feel. (Ref: While warranty extensions were issued for later generations (e.g., TSB 15-044 for 2009-10 models), this is a widely recognized wear item on the 2003-2008 generation that owners should expect to replace.)
- Clogged/Failing EGR Valve 🟠 Medium — Fairly common. Carbon buildup can cause the EGR valve to stick open or closed, leading to a rough idle, hesitation, stalling, and trouble codes like P0401 or P1491. (Ref: Honda issued a warranty extension (TSB #00009 / NHTSA #10017431) for some vehicles due to EGR valve contamination or port clogging.)
- Failing Power Steering Pump/Lines 🟡 Low — Owners report a tendency for the power steering pump to become noisy (whining) or for high-pressure lines and O-rings to develop leaks over time. (Ref: TSB #303 (NHTSA #10001834) noted that pump noise could be caused by an obstructed reservoir filter.)
Used vs. New Parts: Buying Guide for This Vehicle
When a used part is the smart pick: For this specific repair, using used parts is strongly discouraged. The primary failure modes are heat-cycle fatigue, brittle plastic, and rodent-attractive wiring insulation, all of which will be present or worse on a used part from a junkyard.
What to inspect on the donor part:
- Not applicable, as new parts are highly recommended.
OEM-only on this vehicle (don't cheap out):
- Knock Sensor: Due to the high labor cost to access the part, using a Genuine Honda sensor or a top-tier OEM equivalent is the most reliable choice to avoid a repeat repair.
- Knock Sensor Sub-Harness: Given that rodent damage is a primary cause, a new harness is the only way to ensure fresh, undamaged wiring insulation.
Aftermarket brands forum-validated for this vehicle:
- NGK/NTK (often the original equipment manufacturer)
- Delphi
- Standard Motor Products (for the harness)
Brands owners have reported issues with on this vehicle:
- Unnamed, low-cost sensors from online marketplaces (e.g., eBay, Amazon). Forum consensus is that these have a high failure rate and are not worth the risk given the 3-4 hours of labor required for installation.
Real Owner Stories
Aggregated from forums and TSBs cited above. Mileages and costs reflect what owners reported in those sources.
2005 Honda Pilot J35A 3.5L V6
Symptoms: Check Engine Light came on with both P0325 and P0330 codes stored.
What fixed it: Found rodent damage on the knock sensor sub-harness located in the engine valley. Replaced the entire sub-harness to resolve the issue.
Source hint: Piloteers.org - Thread 'P0325 & P0330 Knock Sensor Codes'
2006 Honda Pilot J35A 3.5L V6
Symptoms: Check Engine Light on with a knock sensor code.
What fixed it: Followed a DIY guide to remove the intake manifold and replace the failed knock sensor.
Source hint: Piloteers.org - Thread 'Knock Sensor Replacement DIY'
2003 Acura RL 3.5L V6
Symptoms: Check Engine Light with code P0330 appeared immediately after performing other work on the intake manifold.
What fixed it: Discovered the knock sensor wire was likely damaged during the previous repair. Repairing the damaged wire cleared the code.
Source hint: Acurazine.com - Thread 'acura P0330 23 LH Knock Sensor (Bank 2) Circuit Malfunction'
Related OBD-II Codes
Frequently Asked Questions
What is the most common cause of a P0330 code on my 2003-2008 Pilot?
My scanner is showing both P0330 and P0325. What does this mean?
How can I prevent this wiring issue from happening again after the repair?
Is replacing the knock sensor a difficult DIY job?
Are there any official Honda service bulletins (TSBs) about this problem?
What is the correct torque specification when installing a new knock sensor?
Since the intake manifold has to come off, what other parts should I replace at the same time?
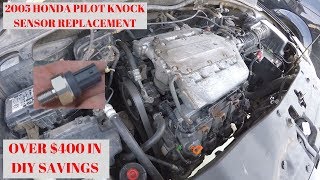
Helpful Videos
Used OEM Parts in Stock
New Aftermarket Parts Available


The information in this article is provided for general reference and educational purposes only. Vehicle specifications, procedures, and part compatibility can vary by production date, trim level, and region. Always consult your vehicle's factory service manual and verify part numbers before purchasing or performing repairs. Safety-critical components such as airbags, seat belts, and braking systems should be installed by a qualified professional.
- Honda Pilot:
- 🧭 Diagnostic Flowchart
- 🎬 Helpful Videos
- 🛍️ Shop This Part
- What's Unique About the 2003-2008 Honda Pilot
- Symptoms You May Notice
- Most Likely Causes
- Rare But Worth Checking
- Diagnosis Steps
- Parts You'll Likely Need
- Related Codes That Often Appear With This One
- Technical Service Bulletins (TSBs) & Recalls
- Platform-Specific Known Issues
- Mechanic-Grade Diagnostic Values
- Wiring & Ground Locations
- Real Owner Repair Stories
- OEM Part Supersession History
- Model Year Variations Within This Range
- Other Known Issues on This Vehicle
- Used vs. New Parts: Buying Guide for This Vehicle
- Real Owner Stories
- 2005 Honda Pilot J35A 3.5L V6
- 2006 Honda Pilot J35A 3.5L V6
- 2003 Acura RL 3.5L V6
- Related OBD-II Codes
- Frequently Asked Questions
- 🎟️ Get 5% Off