
P0331 on 2007-2020 Toyota Sienna 3.5L: Knock Sensor 2 Circuit Causes and Fixes
On a 2007-2020 Toyota Sienna, code P0331 is almost always caused by a failed knock sensor wiring harness or the sensor itself, located under the intake manifold. Due to the 4-7 hours of labor required, always replace both sensors and the harness at the same time. Expect a shop repair to cost between $750 and $1,400.
- P0331 on a Sienna almost always points to a problem deep inside the engine valley, requiring significant labor to access.
- The most common cause is a bad wiring harness, often damaged by rodents or heat, followed by a failed sensor.
- To avoid paying for the 4-7 hour labor charge twice, ALWAYS replace both knock sensors, the wiring harness, and the intake gaskets at the same time.
- Use high-quality OEM (Toyota) or OES (Denso) parts. The risk of premature failure with cheaper parts is too high given the cost of labor.
- Before starting the repair, inspect for signs of rodents in the engine bay.
What's Unique About the 2007-2020 Toyota Sienna
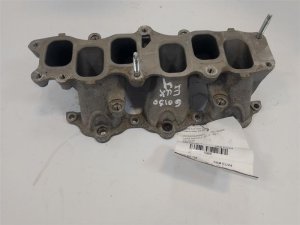
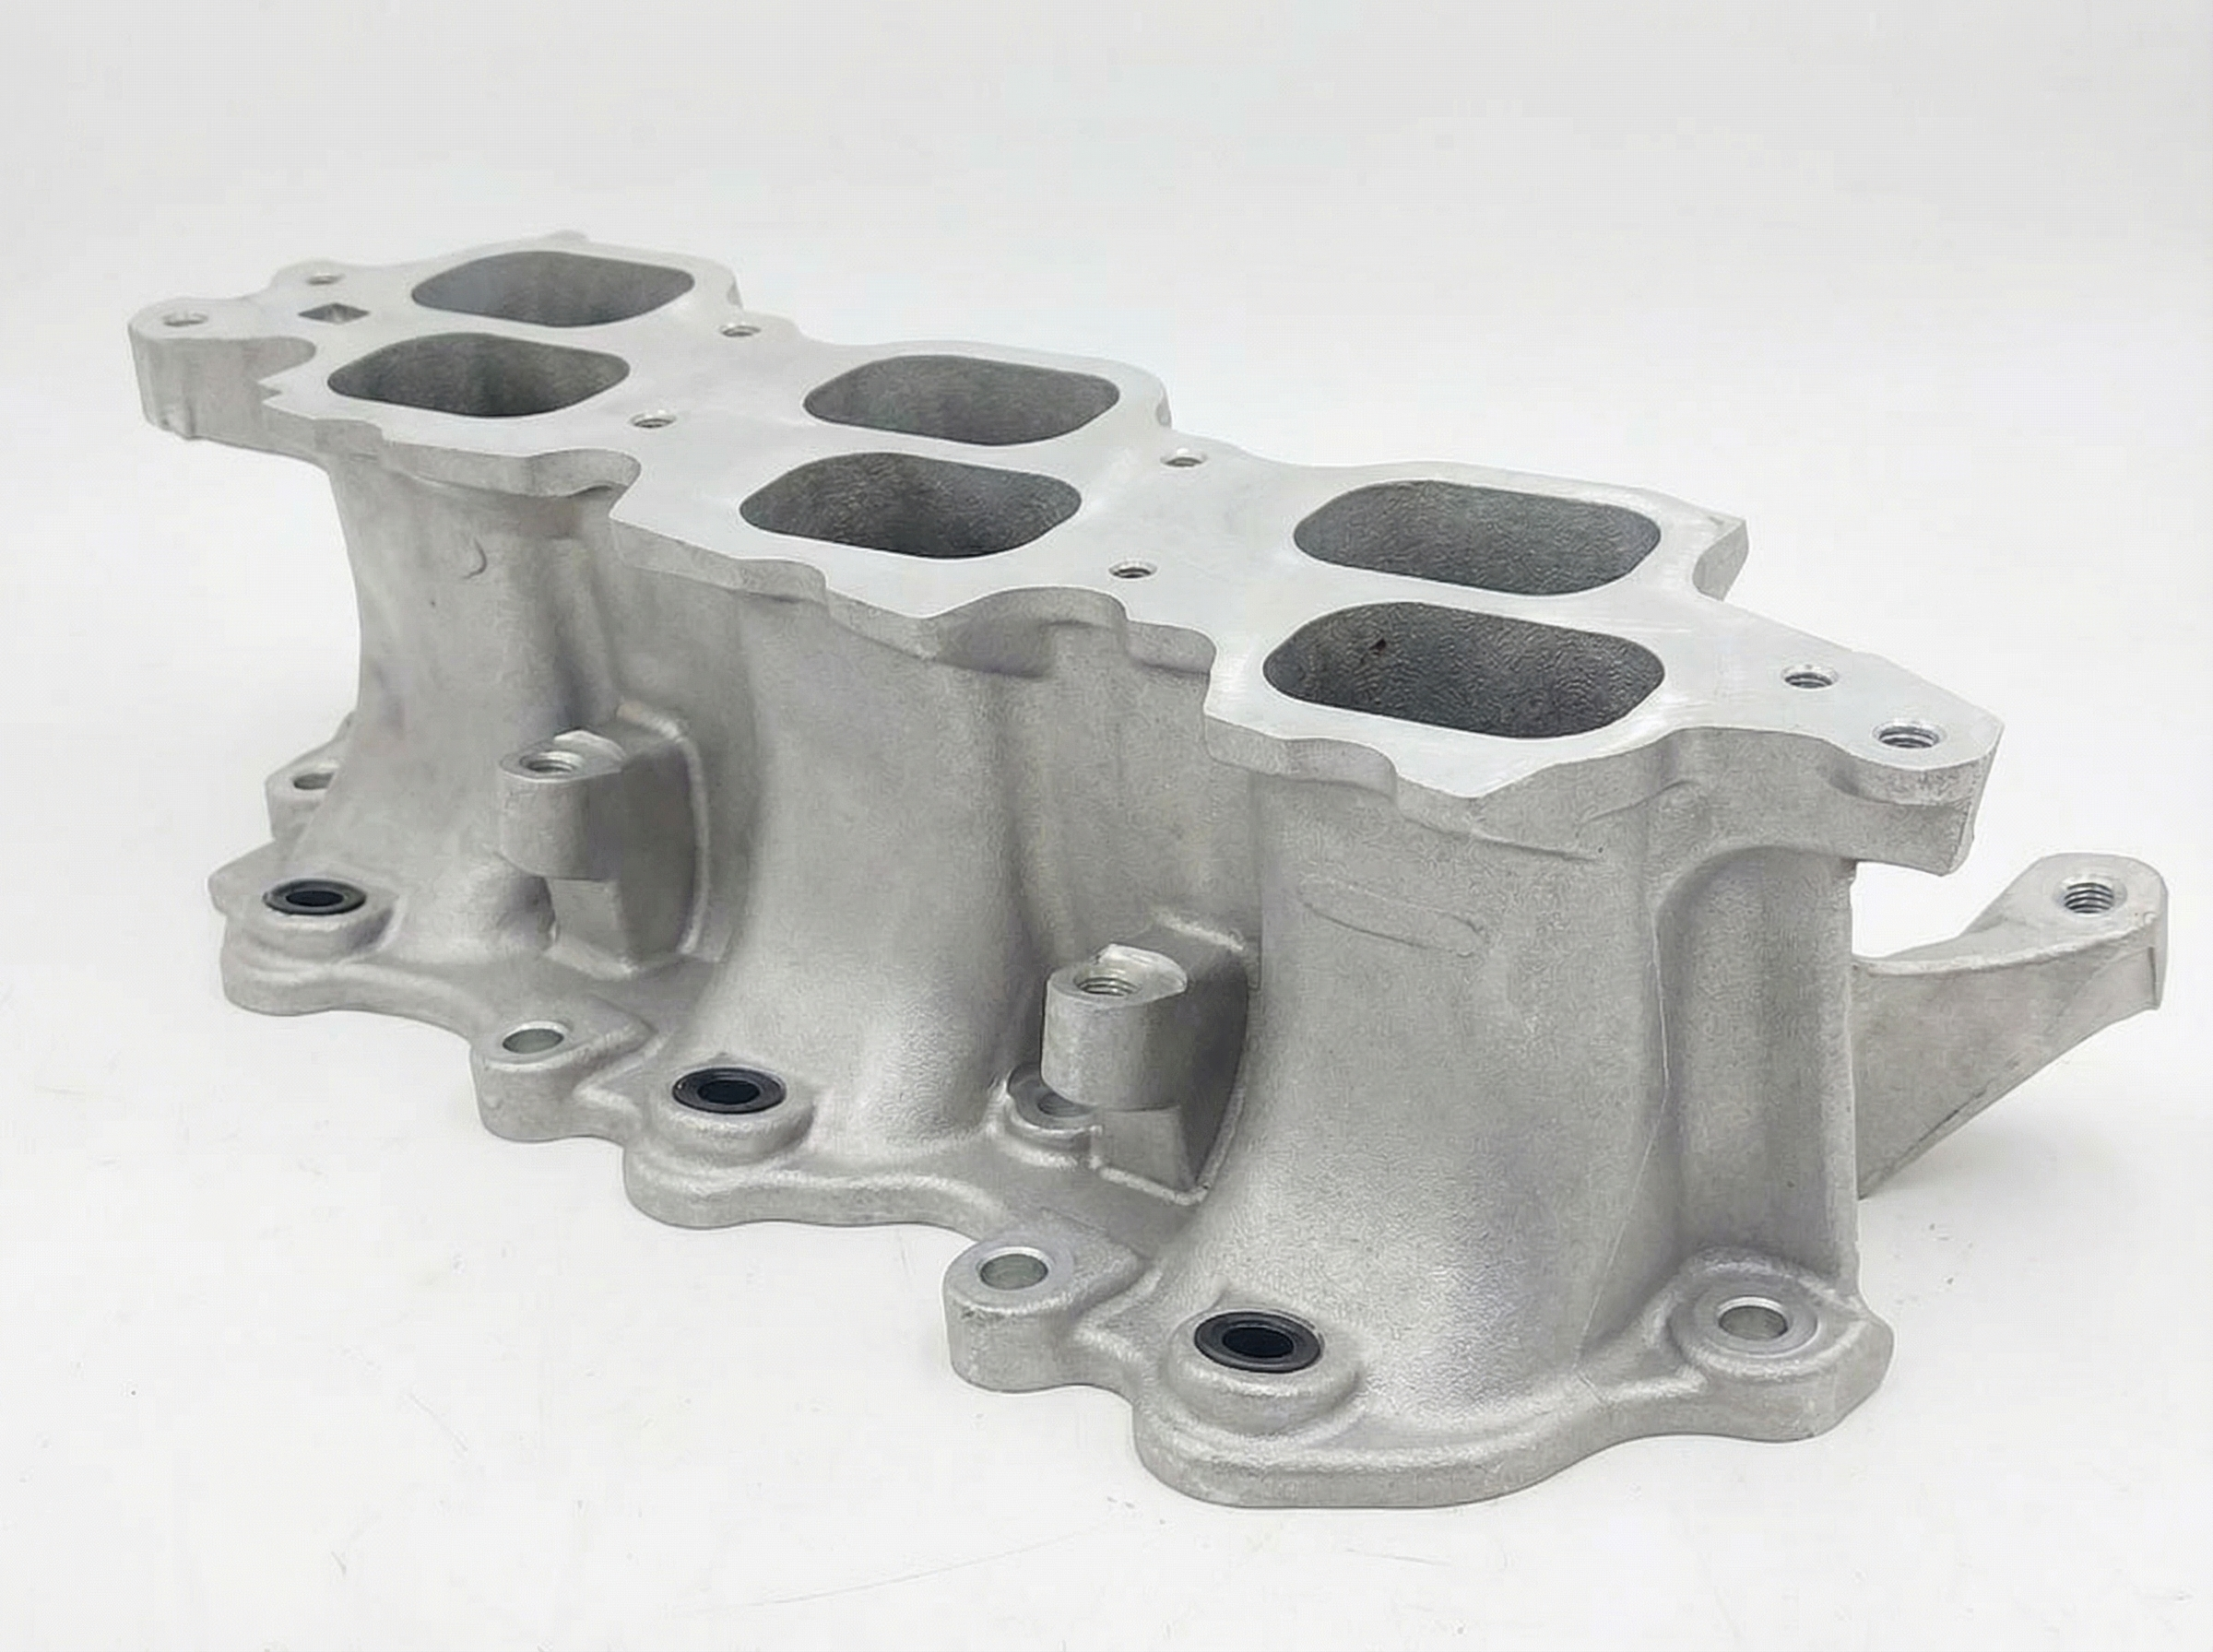
On the Toyota 2GR-FE engine, the knock sensors and their connecting harness are buried deep in the engine valley, underneath the entire intake manifold assembly. This location makes them a common nesting spot for rodents, who often chew the wires. The soy-based wiring insulation used by Toyota during this era is a known attractant for rodents. The intense heat in this area also makes the wiring harness brittle over time, leading to a high failure rate for the harness itself, sometimes even more often than the sensors. Because of the extensive labor required to access these parts, this is a notoriously expensive repair for what are relatively inexpensive components.
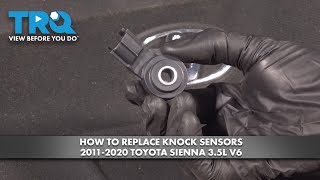
Generation note: This covers the second generation (XL20, 2007-2010) and third generation (XL30, 2011-2020) of the Toyota Sienna. 🎬 Watch: Complete knock sensor replacement walkthrough for 2011-2020 models. The 3.5L 2GR-FE engine was used from 2007-2016. For the 2017 model year, the engine was updated to the 2GR-FKS, which features D4-S direct injection and is paired with an 8-speed transmission. While the knock sensor location and the general repair procedure remain the same, part numbers and diagnostic specifics may vary slightly for the 2017-2020 models.
Symptoms You May Notice
- Check Engine Light is on
- Sluggish acceleration and significantly reduced engine power
- Poor fuel economy
- Audible engine knocking or pinging sounds, especially under load
- In some cases, the transmission may not shift into the highest gear (overdrive)
- Engine hesitation or misfires
- Replacing only the Bank 2 knock sensor. The labor is the most expensive part of the job, so failing to replace the Bank 1 sensor and the harness at the same time often leads to having to do the entire job again when the other original parts fail.
- Using cheap, non-OEM knock sensors. Aftermarket sensors have a very high failure rate for this application, sometimes failing within a few thousand miles. A failed replacement part requires repeating the 4-7 hour labor job. Using OEM (Toyota) or OES (Denso) parts is critical.
- Mistaking a vacuum pump noise for engine knock. On 2017-2020 models, a knocking noise from the vacuum pump at idle can be misdiagnosed as engine knock. See TSB T-SB-0115-22. This noise will not set a P0331 code but can confuse the diagnostic process.
Most Likely Causes
- Damaged or Failed Knock Sensor Wiring Harness 🔴 High Probability → Shop Engine Wiring Harness The harness is located in the hot engine valley, causing it to become brittle and crack. It's also made with soy-based wiring insulation, which is attractive to rodents seeking shelter, who then chew the wires.
How to confirm: After removing the intake manifold, visually inspect the short harness that connects the two sensors for signs of chewing, brittle/cracked insulation, or connector damage. Many owners find clear evidence of rodent nests.
Typical fix: Replace the knock sensor sub-harness. This should always be done when replacing the sensors.
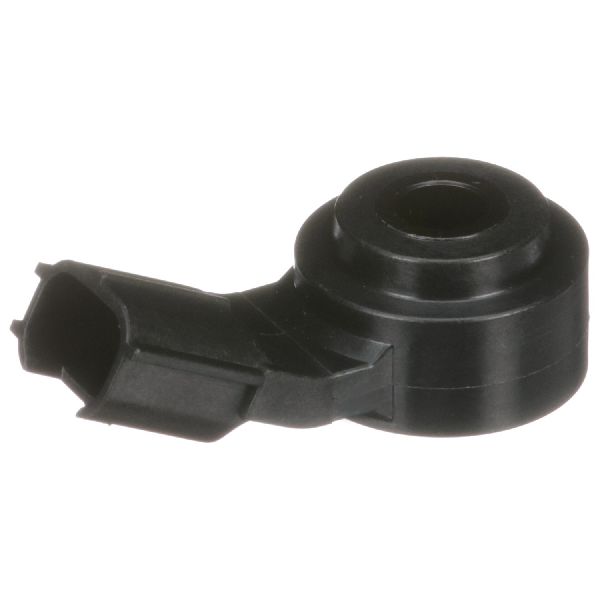
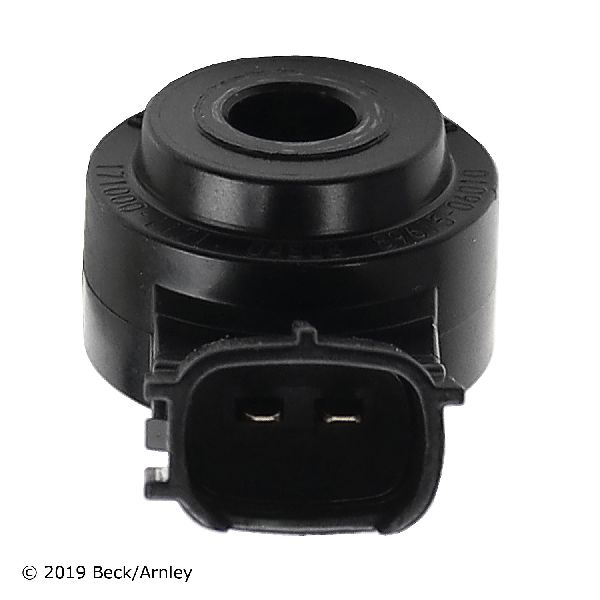
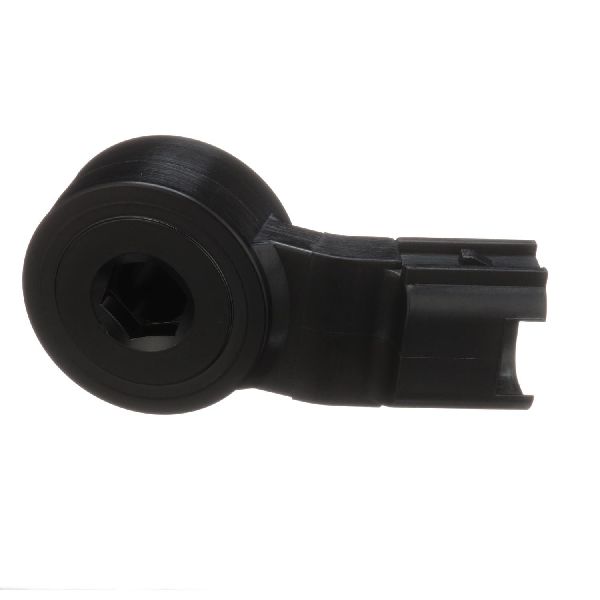
Est. part cost: $40-$70 - Failed Knock Sensor (Bank 2) 🔴 High Probability → Shop Ignition Knock (Detonation) Sensor The sensors live in a high-heat environment which contributes to eventual electronic failure.
How to confirm: After accessing the sensor, you can test its internal resistance with a multimeter. Per the service manual, it should be between 120-280 kΩ at 68°F (20°C). However, a resistance 🎬 See how to remove and test sensors on the 2GR-FE. test may not always identify a faulty sensor that has failed dynamically. Given the labor, it's best practice to replace it regardless of testing.
Typical fix: Replace both knock sensors (Bank 1 and Bank 2) and the harness.
Est. part cost: $100-$250 for two OEM sensors
Rare But Worth Checking
- Failed Engine Control Module (ECM/PCM): → Shop Engine Control Module (ECM) This is extremely rare. All other possibilities, especially sensor and wiring issues, should be exhausted before considering the ECM as the cause.
- Excessive Engine Vibration: Severe engine misfires or other mechanical issues can create vibrations that the knock sensor might interpret as an out-of-range signal. This would typically be accompanied by other codes, like P030x misfire codes.
Diagnosis Steps
- Confirm the code P0331 is present using an OBD-II scanner.
- Check for any other codes. Misfire codes (P0300-P0306) should be addressed first, as a misfire can sometimes trigger a knock code.
- Visually inspect the top of the engine valley (between the cylinder banks, under the intake runners) with a strong flashlight and an inspection mirror. Look for obvious signs of a rodent nest or chewed wires.
- If no obvious external damage is visible, the next step is to access the sensors. This requires removing the upper and lower intake manifolds.
- Once the intake manifold is removed, carefully inspect the knock sensor harness (the short wire connecting the two sensors) for damage, brittleness, or corrosion.
- Inspect the knock sensors themselves for physical damage.
- Even if the harness appears to be the only issue, it is best practice to replace both knock sensors and the harness simultaneously due to the labor involved.
- While the intake is off, it is highly recommended to also replace the intake manifold gaskets, the PCV valve, and the small coolant bypass hose that runs through the valley.
- Reassemble the engine, ensuring all gaskets are seated correctly and all bolts are torqued to specification. The knock sensor bolts should be torqued to 15 ft-lbs (20 N*m).
- Clear the trouble codes and perform a test drive to ensure the code does not return.
Parts You'll Likely Need
- Knock Sensor
(OEM #89615-06010)— This is the sensor that detects the knock. It is one of the primary failure points. Two are required.
Trusted brands: Toyota (OEM), Denso
OEM price range: $120-$150 each
Aftermarket price range: $30-$90 each - Knock Sensor Wire Harness
(OEM #82219-08010)— This harness connects both sensors to the main engine harness. It is a very common failure point due to heat and rodent damage. This is an updated part number.
Trusted brands: Toyota (OEM)
OEM price range: $40-$70
Aftermarket price range: $20-$40 - Upper Intake Manifold Gasket (Plenum Gasket)
(OEM #17176-0P021)— The upper intake manifold (plenum) must be removed. This gasket is one-time use and prevents vacuum leaks.
Trusted brands: Toyota (OEM), Fel-Pro
OEM price range: $10-$20
Aftermarket price range: $5-$15 - Lower Intake Manifold Gaskets
(OEM #17177-0P021)— The lower intake manifold must be removed to access the sensors. These gaskets are one-time use. Two are required.
Trusted brands: Toyota (OEM), Fel-Pro, Mahle
OEM price range: $20-$30 for a pair
Aftermarket price range: $10-$20 for a pair - Coolant Bypass Hose
(OEM #16268-31021 or 16264-0P031)— This small hose runs under the lower intake manifold and is prone to heat degradation. It is a critical 'while you're in there' replacement to prevent a future coolant leak that would require repeating the same labor.
Trusted brands: Toyota (OEM)
OEM price range: $15-$25
Aftermarket price range: $5-$15
Related Codes That Often Appear With This One
- P0326 — This is the equivalent 'Range/Performance' code for the Knock Sensor on Bank 1. If the harness is damaged, it can affect both sensors.
- P0330 — This is the 'Circuit Malfunction' code for Bank 2. These codes often appear together, pointing to a definitive electrical fault.
- P0325 — This is the 'Circuit Malfunction' code for Bank 1. It's very common to see this with P0330/P0331, indicating a failure of the sensors or, more likely, the shared harness.
Technical Service Bulletins (TSBs) & Recalls
- T-SB-0115-22 - For 2017-2020 Siennas, this bulletin notes that a knocking noise may come from the vacuum pump at idle and could be mistaken for engine knock. This does not cause code P0331 but is a relevant diagnostic consideration.
Platform-Specific Known Issues
- Rodent Damage: The engine valley provides warmth and cover, making it a common place for rodents to build nests and chew on the soy-based knock sensor wiring harness.
- Brittle Harness: The wiring harness in the engine valley is exposed to extreme heat cycles, causing it to become brittle and fail over time, even without rodent interference.
Mechanic-Grade Diagnostic Values
- Knock Sensor Internal Resistance — expected: 120 to 280 kΩ at 20°C (68°F). Failure: A reading outside this range, or an open circuit (infinite resistance). However, a sensor can pass this static test and still be faulty under dynamic conditions.
- Knock Sensor Mounting Bolt Torque — expected: 20 N*m (15 ft*lbf). Failure: Incorrect torque can affect the sensor's ability to properly detect vibrations. Do not over-tighten.
- Knock Sensor Signal (Oscilloscope) — expected: A clean waveform of approximately 7.1 kHz when the engine is revved to 4,000 RPM. When tapping the engine block near the sensor, a sharp voltage spike should be observed.. Failure: A flat-line signal, or a signal with significantly lower amplitude compared to the known-good sensor on the other bank, indicates a failed sensor or wiring issue.
Scan Tool Commands That Help
- Toyota Techstream: Active Test - Knock Sensor Feedback Value — This function allows a technician to monitor the feedback value from the knock sensors in real-time. While it doesn't directly test the circuit, observing the values while tapping the block can help confirm if the ECM is receiving a signal from the sensor being tested.
- Toyota Techstream: Freeze Frame Data — Always check the freeze frame data associated with the P0331 code. This data captures engine parameters (RPM, load, temperature, etc.) at the exact moment the fault was triggered, which can provide crucial context for diagnosis.
Wiring & Ground Locations
- ECM Connector E10 (for Bank 2) — This is one of the main connectors on the Engine Control Module (ECM).. The signal from the Bank 2 knock sensor (KBNK) and its ground (EKNK) route directly to this connector. A technician can back-probe these pins to test for voltage signals with an oscilloscope or check for continuity back to the sensor harness connector without disassembling the engine.
- Intermediate Connector EA1 — Located on the top of the engine, providing a connection point between the main engine harness and the sub-harness for the knock sensors.. This is the most accessible point to test the knock sensor circuit with an oscilloscope without removing the intake manifold. Probing the pins for Bank 1 and Bank 2 here and comparing their signals when the block is tapped is a definitive diagnostic step.
Real Owner Repair Stories
- ScannerDanner Forum User (2006 Toyota Sienna 3.3L V6 (Similar 3MZ-FE engine, same issue applies)) — Intermittent Check Engine, VSC, and Trac lights. Radio also not working intermittently.
❌ Tried (didn't work) Initial speculation on separate electrical issues.
✅ What actually fixed it Upon investigation, a mouse nest was found in the engine valley. The rodent had chewed through the knock sensor wires. The final fix was to replace both knock sensors and the wiring harness. - Tacoma World Forum User (Toyota Tacoma with 2GR-FKS engine (same family, same issue)) — Check Engine Light with code P0333 (Bank 2 Circuit High), TRAC OFF light, engine in limp mode.
❌ Tried (didn't work) Clearing the code (it returned immediately).
✅ What actually fixed it After removing the intake manifolds, the user found the knock sensor harness wires were chewed through by rodents. The user repaired the wires by cutting out the damaged sections, soldering in new wire, and protecting the new harness with rodent-repellent tape and mesh sleeving. - YouTube - Walid Kohgadai (Toyota Sienna (year not specified, but 1MZ/3MZ/2GR platform)) — Check engine light for P0325 (Bank 1) returned immediately after repair.
❌ Tried (didn't work) Replacing both knock sensors and the harness with a cheap aftermarket kit from Amazon for ~$30.
✅ What actually fixed it The aftermarket sensors produced a much lower voltage signal than the original OEM sensor when tested on a bench with a multimeter. The computer interpreted this low voltage as a fault. The problem was resolved by installing known-good used OEM sensors, which produced the correct, higher voltage signal. This highlights the critical importance of using OEM/OES parts.
OEM Part Supersession History
89615-20090, 89615-BZ030, 89615-BZ040→89615-06010— Part consolidation and potential minor revisions over the years. This part is used across a wide range of Toyota and Lexus vehicles.82219-48010→82219-08010— Updated part for the knock sensor sub-harness.
Model Year Variations Within This Range
- 2017-2020: For the 2017 model year, the Sienna's engine was updated from the 3.5L 2GR-FE to the 3.5L 2GR-FKS. This new engine features D4-S direct and port injection and was paired with an 8-speed automatic transmission. While the fundamental design and location of the knock sensors in the engine valley are the same, some surrounding components and specific part numbers may differ. The TSB regarding vacuum pump noise (T-SB-0115-22) also applies only to these later models.
Diagnostic Flowchart
Other Known Issues on This Vehicle
Issues unrelated to this code that are worth knowing about as an owner of this generation:
- VVT-i Oil Line Rupture 🔴 High — Common on 2007-2010 models with the original rubber hose. Failure can occur without warning and lead to catastrophic engine failure from oil starvation. (Ref: Limited Service Campaign (LSC) issued by Toyota to replace the rubber hose with an all-metal line (Part No. 15772-31030).)
- Power Sliding Door Cable Failure 🟠 Medium — Very common across all years. The cables that operate the power sliding doors fray and eventually snap, disabling the power function.
- Sticky / Melting Dashboard 🟡 Low — Common on 2004-2010 models, especially in warmer climates. The dashboard material can become sticky, shiny, or melt under sun exposure. (Ref: Warranty Enhancement Program (ZE6) was issued by Toyota to cover replacement.)
- Intermediate Steering Shaft Clunk 🟠 Medium — Affects earlier models (primarily 2004-2010) and causes a clunking or popping noise in the steering column when turning. It's caused by a dry U-joint in the intermediate shaft. (Ref: T-SB-ST003-04, T-SB-ST001-07, T-SB-0243-09.)
Used vs. New Parts: Buying Guide for This Vehicle
When a used part is the smart pick: For this specific repair, using used parts is generally NOT recommended due to the extremely high labor cost to access the components. The risk of a used part failing prematurely outweighs the cost savings. The only exception might be sourcing a used OEM sensor from a very low-mileage, verified donor vehicle if new OEM parts are unavailable.
Donor-vehicle mileage cap: roughly under 30000 miles for the part to have meaningful remaining life.
What to inspect on the donor part:
- Verify the donor vehicle's mileage is low.
- Inspect the part for any signs of corrosion, damage, or heat stress.
- If possible, test the resistance of the used sensor to ensure it is within the 120-280 kΩ range before purchase.
OEM-only on this vehicle (don't cheap out):
- Knock Sensor
- Knock Sensor Wire Harness
Aftermarket brands forum-validated for this vehicle:
- Denso (as the Original Equipment Supplier - OES)
Brands owners have reported issues with on this vehicle:
- Unbranded, low-cost sensor kits from online marketplaces like Amazon or eBay have a very high rate of being defective out-of-the-box or failing shortly after installation.
Real Owner Stories
Aggregated from forums and TSBs cited above. Mileages and costs reflect what owners reported in those sources.
2011 Toyota Sienna 3.5L 2GR-FE V6
Symptoms: The Check Engine Light came on with codes P0330 and P0325. The engine felt sluggish and had reduced power.
What fixed it: Upon removing the intake manifold, a rodent-damaged knock sensor harness was discovered. The repair involved replacing both knock sensors and the short sub-harness that connects them.
Source hint: SiennaChat.com: Thread 'P0330 and P0325 Knock Sensor codes'
Related OBD-II Codes
Frequently Asked Questions
I'm getting ready to replace the knock sensors for P0331. What other parts should I replace at the same time?
My mechanic found a mouse nest under my engine cover. Could this be the cause of my P0331 code?
I have a 2019 Sienna and hear a knocking sound at idle, but the Check Engine Light isn't on. Is this related to the knock sensors?
My scanner shows misfire codes (P0301, P0304) along with P0331. Which problem should I address first?
Is it okay to just replace the harness if it's visibly chewed but the sensors test okay?
What is the correct bolt torque for the knock sensors on the 3.5L 2GR-FE engine?
Does this P0331 issue also affect the Lexus RX 350 with the same engine?
Helpful Videos
Used OEM Parts in Stock
New Aftermarket Parts Available


The information in this article is provided for general reference and educational purposes only. Vehicle specifications, procedures, and part compatibility can vary by production date, trim level, and region. Always consult your vehicle's factory service manual and verify part numbers before purchasing or performing repairs. Safety-critical components such as airbags, seat belts, and braking systems should be installed by a qualified professional.
- Toyota Sienna:
- 🧭 Diagnostic Flowchart
- 🎬 Helpful Videos
- 🛍️ Shop This Part
- What's Unique About the 2007-2020 Toyota Sienna
- Symptoms You May Notice
- Most Likely Causes
- Rare But Worth Checking
- Diagnosis Steps
- Parts You'll Likely Need
- Related Codes That Often Appear With This One
- Technical Service Bulletins (TSBs) & Recalls
- Platform-Specific Known Issues
- Mechanic-Grade Diagnostic Values
- Scan Tool Commands That Help
- Wiring & Ground Locations
- Real Owner Repair Stories
- OEM Part Supersession History
- Model Year Variations Within This Range
- Other Known Issues on This Vehicle
- Used vs. New Parts: Buying Guide for This Vehicle
- Real Owner Stories
- 2011 Toyota Sienna 3.5L 2GR-FE V6
- Related OBD-II Codes
- Frequently Asked Questions
- 🎟️ Get 5% Off