
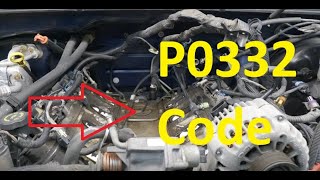
P0332 on 2014-2017 Subaru Forester: Knock Sensor Circuit Low (Bank 2) Causes and Fixes
This code almost always indicates a faulty knock sensor on Bank 2 (driver's side). Subaru issued a Technical Service Bulletin (TSB 07-133-18R) for this issue, updating the original sensor (22060AA160) to a more durable design (22060AA180). Replacing the sensor is the most common and recommended fix.
- P0332 on a 2014-2017 Forester is most likely caused by a failed knock sensor, a known issue addressed by a Subaru TSB.
- The correct replacement part is the updated OEM sensor, part number 22060AA180 for Japan-built vehicles or 22060AA18A for US-built vehicles.
- Before replacing the sensor, inspect the wiring for rodent damage, and check the pigtail for internal breaks by wiggling it while measuring resistance.
- Proper torque of the new sensor (17.7 ft-lbs / 24 Nm) without anti-seize is critical for correct operation.
What's Unique About the 2014-2017 Subaru FORESTER
For this generation of Forester with the 2.5L NA engine, Subaru released a Technical Service Bulletin (TSB #07-133-18R) acknowledging that the original knock sensors could fail, triggering codes like P0332. The bulletin announces a new, more durable knock sensor design (originally used on turbocharged DIT engines) was being adopted for naturally aspirated (NA) models to improve heat resistance and durability. The plastic housing of the original sensor is known to crack over time, allowing moisture ingress which leads to failure. This makes a failed sensor the most probable cause, rather than a wiring or engine issue.
Diagnostic Flowchart
Tap your situation to follow the diagnostic path that matches what you're seeing on this vehicle.
Symptoms You May Notice
- Check Engine Light is on
- Engine pinging or knocking sound, especially during acceleration (though less common as the sensor's failure may prevent the knock from being reported)
- Reduced engine performance and acceleration.
- Decreased fuel economy.
- Engine hesitation
- Replacing the knock sensor without first inspecting the wiring harness and connector for damage, especially for signs of rodent activity.
- Improperly torquing the new knock sensor. If it's too loose, it can cause false knock readings; if it's too tight, the new sensor can be damaged.
Most Likely Causes
- Faulty Knock Sensor 🔴 High Probability → Shop Ignition Knock (Detonation) Sensor Subaru issued TSB #07-133-18R indicating a known durability issue with the original sensors, which are prone to cracking and internal failure from heat and vibration. The bulletin superseded the part with an improved design.
How to confirm: Visually inspect the sensor for cracks in the plastic housing or heavy corrosion on the metal base. After confirming the wiring is intact, replacement of the sensor is the most definitive test and the official fix recommended by Subaru.
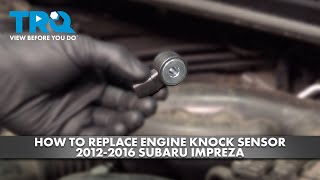
Typical fix: Replace the Bank 2 knock sensor with the updated part (22060AA180 or 22060AA18A). 🎬 See this DIY walkthrough for a step-by-step replacement guide. It is crucial to clean the mounting surface on the engine block and torque the single 12mm retaining bolt to the correct specification (17.7 ft-lbs / 24 Nm). Do NOT use anti-seize compound on the bolt or sensor base.
Est. part cost: $70-$150 - Damaged Wiring or Poor Connection 🟡 Medium Probability The knock sensor wiring is located in a hot, tight area of the engine bay. A specific, well-documented issue for Subarus is rodent damage, as the soy-based wire insulation can attract animals who chew through the wires. The wiring pigtail on the sensor itself can also develop an internal break from vibration where it bends.
How to confirm: Visually inspect the wiring harness leading to the knock sensor for any signs of chewing, melting, or physical damage. Check the connector for corrosion, especially if water has pooled in the area. Use a multimeter to check for continuity from the ECM to the sensor connector. Wiggle the pigtail while checking resistance to see if the reading fluctuates, which would indicate an internal break.
Typical fix: If rodent damage is found on accessible wires, splice in a new section of wire using solder and heat-shrink tubing. If the connector itself is damaged, it may need to be replaced with a new pigtail. In severe cases, a full harness replacement might be quoted by a dealer, though this is often unnecessary.
Est. part cost: $10-$50 for repair materials, or more for a new harness section.
Rare But Worth Checking
- Powertrain Control Module (ECM) Fault: This is very rare. Before suspecting the ECM, all other possibilities, especially the sensor and its wiring, must be thoroughly ruled out. This may be accompanied by other communication codes.
Diagnosis Steps
- Scan the vehicle for any other stored trouble codes. Address other codes first if they are present.
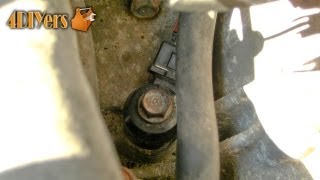
- Visually inspect the Bank 2 knock sensor and its wiring harness. On the Forester's boxer engine, Bank 2 is the driver's side (left side). The sensor is located on the back of the engine block, below the intake manifold runners, near the bell housing where the engine meets the transmission.
- Pay close attention to the wiring for signs of rodent damage (chew marks, nesting material).
- Check the connector for corrosion, moisture, or a loose connection. Disconnect and reconnect it to ensure a solid fit.
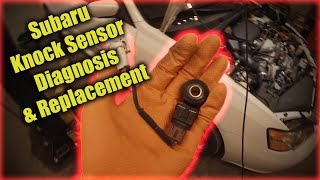
- If the wiring looks good, test the circuit for proper voltage and ground using a multimeter according to the factory service manual. 🎬 Watch: Professional mechanic's guide to diagnosing and replacing the sensor.
- If the circuit is intact, the knock sensor itself is the most likely culprit. Inspect the sensor body for cracks.
- Replace the knock sensor, ensuring the mounting surface is clean and the bolt is torqued to exactly 17.7 ft-lbs (24 Nm).
- Clear the trouble codes and perform a test drive with some moderate acceleration to ensure the code does not return.
Parts You'll Likely Need
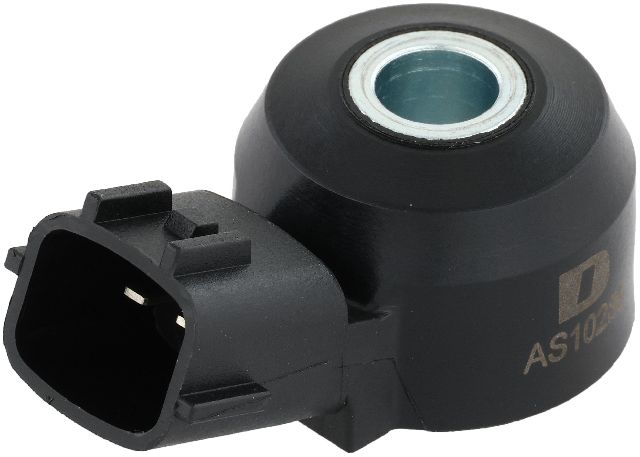
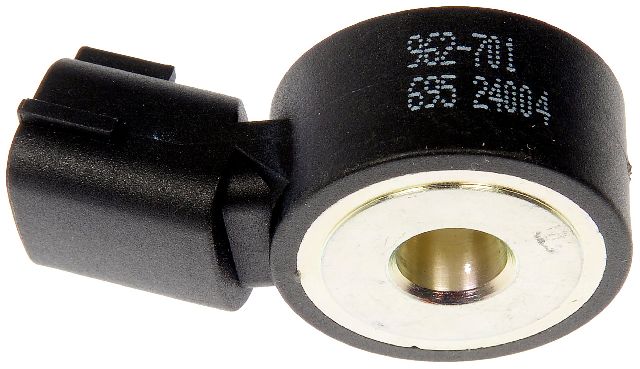
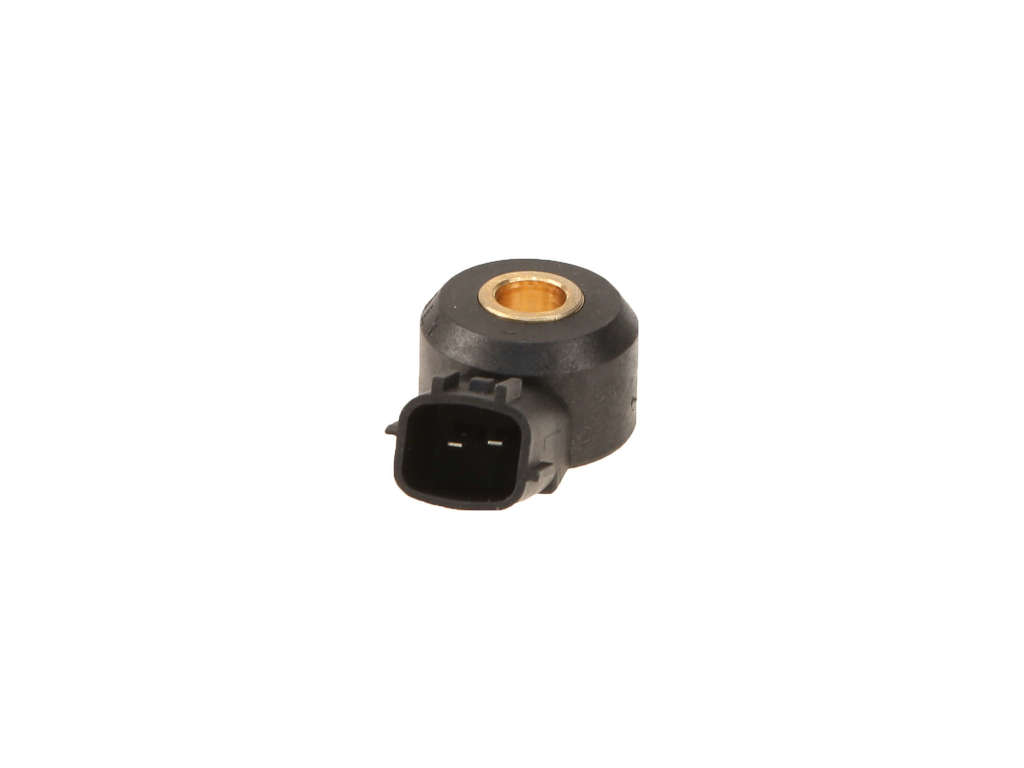
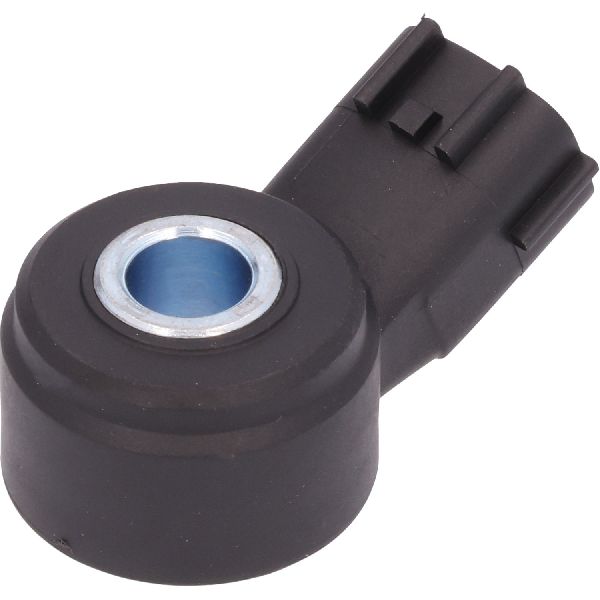
- Knock Sensor
(OEM #22060AA180 (for Japan-built vehicles), 22060AA18A (for US-built vehicles))— This is the updated, more durable part specified by Subaru in TSB #07-133-18R to fix this exact issue. It replaces the previous, failure-prone part number 22060AA160.
Trusted brands: Genuine Subaru, Denso, NGK/NTK
OEM price range: $90-$150
Aftermarket price range: $70-$120
Related Codes That Often Appear With This One
- P0327 — This is the code for Knock Sensor 1 Circuit Low Input (Bank 1). It can appear if there is a systemic issue (like a wiring problem affecting both) or if both sensors are failing around the same time due to age and the known design flaw.
- P0333 — This is the code for Knock Sensor 2 Circuit High Input (Bank 2). Both P0332 and P0333 were mentioned in the same Subaru TSB, indicating they relate to the same component failure.
Technical Service Bulletins (TSBs) & Recalls
- 07-133-18R: Announcing a design change for the knock sensor to improve durability and address DTCs P0327, P0328, P0332, and P0333. Confirms the torque spec of 17.7 ft-lbs and updated part numbers.
Platform-Specific Known Issues
- Official TSB for Faulty Sensor Design: Subaru Technical Service Bulletin #07-133-18R specifically addresses this code, along with P0327, P0328, and P0333. It announces a design change to a more durable knock sensor to resolve these faults.
- Susceptibility to Rodent Damage: Multiple owner forums and mechanic accounts confirm that Subaru's use of soy-based wiring insulation can attract rodents, which chew through wires. The knock sensor harness is a common target.
Mechanic-Grade Diagnostic Values
- Knock Sensor Internal Resistance — expected: 530 kΩ to 580 kΩ. Some manuals state a minimum of 400 kΩ.. Failure: A reading of 0 ohms (short), infinity/OL (open), or significantly outside the specified range indicates a faulty sensor.
- Harness Voltage (Key On, Engine Off) — expected: ~5V DC. Failure: A reading of 0V or significantly less than 5V suggests an open or short in the wiring between the ECM and the sensor connector.
- Sensor AC Voltage Output (Dynamic Test) — expected: A small AC voltage should be generated when tapping the engine block near the sensor with the engine running.. Failure: Little to no AC voltage response when tapping indicates a dead sensor.
Wiring & Ground Locations
- Knock Sensor 2 Connector (E14) — On the driver's side (Bank 2) of the engine block, near the rear, below the intake manifold runners.. This is the direct connection point for the sensor. Corrosion, damage, or a loose connection here will directly cause a P0332 code.
- ECM Connector B135, Pin 26 — At the Engine Control Module (ECM).. This is the specific pin where the signal from the Knock Sensor 2 is received by the ECM. Testing for voltage and continuity here can isolate a wiring fault from an ECM fault.
- ECM Connector B135, Pin 25 — At the Engine Control Module (ECM).. This is the sensor ground pin for Knock Sensor 2 at the ECM. A bad ground connection here can cause a low voltage reading.
- Engine Ground (Intake Manifold) — There are typically one or two ground terminals bolted to the top of the intake manifold.. The Subaru ECM uses the intake manifold for its primary ground reference. A poor connection here can cause a multitude of strange sensor reading issues, including knock sensor codes.
Real Owner Repair Stories
- Ultimate Subaru Message Board user (Subaru with P1325 (a related knock sensor code)) — Check Engine Light was on.
❌ Tried (didn't work) Initial visual inspection did not show the typical cracked sensor housing.
✅ What actually fixed it The fault was an internal break in the sensor's own wiring pigtail where it makes a 90-degree bend. The user discovered this by wiggling the wire while watching the resistance on a multimeter. Replacing the sensor resolved the code.
OEM Part Supersession History
22060AA160→22060AA180 or 22060AA18A— The original sensor was prone to cracking and failure from heat and vibration. The new part, originally for DIT (turbo) engines, is more durable and heat-resistant.
Heads up: Use 22060AA180 for Japan-built vehicles and 22060AA18A for US-built (SIA) vehicles.
Model Year Variations Within This Range
- 2014-2017 (pre-facelift vs facelift): The TSB #07-133-18R for the knock sensor applies to NA Foresters built before VIN HH538942. Vehicles built after this VIN should already have the updated, more durable knock sensor from the factory. The part number also differs based on the vehicle's assembly plant (Japan vs. USA).
Helpful Videos
We Have This Part in Stock


The information in this article is provided for general reference and educational purposes only. Vehicle specifications, procedures, and part compatibility can vary by production date, trim level, and region. Always consult your vehicle's factory service manual and verify part numbers before purchasing or performing repairs. Safety-critical components such as airbags, seat belts, and braking systems should be installed by a qualified professional.
- Subaru FORESTER:
- 🧭 Diagnostic Flowchart
- 🎬 Helpful Videos
- 🛍️ Shop This Part
- What's Unique About the 2014-2017 Subaru FORESTER
- Symptoms You May Notice
- Most Likely Causes
- Rare But Worth Checking
- Diagnosis Steps
- Parts You'll Likely Need
- Related Codes That Often Appear With This One
- Technical Service Bulletins (TSBs) & Recalls
- Platform-Specific Known Issues
- Mechanic-Grade Diagnostic Values
- Wiring & Ground Locations
- Real Owner Repair Stories
- OEM Part Supersession History
- Model Year Variations Within This Range
- 🎟️ Get 5% Off