
P0333 on 2014-2018 GMC Sierra 3500: Knock Sensor Circuit Causes and Fixes
On a 2014-2018 GMC Sierra 3500, code P0333 is frequently caused by an electrical issue at the ECM's X2 connector, not a bad knock sensor. Before replacing any parts, inspect this connector for debris or damage as outlined in GM Technical Service Bulletin #20-NA-207, which notes the code often appears when shifting out of Park.
- Do not immediately replace the knock sensor. The most likely cause of P0333 on this truck is an electrical issue at the ECM X2 connector.
- Always start your diagnosis by inspecting and cleaning the ECM X2 connector as per GM TSB #20-NA-207.
- A key symptom is the Check Engine Light illuminating at the moment you shift out of Park.
- Bank 2 is the passenger side of the engine.
- Driving with this code active can lead to reduced power and poor fuel economy, and heavy loads should be avoided.
What's Unique About the 2014-2018 Gmc SIERRA 3500
On this generation of GMC Sierra and its platform mates, the P0333 code has a well-documented history that often points away from the sensor itself. General Motors issued a Technical Service Bulletin (TSB #20-NA-207) that identifies a common cause as an electrical issue at the main ECM X2 connector. Voltage from another circuit, specifically the transmission park/neutral signal, can 'bleed' into the knock sensor circuit, creating a false high voltage reading. This issue is so specific that the Check Engine Light may illuminate at the exact moment the driver shifts the transmission out of Park. This makes inspecting the K20 ECM's X2 connector a critical first step before assuming the knock sensor has failed.
Diagnostic Flowchart
Tap your situation to follow the diagnostic path that matches what you're seeing on this vehicle.
Symptoms You May Notice
- Check Engine Light is on
- Audible engine pinging or knocking (less common, as the ECM often retards timing as a precaution)
- Reduced engine power and acceleration
- Decreased fuel economy
- Engine hesitation or sluggishness
- Code appears specifically when shifting out of Park
- Immediately replacing the knock sensor without first inspecting the ECM X2 connector. Many owners and shops have replaced the sensor only to have the code return because the root cause was the connector issue described in TSB #20-NA-207.
- Replacing the wrong knock sensor. Bank 2 is on the passenger (right) side of the engine.
- Using a low-quality aftermarket knock sensor. Forum users report that non-OEM sensors can be unreliable or fail prematurely, leading to the code's return.
Most Likely Causes
- Electrical Issue at ECM X2 Connector 🔴 High Probability GM TSB #20-NA-207 and its predecessor #PIP5576 specifically identify this as a common problem on this platform. Voltage from the transmission park/neutral signal circuit can bleed into the knock sensor circuit (specifically Pin 52 for the KS2 signal on some models) within the connector block, especially when shifting from Park. This is often due to moisture, debris, or corrosion inside the connector.
How to confirm: Disconnect the battery. Locate the ECM in the engine bay and carefully disconnect the X2 connector (one of the large multi-pin plugs). Inspect it thoroughly for any signs of moisture, corrosion, green crust, debris, or bent/damaged pins. A forum user on gm-trucks.com with a 2015 Sierra fixed a persistent P0333 by cleaning this connector.
Typical fix: Clean the connector and pins with electrical contact cleaner 🎬 Watch: How to clean car computer connectors with spray cleaner, allow it to dry completely, apply a small amount of dielectric grease to the connector seal to prevent future moisture intrusion, and ensure a secure connection. If terminals are damaged, they may need to be repinned or the connector replaced.
Est. part cost: $5-$20 - Faulty Knock Sensor (Bank 2) 🟡 Medium Probability → Shop Ignition Knock (Detonation) Sensor The knock sensors on these V8 engines are located on the lower sides of the engine block, exposing them to road debris, moisture, and heat, which can lead to failure over time. The Bank 2 sensor is on the passenger side, often located near the starter motor 🎬 Watch: Helpful tutorial for accessing and replacing the sensor, making access difficult.
How to confirm: After ruling out wiring issues, the sensor itself can be tested. With the sensor disconnected, check its internal resistance with a multimeter. The expected value for these GM sensors is typically between 93 kOhms and 110 kOhms. An open circuit (OL) or a reading far outside this range indicates failure.
Typical fix: Replace the Bank 2 knock sensor. This is a labor-intensive job that often requires removing the starter motor and a heat shield for access. It is critical to torque the new sensor to specification (typically 18 ft-lbs 🎬 See this step-by-step knock sensor replacement walkthrough) as over or under-tightening can affect its sensitivity.
Est. part cost: $30-$130 - Damaged Wiring Harness 🟡 Medium Probability The harness can become chafed, melted, or corroded due to its proximity to the exhaust manifold, starter motor, or engine block. A separate TSB (#21-NA-149) for this platform notes potential for harness chafing against the ECM/TCM bracket and shock tower.
How to confirm: Visually inspect the entire length of the knock sensor wiring harness from the sensor to the ECM. Look for any signs of physical damage, melting, or corrosion, paying close attention to where it routes near hot or sharp components. Perform a continuity test with a multimeter to check for opens or shorts in the circuit.
Typical fix: Repair the damaged section of the wiring harness with a new connector pigtail or by soldering and heat-shrinking the broken wire. In severe cases, the entire engine harness may need replacement.
Est. part cost: $15-$100
Rare But Worth Checking
- Faulty Engine Control Module (ECM): → Shop Engine Control Module (ECM) This is rare, but an internal fault in the ECM can cause it to misinterpret the knock sensor signal. This should only be considered after all other possibilities (wiring, connectors, and sensor) have been thoroughly ruled out as per TSB #20-NA-207.
Diagnosis Steps
- Read the codes with an OBD-II scanner and confirm P0333 is present. Note any other codes, especially P0328 (Bank 1).
- Crucial Step: Reference GM TSB #20-NA-207. Note if the Check Engine Light appears specifically when shifting out of Park, as this strongly indicates the TSB issue.
- Disconnect the negative battery terminal.
- Locate the Engine Control Module (ECM) in the engine bay. Carefully disconnect the X2 connector (it will have a lever or locking tab).
- Inspect the connector and the ECM pins for any signs of corrosion, moisture, debris, or damage. Clean thoroughly with electrical contact cleaner, let it dry, apply dielectric grease to the seal, and reconnect securely.
- If the connector is clean and the code returns, visually inspect the knock sensor wiring harness for any signs of chafing, melting, or breaks, especially near the passenger-side exhaust manifold and starter motor.
- If the wiring appears intact, test the knock sensor circuit. Disconnect the sensor and check for continuity from the harness connector back to the ECM X2 connector pins (Pin 52 for signal, Pin 51 for low reference on many 6.0L V8 models).
- If the circuit tests good, test the knock sensor itself. Measure its internal resistance; it should be between 93-110 kOhms. Replace if out of spec.
- If all other steps fail to resolve the issue, the ECM may be at fault, which is an uncommon but possible cause.
Parts You'll Likely Need
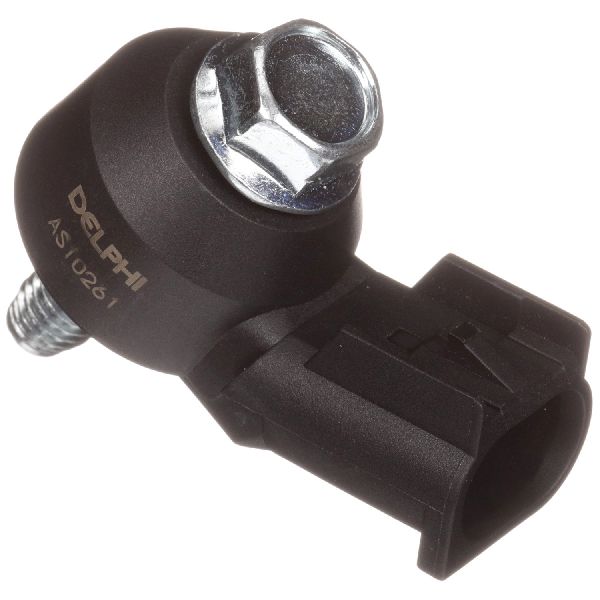
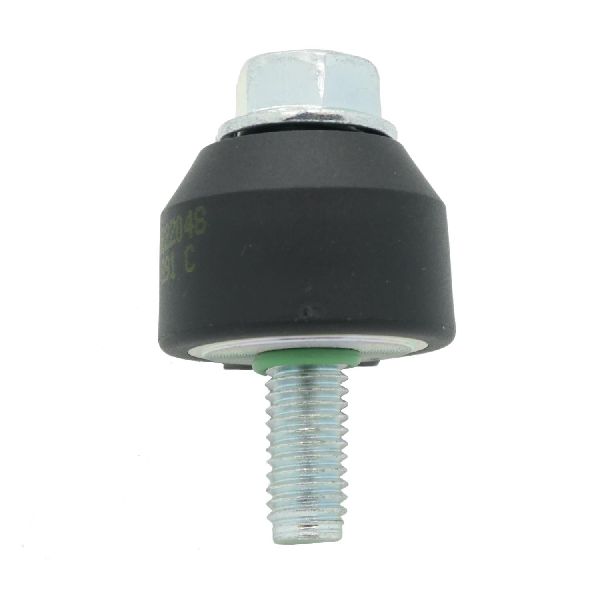
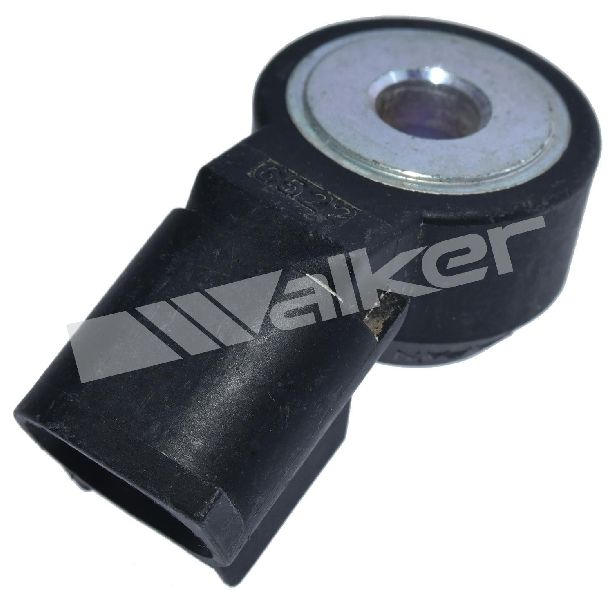
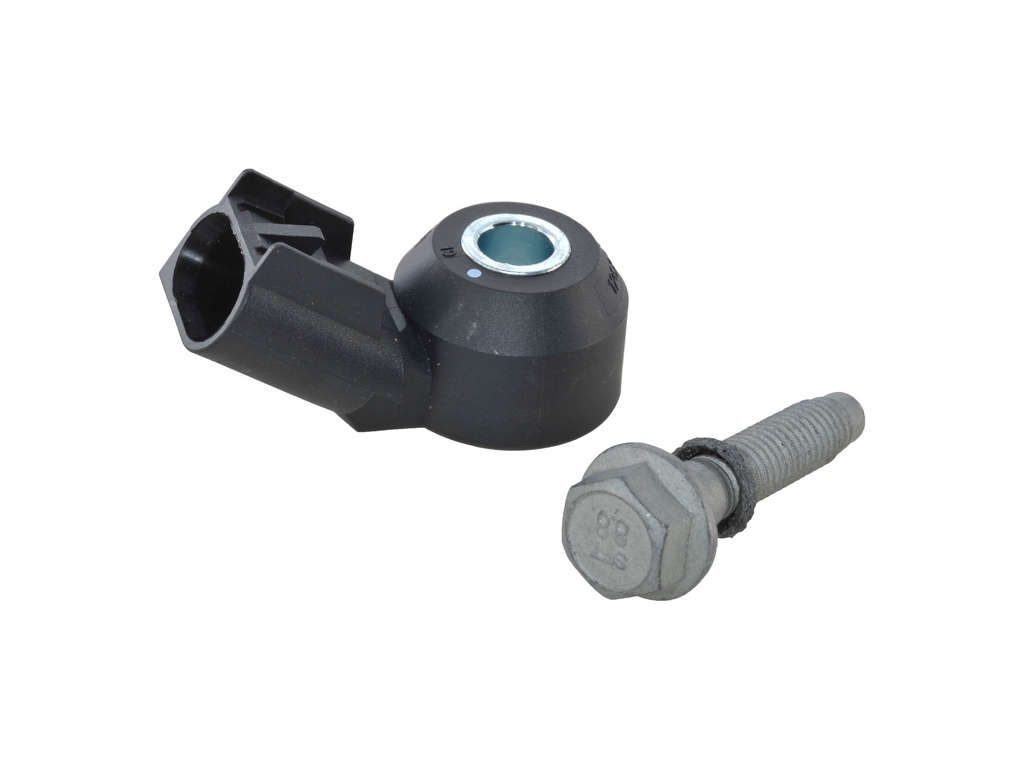
- Ignition Knock Sensor
(OEM #12623744 (GM Genuine) / 213-4522 (ACDelco Gold, supersedes 213-1576))— This is the sensor for Bank 2 that sends the voltage signal. It is the second most likely part to fail after wiring/connector issues are ruled out. It is highly recommended to use OEM parts.
Trusted brands: GM Genuine Parts, ACDelco
OEM price range: $35-$75
Aftermarket price range: $20-$50 - Electrical Contact Cleaner and Dielectric Grease — Required for cleaning and protecting the ECM X2 connector, which is the most common fix for this code on this specific vehicle per TSB #20-NA-207.
Trusted brands: CRC, Permatex
OEM price range: $10-$20
Aftermarket price range: $10-$20
Related Codes That Often Appear With This One
- P0328: Knock Sensor 1 Circuit High Input (Bank 1). If both P0328 and P0333 are present, it points more strongly toward a systemic issue like a harness problem common to both sensors, a grounding issue, or the ECM connector fault.
Technical Service Bulletins (TSBs) & Recalls
- Bulletin #20-NA-207: Information on Malfunction Indicator Lamp (MIL) Illuminated - DTC P0333 Set. Addresses a possible electrical concern at the ECM X2 electrical connector that can cause DTC P0333 to set, often when shifting from Park. This bulletin supersedes PIP5576 and applies to a wide range of GM trucks and SUVs.
- Bulletin #PIP5576: The original preliminary bulletin that first identified the voltage bleed-over issue at the ECM connector. It is now superseded by 20-NA-207.
Platform-Specific Known Issues
- TSB #20-NA-207 (which supersedes #PIP5576) explicitly states that DTC P0333 can be set due to an electrical concern at the K20 ECM X2 connector. This is often triggered when shifting out of Park due to voltage bleed from the transmission park/neutral signal circuit.
- A user on gm-trucks.com with a 2015 Sierra 5.3L confirmed this fix. After replacing the sensor twice with no luck, he found the TSB, cleaned the ECM connectors with contact cleaner and dielectric grease, and the code was resolved.
Mechanic-Grade Diagnostic Values
- Knock Sensor Internal Resistance — expected: 93 kOhms to 110 kOhms. Failure: An open circuit (OL/infinite) or a reading significantly outside the expected range.
- Knock Sensor Circuit Voltage (Key On, Engine Off) — expected: Approximately 2.5V (bias voltage from ECM). Failure: A sustained voltage reading above 4.5V will trigger the P0333 'Circuit High' code.
- Knock Sensor Mounting Bolt Torque — expected: 18 ft-lbs (25 Nm). Failure: Over or under-tightening the bolt can alter the sensor's sensitivity and cause incorrect readings.
Scan Tool Commands That Help
- GDS2 / Professional Scan Tool: Live Data: 'Knock Retard' and 'Knock Sensor Active Counter' — Monitor these parameters during a test drive. For a P0333 fault, you may see a pegged high reading, zero activity, or erratic counts from the Bank 2 sensor data, helping to confirm a circuit or sensor issue rather than actual engine knock.
Wiring & Ground Locations
- K20 ECM Connector X2 — The Engine Control Module (ECM) is located in the engine bay, typically on the driver's side. X2 is one of the large multi-pin connectors.. This is the specific connector identified in TSB #20-NA-207 as the primary location for the fault. Pin 52 (Dark Blue wire) is the Knock Sensor 2 signal circuit and Pin 51 is the low reference on many V8 models.
- G103 / G105 — Main engine block grounds, typically located on the lower front of the engine block.. A poor engine ground can introduce electrical noise into the system, which may be misinterpreted by the sensitive knock sensor circuit. While not a direct cause, ensuring these grounds are clean and tight is a crucial step in any electrical diagnosis.
- G104 — Ground strap located on the rear of the driver's side (Bank 1) cylinder head.. Similar to other engine grounds, a poor connection here can cause erratic sensor behavior. Verifying all engine-to-chassis grounds are secure is essential.
Real Owner Repair Stories
- gm-trucks.com forum user (2015 GMC Sierra 5.3L) — Intermittent Check Engine Light with code P0333.
❌ Tried (didn't work) Replaced the Bank 2 knock sensor twice.
✅ What actually fixed it The owner found TSB #PIP5576 (superseded by #20-NA-207), disconnected the ECM connectors, cleaned them with electrical contact cleaner, and applied dielectric grease. The code did not return after this procedure.
Model Year Variations Within This Range
- 2014-2018 (with 6.6L Duramax LML/L5P): For trucks equipped with the Duramax diesel engine, P0333 (or its Bank 1 equivalent) is frequently a 'ghost code' triggered by problems in the emissions control system. Soot buildup in the EGR system or failing NOx/MAP sensors can create voltage fluctuations in shared wiring harnesses, which the ECM misinterprets as a knock sensor fault. On a Duramax, the first step should be to scan for any accompanying emissions-related codes (like P2A00, P20EE) and inspect those systems before suspecting the knock sensor itself.
- 2014-2018 (All Engines): While the K20 ECM and X2 connector are common, specific pin assignments for the knock sensor circuit can vary between different engines offered in the Sierra 3500 (e.g., 6.0L Gas vs. 6.6L Diesel). Always verify the exact pin number (e.g., Pin 52, Pin 37, or Pin 29) using a wiring diagram specific to the vehicle's VIN and engine type before performing electrical tests.
Helpful Videos

We Have This Part in Stock


The information in this article is provided for general reference and educational purposes only. Vehicle specifications, procedures, and part compatibility can vary by production date, trim level, and region. Always consult your vehicle's factory service manual and verify part numbers before purchasing or performing repairs. Safety-critical components such as airbags, seat belts, and braking systems should be installed by a qualified professional.
- Gmc SIERRA 3500:
- 🧭 Diagnostic Flowchart
- 🎬 Helpful Videos
- 🛍️ Shop This Part
- What's Unique About the 2014-2018 Gmc SIERRA 3500
- Symptoms You May Notice
- Most Likely Causes
- Rare But Worth Checking
- Diagnosis Steps
- Parts You'll Likely Need
- Related Codes That Often Appear With This One
- Technical Service Bulletins (TSBs) & Recalls
- Platform-Specific Known Issues
- Mechanic-Grade Diagnostic Values
- Scan Tool Commands That Help
- Wiring & Ground Locations
- Real Owner Repair Stories
- Model Year Variations Within This Range
- 🎟️ Get 5% Off