
P0335 on 2000-2004 Toyota MR2 Spyder: Crank Sensor Causes and Fixes
On a 2000-2004 MR2 Spyder, P0335 is most often a failed crankshaft position sensor, but don't replace it without first checking for a weak battery (below 11V during cranking) or a corroded ground wire on the timing cover. A new OEM Denso sensor costs about $150, with aftermarket options around $25-$60.
- Before buying any parts for P0335, fully charge and test your battery. A weak battery (dropping below 11V during cranking) is a known cause for this code on Toyotas.
- The second step should be to clean the sensor's ground wire, which is bolted to the timing cover just above the sensor itself. This is a common fix that costs nothing and is a well-documented issue for the MR2 Spyder.
- If the battery and ground are good, the crankshaft position sensor has likely failed, especially if stalling occurs when the engine is hot. Use an OEM Denso sensor for the best reliability.
- This issue is also common on other vehicles with the 1ZZ-FE engine, such as the Toyota Corolla, Celica GT, and Pontiac Vibe.
What's Unique About the 2000-2004 Toyota MR2 SPYDER
For the MR2 Spyder (ZZW30 platform), the P0335 code has two common but often overlooked causes that aren't a failed sensor. First, Toyota issued a Technical Service Bulletin (T-TT-0010-10 Rev) stating that low battery voltage (below 11 volts during cranking) can trigger this code due to inconsistent engine cranking speed. Second, owners on enthusiast forums like Spyderchat and MR2ROC frequently report that a corroded ground wire, located on the timing cover just above the sensor (ground point 'EA'), is the true culprit.
Diagnostic Flowchart
Tap your situation to follow the diagnostic path that matches what you're seeing on this vehicle.
Symptoms You May Notice
- Engine cranks but will not start
- Engine stalls unexpectedly, sometimes while driving
- Engine fails to restart when hot, but may start again after cooling down
- Rough or uneven idle
- Noticeable loss of engine power and sluggish acceleration
- Engine misfires or hesitates
- Check Engine Light is on
- Replacing the camshaft position sensor (a different part with a similar name)
- Replacing the starter motor because the engine cranks but won't start
- Replacing ignition coils or fuel pump without checking for a crank signal first
Most Likely Causes
- Low Battery Voltage 🔴 High Probability → Shop Vehicle Battery A Toyota Technical Service Bulletin (TSB T-TT-0010-10 Rev) specifically identifies low battery voltage as a potential cause for this code on the 1ZZ-FE engine due to inconsistent crankshaft speed during startup.
How to confirm: Test the battery voltage with a multimeter. A healthy battery should read ~12.6 volts engine off. More importantly, check the freeze frame data with a scan tool. The TSB notes that if battery voltage was below 11 volts when the code was set, the battery is the likely cause.
Typical fix: Charge or replace the battery. Clean the battery terminals.
Est. part cost: $100-$250 - Corroded Ground Connection 🔴 High Probability As reported by numerous MR2 owners, the ground wire for the sensor circuit, located on the timing cover near the sensor (identified as ground point 'EA' in service manuals), is susceptible to corrosion, which can interrupt the signal.
How to confirm: Locate the crankshaft position sensor at the bottom of the engine near the firewall/passenger side. Inspect the ground wire bolted to the timing cover just above it for rust or corrosion. It is often a 10mm bolt. A user on Spyderchat.com documented this exact issue, where cleaning this ground point resolved a P0335 code that a new sensor did not fix.
Typical fix: Disconnect the battery. Remove the ground bolt (typically 10mm), thoroughly clean the wire terminal and the mounting point on the timing cover with a wire brush until shiny, then re-secure it. Applying dielectric grease before reattaching can prevent future corrosion.
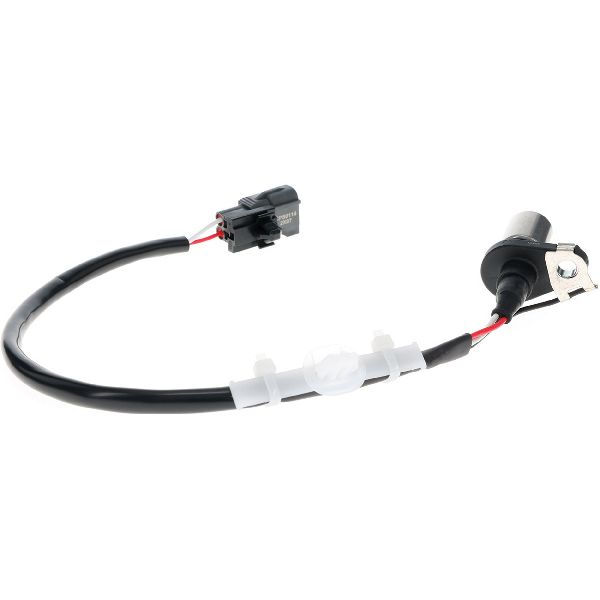
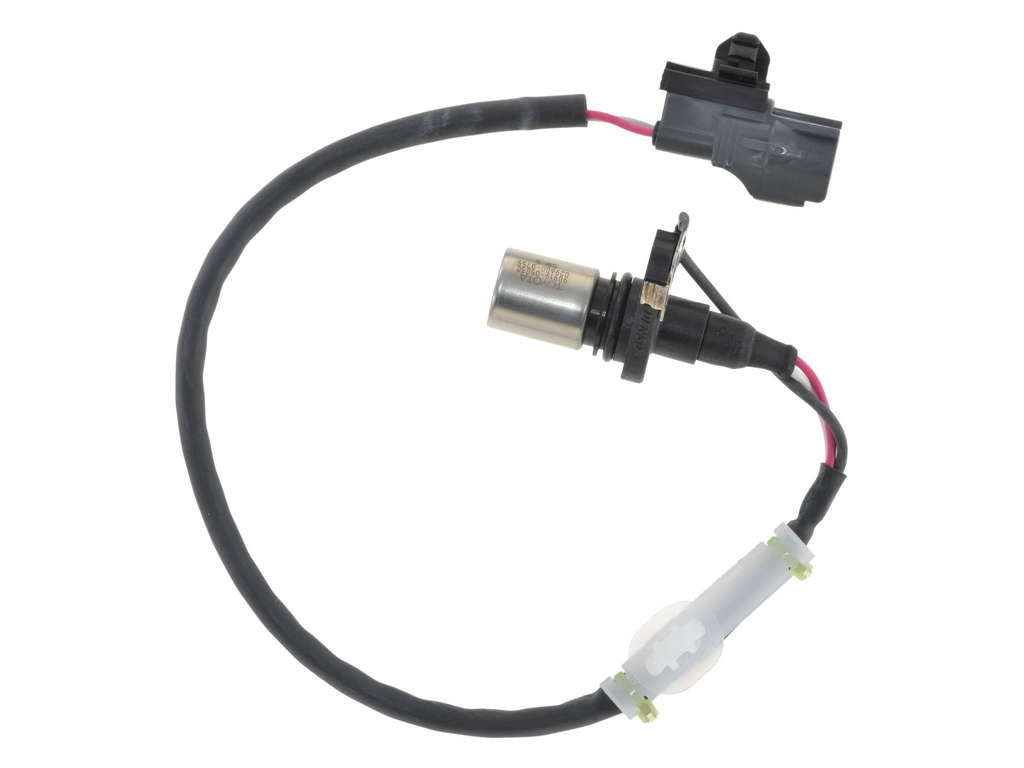
Est. part cost: $0-$5 - Failed Crankshaft Position Sensor 🟡 Medium Probability → Shop Engine Crankshaft Position Sensor Like any electronic component, the sensor can fail from age and repeated heat cycles from the nearby exhaust. It's a common failure point after the battery and ground have been ruled out.
How to confirm: The sensor can be tested with a multimeter. Disconnect the sensor and measure the resistance between the two terminals. Per the Toyota repair manual, the resistance should be: Cold (-10 to 50°C): 1630-2740 Ohms. Hot (50 to 100°C): 2065-3225 Ohms. A reading outside this range or an open circuit 🎬 Watch: How to test sensor resistance with a multimeter. indicates a bad sensor.
Typical fix: Replace the crankshaft position sensor. Using an OEM Denso part is highly recommended over cheaper alternatives for longevity.
Est. part cost: $25-$150 - Damaged Wiring or Connector ⚪ Low Probability
How to confirm: Visually inspect the wiring harness leading to the crankshaft position sensor for any signs of fraying, melting from exhaust heat, or breaks. Oil leaks from above can also degrade the wire insulation over time. Check that the connector is securely plugged in and that the pins are clean and free of corrosion or oil.
Typical fix: Repair the damaged section of wire or replace the connector pigtail.
Est. part cost: $10-$50
Rare But Worth Checking
- Intermittent Failure When Hot: A common failure mode for these sensors is to work correctly when the engine is cold but fail once it reaches operating temperature, causing stalling. The car may then refuse to start until it has cooled down. This is often due to internal windings in the sensor separating when heated. If the car only stalls when hot, the sensor is the prime suspect.
- Damaged Reluctor Ring: The sensor reads teeth on a reluctor ring on the crankshaft. While rare, if this ring is damaged, has broken teeth, or has slipped, it will cause a P0335 code. This is typically only discovered during major engine work.
- Faulty Engine Control Module (ECM): → Shop Engine Control Module (ECM) This is extremely rare. The ECM should only be considered as a potential cause after all other possibilities (sensor, wiring, grounds, battery) have been exhaustively ruled out by a professional.
Diagnosis Steps
- Check Battery Health & Freeze Frame Data: Using a multimeter, verify the battery has at least 12.4 volts. Use a scan tool to check the freeze frame data for the P0335 code. If the 'BATT' voltage was below 11V when the code was set, charge or replace the battery. Clear codes and see if P0335 returns.
- Inspect and Clean Sensor Ground Wire: Safely raise the vehicle. Locate the crankshaft position sensor on the bottom of the engine, near the passenger side. Find the ground wire bolted to the timing cover just above it (ground point EA).
- Clean Ground Connection: Disconnect the battery. Remove the 10mm ground wire bolt, and use a wire brush to clean the terminal and the mounting surface on the engine block until they are bare metal. Re-attach the wire securely and consider applying dielectric grease.
- Inspect Sensor Wiring: While under the vehicle, carefully inspect the wiring harness going to the sensor. Look for any signs of damage, melting from exhaust heat, or oil contamination. Ensure the connector is clean and clicks securely into place.
- Test or Replace the Crankshaft Position Sensor: If the above steps don't resolve the issue, test the sensor's resistance. A reading outside the 1630-3225 Ohm range (depending on temp) means it's bad. Given the part's low cost and high failure rate, many owners opt to replace it at this stage. Apply a light coat of fresh oil to the new sensor's O-ring before installation.
- Clear Codes and Test Drive: After any repair, use an OBD-II scanner to clear the trouble codes. Start the engine and perform a test drive, including letting the engine get to full operating temperature, to confirm the fix is successful and the code does not reappear.
Parts You'll Likely Need
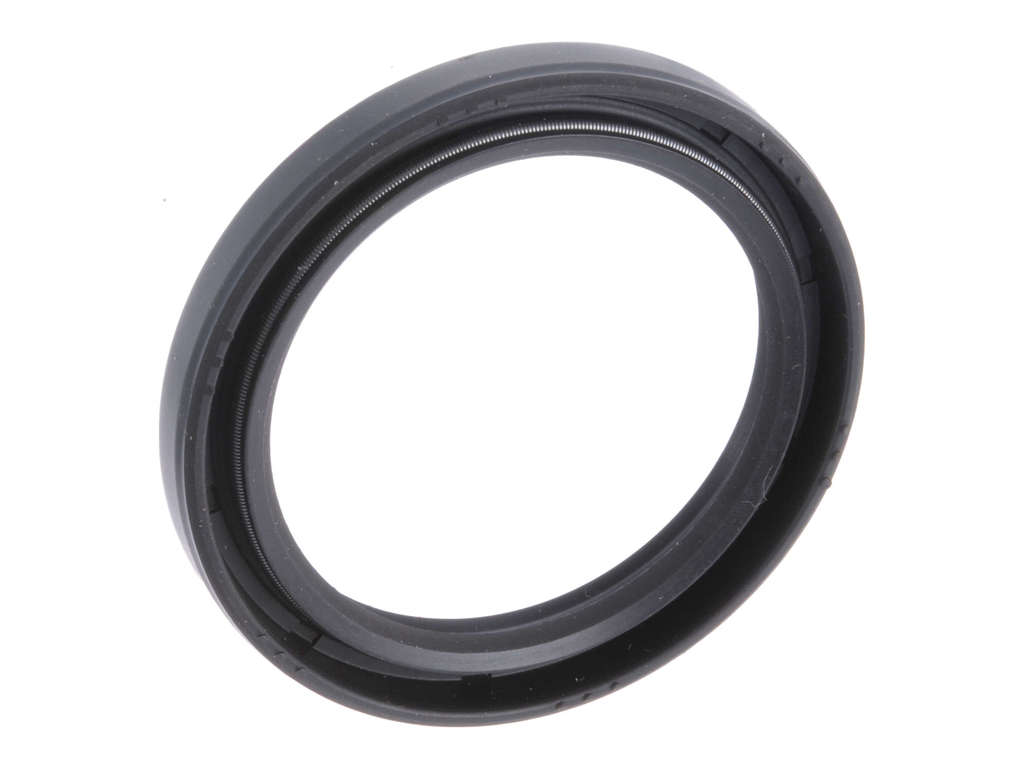
- Engine Crankshaft Position Sensor
(OEM #90080-19013)— This is the most common part to fail after ruling out battery and grounding issues. The OEM part supersedes part number 90919-05030. The OEM supplier is Denso, and their equivalent part number is often listed as 229600-0170.
Trusted brands: Denso (OEM Supplier), Hitachi, Standard Motor Products (SMP)
OEM price range: $145-$210
Aftermarket price range: $25-$60
Related Codes That Often Appear With This One
- P0340 — The Camshaft Position Sensor ('A' Circuit Malfunction) code often appears with P0335. The TSB T-TT-0010-10 Rev notes that low battery voltage can cause both codes to set simultaneously.
Technical Service Bulletins (TSBs) & Recalls
- T-TT-0010-10 Rev: Notes that low battery voltage (below 11V) can be a contributing factor for a MIL ON condition with code P0335 and/or P0340.
Platform-Specific Known Issues
- A known issue, documented in TSB T-TT-0010-10 Rev, is that low battery voltage (under 11V) can cause inconsistent crankshaft rotational speed during cranking, triggering a false P0335 code.
- A widely-reported issue on owner forums is a corroded ground connection for the sensor circuit at ground point 'EA' on the timing cover, which can be fixed for free by cleaning the connection point.
Mechanic-Grade Diagnostic Values
- Scan Tool Live Data: 'Engine Speed' (RPM) — expected: Should show a steady RPM reading (typically 150-300 RPM) while cranking the engine.. Failure: A reading of '0' RPM while the engine is physically cranking indicates the ECM is receiving no signal from the crankshaft position sensor circuit.
- Crankshaft Position Sensor Signal at ECU — expected: An AC voltage signal that increases with engine speed when probing the NE+ and NE- pins at the ECM connector with an oscilloscope. A distinct 34-pulse-per-revolution pattern should be visible.. Failure: A flat line (no signal) or a noisy, inconsistent waveform points to a problem in the sensor or wiring.
Scan Tool Commands That Help
- Toyota Techstream: All Readiness Utility — After a repair, or to check the status of the P0335 monitor. Navigate to 'Powertrain / Engine and ECT / Utility / All Readiness', input DTC P0335, and run the check. It will return 'NORMAL' if the system passes or 'ABNORMAL' if a malfunction is still detected, confirming if the fault is still present without waiting for the MIL to illuminate.
Wiring & Ground Locations
- EA — On the cylinder head, rear left side, near the generator. This is a critical ground point for the engine wiring harness.. This is the primary ground point frequently cited on owner forums as a cause for P0335 when corroded. Cleaning this point is a common, no-cost fix.
- NE+ / NE- — These are the terminals at the Engine Control Module (ECM) that receive the signal from the crankshaft position sensor.. Knowing these pin designators allows a technician to test the entire circuit from the ECM connector, verifying if the signal from the sensor is reaching the computer correctly.
Real Owner Repair Stories
- YouTube channel 'schrodingers box' (General Automotive) (General automotive, not MR2 specific, but demonstrates a key principle.) — P0335 code returned immediately after replacing the crankshaft position sensor.
❌ Tried (didn't work) Replacing the crankshaft position sensor
✅ What actually fixed it The root cause was a faulty starter motor creating excessive electrical noise during cranking, which interfered with the new sensor's signal. Replacing the starter motor resolved the P0335 code. - YouTube Commenter (General Automotive) (Unspecified vehicle, relevant principle.) — Persistent P0335 code.
❌ Tried (didn't work) Replacing the crankshaft position sensor
✅ What actually fixed it The root cause was a stretched timing chain. This caused the crankshaft and camshaft signals to be out of sync, which the ECU interpreted as a fault with the crank sensor's signal. Re-timing the engine and replacing worn timing components was the final fix.
When the Usual Fixes Don't Work
- While the most common fixes are the battery, ground, or the sensor itself, there are documented cases where none of these worked. In one instance, the actual cause was a faulty starter motor generating electrical noise that interfered with the crank sensor's signal during startup; replacing the starter fixed the P0335. In another case, a stretched timing chain caused the crank and cam signals to be out of sync, triggering a P0335 that a new sensor could not resolve. These examples show that if the standard electrical fixes fail, the root cause may be an external electrical source or a purely mechanical problem.
OEM Part Supersession History
90919-05030→90080-19013— Manufacturer part update for improved reliability or manufacturing process change.
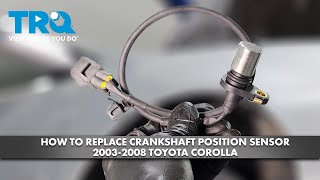
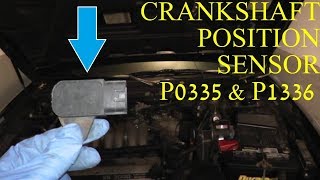
Helpful Videos


We Have This Part in Stock


The information in this article is provided for general reference and educational purposes only. Vehicle specifications, procedures, and part compatibility can vary by production date, trim level, and region. Always consult your vehicle's factory service manual and verify part numbers before purchasing or performing repairs. Safety-critical components such as airbags, seat belts, and braking systems should be installed by a qualified professional.
- Toyota MR2 SPYDER:
- 🧭 Diagnostic Flowchart
- 🎬 Helpful Videos
- 🛍️ Shop This Part
- What's Unique About the 2000-2004 Toyota MR2 SPYDER
- Symptoms You May Notice
- Most Likely Causes
- Rare But Worth Checking
- Diagnosis Steps
- Parts You'll Likely Need
- Related Codes That Often Appear With This One
- Technical Service Bulletins (TSBs) & Recalls
- Platform-Specific Known Issues
- Mechanic-Grade Diagnostic Values
- Scan Tool Commands That Help
- Wiring & Ground Locations
- Real Owner Repair Stories
- When the Usual Fixes Don't Work
- OEM Part Supersession History
- 🎟️ Get 5% Off