
P0340 on 2001-2005 Toyota Celica: Camshaft Sensor Circuit Causes and Fixes
On a 2001-2005 Toyota Celica, code P0340 is most often a faulty camshaft position sensor or a wiring issue. However, a Toyota Technical Service Bulletin (TSB) states that low battery voltage can also trigger this code, so check your battery and charging system first before buying parts. Oil leaking from the valve cover gasket onto the sensor connector is another common culprit.
- Always check your Celica's battery and alternator health before buying a new camshaft sensor for a P0340 code.
- The problem is often in the 'circuit,' so carefully inspect the sensor's wiring and connector for damage or oil contamination.
- If you replace the sensor, using an OEM or a reputable brand like Denso is highly recommended for reliability.
- The camshaft position sensor is relatively easy and inexpensive to replace as a DIY job, held by a single 10mm bolt.
- Do not confuse the camshaft sensor with the crankshaft sensor; they are different parts, though their codes can be related.
What's Unique About the 2001-2005 Toyota CELICA
For the 7th generation Toyota Celica, this code has a well-documented quirk. A manufacturer Technical Service Bulletin (TSB) points out that low battery voltage can cause a P0340 code, sometimes along with a P0335 for the crankshaft sensor. This happens because a weak battery or a faulty alternator with excessive AC ripple 🎬 Watch: How a faulty alternator can trigger this sensor code. can cause inconsistent engine cranking speed, confusing the sensors. Owners should always verify their battery and alternator are healthy before replacing sensors. Additionally, the 1ZZ-FE and 2ZZ-GE engines are known for valve cover gaskets that can leak oil directly onto the camshaft position sensor connector, causing a poor connection and triggering the code.
Diagnostic Flowchart
Tap your situation to follow the diagnostic path that matches what you're seeing on this vehicle.
Symptoms You May Notice
- Check Engine Light is on
- Engine is difficult to start or cranks but won't start
- Engine stalls, especially when warm or at idle
- Rough idling or engine hesitation/misfiring
- Noticeable lack of engine power and poor acceleration
- Reduced fuel economy
- Transmission shifting problems in some cases
- Immediately replacing the camshaft position sensor without checking the battery voltage, alternator output, and wiring first. The TSB for this vehicle explicitly states that low voltage can be a cause.
- Confusing the camshaft position sensor with the crankshaft position sensor. They are separate parts that can cause similar symptoms. The camshaft sensor is on top of the head; the crankshaft sensor is lower down on the engine block near the main pulley.
- Using a cheap aftermarket sensor. Many forum users report that non-OEM (Denso) sensors for this specific application often do not work correctly or fail quickly, causing the code to return.
Most Likely Causes
- Faulty Camshaft Position Sensor 🔴 High Probability → Shop Engine Camshaft Position Sensor The sensor is exposed to constant heat and vibration in the engine bay, which can cause the internal coil to fail over time. It's a very common failure point after 100,000 miles.
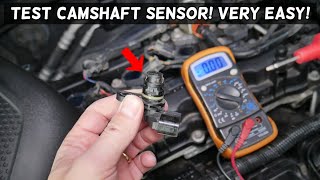
How to confirm: After confirming wiring is intact, test the sensor's internal resistance with a multimeter. For the 1ZZ-FE/2ZZ-GE, the spec is 835-1,400 ohms when cold and 1,060-1,645 ohms when hot. A reading outside this range indicates a failed sensor. Owners strongly recommend using the OEM Denso sensor, as aftermarket versions are known to fail prematurely.
Typical fix: Replace the camshaft position sensor. It is held by a single 10mm bolt and is easily accessible on top of the engine's cylinder head.
Est. part cost: $30-$90 - Wiring Harness or Connector Damage 🔴 High Probability The wiring harness can become brittle from heat cycles, and oil from a leaking valve cover gasket frequently contaminates the connector, disrupting the signal. The connector's locking tab can also become brittle and break.
How to confirm: Visually inspect the wiring for cracks, fraying, or melting. Check the connector for corrosion, backed-out pins, or oil saturation. Perform a continuity test from the sensor connector to the ECM pins to find any breaks in the wire.
Typical fix: Clean the oil out of the connector with electrical contact cleaner. If the connector or wiring is damaged, replace the connector pigtail.
Est. part cost: $10-$30 - Low Battery Voltage or Weak Charging System 🟡 Medium Probability → Shop Vehicle Battery A specific Toyota TSB (T-TT-0010-10 Rev) confirms that low battery voltage can cause inconsistent engine rotational speed during cranking, leading to a P0340 code. A failing alternator with bad diodes can also introduce electrical noise (AC ripple) into the system, which can interfere with the sensor's signal.
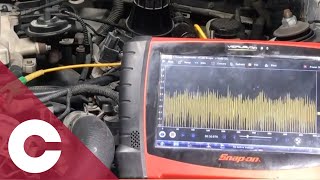
How to confirm: Test the battery voltage with a multimeter. It should be ~12.6V with the engine off and ~13.7-14.7V with the engine running. Have your battery and alternator load-tested at an auto parts store to check for bad cells or faulty diodes. An oscilloscope can be used to check for excessive AC ripple from the alternator, which appears as a noisy, inconsistent pattern on the sensor signal.
Typical fix: Charge or replace the battery. If the alternator is faulty, it will need to be replaced.
Est. part cost: $100-$300 - Stretched or Slipped Timing Chain ⚪ Low Probability → Shop Engine Timing Chain While the 1ZZ-FE and 2ZZ-GE engines use durable timing chains, they can stretch over very high mileage (150k+ miles), or a tensioner can fail, causing the camshaft and crankshaft to be out of sync.
How to confirm: This is a complex diagnosis. If the sensor and wiring are good, a mechanic may need to remove the valve cover to inspect the physical timing marks 🎬 Watch: Resolving P0340 after a timing chain and head repair. on the cams and crank to verify they are aligned correctly. An oscilloscope can also be used to compare the cam and crank sensor patterns to see if they are out of sync.
Typical fix: Replace the timing chain, tensioners, and guides. This is a labor-intensive job.
Est. part cost: $150-$400
Rare But Worth Checking
- Faulty Engine Control Module (ECM): → Shop Engine Control Module (ECM) This is the least likely cause. The ECM should only be considered after all other possibilities, including sensor, wiring, and mechanical timing, have been exhaustively ruled out.
- Damaged Reluctor Ring on Camshaft: → Shop Engine Camshaft The camshaft has three small teeth that the sensor reads. While extremely rare, if these teeth are damaged or broken during engine work, it will cause a P0340 code. This would require camshaft replacement.
Diagnosis Steps
- Check Battery and Charging System: Before any other step, use a multimeter to check the battery voltage. Ensure it is above 12.5 volts with the engine off. Start the engine and check that the voltage rises to 13.7-14.7 volts, indicating a working alternator. This follows the guidance from TSB T-TT-0010-10 Rev.
- Scan for Codes: Use an OBD-II scanner to confirm P0340 is the only code. If P0335 is also present, it reinforces the possibility of a voltage or timing correlation issue.
- Visual Inspection: Locate the camshaft position sensor on the top of the cylinder head. Inspect the sensor, its connector, and the nearby wiring for any obvious signs of damage, such as cracks, melting, corrosion, or oil saturation from a leaky valve cover gasket.
- Test the Sensor: Unplug the sensor. Set a multimeter to Ohms and measure the resistance between the sensor's two pins. It should be between 835-1,400 ohms when cold. If it's an open circuit (OL) or far outside this range, the sensor is bad.
- Test the Circuit: Test the wiring harness connector for proper voltage. With the key on, one pin should have a 5-volt reference signal from the ECM, and another should have a good ground. For a definitive test, check for continuity between the sensor connector's pins and the corresponding pins at the ECM connector to ensure there are no breaks in the wires.
- Check Mechanical Timing: If the sensor and wiring are confirmed to be good, the next step is to suspect a mechanical timing issue. This involves removing the valve cover to inspect the timing chain and its alignment with the camshaft and crankshaft sprockets. This step may be best left to a professional.
- Replace the Sensor: If the sensor is determined to be faulty, replace it. It is held in by a single 10mm bolt. It is highly recommended to use an OEM Denso part.
Parts You'll Likely Need
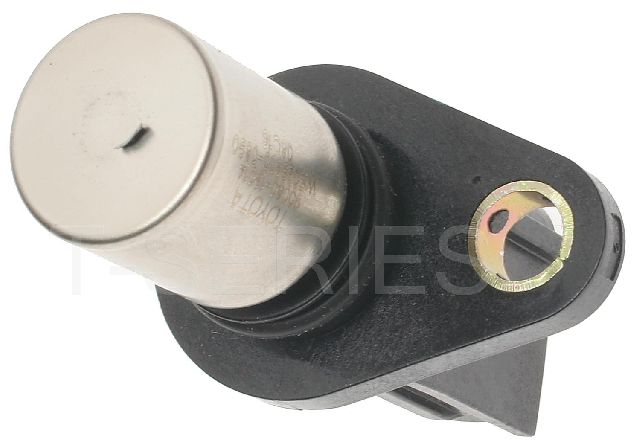
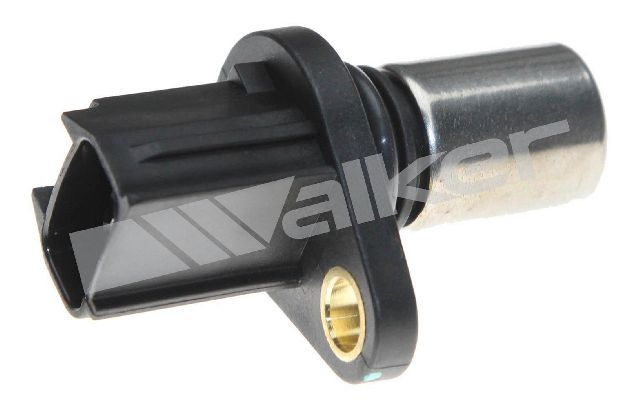
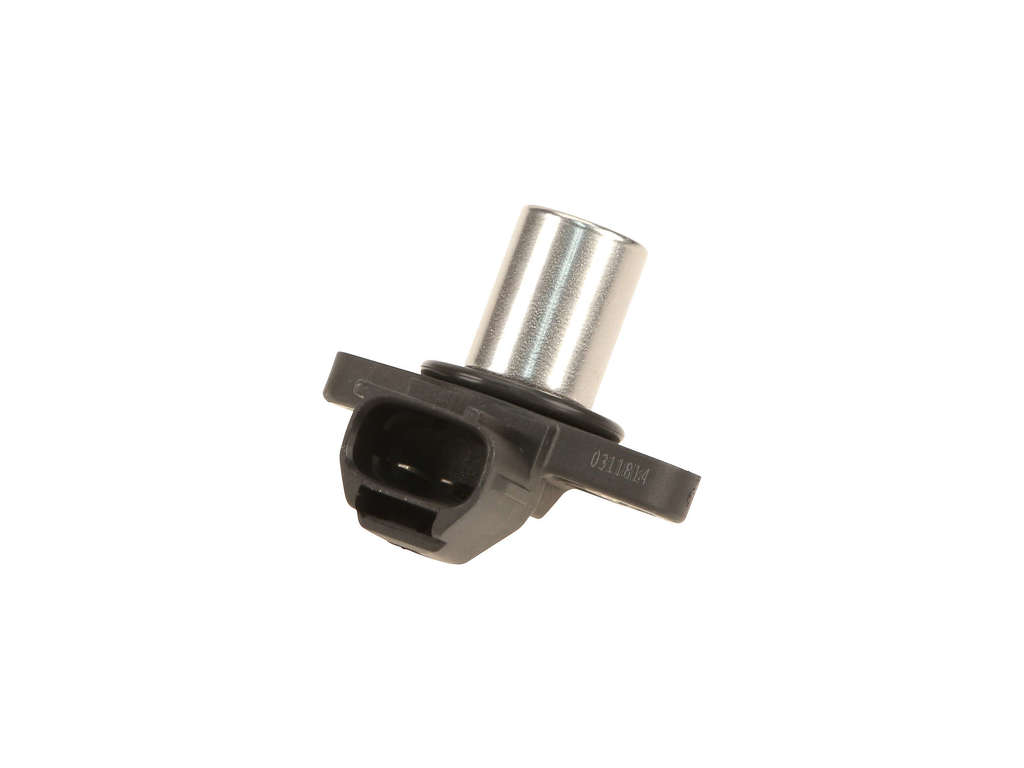
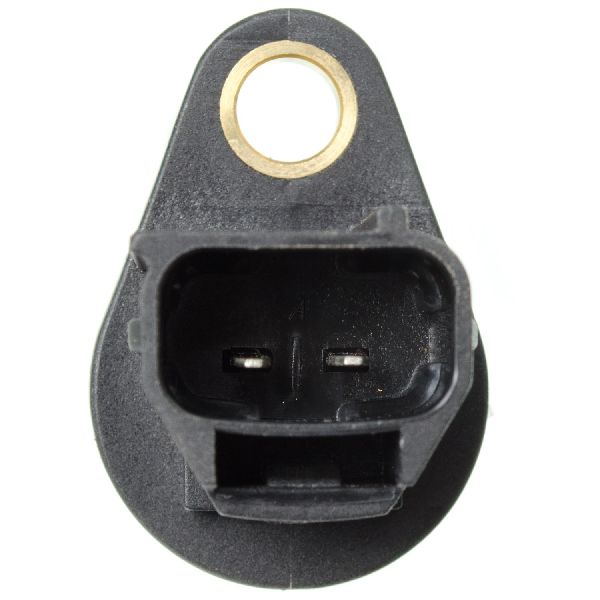
- Camshaft Position Sensor
(OEM #90919-05026)— This is the most common part to fail for this code after ruling out simple wiring or battery issues. Note: Some parts catalogs incorrectly label this as a crank sensor, but it is used for the camshaft position on the Celica. Part number 90080-19014 is a later superseded number for some applications.
Trusted brands: Denso (OEM), Aisin, NGK/NTK
OEM price range: $70-$110
Aftermarket price range: $30-$90
Related Codes That Often Appear With This One
- P0335 — This is the code for the Crankshaft Position Sensor. The cam and crank sensors work together. The TSB for the Celica notes that low battery voltage can trigger both P0340 and P0335 simultaneously.
Technical Service Bulletins (TSBs) & Recalls
- T-TT-0010-10 Rev - Low battery voltage can cause P0340 and/or P0335.
Platform-Specific Known Issues
- A Toyota Technical Service Bulletin (T-TT-0010-10 Rev) directly states: 'Low battery voltage can contribute to a MIL "ON" condition for P0335 (Crankshaft Position Sensor Circuit) and/or P0340 (Camshaft Position Sensor Circuit) due to inconsistent rotational speed of the engine's crankshaft.'
- The location of the sensor on both the 1ZZ-FE and 2ZZ-GE engines makes it highly susceptible to oil contamination from a leaking valve cover gasket, which is a very common issue on these engines. This should be one of the first visual checks.
- There is no functional difference in diagnosing P0340 between the 1ZZ-FE (GT model) and 2ZZ-GE (GT-S model) engines, as the sensor design, location, and circuit logic are analogous.
Mechanic-Grade Diagnostic Values
- Camshaft Position Sensor Internal Resistance (Cold) — expected: 835 - 1,400 Ohms. Failure: A reading of infinity (Open Loop) or significantly outside this range.
- Camshaft Position Sensor Internal Resistance (Hot) — expected: 1,060 - 1,645 Ohms. Failure: A reading outside this range when the sensor is at operating temperature (50°C to 100°C).
- Alternator AC Ripple Voltage (at battery terminals) — expected: Less than 0.5V AC with engine running and under load.. Failure: Excessive AC voltage (ripple) appearing as large, jagged spikes on an oscilloscope, which can interfere with sensor signals.
- Oscilloscope Camshaft Sensor Signal (G2) vs. Crankshaft Sensor Signal (NE) — expected: A consistent pattern of 3 square waves from the cam sensor for every two full rotations of the crank sensor pattern.. Failure: Missing, intermittent, or noisy cam sensor square waves, or a pattern that is out of sync with the crank sensor signal, indicating a timing issue.
Scan Tool Commands That Help
- Toyota Techstream: Read Freeze Frame Data — When P0340 is set, reviewing the freeze frame data is critical. It captures engine conditions (speed, load, temperature) at the exact moment the fault occurred, which can help determine if the issue is related to temperature, engine speed, or other factors.
Wiring & Ground Locations
- ECM Pin G2+ — At the main Engine Control Module (ECM) connector.. This is the primary signal input pin from the camshaft position sensor. Testing for a proper signal waveform here can confirm if the sensor and wiring are functioning correctly up to the ECM.
- ECM Pin NE- — At the main Engine Control Module (ECM) connector.. This is the shared ground pin for both the camshaft (G) and crankshaft (NE) position sensors. A poor connection at this pin can cause issues with both sensors. Testing continuity from the sensor connector to this pin is essential.
- Engine Harness Ground (Cylinder Head) — A ground point bolted directly to the cylinder head, often near the VVT-i / lift solenoids.. This is a primary ground for the engine wiring harness, which includes the sensor circuits. A loose or corroded connection here can introduce electrical noise or cause intermittent sensor signal loss.
- Engine Harness Ground (Near Alternator) — A ground point on the firewall, located above the alternator.. This ground is sometimes overlooked and is critical for filtering electrical noise. A bad ground here can fail to suppress interference from the alternator, potentially causing a P0340 code.
Real Owner Repair Stories
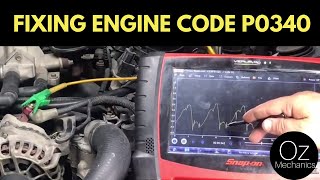
- YouTube channel 'Oz Mechanics' (Vehicle exhibiting P0340 (not a Celica, but demonstrating a principle cited in the TSB)) — Check Engine Light with code P0340, potential running issues.
❌ Tried (didn't work) Initial diagnosis pointed towards the sensor or wiring.
✅ What actually fixed it The root cause was a failing alternator producing excessive AC ripple. An oscilloscope showed a clean camshaft sensor signal when the alternator was disconnected. Replacing the alternator, which had a bad internal diode, resolved the P0340 code permanently.
OEM Part Supersession History
90919-05026→90080-19014— Standard part number consolidation and update by Toyota.
Heads up: No incompatibility is noted; 90080-19014 is the correct service replacement for 90919-05026.
Model Year Variations Within This Range
- 2000-2002 vs 2003-2005: While the P0340 diagnosis is the same, there are differences in the ECU connectors (T1 connector) and some wiring related to the Idle Air Control valve between pre-facelift (2000-02) and facelift (2003-05) models. This is important to note if swapping harnesses or performing deep electrical diagnostics at the ECU.
Helpful Videos
We Have This Part in Stock


The information in this article is provided for general reference and educational purposes only. Vehicle specifications, procedures, and part compatibility can vary by production date, trim level, and region. Always consult your vehicle's factory service manual and verify part numbers before purchasing or performing repairs. Safety-critical components such as airbags, seat belts, and braking systems should be installed by a qualified professional.
- Toyota CELICA:
- 🧭 Diagnostic Flowchart
- 🎬 Helpful Videos
- 🛍️ Shop This Part
- What's Unique About the 2001-2005 Toyota CELICA
- Symptoms You May Notice
- Most Likely Causes
- Rare But Worth Checking
- Diagnosis Steps
- Parts You'll Likely Need
- Related Codes That Often Appear With This One
- Technical Service Bulletins (TSBs) & Recalls
- Platform-Specific Known Issues
- Mechanic-Grade Diagnostic Values
- Scan Tool Commands That Help
- Wiring & Ground Locations
- Real Owner Repair Stories
- OEM Part Supersession History
- Model Year Variations Within This Range
- 🎟️ Get 5% Off