
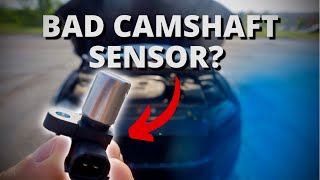
P0340 on 2012-2015 Toyota Highlander: Camshaft Sensor Circuit Causes and Fixes
On a 2012-2015 Highlander, P0340 usually means a faulty camshaft position sensor or a weak battery. First, test your battery, as a Toyota TSB confirms low voltage can trigger this code. Check the freeze frame data to see if voltage was below 11V when the code set. If the battery is good, the most likely fix is replacing the Bank 1 intake camshaft position sensor, which costs about $40-$90 for the part. On the V6, this sensor is located against the firewall but is accessible without removing the
- Always test your battery first when you see a P0340 code on a 2012-2015 Highlander. It could save you from buying an unnecessary sensor.
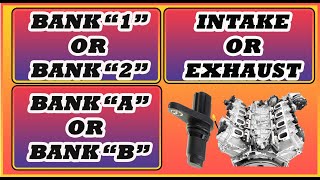
- P0340 refers to the Camshaft Position Sensor 'A' (Intake) on Bank 1. On V6 models, this is the rear bank against the firewall.
- If the battery is good, the most common fix is replacing the sensor itself.
- Accessing the correct sensor on the 3.5L V6 is challenging and may require patience or professional help.
- Driving with this code can lead to stalling and no-start conditions, so it should be addressed promptly.
What's Unique About the 2012-2015 Toyota HIGHLANDER
For this generation of Highlander, a key issue documented by Toyota itself is that a weak or dying battery can cause the P0340 code, even if the sensor is perfectly fine. A Technical Service Bulletin (TSB T-TT-0010-10 Rev) notes that low voltage during cranking (below 11V) can create an inconsistent signal that the computer interprets as a sensor fault. Additionally, on the popular 3.5L V6 engine, the sensor for this specific code (Bank 1 Intake) is located in a very tight space against the firewall. While difficult to see, many owners report it can be replaced by reaching behind the intake manifold without removing it, using a 10mm wrench. 🎬 Watch: Step-by-step Bank 1 intake sensor replacement guide. The Bank 1 *exhaust* sensor, however, does require removing the intake manifold for access.
Diagnostic Flowchart
Tap your situation to follow the diagnostic path that matches what you're seeing on this vehicle.
Generation note: This range covers two Highlander generations: the end of the 2nd generation (2012-2013) and the start of the 3rd generation (2014-2015). While the 2.7L and 3.5L engines are largely the same across these years, there may be minor differences in component layout and access. The core causes and fixes, particularly the TSB regarding battery voltage, remain consistent.
Symptoms You May Notice
- Check Engine Light is on
- Engine is hard to start or cranks but won't start
- Engine stalls intermittently, especially at idle or when coming to a stop
- Rough idling and engine vibrations
- Noticeable loss of power and poor, sluggish acceleration
- Vehicle may enter 'limp mode' with reduced power
- Reduced fuel economy
- Immediately replacing the camshaft sensor without first testing the battery and checking the freeze frame data for low voltage.
- Replacing the wrong sensor on the V6 engine. P0340 is for Bank 1 (rear), not the easily accessible Bank 2 (front) sensors.
- Replacing the Bank 1 intake sensor when the code is actually for the Bank 1 exhaust sensor (e.g., P0341), which is much harder to access.
Most Likely Causes
- Weak or Failing Battery 🔴 High Probability → Shop Vehicle Battery A specific Toyota TSB (T-TT-0010-10 Rev) directly links low battery voltage during engine cranking to the P0340 code on this platform. This is because inconsistent cranking speed can cause the ECM to misinterpret the relationship between the crank and cam signals.
How to confirm: Test the battery with a multimeter or load tester. A healthy battery should read ~12.6V with the engine off. Check the voltage while cranking; if it drops below 11V, the battery is a likely culprit. Also, check the freeze frame data with an OBD-II scanner to see what the battery voltage was at the moment the code was stored.
Typical fix: Charge or replace the battery. Ensure battery terminals and cable ends are clean and tight.
Est. part cost: $150-$300 - Faulty Camshaft Position Sensor 🔴 High Probability → Shop Engine Camshaft Position Sensor Sensors are electronic components that can fail over time due to constant heat cycles and vibration in the engine bay. This is the most common component failure for this code after ruling out the battery.
How to confirm: After confirming the battery and wiring are good, the sensor is the next logical part. It can be tested by back-probing the connector with a multimeter for voltage (typically a 5V reference signal) and ground. A common DIY test is to swap the suspect Bank 1 intake sensor with the easily accessible Bank 2 intake sensor; if the code changes to P0345 (Bank 2), the sensor is confirmed bad. 🎬 Watch: How to diagnose a bad sensor on this generation.
Typical fix: Replace the Bank 1 intake camshaft position sensor. On the 3.5L V6, this sensor is on the rear cylinder head against the firewall. Access is tight but possible by reaching behind the intake manifold with a 10mm wrench.
Est. part cost: $40-$90 - Damaged Wiring or Connector 🟡 Medium Probability Engine bay wiring can become brittle from heat cycles. Rodents are also known to chew on the soy-based wiring insulation used in many modern vehicles. The harness to the rear bank on the V6 is in a tight, hot area, making it susceptible.
How to confirm: Visually inspect the wiring harness and connector leading to the Bank 1 camshaft position sensor. Look for any signs of breaks, corrosion, melting, or rodent damage. Perform a continuity test from the sensor connector to the ECM plug if visual inspection is inconclusive.
Typical fix: Repair the damaged section of wire or replace the connector pigtail.
Est. part cost: $15-$50
Rare But Worth Checking
- Faulty Crankshaft Position Sensor: → Shop Engine Crankshaft Position Sensor The crankshaft and camshaft sensors work together. A failing crankshaft sensor can sometimes send conflicting data, leading the ECM to incorrectly flag the camshaft sensor circuit. This is more likely if P0335 is also present.
- Faulty Alternator: A failing alternator can cause the low battery voltage condition mentioned in the TSB. It can also introduce AC ripple (electrical noise) into the system, which can interfere with sensitive sensor signals and trigger codes like P0340.
- Stretched Timing Chain or Failed Tensioner: → Shop Engine Timing Chain While the 2GR-FE and 1AR-FE engines use reliable timing chains, very high mileage or severe oil maintenance neglect can lead to stretching or tensioner issues. This throws off the mechanical cam/crank correlation and can trigger this code, often along with timing correlation codes (e.g., P0011, P0012).
- Faulty Engine Control Module (ECM): → Shop Engine Control Module (ECM) This is very rare, but the ECM itself can fail. This should only be considered after all other possibilities (sensor, wiring, battery, alternator, mechanical timing) have been exhaustively ruled out.
Diagnosis Steps
- Read Freeze Frame Data: Use an OBD-II scanner to view the conditions when the code was triggered. Pay close attention to the 'BATTERY VOLTAGE' parameter. If it was below 11V, the battery is the primary suspect.
- Test the Battery & Charging System: Use a multimeter to test the battery's static voltage (~12.6V) and voltage during cranking (should stay above 10.5-11V). With the engine running, check alternator output (should be ~13.5-14.5V). A failing alternator can cause the low voltage issue.
- Inspect the Wiring: Visually inspect the camshaft position sensor's connector and wiring harness for any obvious damage, corrosion, or loose connections. On the V6, this requires inspecting the rear of the engine near the firewall.
- Swap Sensors (V6 Only): A simple and effective diagnostic trick is to swap the Bank 1 intake sensor (rear) with the Bank 2 intake sensor (front). Clear the codes and drive. If the code returns as P0345 (Bank 2 fault), the sensor is bad. If P0340 returns, the problem is in the wiring or circuit for Bank 1.
- Test the Circuit (Advanced): Using a multimeter, back-probe the sensor connector. With the key on, you should find a power wire (often 5V), a ground wire, and a signal wire. Testing the signal wire while cranking should show a fluctuating voltage or frequency, confirming the sensor is attempting to send a signal.
- Replace the Sensor: If the battery and wiring are good, and especially if the sensor swap test confirmed it, replace the sensor. On the 3.5L V6, P0340 refers to the Bank 1 (rear) intake camshaft sensor.
- Inspect Mechanical Timing (Professional): If the code persists after a new OEM sensor and verified wiring/battery, the issue may be mechanical (e.g., stretched timing chain, damaged reluctor wheel). This is a complex job best left to a professional.
- Clear the code and test drive the vehicle to ensure the repair was successful. Some vehicles may require a short drive for the computer to recognize the new, functioning sensor.
Parts You'll Likely Need
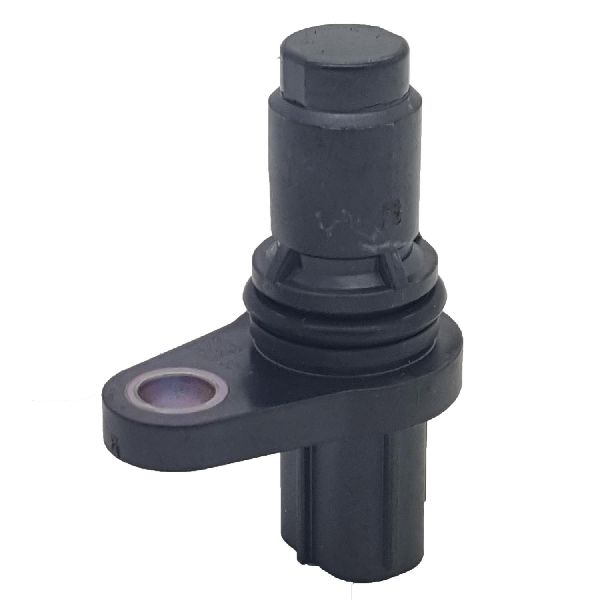
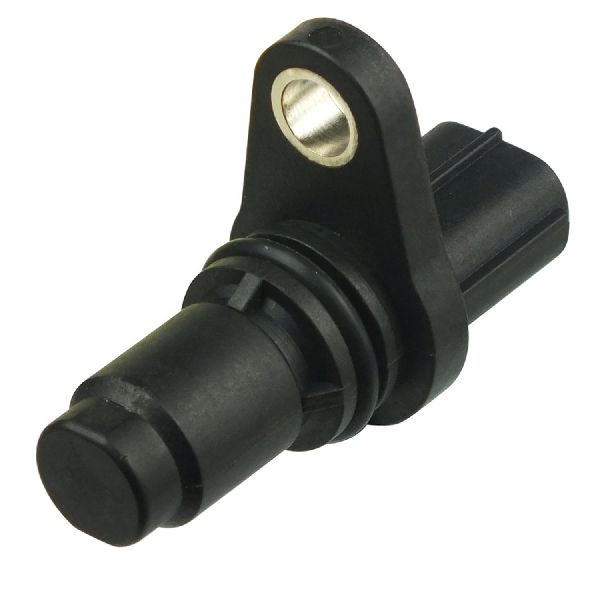
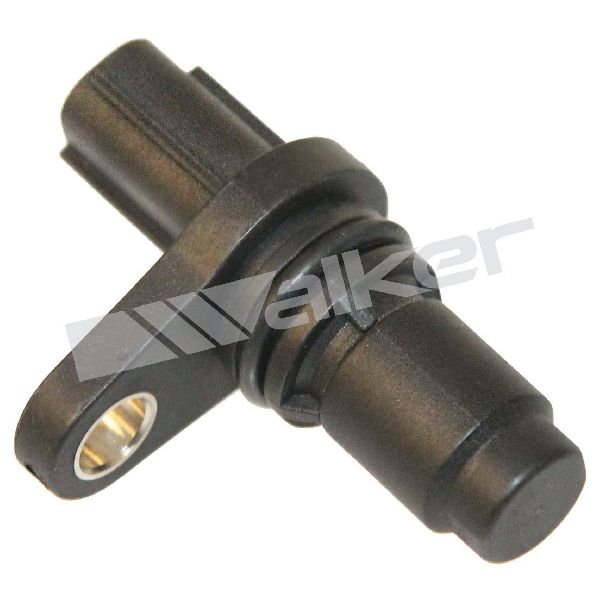
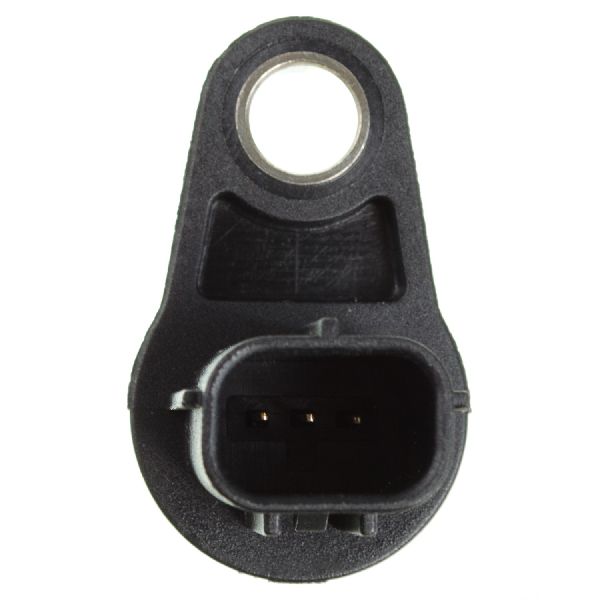
- Camshaft Position Sensor (Bank 1 Intake)
(OEM #90919-T5005 (replaces 90919-05060, 90919-T5002))— This is the most common failed component for this code after the battery is confirmed to be healthy. P0340 specifically points to the 'A' sensor (intake) on Bank 1. Using an OEM or Denso part is highly recommended for reliability.
Trusted brands: Toyota (Genuine OEM), Denso (OEM supplier), NTK
OEM price range: $70-$110
Related Codes That Often Appear With This One
- P0335 — This code is for the Crankshaft Position Sensor. The Toyota TSB T-TT-0010-10 Rev explicitly states that low battery voltage can cause both P0340 and P0335 to appear together.
- P0345 — This is the same fault but for Bank 2 (front bank). If you swap the Bank 1 and Bank 2 sensors for diagnosis and the code changes from P0340 to P0345, you have confirmed the sensor itself is faulty.
- P0011 / P0012 / P0021 / P0022 — These codes relate to camshaft timing being over-advanced or over-retarded. They can appear with P0340 if there is an underlying mechanical timing issue (stretched chain) or a problem with the VVT (Variable Valve Timing) system oil control valves or phasers.
Technical Service Bulletins (TSBs) & Recalls
- T-TT-0010-10 Rev: Notes that low battery voltage (below 11V) can cause P0335 and/or P0340 due to inconsistent engine cranking speed. Recommends checking freeze frame data to confirm voltage at the time of the fault.
Platform-Specific Known Issues
- A low battery voltage condition during cranking is a documented cause for P0340, per Toyota TSB T-TT-0010-10 Rev. Always check freeze frame data for voltage below 11V.
- On the 3.5L V6 engine, the Bank 1 (firewall side) intake camshaft sensor is difficult to see but can be replaced without removing the intake manifold. However, the Bank 1 exhaust sensor is not accessible and requires intake manifold removal.
Mechanic-Grade Diagnostic Values
- Camshaft Position Sensor (VVT Sensor) Resistance — expected: Cold: 835 to 1,400 Ω. Hot: 1,060 to 1,645 Ω. 'Cold' is approx. -10°C to 50°C, 'Hot' is approx. 50°C to 100°C.. Failure: A reading outside these ranges, or an open circuit (infinite resistance), indicates a failed sensor coil.
- Sensor Reference Voltage at Connector — expected: 4.5 to 5.0 V DC between the reference voltage pin (VC2) and body ground with the key on, engine off.. Failure: No voltage or significantly lower voltage points to a wiring issue or a problem with the ECM's 5V reference circuit.
Scan Tool Commands That Help
- Toyota Techstream (Intelligent Tester): Read Freeze Frame Data — This is the most critical first step. It captures engine conditions, including battery voltage, at the exact moment the P0340 code was set. This is essential for diagnosing the low-voltage issue described in the TSB.
- Toyota Techstream (Intelligent Tester): DTC INFO / PENDING CODES — After clearing codes post-repair, this function is used to check if the fault returns as a 'pending' code during a test drive, confirming if the fix was successful before the MIL illuminates again.
Wiring & Ground Locations
- Engine Harness Grounds (2GR-FE) — The main engine harness has ground points that bolt directly to the sides of the cylinder heads. One is located under the throttle body on the rear head (Bank 1), and another is on the side of the front head (Bank 2).. The camshaft position sensors are part of the engine harness. A loose or corroded ground at these points can introduce electrical noise or resistance, causing erratic sensor signals and triggering P0340.
- Valve Cover to Chassis Grounds — The 2GR-FE engine uses ground straps running from studs on the valve covers directly to the chassis, typically near the strut towers.. These are the primary paths for the engine block to ground to the vehicle's body. A poor connection here can affect the entire engine management system, including all sensor readings.
- Sensor Connector Pinout — The 3-wire connector at the camshaft position sensor.. Testing requires identifying the pins for reference voltage (approx. 5V), ground, and the signal wire. A service manual or wiring diagram is needed to correctly identify each pin for back-probing with a multimeter.
Real Owner Repair Stories
- YouTube user 'TrackPalmer' (Toyota Highlander V6 (year not specified, but 2GR-FE engine)) — Check Engine Light with associated codes (initially P0012, but fix is for the camshaft sensor).
❌ Tried (didn't work) The user advised against immediately replacing the sensor, recommending to first check wiring, oil level, and oil condition.
✅ What actually fixed it The problem was resolved by replacing the Bank 1 intake camshaft position sensor. After replacement, the user left the Check Engine Light on, and the vehicle's computer turned the light off on its own after a 7-minute drive, confirming the repair was successful.
OEM Part Supersession History
90919-05060→90919-T5005— Standard part evolution, likely for improved reliability or manufacturing consistency.
Heads up: The original part number 90919-05060 is notoriously used for both camshaft and crankshaft position sensors across many different Toyota and Lexus models. While they may look identical, their internal electronics or magnetic properties can differ. Using the wrong one, even if it fits, can cause persistent codes or no-start conditions. Always verify the correct part number for the specific position (Bank 1 Intake Cam) via VIN.
Model Year Variations Within This Range
- 2012-2015: No significant variations related to the P0340 fault diagnosis were identified within this model year range. The 2GR-FE V6 and 1AR-FE 4-cylinder engines and their management systems were largely unchanged.
Helpful Videos
We Have This Part in Stock


The information in this article is provided for general reference and educational purposes only. Vehicle specifications, procedures, and part compatibility can vary by production date, trim level, and region. Always consult your vehicle's factory service manual and verify part numbers before purchasing or performing repairs. Safety-critical components such as airbags, seat belts, and braking systems should be installed by a qualified professional.
- Toyota HIGHLANDER:
- 🧭 Diagnostic Flowchart
- 🎬 Helpful Videos
- 🛍️ Shop This Part
- What's Unique About the 2012-2015 Toyota HIGHLANDER
- Symptoms You May Notice
- Most Likely Causes
- Rare But Worth Checking
- Diagnosis Steps
- Parts You'll Likely Need
- Related Codes That Often Appear With This One
- Technical Service Bulletins (TSBs) & Recalls
- Platform-Specific Known Issues
- Mechanic-Grade Diagnostic Values
- Scan Tool Commands That Help
- Wiring & Ground Locations
- Real Owner Repair Stories
- OEM Part Supersession History
- Model Year Variations Within This Range
- 🎟️ Get 5% Off