
P0442 on 2001-2005 Chevrolet Astro: EVAP Small Leak Causes and Fixes
On a 2001-2005 Chevy Astro, the P0442 code almost always points to a simple fix like a loose or worn-out gas cap. If that's not it, the next most likely culprits are a failing EVAP vent or purge solenoid. A new gas cap is under $20, while solenoids can range from $25 to $70. A crucial point for this van is to check for rust on the fuel filler neck, which prevents the cap from sealing.
- P0442 means your van has a small leak in the fuel vapor system.
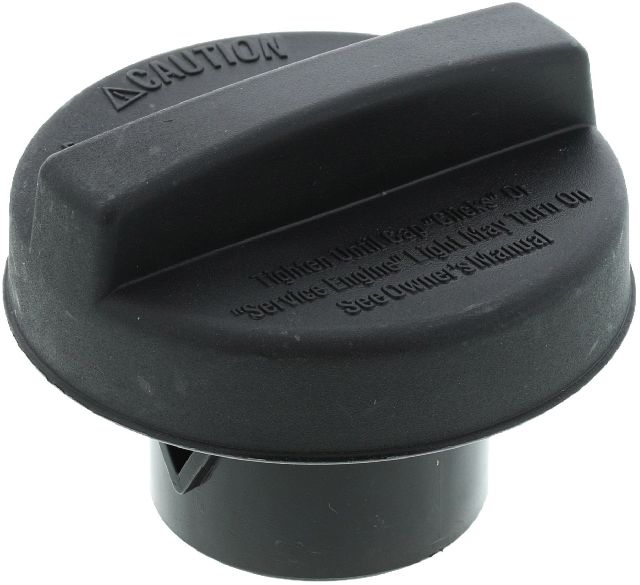
- Always start with the simplest fix: check that the gas cap is tight and inspect its seal for cracks. A new gas cap is an inexpensive first step.
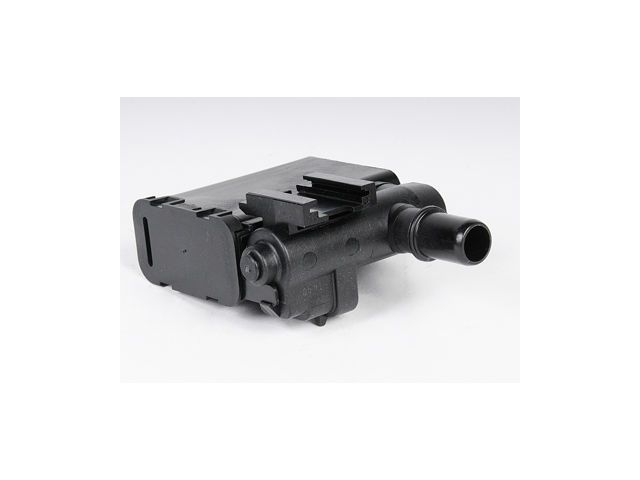
- If the gas cap isn't the problem, the next most likely culprits are the EVAP vent solenoid (by the tank) or the purge solenoid (in the engine bay).
- A smoke test is the most reliable way for a mechanic (or a well-equipped DIYer) to find the exact source of a stubborn leak.
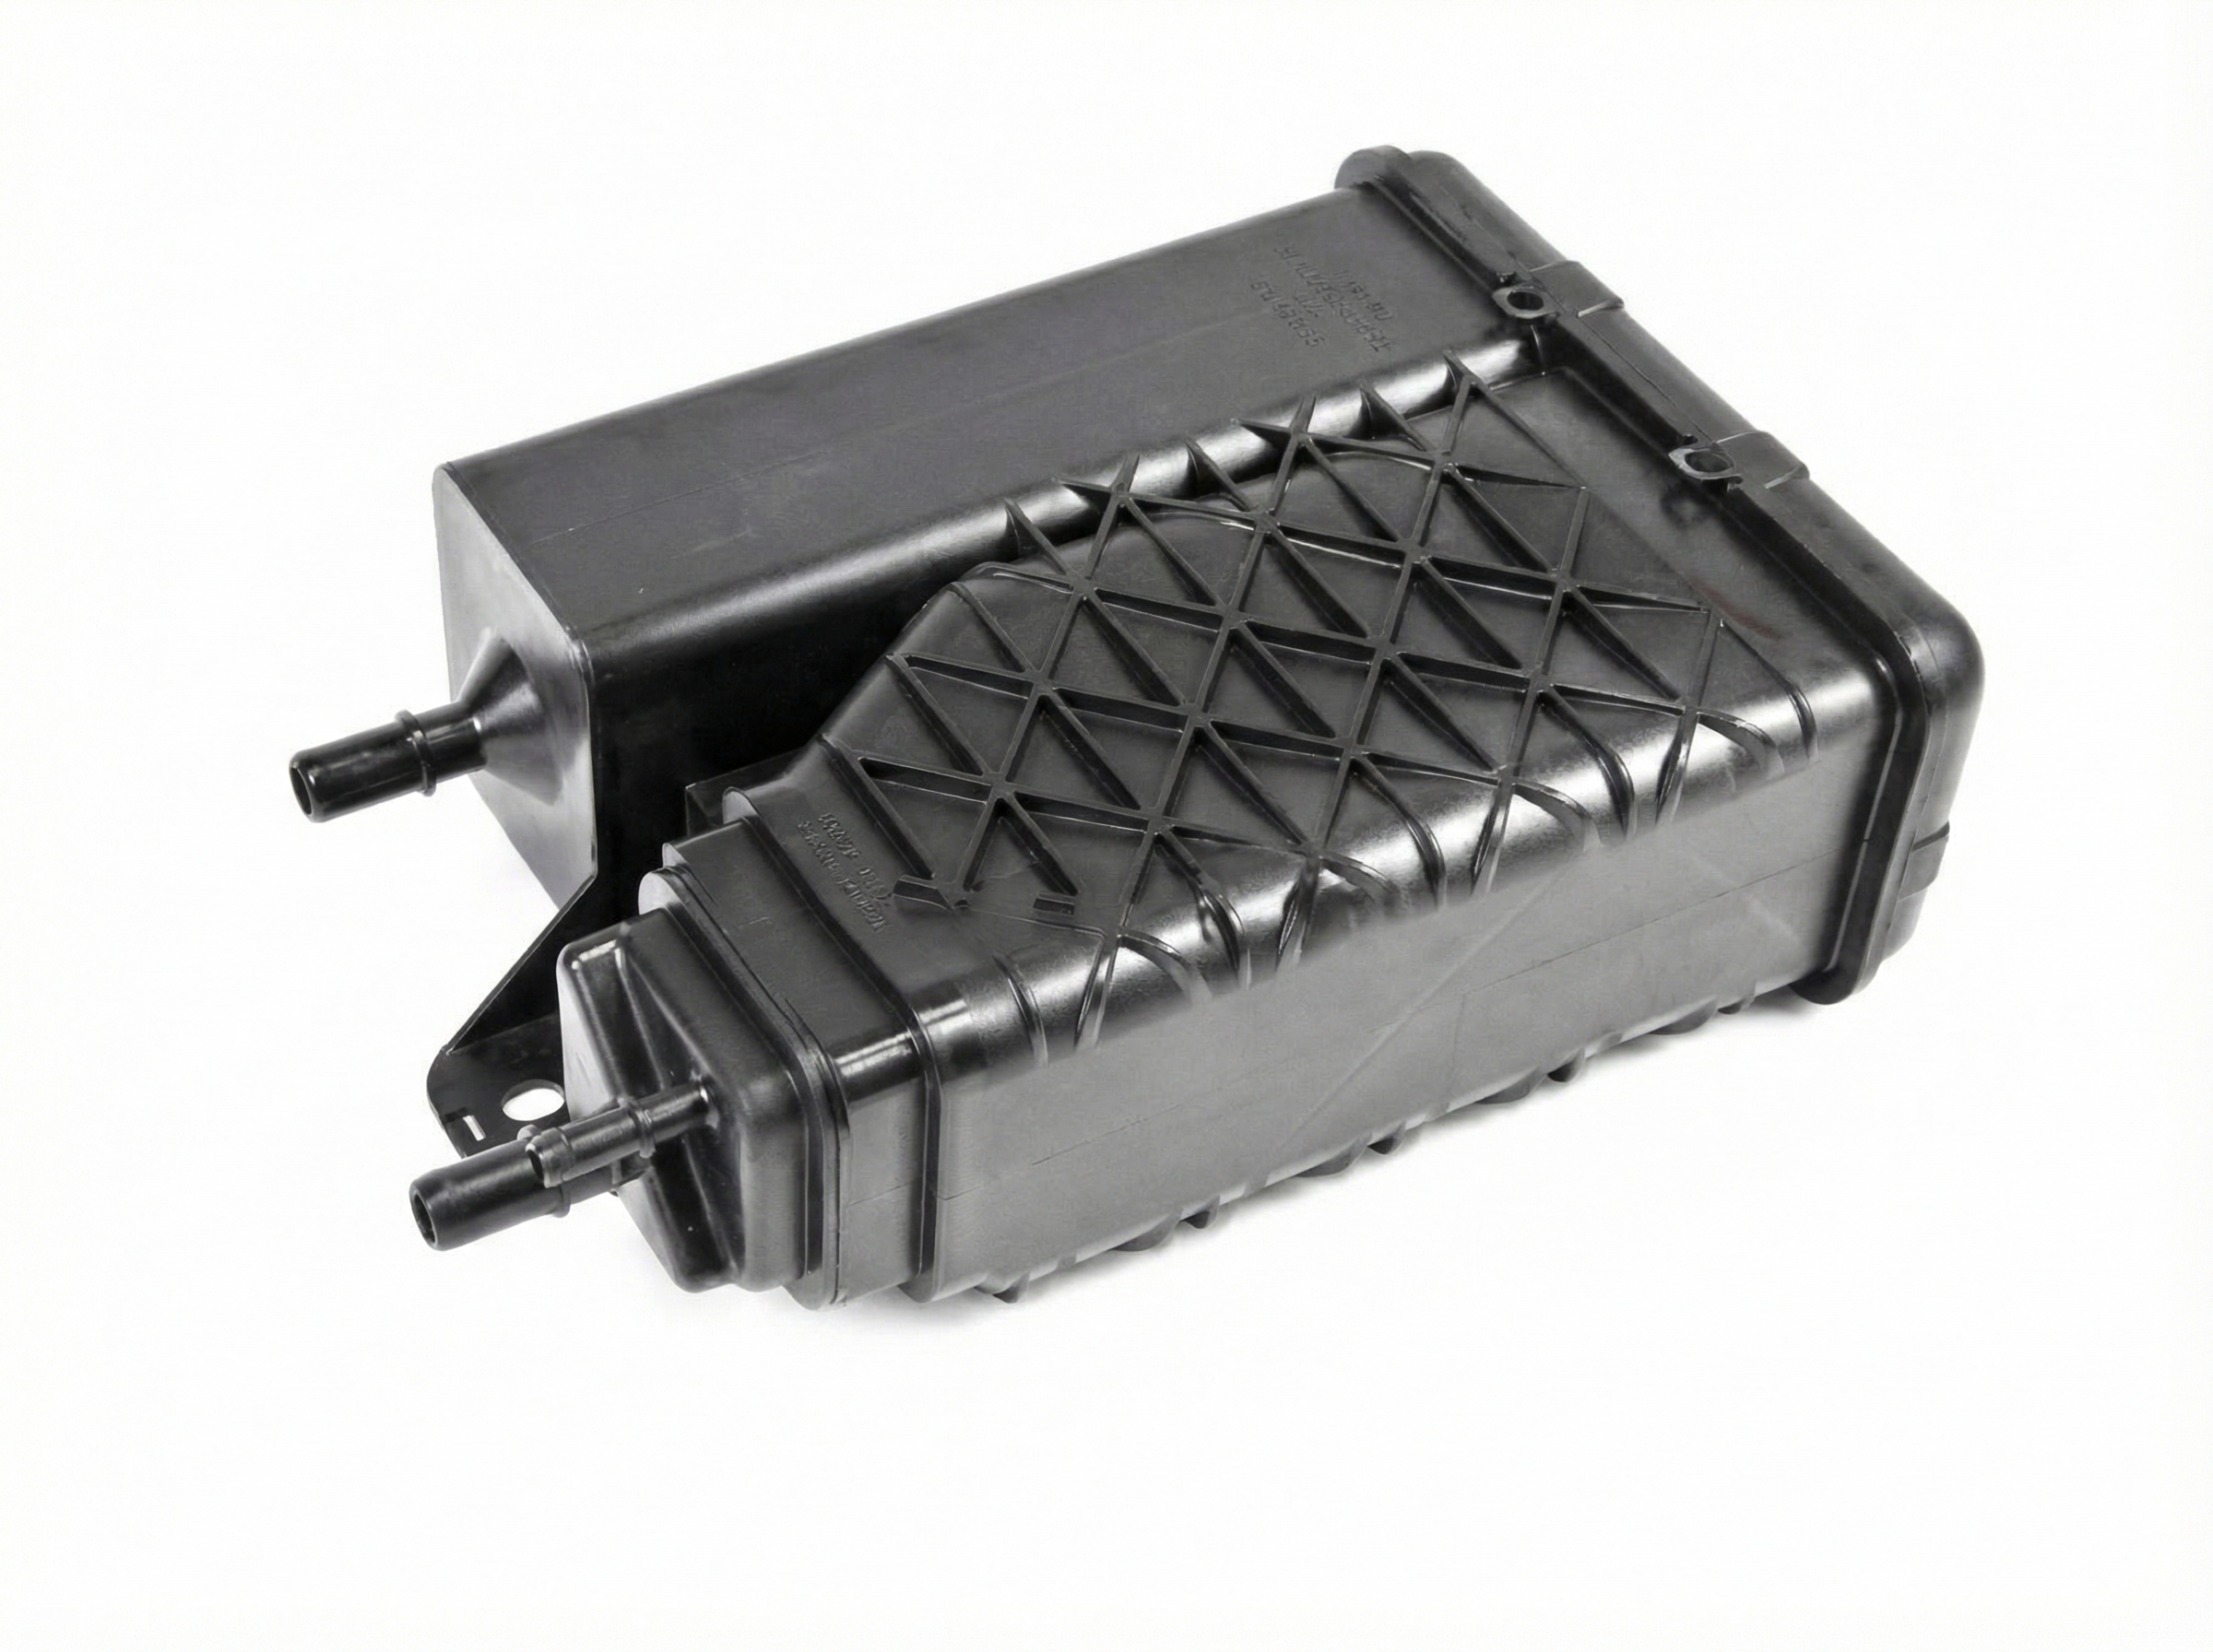
- If you need to replace the vapor canister, ensure you buy the correct part for your RWD or AWD model, as they are different.
What's Unique About the 2001-2005 Chevrolet ASTRO
For the Chevy Astro and its GMC Safari twin, the P0442 code is a very common issue, often stemming from the vehicle's age and the exposure of its EVAP components to the elements. The large, van-based platform means EVAP lines run the length of the vehicle, increasing the chances of a hose cracking or a component failing. Notably, there are different EVAP vapor canisters for Rear-Wheel Drive (RWD) and All-Wheel Drive (AWD) models, and they are not interchangeable, which can trap DIY mechanics who order the wrong part. Another frequently cited issue on owner forums is rust forming on the fuel filler neck, which compromises the gas cap's seal and is a primary cause of P0442 on these specific vans.
Diagnostic Flowchart
Tap your situation to follow the diagnostic path that matches what you're seeing on this vehicle.
Symptoms You May Notice
- Check Engine Light is on
- A faint smell of gasoline, especially around the rear of the vehicle or after refueling.
- Difficulty filling the gas tank (fuel pump nozzle clicks off repeatedly), which can indicate a clogged canister or stuck vent valve.
- Long crank time after refueling. If the purge valve is stuck open, it can flood the engine with fuel vapors after you fill the tank, making the engine hard to start.
- Replacing the charcoal canister when only the vent valve is bad. The vent valve is often sold separately and is a more common failure point than the canister itself.
- Replacing the fuel tank pressure sensor when there is an actual leak elsewhere. The sensor is usually doing its job correctly by reporting the leak.
- Replacing the gas cap without cleaning or inspecting the fuel filler neck for rust, which is the true source of the leak.
Most Likely Causes
- Loose or Faulty Gas Cap 🔴 High Probability → Shop Fuel Tank Cap The gas cap seal is made of rubber that degrades, cracks, and hardens over time, leading to a poor seal. It's the most frequently handled part of the system and often the first to fail. Using a non-OEM cap can also cause issues.
How to confirm: First, ensure the cap is tightened until it clicks multiple times. If the light returns, visually inspect the rubber O-ring on the cap for any cracks, stiffness, or damage. Crucially, inspect the metal fuel filler neck for rust or debris that could prevent a good seal, a very common problem on these vans.
Typical fix: Replace the gas cap with a new, quality OEM part. If the filler neck is rusted, it must be cleaned to bare metal or replaced.
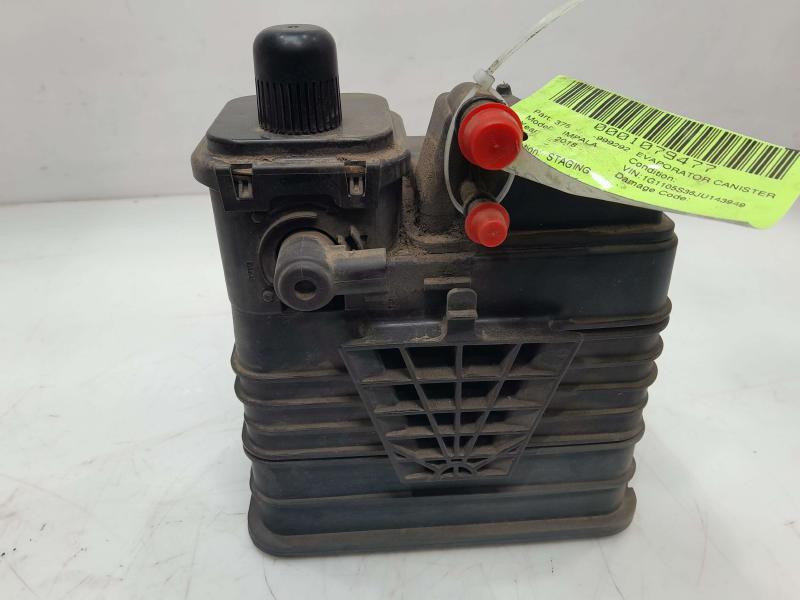
Est. part cost: $10-$25 - Failed EVAP Vent Valve/Solenoid 🟡 Medium Probability → Shop Vapor Canister Located near the fuel tank and charcoal canister, this valve is exposed to road debris and moisture, causing it to fail. It can get stuck open or closed, leading to leak codes or fueling issues. Dust intrusion is a known issue, as noted in GM TSBs.
How to confirm: A mechanic can command the valve closed with a scan tool during a smoke test to see if it's leaking. It can also be removed and tested by applying 12V power to see if the solenoid clicks. If it doesn't click, it has failed.
Typical fix: Replace the EVAP vent valve solenoid. It is often attached to the charcoal canister. On the Astro, it is located near the fuel filter on the underside of the vehicle. 🎬 Watch this step-by-step guide to replacing the vent valve.
Est. part cost: $30-$70 - Failed EVAP Purge Valve/Solenoid 🟡 Medium Probability → Shop Vapor Canister This valve is located in the engine bay and cycles frequently. Over time, it can get stuck slightly open, creating a constant small leak.
How to confirm: With the engine off, disconnect the hose leading from the valve to the intake manifold and try to blow through it. It should be closed and block airflow. If air passes, it has failed. A scan tool can also be used to command it open and closed while checking for flow.
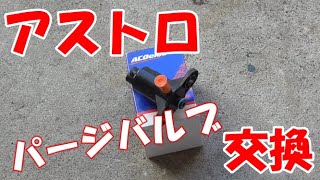
Typical fix: Replace the purge valve solenoid. On the 4.3L V6, it is located on top of the engine near the MAP sensor. 🎬 See how to access and swap the purge valve solenoid.
Est. part cost: $25-$60 - Cracked or Disconnected EVAP Hoses ⚪ Low Probability The plastic and rubber hoses that run from the tank to the engine can become brittle and crack with age and exposure to heat and cold cycles.
How to confirm: A visual inspection may reveal obvious cracks, especially at connection points. The most reliable method is a smoke test, which will force smoke through the system and make even tiny leaks visible.
Typical fix: Replace the cracked section of hose or the entire line if necessary.
Est. part cost: $5-$50
Rare But Worth Checking
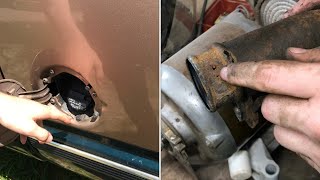
- Rusted Fuel Filler Neck: → Shop Fuel Filler Neck While related to the gas cap, this is a distinct and very common problem on Astros and Safaris. The metal lip of the filler neck where the cap's O-ring seals can rust and flake away, creating an uneven surface that a new cap cannot seal against. This requires sanding the neck smooth or replacing the filler neck assembly. 🎬 Watch a pro fix a rusted, leaking fuel filler neck.
- Cracked Charcoal Canister: → Shop Vapor Canister The plastic housing of the canister itself can develop a hairline crack from age or impact from road debris. This is less common than a valve failure but is a definite possibility. A smoke test is the best way to confirm.
- Leaking Fuel Tank Pressure Sensor: → Shop Fuel Tank The sensor that monitors system pressure can fail, but more rarely, the seal where it mounts to the fuel tank or pump assembly can leak, causing a P0442 code. The sensor is located in the fuel tank.
Diagnosis Steps
- Check the Gas Cap and Filler Neck: Remove the gas cap. Inspect the seal for cracks or hardness. More importantly, thoroughly inspect the metal lip of the fuel filler neck for any rust, scale, or debris. Clean it with a cloth or light abrasive if necessary. Reinstall the cap until it clicks several times. Clear the code and drive for a few days.
- Visual Inspection: Carefully inspect all visible EVAP hoses and lines running from the engine bay to the fuel tank. Look for obvious cracks, loose connections, or damage, paying close attention to rubber elbows and connection points.
- Test the Purge Solenoid: Locate the purge solenoid on the top of the engine. With the engine off, it should be closed. Disconnect its hoses and try to blow through it; if air passes, it has failed and needs replacement.
- Inspect the Vent Solenoid: Locate the vent solenoid and charcoal canister, mounted on a frame rail near the fuel filter. Check for damage and ensure electrical connectors are secure. You can test it by applying 12V to see if it clicks.
- Perform a Smoke Test: This is the most effective way to find small leaks. A smoke machine is connected to the EVAP service port (usually near the purge valve), and low-pressure smoke is forced into the system. Smoke will exit from any cracks or leaks, pinpointing the source of the problem.
Parts You'll Likely Need
- Gas Cap
(OEM #ACDelco GT255 (replaces GT225))— This is the most common failure point due to constant use and seal degradation. It's the cheapest and easiest part to replace first.
Trusted brands: ACDelco, Stant, Carquest
OEM price range: $15-$30
Aftermarket price range: $10-$20 - EVAP Vent Valve Solenoid
(OEM #ACDelco 214-2149 (GM 25932571))— Its location near the fuel tank exposes it to the elements, making it a frequent cause of P0442 and other EVAP codes like P0446.
Trusted brands: ACDelco, Dorman, Standard Motor Products
OEM price range: $50-$90
Aftermarket price range: $30-$70 - EVAP Purge Valve Solenoid
(OEM #ACDelco 214-641)— This valve cycles constantly during engine operation and can wear out or get stuck, creating a small, persistent leak.
Trusted brands: ACDelco, Delphi, Standard Motor Products
OEM price range: $40-$70
Aftermarket price range: $25-$60
Related Codes That Often Appear With This One
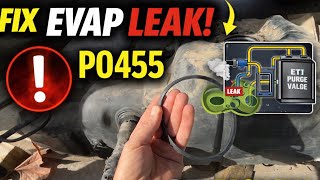
- P0455 — This code indicates a 'Large EVAP Leak.' It often appears with P0442 if a small leak (like a cracked hose) gets worse over time or if a component fails intermittently.
- P0440 — This is a general 'EVAP System Malfunction' code. It can be triggered alongside P0442 as a more generic indicator that the system has a fault.
- P0446 — This code points specifically to a 'Vent Control Circuit Malfunction.' If you see this with P0442, it strongly suggests the problem is with the EVAP vent valve or its wiring, not just a random leak. TSB 02-06-04-037 specifically addresses P0446 caused by dust clogging the vent system.
Technical Service Bulletins (TSBs) & Recalls
- Bulletin #21-NA-124: Provides diagnostic tips for testing EVAP system leaks related to DTCs P0442 and/or P0455.
- Bulletin #PIT4943D: Directs technicians to review a specific Techlink article about using an EVAP system tester for diagnosis.
- Bulletin #02-06-04-037 (and its revisions): While this TSB is for code P0446, it is highly relevant. It addresses dirt/dust intrusion into the EVAP vent system causing a restriction. The fix involves replacing the vent valve and installing a remote filter box kit (P/N 19152349 for 2004-2007 models) in a cleaner location, often routing the hose up near the transmission bell housing. This prevents a common failure mode for the vent solenoid.
Platform-Specific Known Issues
- The EVAP vapor canister is different for Rear-Wheel Drive (RWD) and All-Wheel Drive (AWD) models; they are not interchangeable and must be ordered correctly for your specific van. The RWD canister is GM Part #17113683.
- The EVAP canister is located above the fuel tank, which can make access to it and the vent solenoid somewhat difficult without raising the vehicle securely.
- Rust on the fuel filler neck is a very common problem on these vans and a primary cause of P0442.
Mechanic-Grade Diagnostic Values
- EVAP Purge Valve Solenoid Resistance — expected: 20 to 30 Ohms. Failure: A reading that is too high, too low, or infinite (open circuit) indicates a faulty solenoid coil.
- EVAP Vent Valve Solenoid Resistance — expected: 20 to 50 Ohms. Failure: An open circuit (infinite resistance) or a reading far outside the expected range indicates a bad coil.
- Fuel Tank Pressure (FTP) Sensor Voltage — expected: 1.3 to 1.7 Volts at atmospheric pressure (e.g., gas cap off). Failure: If the voltage is stuck low (e.g., 0.2V) even with the gas cap removed, it points to a faulty sensor or a wiring issue.
Scan Tool Commands That Help
- Tech2 / Professional Scan Tool: EVAP System Test / Vent Valve Solenoid Command — This bidirectional command is used to manually close the normally-open vent valve. This is a required step to seal the system before performing a smoke test, allowing the technician to check the valve's function and test the rest of the system for leaks.
- Tech2 / Professional Scan Tool: Purge Valve Solenoid Command — This command allows a technician to cycle the normally-closed purge valve on and off to check for an audible click and to verify if it's sealing and opening correctly during diagnosis.
Wiring & Ground Locations
- G105 — On the thermostat housing.. This ground is critical for the PCM (Powertrain Control Module). A poor connection here can cause a wide range of false codes and erratic sensor behavior.
- G104 — On the passenger side, above the blower motor, or on the lower left side of the evaporator housing.. This ground serves the fuel pump relay. While not directly part of the EVAP system, intermittent power to the fuel system can sometimes cause related diagnostic confusion.
- G302 / G400 — On the left rear side of the frame.. This is a primary ground point for rear-body components, including the fuel pump and sender assembly, which contains the Fuel Tank Pressure sensor. Corrosion at this ground can cause faulty sensor readings.
- Fuel Tank Pressure (FTP) Sensor Connector — Atop the fuel pump module inside the fuel tank.. For advanced diagnosis, the three wires can be tested. On many GM models, they are Gray (5V reference), Dark Green (signal), and Tan (ground). Testing for 5V and good ground here can isolate a bad sensor from a wiring problem.
- EVAP Vent Valve Connector — Under the vehicle near the charcoal canister.. On a 2003 model, the Orange wire should have battery voltage with the key on, and the White wire is the ground controlled by the PCM. A loss of voltage on the Orange wire points to a wiring break upstream.
Real Owner Repair Stories
- Commenter on a YouTube diagnostic video (2007 Silverado Classic (similar GM EVAP system)) — Persistent P0442 code.
❌ Tried (didn't work) Replaced purge valve, Replaced vent solenoid (purge solenoid), Replaced gas cap multiple times, Performed a smoke test which found no leaks
✅ What actually fixed it The user suspected the Fuel Tank Pressure Sensor (FTPS) was the final remaining possibility after all other common parts were replaced and a smoke test passed.
"I Checked Everything" — The Actual Cause
- In some cases, a vehicle can pass a smoke test but still have a P0442 code. This often points to an intermittent or functional failure rather than a static leak. The most common culprit in this scenario is a faulty EVAP purge valve. Even if it holds pressure during the test, it may not be sealing correctly under vacuum when the engine is running, creating a small leak that the system detects over time.
Helpful Videos

Used OEM Parts in Stock
New Aftermarket Parts Available


The information in this article is provided for general reference and educational purposes only. Vehicle specifications, procedures, and part compatibility can vary by production date, trim level, and region. Always consult your vehicle's factory service manual and verify part numbers before purchasing or performing repairs. Safety-critical components such as airbags, seat belts, and braking systems should be installed by a qualified professional.
- Chevrolet ASTRO:
- 🧭 Diagnostic Flowchart
- 🎬 Helpful Videos
- 🛍️ Shop This Part
- What's Unique About the 2001-2005 Chevrolet ASTRO
- Symptoms You May Notice
- Most Likely Causes
- Rare But Worth Checking
- Diagnosis Steps
- Parts You'll Likely Need
- Related Codes That Often Appear With This One
- Technical Service Bulletins (TSBs) & Recalls
- Platform-Specific Known Issues
- Mechanic-Grade Diagnostic Values
- Scan Tool Commands That Help
- Wiring & Ground Locations
- Real Owner Repair Stories
- "I Checked Everything" — The Actual Cause
- 🎟️ Get 5% Off