
P0442 on 2000-2004 Chevrolet Cavalier: EVAP Small Leak Causes and Fixes
For a 2000-2004 Cavalier, code P0442 almost always means you have a small leak in the evaporative emissions (EVAP) system. The most common fix is replacing a worn-out or loose gas cap, which is a very inexpensive part. If that doesn't work, the next likely culprits are the EVAP purge or vent valves, with the fuel filler neck also being a common point of failure due to rust.
- P0442 on your Cavalier means there's a small leak in the fuel vapor system.
- Always start by checking the gas cap. A loose or worn-out cap is the #1 cause and the cheapest fix.
- If the gas cap isn't the problem, the next most likely parts to fail are the purge valve (in the engine bay) or the vent valve (under the car).
- You can continue to drive the car without damaging it, but you won't pass an emissions inspection until the leak is fixed.
- For hard-to-find leaks, a smoke test is the most effective diagnostic method.
What's Unique About the 2000-2004 Chevrolet CAVALIER
The third-generation Cavalier is a straightforward vehicle, and its EVAP system is no exception. There are no overly complex or unique technologies that make diagnosing this code difficult. The most common failure points—gas cap, vent solenoid, purge valve, and a rust-prone fuel filler neck—are typical for many GM vehicles of this era. The key is to follow a logical diagnostic path, as outlined in GM's own technical service bulletins, rather than immediately replacing parts.
Diagnostic Flowchart
Tap your situation to follow the diagnostic path that matches what you're seeing on this vehicle.
Symptoms You May Notice
- Check Engine Light is on
- A faint smell of gasoline, particularly around the rear of the car.
- Difficulty starting after refueling (indicative of a stuck-open purge valve).
- Gas pump nozzle clicks off repeatedly when trying to fill the tank (can indicate a clogged vent valve or line).
- Replacing the fuel tank pressure sensor. This sensor is what reports the leak to the computer, but it is rarely the cause of the leak itself. A faulty sensor would typically set a different code (e.g., P0452, P0453).
Most Likely Causes
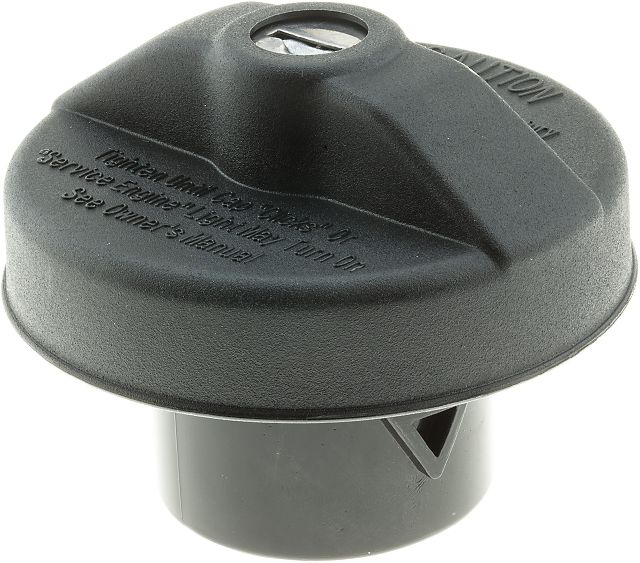
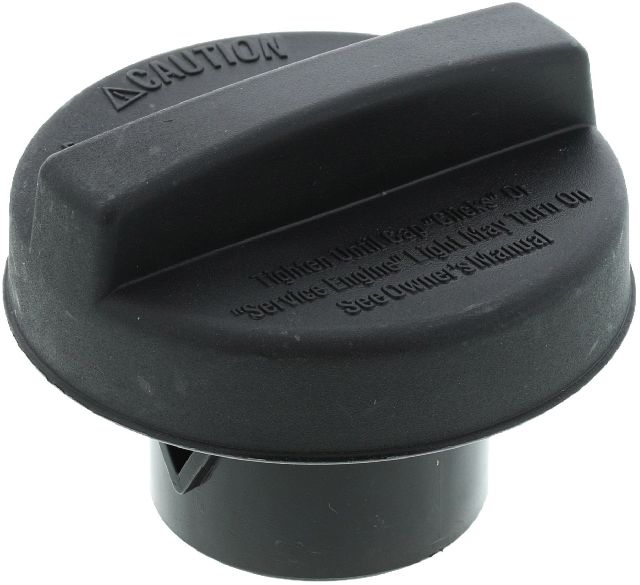
- Loose or Faulty Gas Cap 🔴 High Probability → Shop Fuel Tank Cap The rubber O-ring on the gas cap is a seal that degrades over time due to exposure to fuel vapors and weather. Cracks in this seal are a very common source of small EVAP leaks. It is highly recommended to use an OEM or high-quality aftermarket cap, as some cheaper versions may not seal correctly.
How to confirm: First, ensure the cap is tightened until it clicks multiple times. Inspect the rubber seal on the cap for any cracks, stiffness, or visible damage. Also, check the fuel filler neck for rust or debris that could prevent a good seal.
Typical fix: Replace the gas cap. It's recommended to use a quality OEM (ACDelco) or equivalent aftermarket cap to ensure a proper seal.
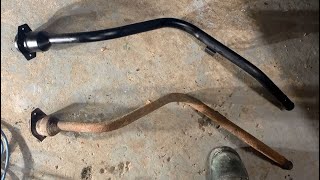
Est. part cost: $10-$30 - Cracked or Rusted Fuel Tank Filler Neck Medium-high Probability → Shop Fuel Tank The metal filler neck is highly susceptible to rust, especially in regions that use road salt. Rust can perforate the metal where the gas cap seals or where the EVAP hoses connect, causing a leak that is often mistaken for a bad gas cap.
How to confirm: Visually inspect the filler neck for bubbling paint, flaking rust, or visible holes, especially on the top surface where the cap seals. A smoke test is the definitive way to confirm a leak in this area if it's not visually obvious.
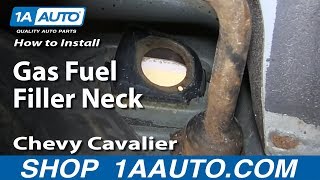
Typical fix: Replace the entire fuel filler neck assembly. 🎬 Watch: Step-by-step guide to replacing a rusted fuel filler neck. This is a common repair for these vehicles.
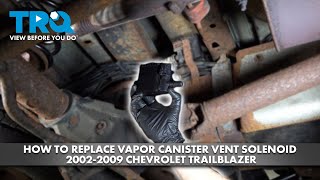
Est. part cost: $40-$80 - Faulty EVAP Vent Valve/Solenoid 🟡 Medium Probability → Shop Vapor Canister This valve is located near the charcoal canister, typically above the rear axle, exposing it to road salt, water, and debris. Corrosion can cause the valve to stick, fail electrically, or be unable to seal properly. GM issued TSBs for similar models regarding this issue.
How to confirm: The valve is normally open. A scan tool with bidirectional controls can command it closed for testing. Without a scan tool, you can remove it and apply 12V to the terminals; you should hear a click. If it's stuck, doesn't click, or doesn't seal when commanded closed (you can blow through it), it's faulty. Wires leading to the solenoid can also corrode and break.
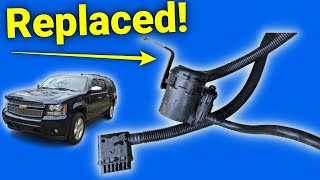
Typical fix: Replace the EVAP vent valve solenoid. On some GM vehicles, a kit is available to relocate the air filter for the vent to a cleaner location. 🎬 Watch: How to swap out a failing vapor canister vent valve.
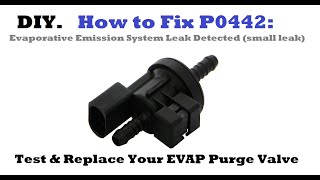
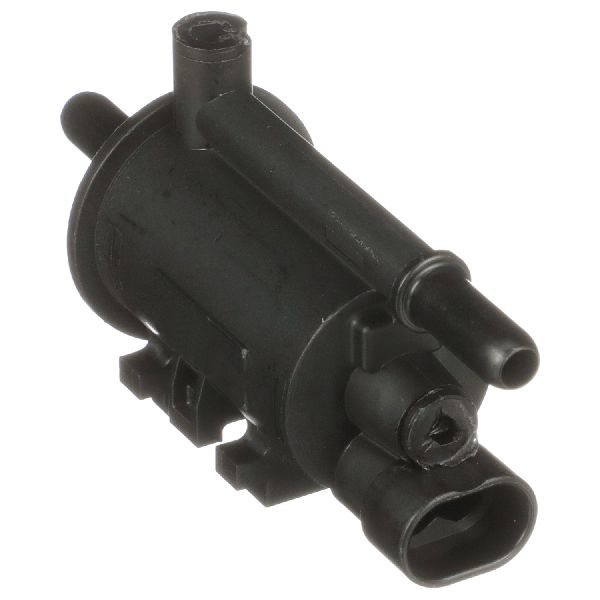
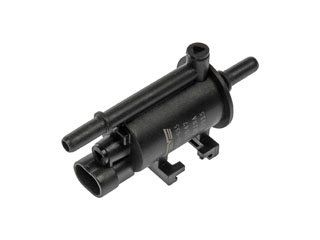
Est. part cost: $25-$50 - Faulty EVAP Purge Valve/Solenoid 🟡 Medium Probability → Shop Vapor Canister Located in the engine bay, this valve controls the flow of fuel vapors from the canister to the engine. It can get stuck open or leak internally, which the system detects as a small leak.
How to confirm: This valve is normally closed. With the engine off, disconnect the vapor line from the valve and try to blow through it. If air passes through, the valve is stuck open and needs to be replaced. Another symptom of a stuck-open purge valve is difficulty starting the car right after filling the gas tank. 🎬 See how to test and replace a faulty EVAP purge valve.
Typical fix: Replace the EVAP purge valve.
Est. part cost: $20-$75 - Cracked or Disconnected EVAP Hoses ⚪ Low Probability Over many years, the rubber and plastic lines that make up the EVAP system can become brittle and crack, especially at connection points or bends near the engine or under the car.
How to confirm: A visual inspection may reveal obvious cracks, but small leaks are often invisible. The most effective method is a smoke test, where a machine fills the EVAP system with low-pressure smoke, revealing the source of any leak.
Typical fix: Replace the damaged section of hose or the entire line assembly.
Est. part cost: $5-$50
Rare But Worth Checking
- Leaking Charcoal Canister: → Shop Vapor Canister The plastic housing of the canister itself can develop hairline cracks over time, leading to a small leak. This is usually found with a smoke test after all other components have been checked.
Diagnosis Steps
- Read the code with an OBD-II scanner to confirm P0442 is present.
- Inspect the gas cap for tightness and check its rubber seal for cracks or damage. Clean the fuel filler neck sealing surface of any rust or debris with a wire brush.
- If the gas cap looks old or worn, replace it with a quality OEM part, clear the code, and drive for a few days to see if the light returns. This is the cheapest and most common fix.
- If the light returns, perform a careful visual inspection of the fuel filler neck for rust holes or bubbling paint.
- Visually inspect all accessible EVAP hoses in the engine bay and under the car for obvious cracks, loose connections, or deterioration.
- Locate the EVAP purge valve in the engine bay. With the engine off, disconnect it and try to blow through it. If air passes, it has failed and needs replacement.
- If the purge valve is good, locate the EVAP vent valve near the charcoal canister under the rear of the vehicle. Inspect it and its wiring for corrosion or damage. Test its operation with a scan tool or by applying 12V power.
- If no obvious faults are found, the most reliable next step is to have a professional smoke test performed. This will pressurize the system with visible smoke, making even the smallest leak easy to pinpoint. This is the definitive test for hard-to-find cracks in hoses, the filler neck, or the charcoal canister.
Parts You'll Likely Need
- Gas Cap
(OEM #GT243 (ACDelco))— This is the most frequent cause of a P0442 code. The seal wears out over time, creating a small leak. Using a non-OEM cap can also cause issues.
Trusted brands: ACDelco, Motorad, Stant
OEM price range: $15-$30
Aftermarket price range: $10-$25 - Vapor Canister Purge Valve / Solenoid
(OEM #214-641 (ACDelco))— This valve, located on or near the engine, can fail and stick open, causing a constant small leak and sometimes hard starting after refueling.
Trusted brands: ACDelco, Dorman, Standard Motor Products
OEM price range: $40-$75
Aftermarket price range: $20-$50 - Vapor Canister Vent Valve / Solenoid
(OEM #214-2149 (ACDelco))— Located under the car near the fuel tank, this valve can fail due to exposure to the elements, getting stuck and preventing the system from sealing.
Trusted brands: ACDelco, Dorman, Standard Motor Products
OEM price range: $40-$60
Aftermarket price range: $25-$50 - Fuel Filler Neck — Highly prone to rusting through, creating a leak that is often misdiagnosed as a bad gas cap. A smoke test often reveals this as the true culprit.
Trusted brands: Dorman, Spectra Premium, Lil-Blazer
OEM price range: N/A
Aftermarket price range: $40-$80
Related Codes That Often Appear With This One
- P0455 — P0455 indicates a large EVAP leak. If a component fails significantly (e.g., a valve sticks wide open or a hose falls off), you may see both codes as the computer tries to diagnose the fault. A leak from a rusted filler neck can start as a P0442 and grow into a P0455.
- P0440 — This is a general EVAP system malfunction code. It can sometimes appear alongside P0442 as a more generic indicator that a fault exists within the system.
- P0449 — This code specifically points to a fault in the EVAP vent valve solenoid circuit. If you have P0442 and P0449 together, the vent valve is almost certainly the problem.
Technical Service Bulletins (TSBs) & Recalls
- 21-NA-124: Provides diagnostic tips for testing EVAP leaks related to DTCs P0442 and/or P0455.
- PIT4943D: Directs technicians to review a Techlink article about using an Evaporative Emissions System Tester for diagnosing DTC P0442.
- 02-06-04-037J: While for GM trucks, this TSB is relevant as it details issues with the EVAP vent valve getting clogged with dust and debris, leading to codes like P0442. It recommends replacing the valve and relocating the air intake filter, a principle that applies to the Cavalier's exposed vent valve.
Platform-Specific Known Issues
- Rusted Fuel Filler Neck: → Shop Fuel Filler Neck A very common failure on the 2000-2004 Cavalier and its platform mates. Rust perforates the neck where the gas cap seals or where the vent lines connect, causing a P0442 that can eventually become a P0455 (large leak). A smoke test quickly identifies this issue. Multiple YouTube videos document this specific repair.
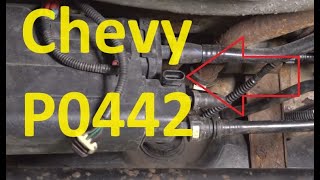
- Corroded Vent Valve Wires: Owners on DoItYourself.com forums have noted that the wires leading to the vent solenoid, located above the rear axle, are prone to corroding and breaking. Before replacing the valve itself, it's wise to give the wires a gentle tug to ensure they are intact.
Mechanic-Grade Diagnostic Values
- EVAP Canister Purge Valve Resistance — expected: 30 to 38 ohms (for standard valve). Failure: A reading outside this range indicates a faulty solenoid coil.
- EVAP Canister Vent Solenoid Resistance — expected: 48 to 65 ohms. Failure: A reading significantly higher or lower than this range suggests the solenoid is bad.
- Fuel Tank Pressure (FTP) Sensor Voltage — expected: 0.1 to 4.9 Volts. Failure: Voltage should be high when vacuum is applied and low when pressure is present. A stuck or non-responsive voltage reading points to a faulty sensor.
Hidden / Shadow Codes Worth Checking
- Mode $06, Test ID $52: This is not a trouble code, but the specific monitor ID for the 'EVAP small leak vacuum decay rate test' on GM vehicles of this era. Advanced scan tools can read this data to see the raw test value from the PCM, which can help confirm a borderline leak before a code is set. (see via An advanced OBD-II scan tool capable of displaying Mode $06 data.)
Scan Tool Commands That Help
- Tech 2: EVAP Service Bay Test — This is a guided, automated test that commands the purge and vent solenoids to seal the system, applies engine vacuum, and monitors for decay to verify a leak or confirm a repair. It is the factory-recommended procedure but may not be available on all model years.
- Tech 2 (or other bidirectional scanner): EVAP Vent Solenoid ON/OFF — This command manually closes the normally-open vent solenoid. It is essential for performing a smoke test, as it seals the system and prevents smoke from immediately escaping through the vent.
Wiring & Ground Locations
- G110 — On the rear of the engine block.. This is a primary ground for the Powertrain Control Module (PCM). A poor connection here can cause erratic behavior from multiple engine systems, including the EVAP components controlled by the PCM.
- G304 — Below the left front seat, on the frame rail.. This ground point is used by components in the rear of the vehicle. The EVAP vent solenoid and fuel tank pressure sensor are in this vicinity, and a corroded ground here could cause communication or operational issues.
- Vent Solenoid Connector — At the EVAP vent solenoid, located near the charcoal canister under the rear of the vehicle.. The wires at this connector are prone to breaking *inside* the insulation due to stress and weather exposure. The wire may look fine visually but have no continuity. A 'tug test' on each wire can reveal this hidden break, which often causes a P0449 but can also contribute to intermittent sealing issues for a P0442.
Real Owner Repair Stories
- Comment on a general P0442 repair article (Not specified, but common across many vehicles.) — Recurring P0442 check engine light.
❌ Tried (didn't work) Replacing multiple parts.
✅ What actually fixed it The owner discovered that consistently overfilling the gas tank was triggering the code. By stopping refueling as soon as the pump clicked off, the code did not return. This suggests liquid fuel may have been entering the charcoal canister or vapor lines, affecting the system's ability to seal and hold vacuum.
"I Checked Everything" — The Actual Cause
- In some cases, a vehicle can pass a smoke test but still set a P0442 code. One documented cause for this scenario is a faulty Fuel Tank Pressure Sensor (FTPS). The sensor itself doesn't leak smoke, but it provides incorrect pressure/vacuum readings to the computer, causing the PCM to believe there is a leak when there isn't one. This often occurs after multiple other parts (gas cap, purge valve, vent solenoid) have been replaced without success.
OEM Part Supersession History
1997278→214-641 (ACDelco)— Standard part evolution and consolidation across multiple GM platforms.
Model Year Variations Within This Range
- 2000-2002: According to GM TSB #02-06-04-014, the 'EVAP Service Bay Test' function was eliminated from the Tech 2 scanner for many GM vehicles in these model years due to accuracy issues. Technicians working on these earlier Cavaliers may not have access to this automated test and will need to rely on manual bidirectional control of components and smoke testing.
Helpful Videos
We Have This Part in Stock


The information in this article is provided for general reference and educational purposes only. Vehicle specifications, procedures, and part compatibility can vary by production date, trim level, and region. Always consult your vehicle's factory service manual and verify part numbers before purchasing or performing repairs. Safety-critical components such as airbags, seat belts, and braking systems should be installed by a qualified professional.
- Chevrolet CAVALIER:
- 🧭 Diagnostic Flowchart
- 🎬 Helpful Videos
- 🛍️ Shop This Part
- What's Unique About the 2000-2004 Chevrolet CAVALIER
- Symptoms You May Notice
- Most Likely Causes
- Rare But Worth Checking
- Diagnosis Steps
- Parts You'll Likely Need
- Related Codes That Often Appear With This One
- Technical Service Bulletins (TSBs) & Recalls
- Platform-Specific Known Issues
- Mechanic-Grade Diagnostic Values
- Hidden / Shadow Codes Worth Checking
- Scan Tool Commands That Help
- Wiring & Ground Locations
- Real Owner Repair Stories
- "I Checked Everything" — The Actual Cause
- OEM Part Supersession History
- Model Year Variations Within This Range
- 🎟️ Get 5% Off