
P0443 on 2009-2013 Toyota Corolla: EVAP Purge Valve Circuit Causes and Fixes
On a 2009-2013 Toyota Corolla with the 1.8L engine, code P0443 is almost always caused by a failed EVAP purge valve (solenoid). It's a simple, DIY-friendly repair with parts costing between $30 for an aftermarket replacement and around $70-$100 for an OEM part. Before replacing, it's wise to check the 10A 'EFI' fuse as a less common but possible cause.
- P0443 on a 2009-2013 Corolla is an electrical circuit code, not a leak code. Don't start by replacing the gas cap.
- The most likely culprit is a bad purge valve solenoid, which is an inexpensive part and easy to replace for a DIYer.
- Before buying any parts, perform a quick visual inspection of the valve's wiring connector and check the 10A 'EFI' fuse.
- The correct OEM part number is 90910-12276, which has been updated to 90910-TC001.
What's Unique About the 2009-2013 Toyota Corolla
For the 10th generation Toyota Corolla (2009-2013), the P0443 code is a straightforward and common issue. There are no complex, generation-specific problems associated with this code. The failure is almost always one of three simple things: the purge valve itself, its connector, or a fuse. Unlike some other EVAP codes on this platform (like P0456), this circuit code does not typically require a software update or complex diagnosis.
Symptoms You May Notice
- Check Engine Light is on
- Slightly rough idle in some cases
- Minor decrease in fuel economy
- Inability to pass an emissions test
- Difficulty starting the engine after refueling (if valve is stuck open)
- Fuel odor near the vehicle
- Replacing the gas cap. A loose or faulty gas cap will typically cause a leak-related code (like P0455, P0456, or P0457), not a circuit code like P0443.
- Replacing the charcoal canister. The canister is a part of the EVAP system, but it is not part of the purge valve's electrical circuit and will not cause a P0443 code.
Most Likely Causes
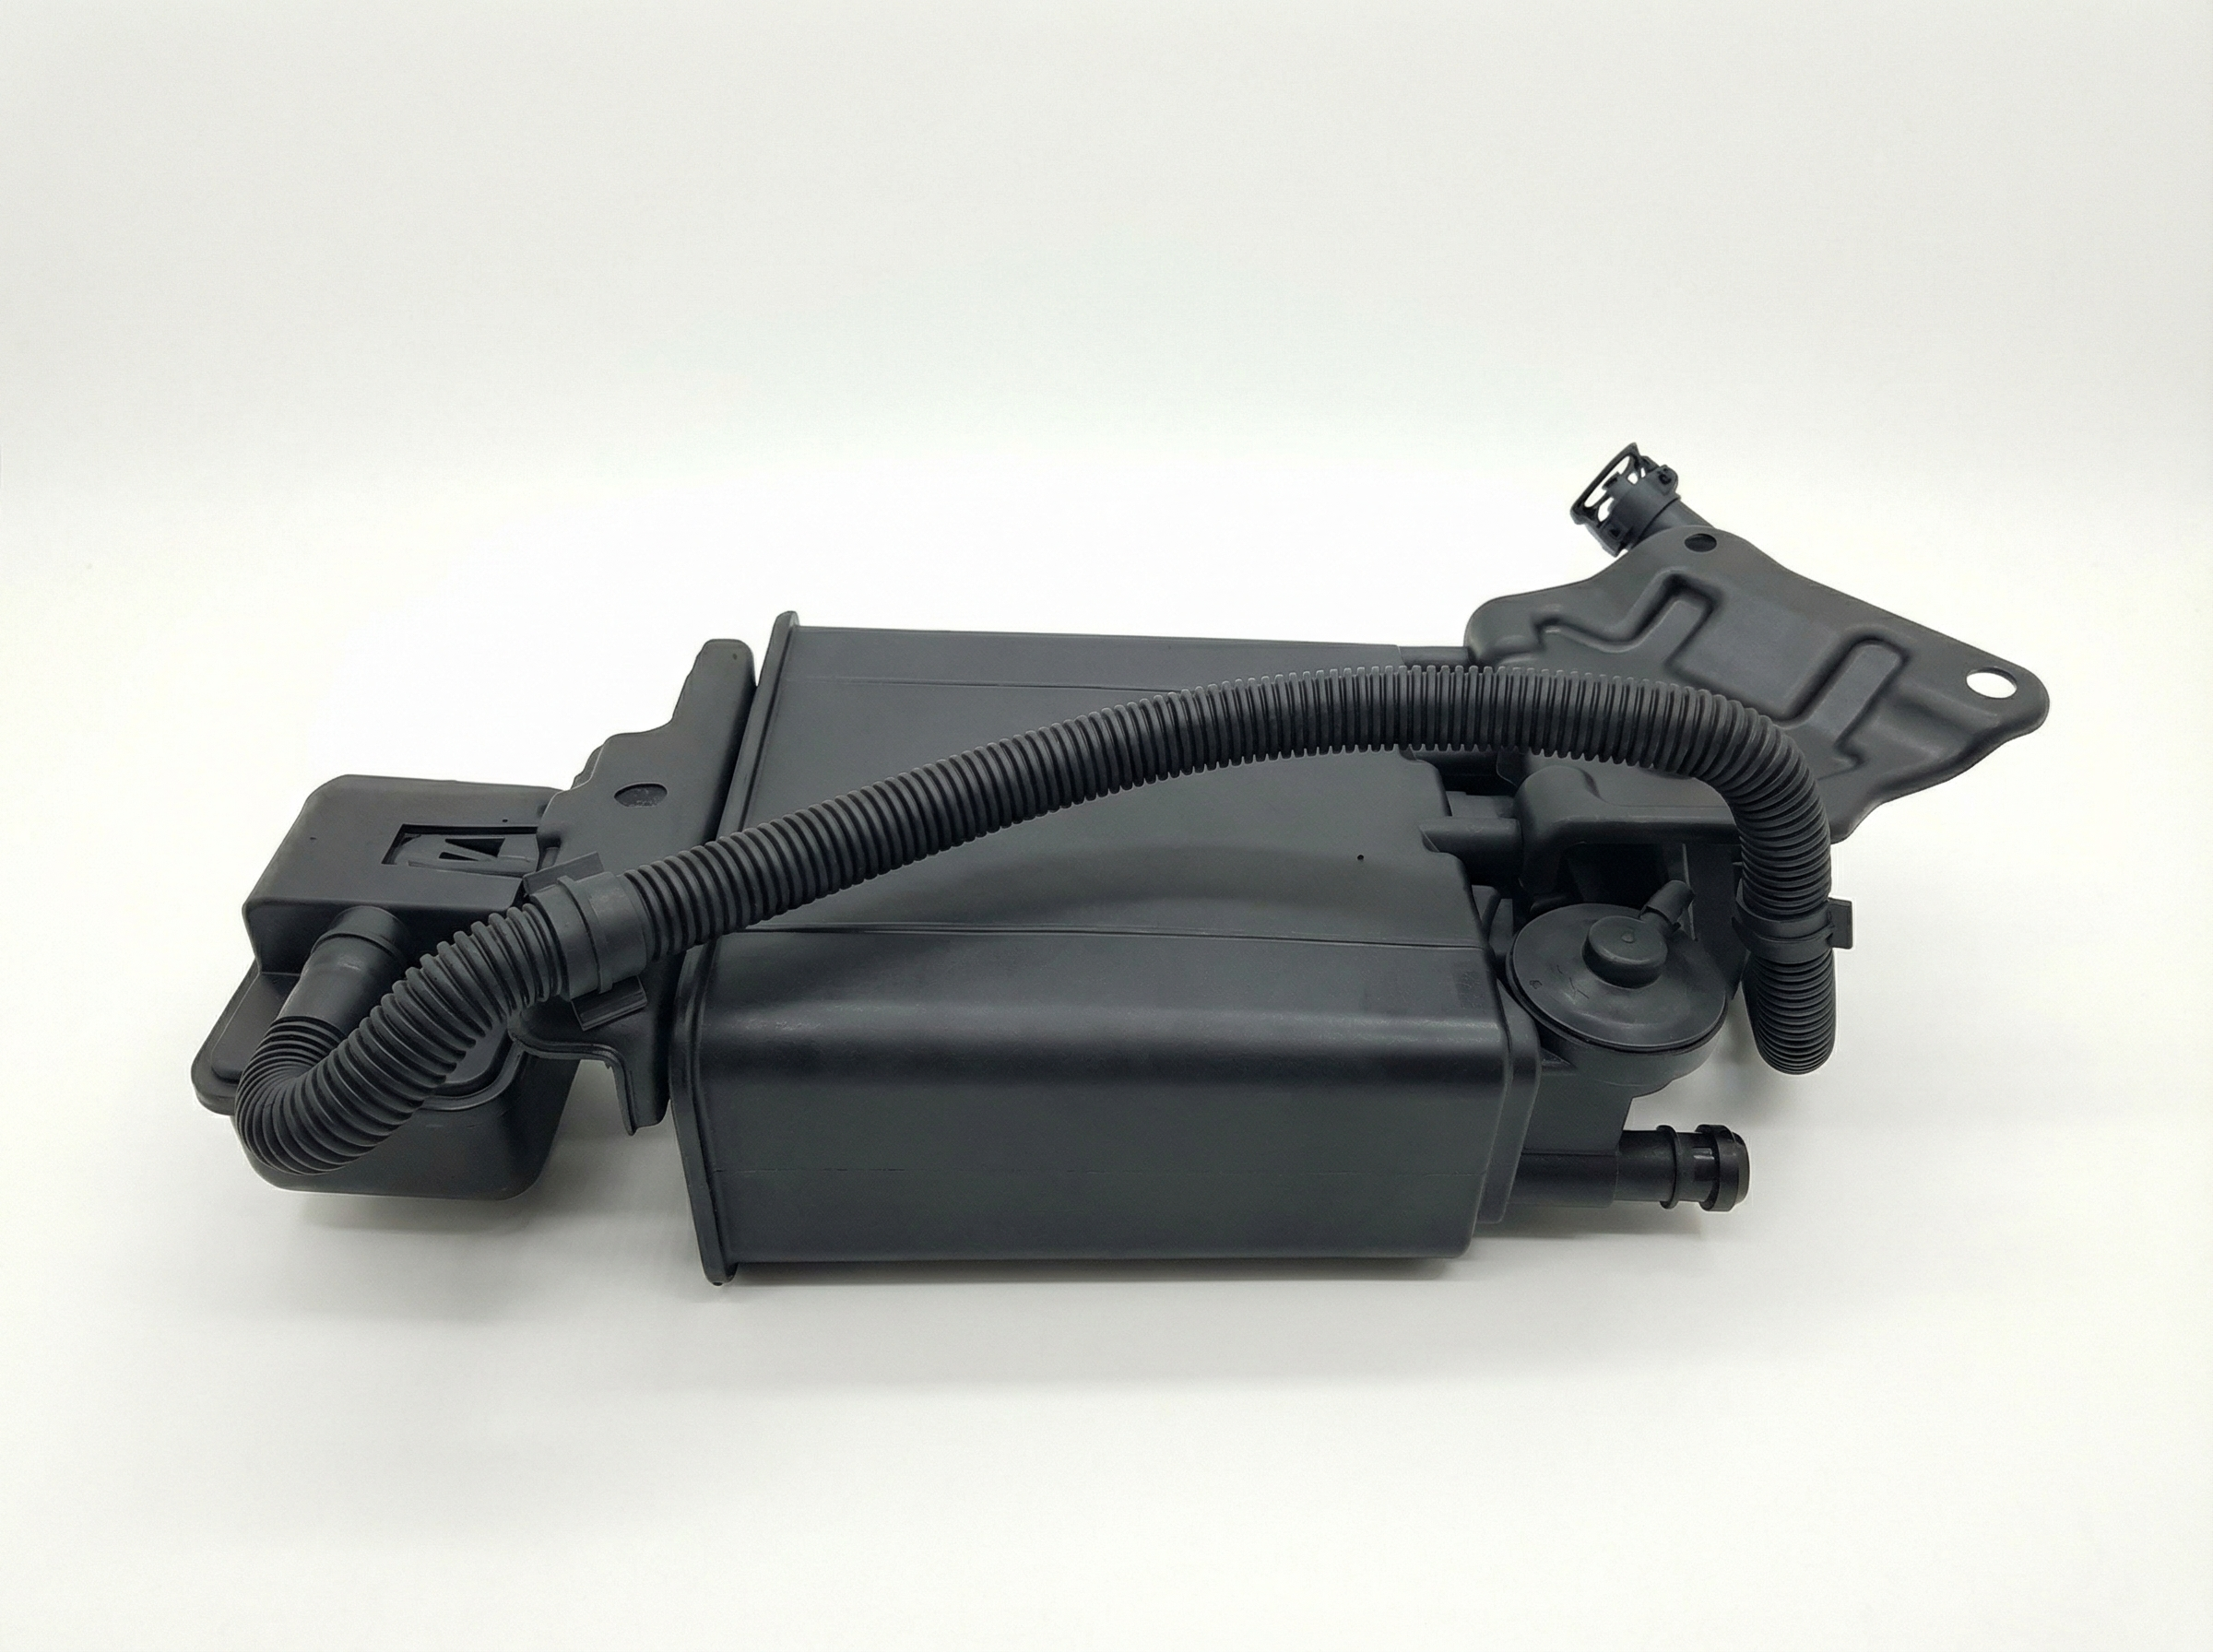
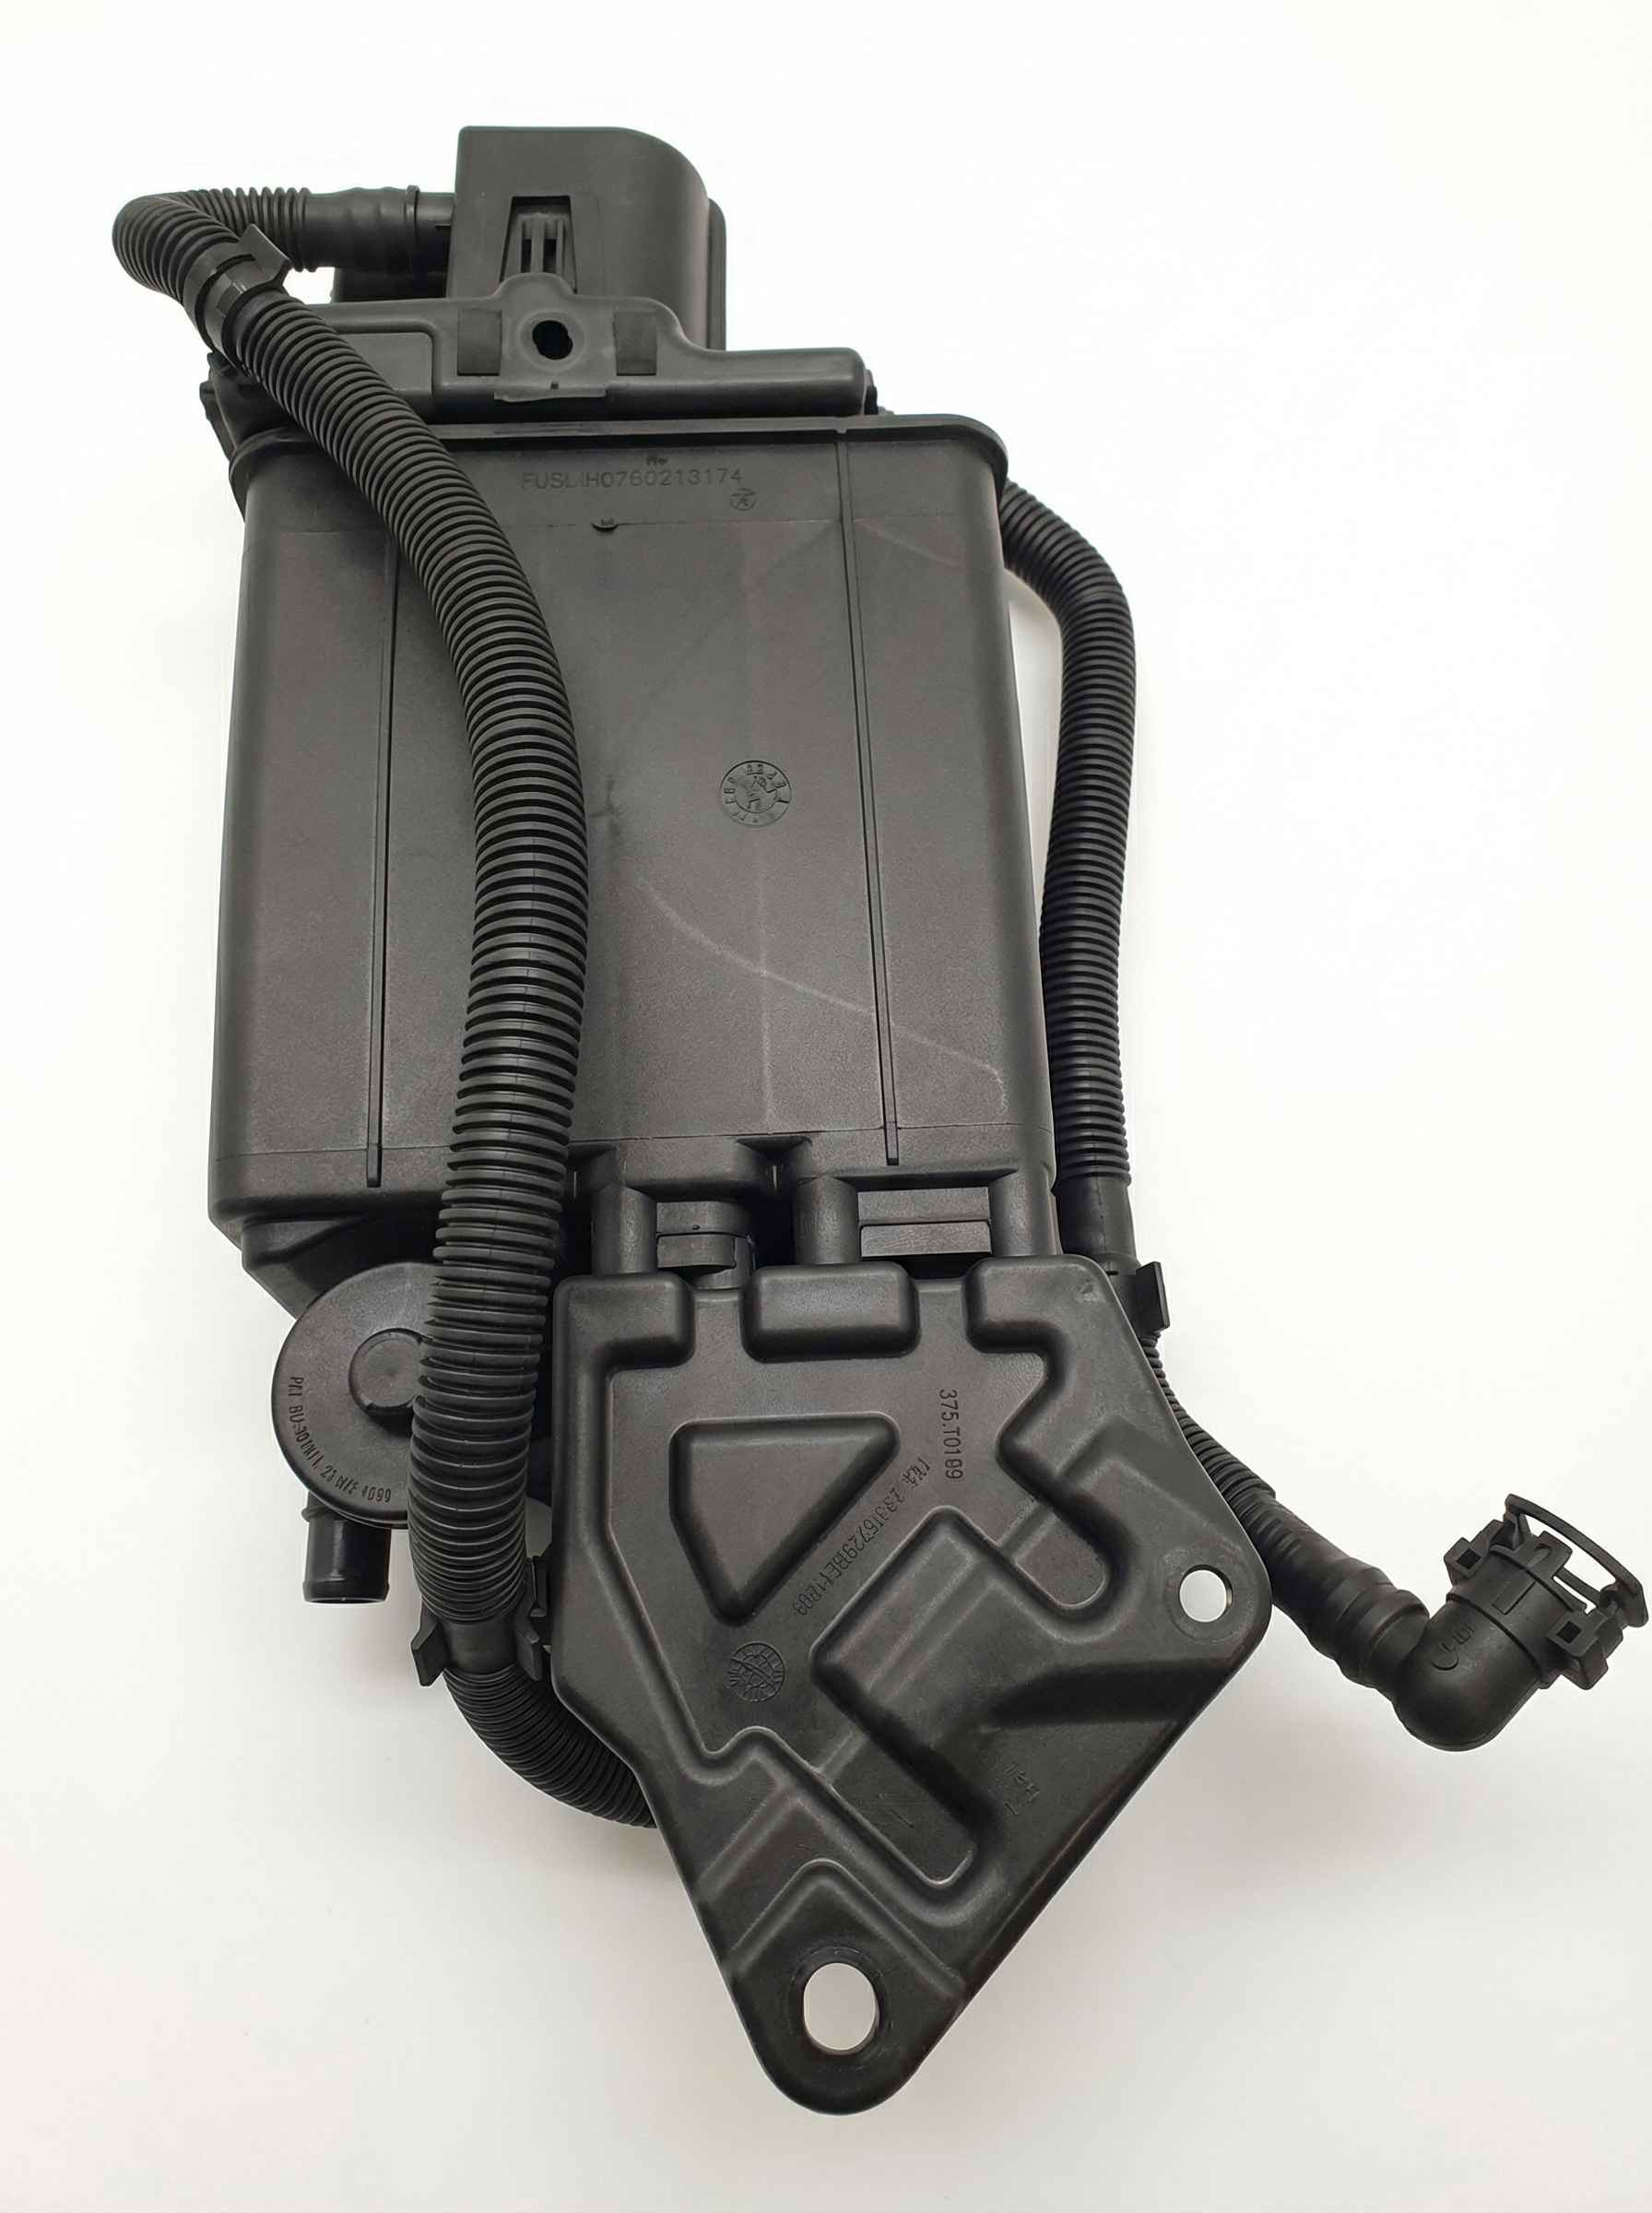
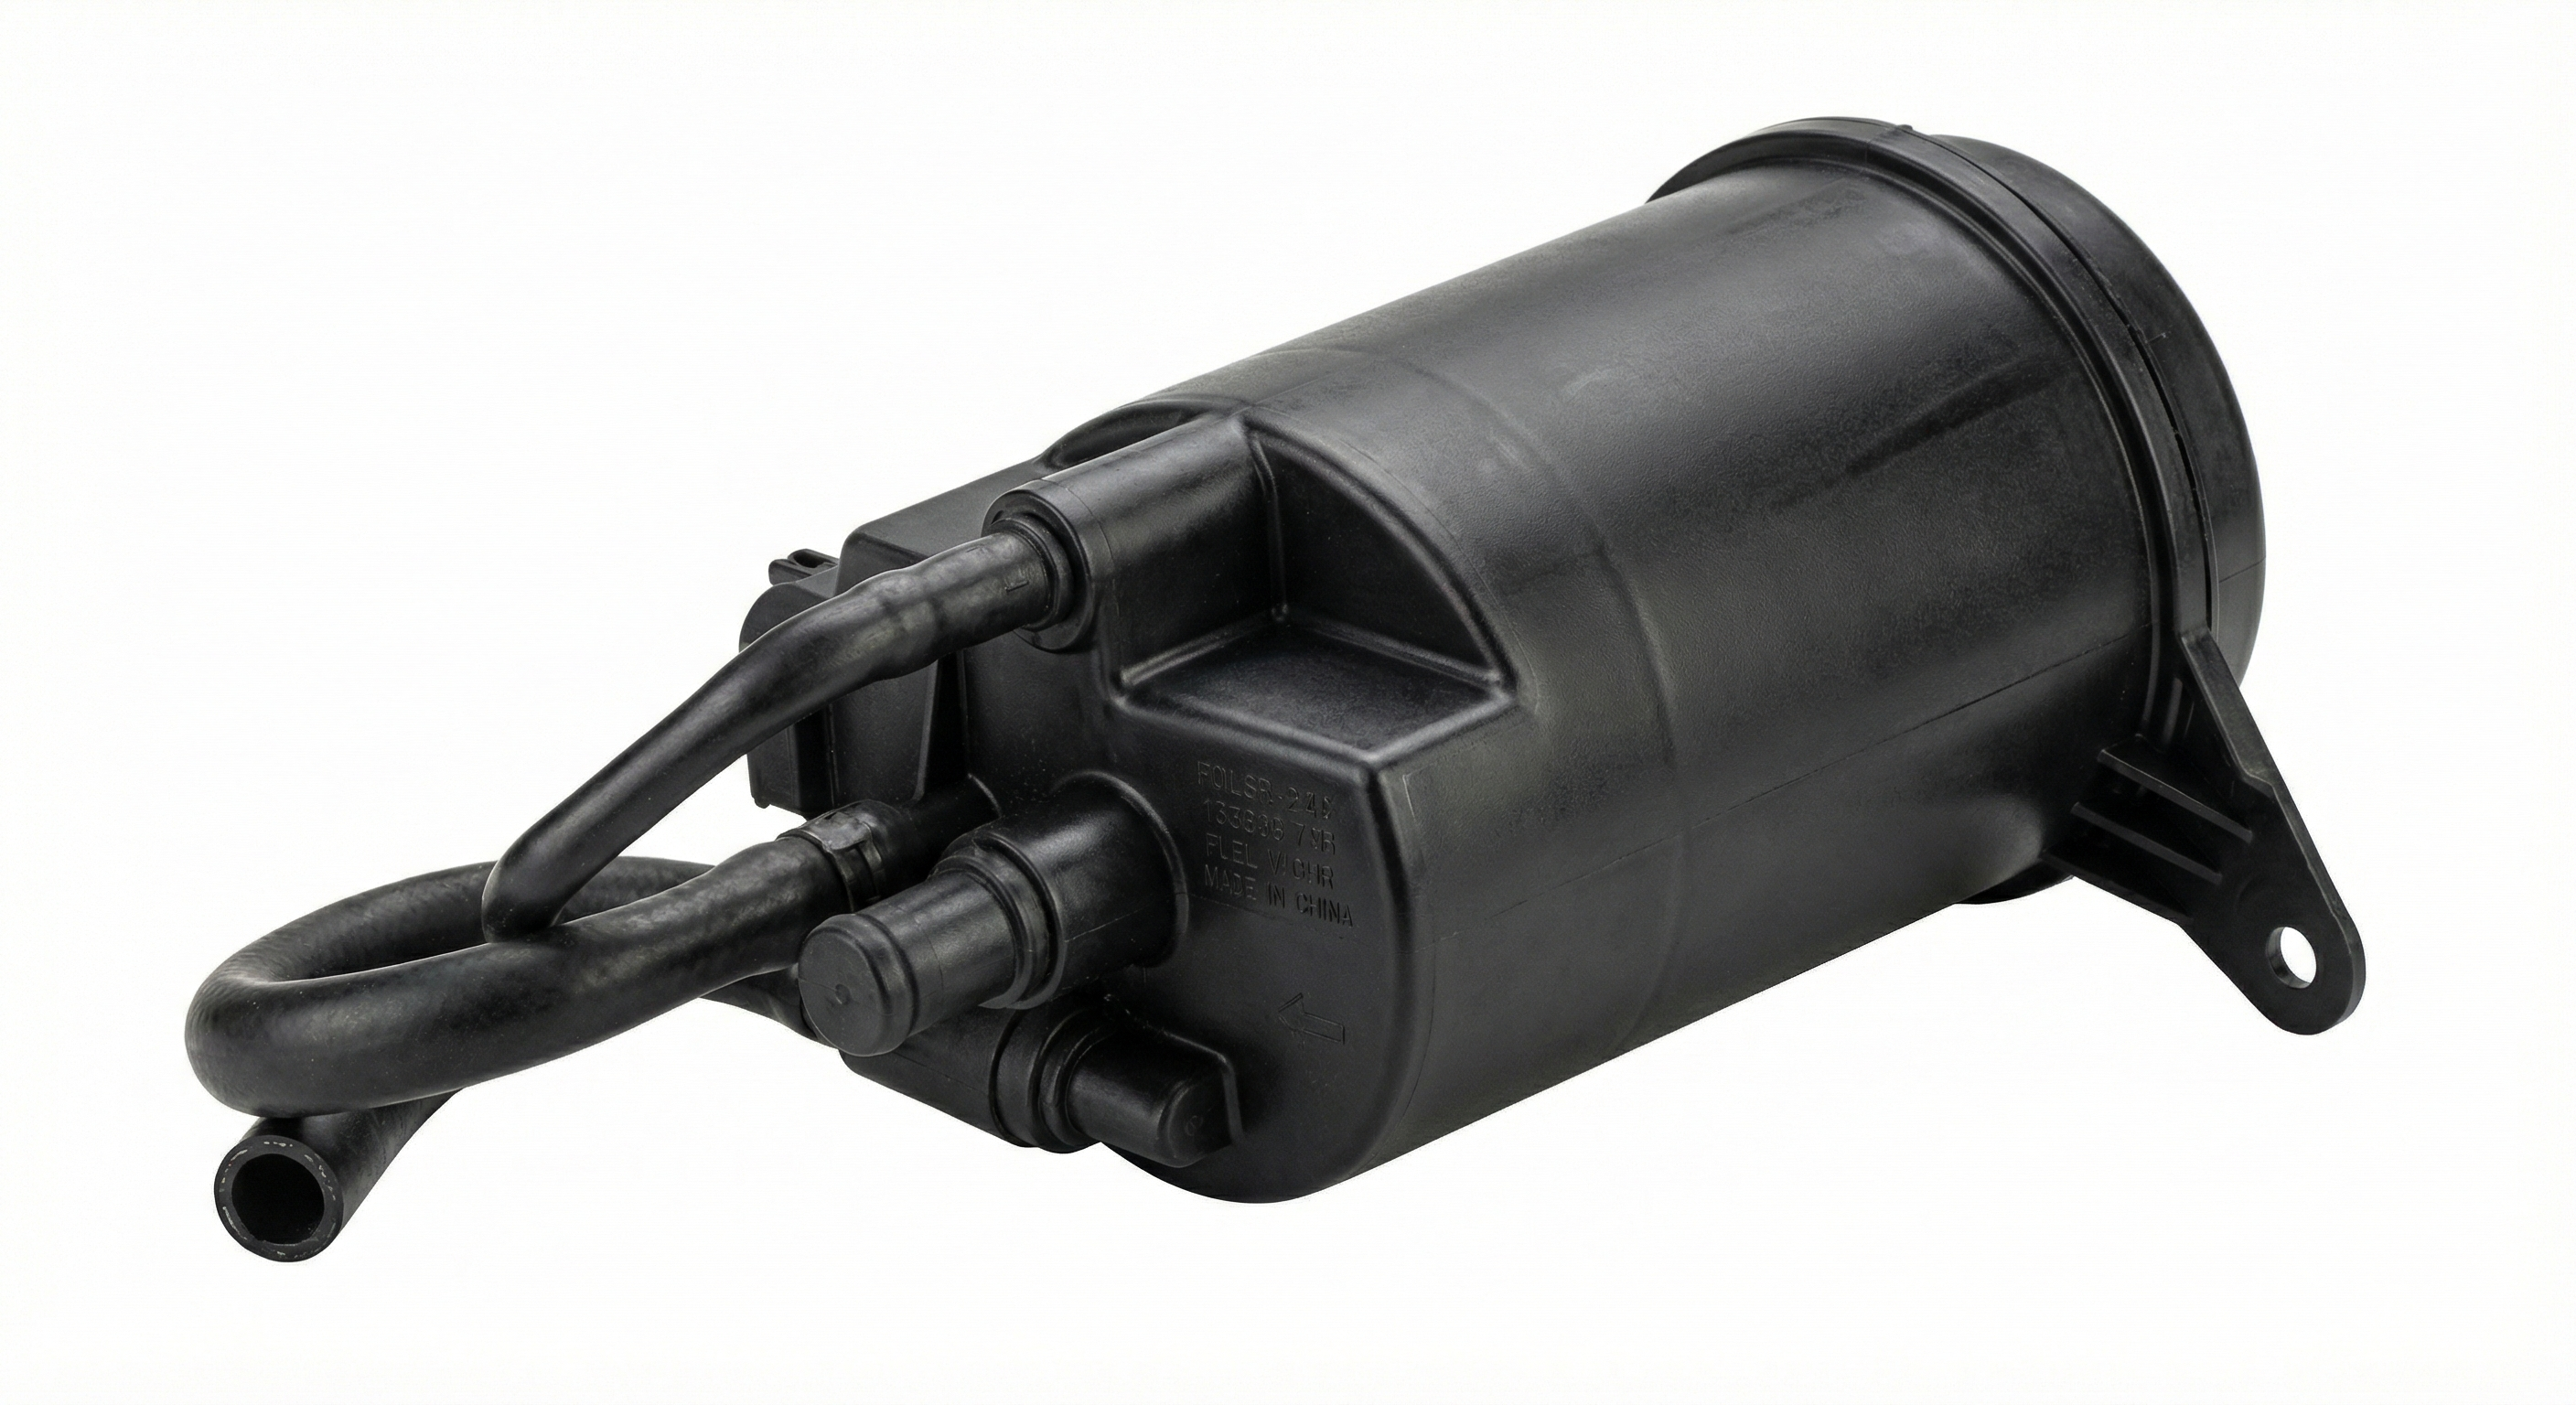
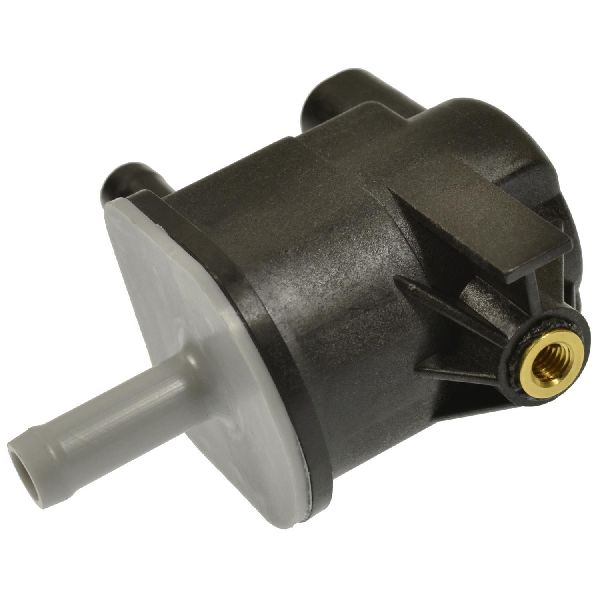
- Failed EVAP Purge Valve (Solenoid) 🔴 High Probability → Shop Vapor Canister The internal coil of the solenoid can fail over time due to heat cycles and age, creating an open or short in the circuit that the ECM detects. It is a common failure point on many Toyota models of this era.
How to confirm: Disconnect the valve and measure the resistance across its two pins with a multimeter. A healthy solenoid should read between 20-30 ohms at room temperature. An infinite reading (open circuit) or near-zero reading (short) confirms failure. You can also apply 12V directly to the pins to listen for a distinct 'click'; no click means the valve is dead.
Typical fix: Replace the purge valve. It is typically mounted on the engine bay firewall or near the airbox, secured by one or two bolts and two vacuum hoses.
Est. part cost: $30-$110 - Damaged Wiring or Connector 🟡 Medium Probability The wiring harness connector leading to the purge valve can become brittle from engine heat, or the wires can be damaged by rodents or chafing against other components. Wires can also break inside the insulation right at the connector from years of vibration.
How to confirm: Visually inspect the connector for cracks, corrosion on the pins, or broken wires. With the key on (engine off), use a multimeter to check for 12V power on one of the connector's terminals. The other wire is the ground-side control from the ECM.
Typical fix: Repair the broken wire(s) or replace the connector pigtail.
Est. part cost: $10-$25 - Blown Fuse ⚪ Low Probability
How to confirm: Check the fuses in the under-hood fuse box. Specifically, inspect the 10A 'EFI' or 'EFI NO. 2' fuse, as it has been reported by owners and in service literature to power this circuit.
Typical fix: Replace the blown fuse with one of the same amperage. If the fuse blows again, it indicates a short circuit in the system that needs to be traced.
Est. part cost: $1-$5
Rare But Worth Checking
- Faulty Powertrain Control Module (PCM): → Shop Engine Control Module (ECM) This is extremely rare. Before considering the PCM, all other possibilities like the valve, wiring, and fuses must be exhaustively ruled out. A professional diagnosis is recommended to confirm a bad PCM.
Diagnosis Steps
- Read the code with an OBD-II scanner to confirm P0443 is the only code present. Note any freeze-frame data.
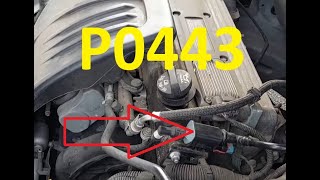
- Locate the EVAP purge valve. On the 2009-2013 Corolla, it's in the engine bay, typically mounted to the firewall behind the air filter housing.
- Inspect the electrical connector and wiring going to the purge valve. Look for any obvious signs of damage, corrosion, or loose pins.
- Check for a blown fuse. Locate the fuse box in the engine bay and inspect the 10A 'EFI' fuse.
- Test the valve's circuit for power. Disconnect the connector, turn the ignition to 'ON', and use a multimeter to verify that one of the terminals has battery voltage (approx. 12V).
- Test the purge valve itself. With the valve disconnected, measure the resistance between the two electrical pins. A reading of infinity (open) or zero (short) indicates a bad valve. The expected resistance is typically between 20-30 ohms.
- (Optional) Bench test the valve. Use jumper wires to apply 12V and a ground directly to the valve's pins. A healthy valve will make an audible 'click'. No sound confirms it has failed.
- If tests point to the valve, replace it. If the wiring is damaged, repair it. If the fuse was blown, replace it and monitor to see if it blows again.
Parts You'll Likely Need
- Vapor Canister Purge Valve / Solenoid
(OEM #90910-12276)— This is the most common component to fail, causing the P0443 circuit code.
Trusted brands: Denso (OEM supplier), Standard Motor Products (SMP), Dorman, Aisin
OEM price range: $70-$100
Aftermarket price range: $30-$65
Technical Service Bulletins (TSBs) & Recalls
- T-SB-0175-09: Addresses a P0456 (EVAP Leak) code on 2009 Corolla/Matrix, not P0443. The fix is an ECM reflash.
Platform-Specific Known Issues
- While not directly for P0443, Toyota issued TSB-0175-09 for some 2009 Corolla models that could exhibit a MIL 'ON' for a P0456 (small leak) code. The fix was a software update for the ECM. This is a different issue but relates to the EVAP system on this vehicle.
Mechanic-Grade Diagnostic Values
- Purge Valve (VSV) Solenoid Coil Resistance — expected: 30 to 38 ohms (when cold). Some general guides suggest a broader 20-30 ohm range is acceptable.. Failure: An infinite reading (open circuit) or near-zero reading (short circuit) indicates a failed solenoid.
- Purge Valve Connector - Power Supply Pin Voltage — expected: 9V to 14V with ignition switch ON (engine off).. Failure: 0V indicates a blown fuse (e.g., EFI NO. 2) or an open in the power supply wire.
- Purge Valve Connector - ECM Control Pin Voltage — expected: This is a duty-cycled ground signal from the ECM. When the valve is commanded OFF, voltage should be near battery voltage. When commanded ON via a scan tool, voltage should drop to near 0V.. Failure: Voltage that does not change when the valve is commanded ON/OFF suggests a wiring issue to the ECM or a faulty ECM driver.
Scan Tool Commands That Help
- Toyota Techstream: Active Test: 'Activate the VSV for EVAP Control' — This command allows a technician to manually turn the purge valve (VSV) ON and OFF to verify its mechanical operation and test the circuit. With the engine running, you can command the valve open and feel for suction on the canister-side port to confirm it's working.
Wiring & Ground Locations
- Purge Valve Connector (2-pin) — Connected to the purge valve, which is mounted on the firewall behind the air filter housing.. This is the primary point for electrical testing. Pin 1 is the 12V power supply from the EFI fuse. Pin 2 is the control wire (ground signal) from the ECM. Checking for power and signal here is a critical diagnostic step.
- Ground Point A1 — On the left front of the engine compartment, securing the engine room harness.. While the purge valve is controlled by a switched ground from the ECM, ensuring the main engine and body grounds are clean and tight is crucial for overall electrical system health and can prevent intermittent issues.
- Ground Point B3 / B4 — Located on the top of the engine.. This is a primary engine ground. A loose or corroded connection here can cause a variety of seemingly unrelated electrical issues and fault codes.
Real Owner Repair Stories
- Pakwheels.com forum user (2010 Toyota Corolla XLI) — Check Engine Light with code P0443. Car was running fine otherwise.
❌ Tried (didn't work) Resetting the ECU with a scanner (light came back on).
✅ What actually fixed it The final fix was replacing a blown 10A 'EFI' fuse in the under-hood fuse box. After replacement, the owner confirmed positive voltage returned to one of the terminals on the purge valve connector and the Check Engine Light stayed off.
OEM Part Supersession History
90910-12276→90910-TC001— Standard part number update by Toyota. The parts are functionally identical.
Heads up: No incompatibility issues reported. Both part numbers are interchangeable for this vehicle.
Diagnostic Flowchart
Other Known Issues on This Vehicle
Issues unrelated to this code that are worth knowing about as an owner of this generation:
- Excessive Oil Consumption 🟠 Medium — More common on higher-mileage (100k+) engines, particularly earlier years (2009-2010). Caused by piston ring design. Not as severe as the 2AZ-FE engine's issue, but requires regular oil level checks.
- Water Pump Failure 🟠 Medium — Known to fail prematurely, sometimes as early as 60,000 miles. Symptoms include a whining/grinding noise from the passenger side of the engine and visible pink coolant residue.
- Startup Rattle (VVT-i Gear) 🟡 Low — A brief, loud rattle for a second or two on cold startup, especially in 2009-2010 models. Caused by a faulty VVT-i intake gear. (Ref: A TSB was issued for this problem.)
- Slight Increase in Brake Pedal Travel 🟡 Low — Owners may notice the brake pedal feels like it sinks slightly further over time. Does not affect braking performance. (Ref: T-SB-0235-12 (Improved rear drum brake adjusters were developed to address the feeling).)
- Steering Intermediate Shaft Clunk 🟡 Low — A clunking or popping noise may be heard when turning the steering wheel at low speeds, such as when parking.
Used vs. New Parts: Buying Guide for This Vehicle
When a used part is the smart pick: A used OEM purge valve from a low-mileage donor vehicle is a reasonable choice for this repair. The part is not a major wear item and is simple to test before purchase. Given the low cost of new aftermarket parts, a used part is most sensible if it's significantly cheaper or more readily available.
Donor-vehicle mileage cap: roughly under 80000 miles for the part to have meaningful remaining life.
What to inspect on the donor part:
- Check for cracks or damage to the plastic housing and hose ports.
- Ensure the electrical connector pins are straight and free of corrosion.
- If possible, test the resistance with a multimeter; it should be within the 20-38 ohm range.
- Ask the seller if they can test it by applying 12V to confirm it 'clicks'.
OEM-only on this vehicle (don't cheap out):
- For the P0443 code, no parts are strictly 'OEM-only'. However, for overall EVAP system health, using an OEM gas cap is often recommended as aftermarket versions can cause leak codes.
Aftermarket brands forum-validated for this vehicle:
- Denso (OEM supplier, best choice)
- Standard Motor Products (SMP) / BWD (Generally considered reliable).
- Aisin
Brands owners have reported issues with on this vehicle:
- Dorman: Forum discussions show mixed, often negative, experiences with Dorman electronic parts like purge valves, with some failing prematurely.
- Unbranded/generic parts (e.g., from Amazon/eBay): Quality is highly inconsistent. While some may work, others can be dead on arrival or fail quickly.
Real Owner Stories
Aggregated from forums and TSBs cited above. Mileages and costs reflect what owners reported in those sources.
2010 Corolla XLI
Symptoms: Check engine light (MIL) on. Car is running just fine otherwise. Light disappeared for a minute after resetting the ECU but then came back.
What fixed it: Replacing a bad 10A fuse in the fuse box named 'EFI 1'.
Source hint: PakWheels Forums - OBD II scanner code : P0443 shown by MIL on 2010 corolla XLI
2010 Corolla
Symptoms: Check engine light on; owner performed resistance testing on the firewall-mounted valve.
What fixed it: Replacing the purge valve after confirming it was bad via a resistance test.
Source hint: ToyotaNation.com DIY thread for a 2010 Corolla
2009-2013 Corolla
Symptoms: Check Engine Light on; owners noted the repair is simple and takes only a few minutes.
What fixed it: Replacement of the purge solenoid (part #90910-12276).
Source hint: CorollaForum.com threads regarding P0443
Related OBD-II Codes
Frequently Asked Questions
Where is the EVAP purge valve located on my 2009-2013 Corolla?
Does TSB-0175-09 apply to my P0443 code?
What is the specific Toyota part number for the replacement purge solenoid?
Which fuse should I check if I have a P0443 code on my 2010 Corolla?
What resistance reading should I see when testing the Corolla's purge valve?
Will a P0443 cause my Corolla to fail an emissions test?
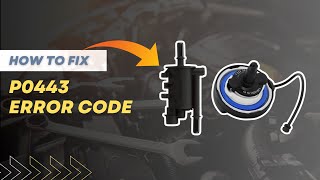
Helpful Videos


Used OEM Parts in Stock
New Aftermarket Parts Available


The information in this article is provided for general reference and educational purposes only. Vehicle specifications, procedures, and part compatibility can vary by production date, trim level, and region. Always consult your vehicle's factory service manual and verify part numbers before purchasing or performing repairs. Safety-critical components such as airbags, seat belts, and braking systems should be installed by a qualified professional.
- Toyota Corolla:
- 🧭 Diagnostic Flowchart
- 🎬 Helpful Videos
- 🛍️ Shop This Part
- What's Unique About the 2009-2013 Toyota Corolla
- Symptoms You May Notice
- Most Likely Causes
- Rare But Worth Checking
- Diagnosis Steps
- Parts You'll Likely Need
- Technical Service Bulletins (TSBs) & Recalls
- Platform-Specific Known Issues
- Mechanic-Grade Diagnostic Values
- Scan Tool Commands That Help
- Wiring & Ground Locations
- Real Owner Repair Stories
- OEM Part Supersession History
- Other Known Issues on This Vehicle
- Used vs. New Parts: Buying Guide for This Vehicle
- Real Owner Stories
- 2010 Corolla XLI
- 2010 Corolla
- 2009-2013 Corolla
- Related OBD-II Codes
- Frequently Asked Questions
- 🎟️ Get 5% Off