
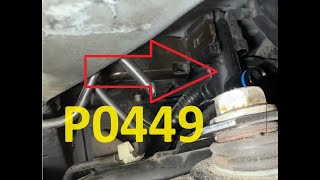
P0449 on 2008-2019 Toyota Highlander: EVAP Vent Valve Circuit Malfunction Causes and Fixes
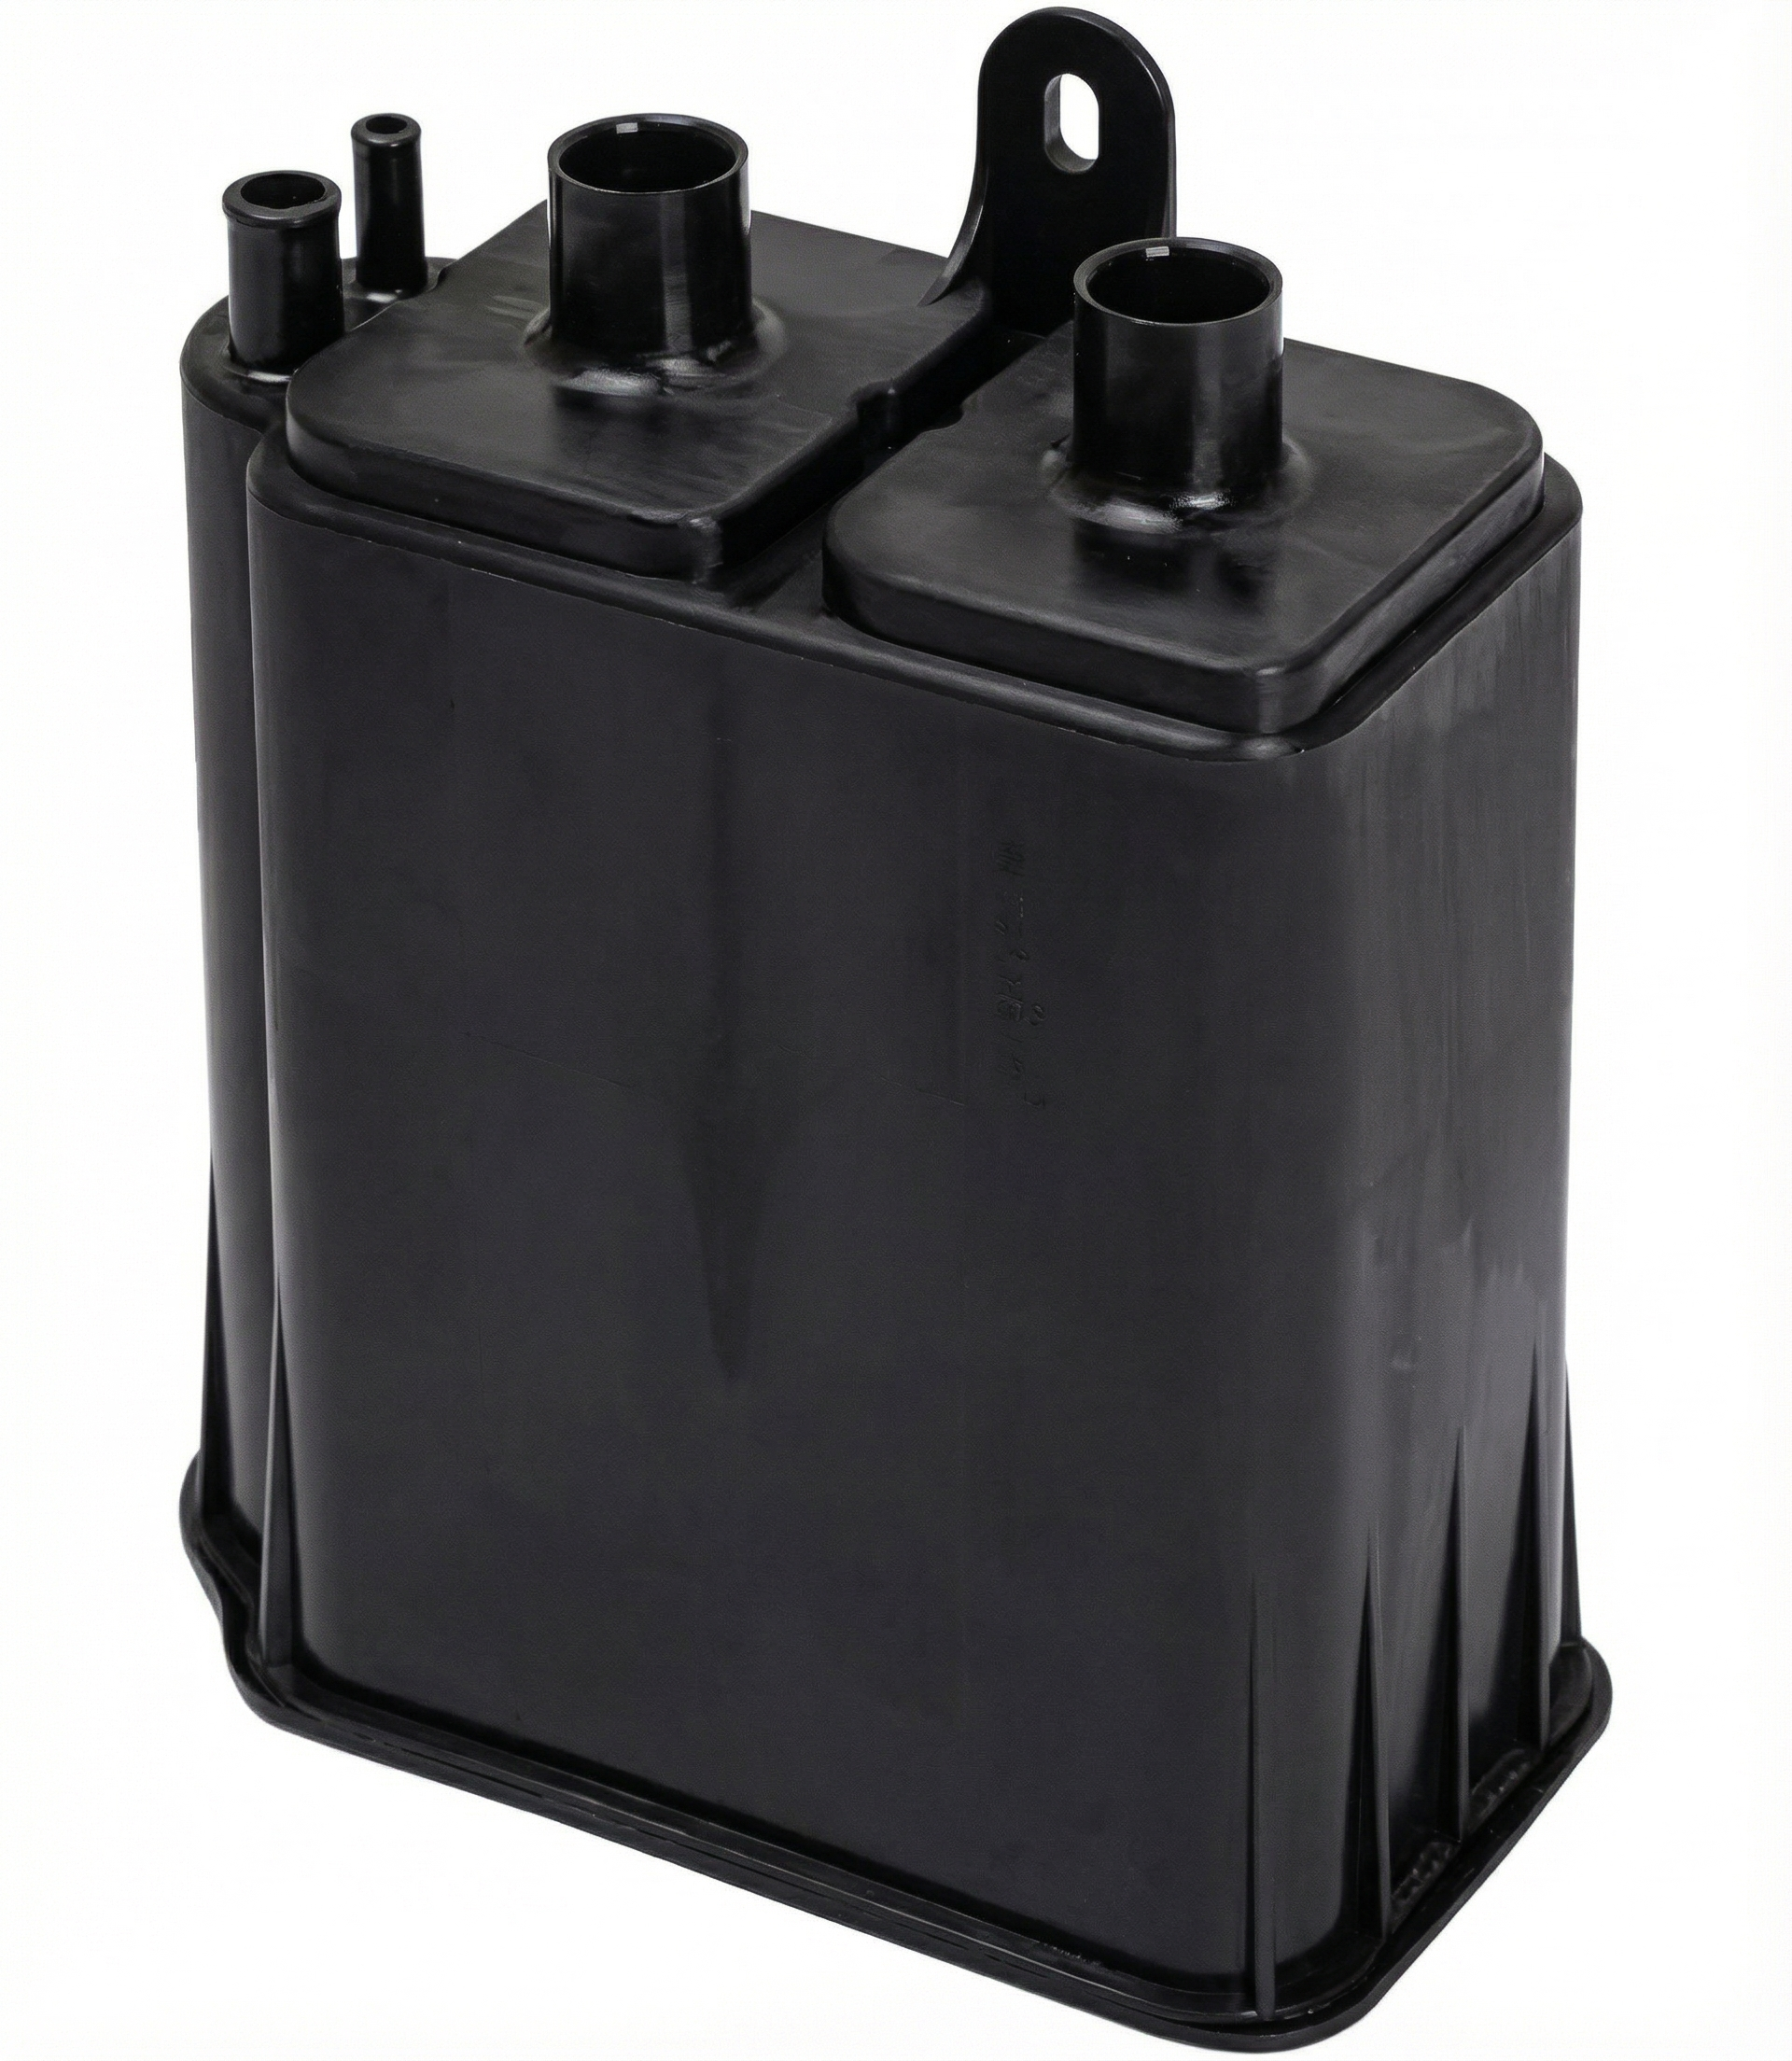
On a 2008-2019 Toyota Highlander, code P0449 is most often caused by a failed charcoal canister, which includes the integrated vent valve. This part is located at the rear of the vehicle near the gas tank. Replacing the entire canister assembly is the most common and reliable fix. Before replacement, inspect the wiring harness for corrosion or damage, as this is a common secondary cause.
- P0449 on a Toyota Highlander almost always points to a problem with the vent valve circuit, located at the rear of the vehicle.
- The most common fix is to replace the entire charcoal canister assembly, as the vent valve is typically integrated into it.
- Before replacing parts, always check the EVAP fuse and inspect the wiring and connector for damage or corrosion, as this is a common and less expensive failure point.
- Do not confuse the vent valve (by the fuel tank) with the purge valve (in the engine bay).
What's Unique About the 2008-2019 Toyota Highlander
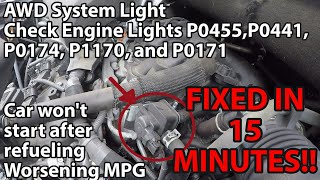
For many Toyota models, including the Highlander, the vent valve solenoid is often integrated into the larger charcoal canister assembly. This means that instead of replacing a small, separate valve for a P0449 code, the entire charcoal canister unit often needs to be replaced. This makes the repair more expensive and involved than on vehicles where the vent valve is a standalone part. 🎬 Watch: Understand the causes and fixes for P0449 Owners should be careful not to confuse the vent valve (by the tank) with the purge valve (in the engine bay).
Generation note: The 2008-2019 model years for the Toyota Highlander cover two generations: the second generation (2008-2013) and the third generation (2014-2019). While the fundamental cause of a P0449 code is the same for both, the specific part numbers for the charcoal canister and other related components will differ. It is crucial to use the correct parts for your specific model year. For example, part number 77740-48140 is for 2nd gen models, while 77740-0E080 is for 3rd gen models.
Symptoms You May Notice
- Check Engine Light is on
- A faint smell of fuel around the vehicle
- Difficulty refueling (the gas pump nozzle clicks off before the tank is full)
- A 'whooshing' sound when opening the gas cap
- Rough idling or engine stalling in some cases
- Replacing the gas cap. While a faulty gas cap can cause other EVAP codes (like P0456 for a small leak), it is not a typical cause for the P0449 circuit code.
- Replacing the purge valve/solenoid. The purge valve is located in the engine bay and is a different component from the vent valve, which is located at the rear of the vehicle. A purge valve issue would typically set a different code, like P0441.
Most Likely Causes
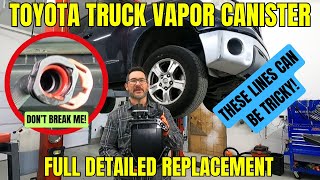
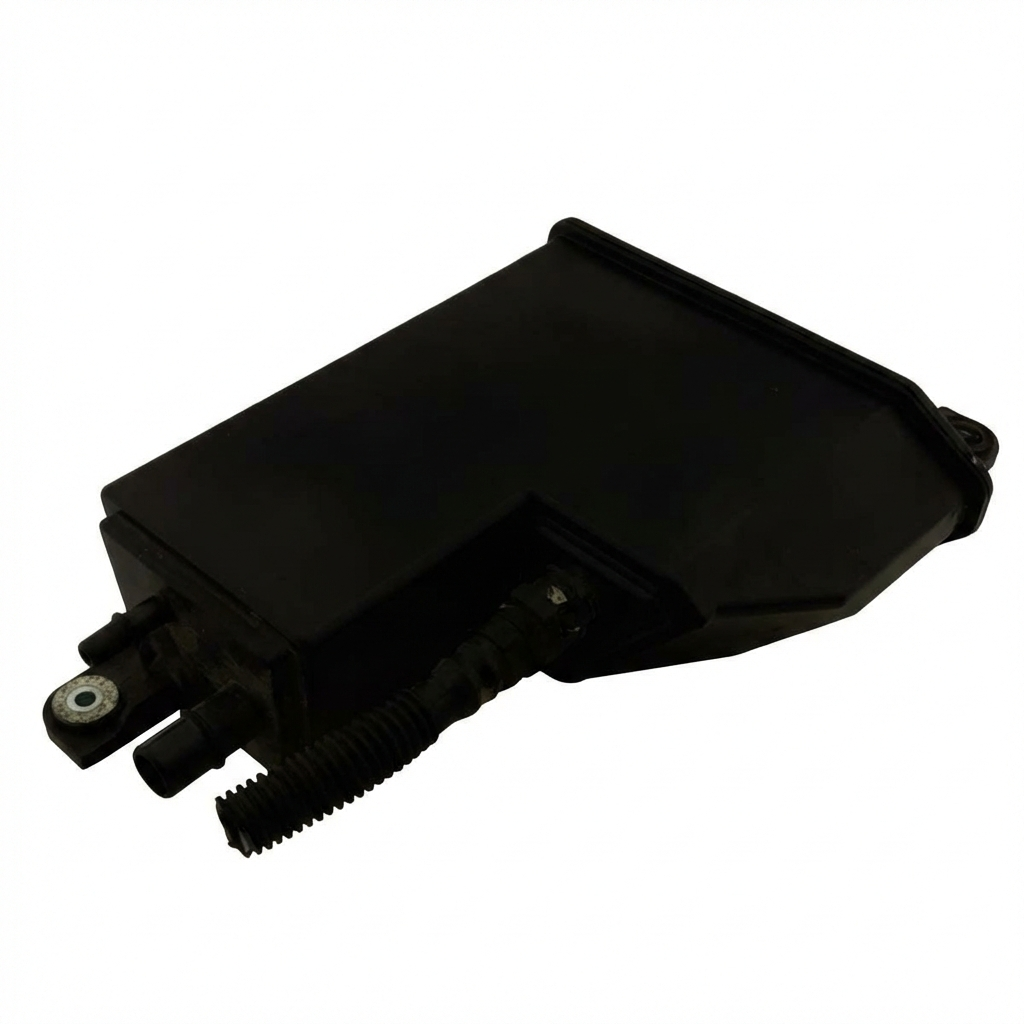
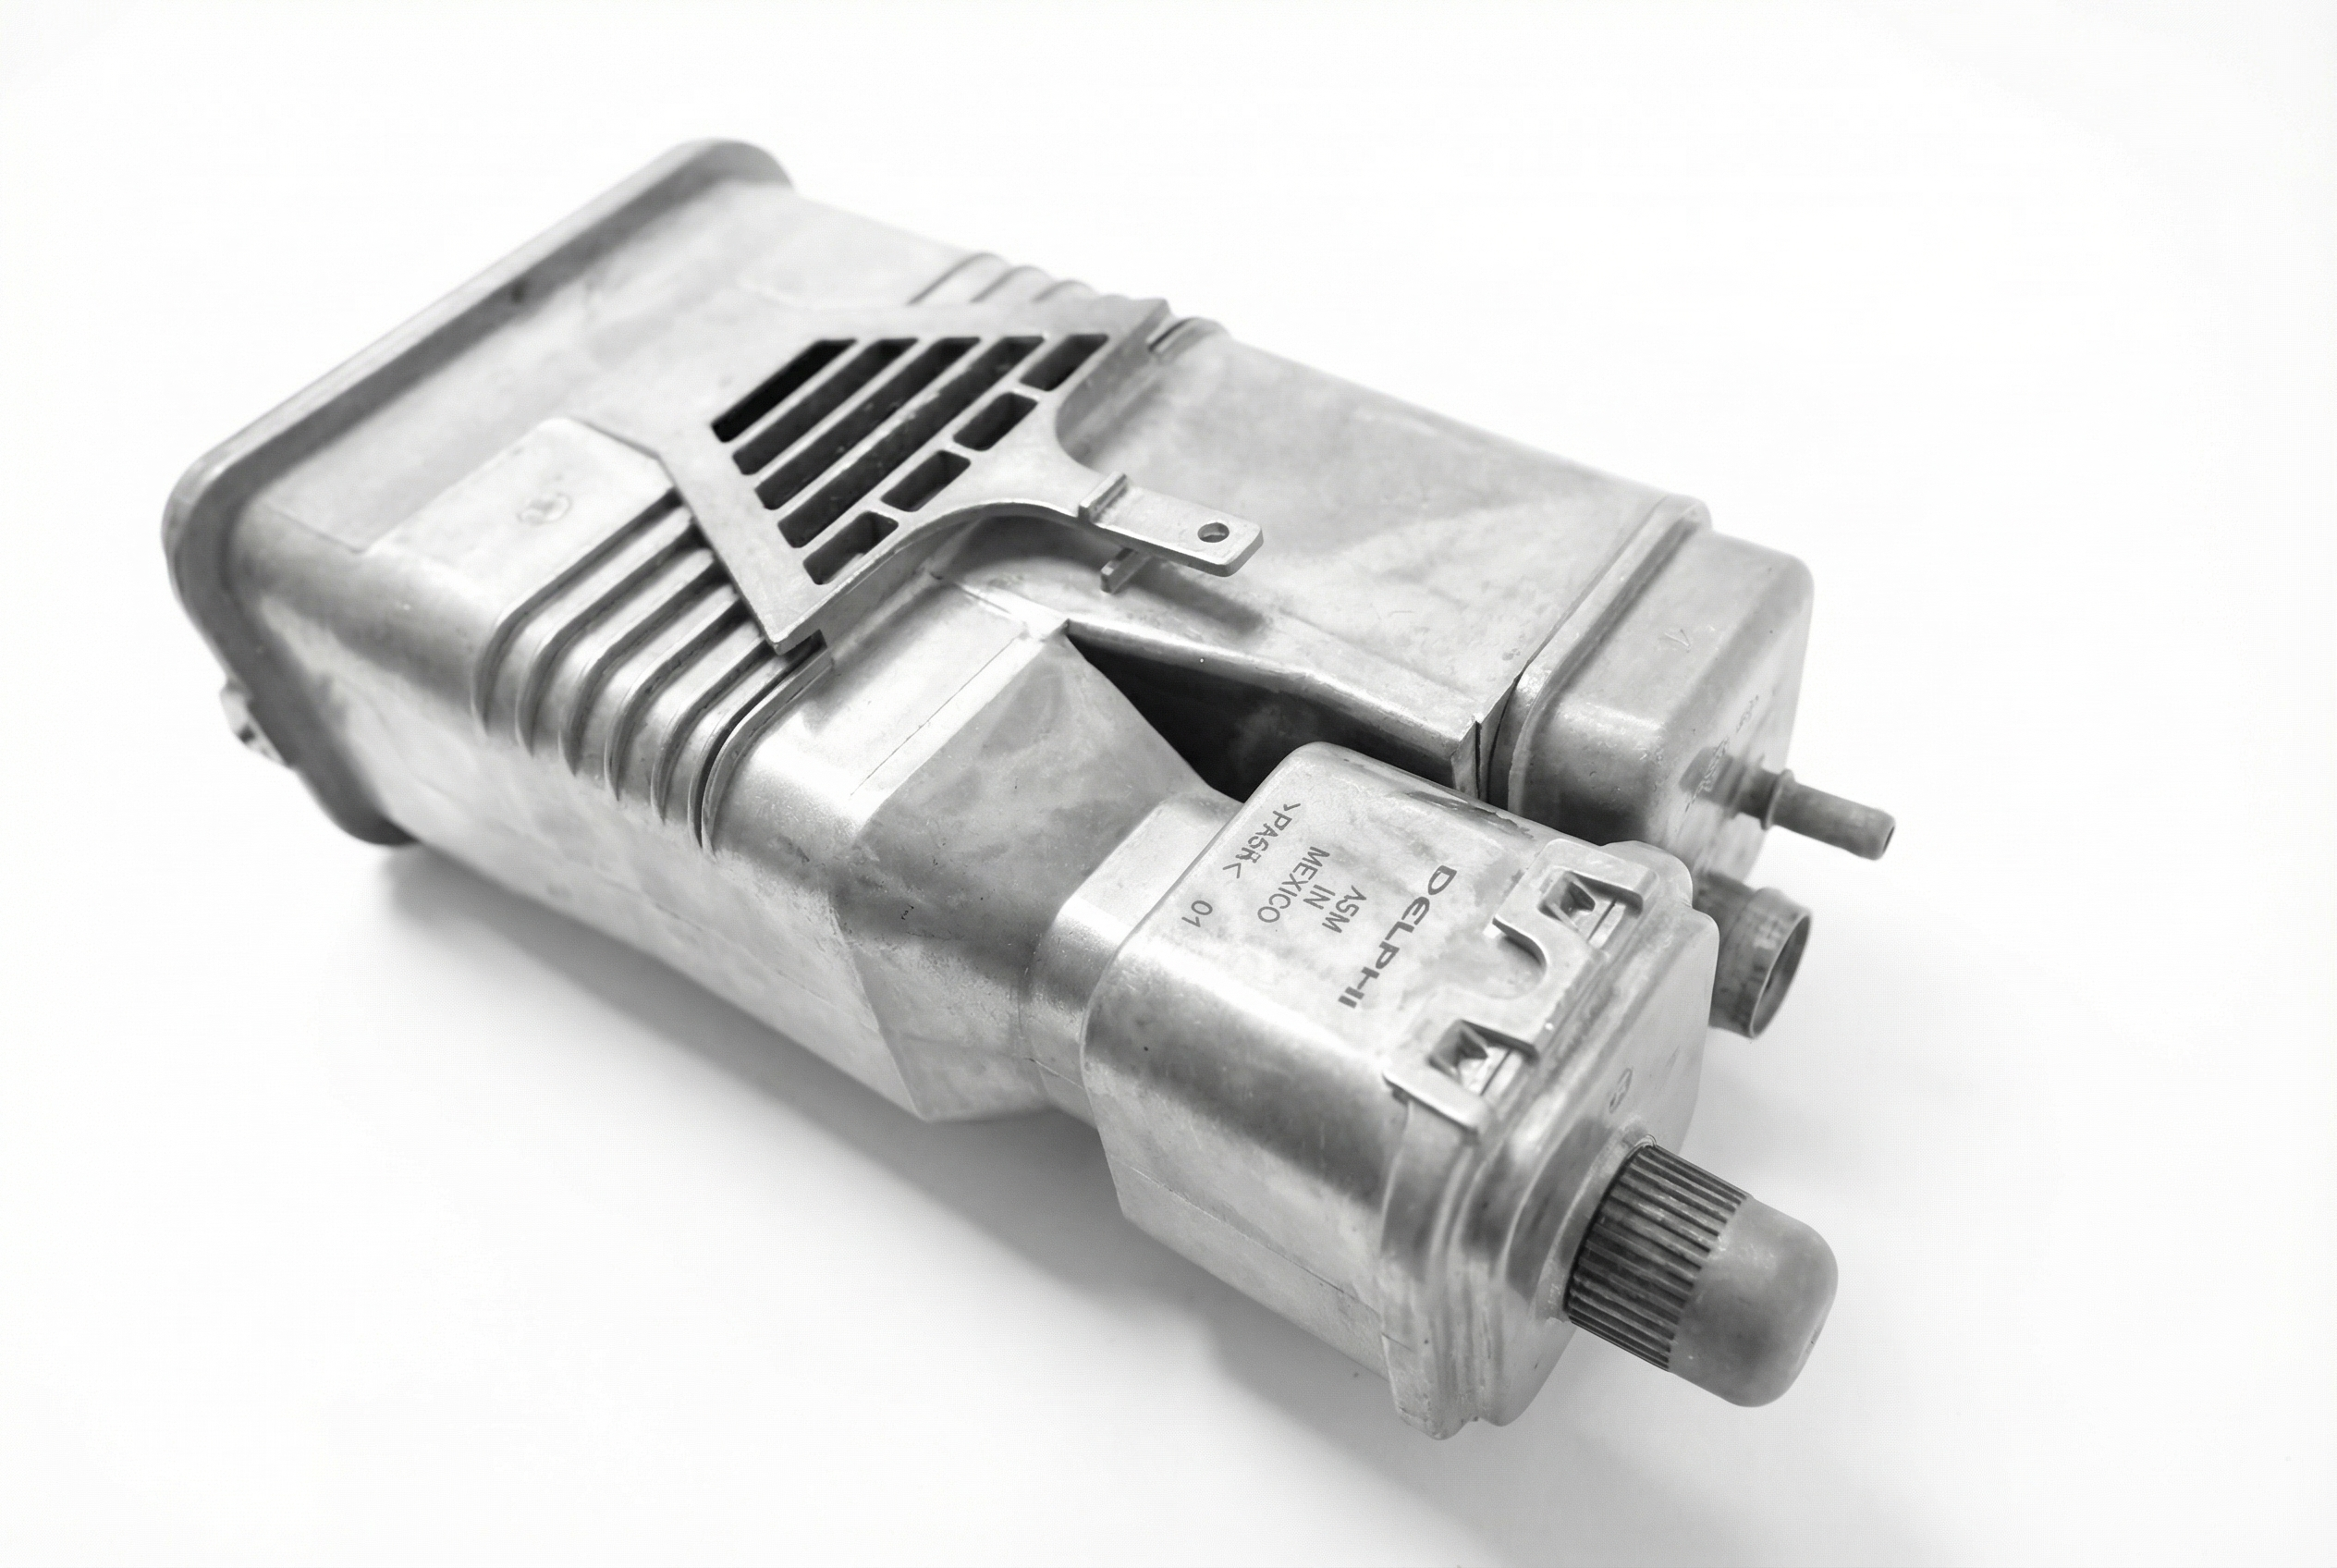
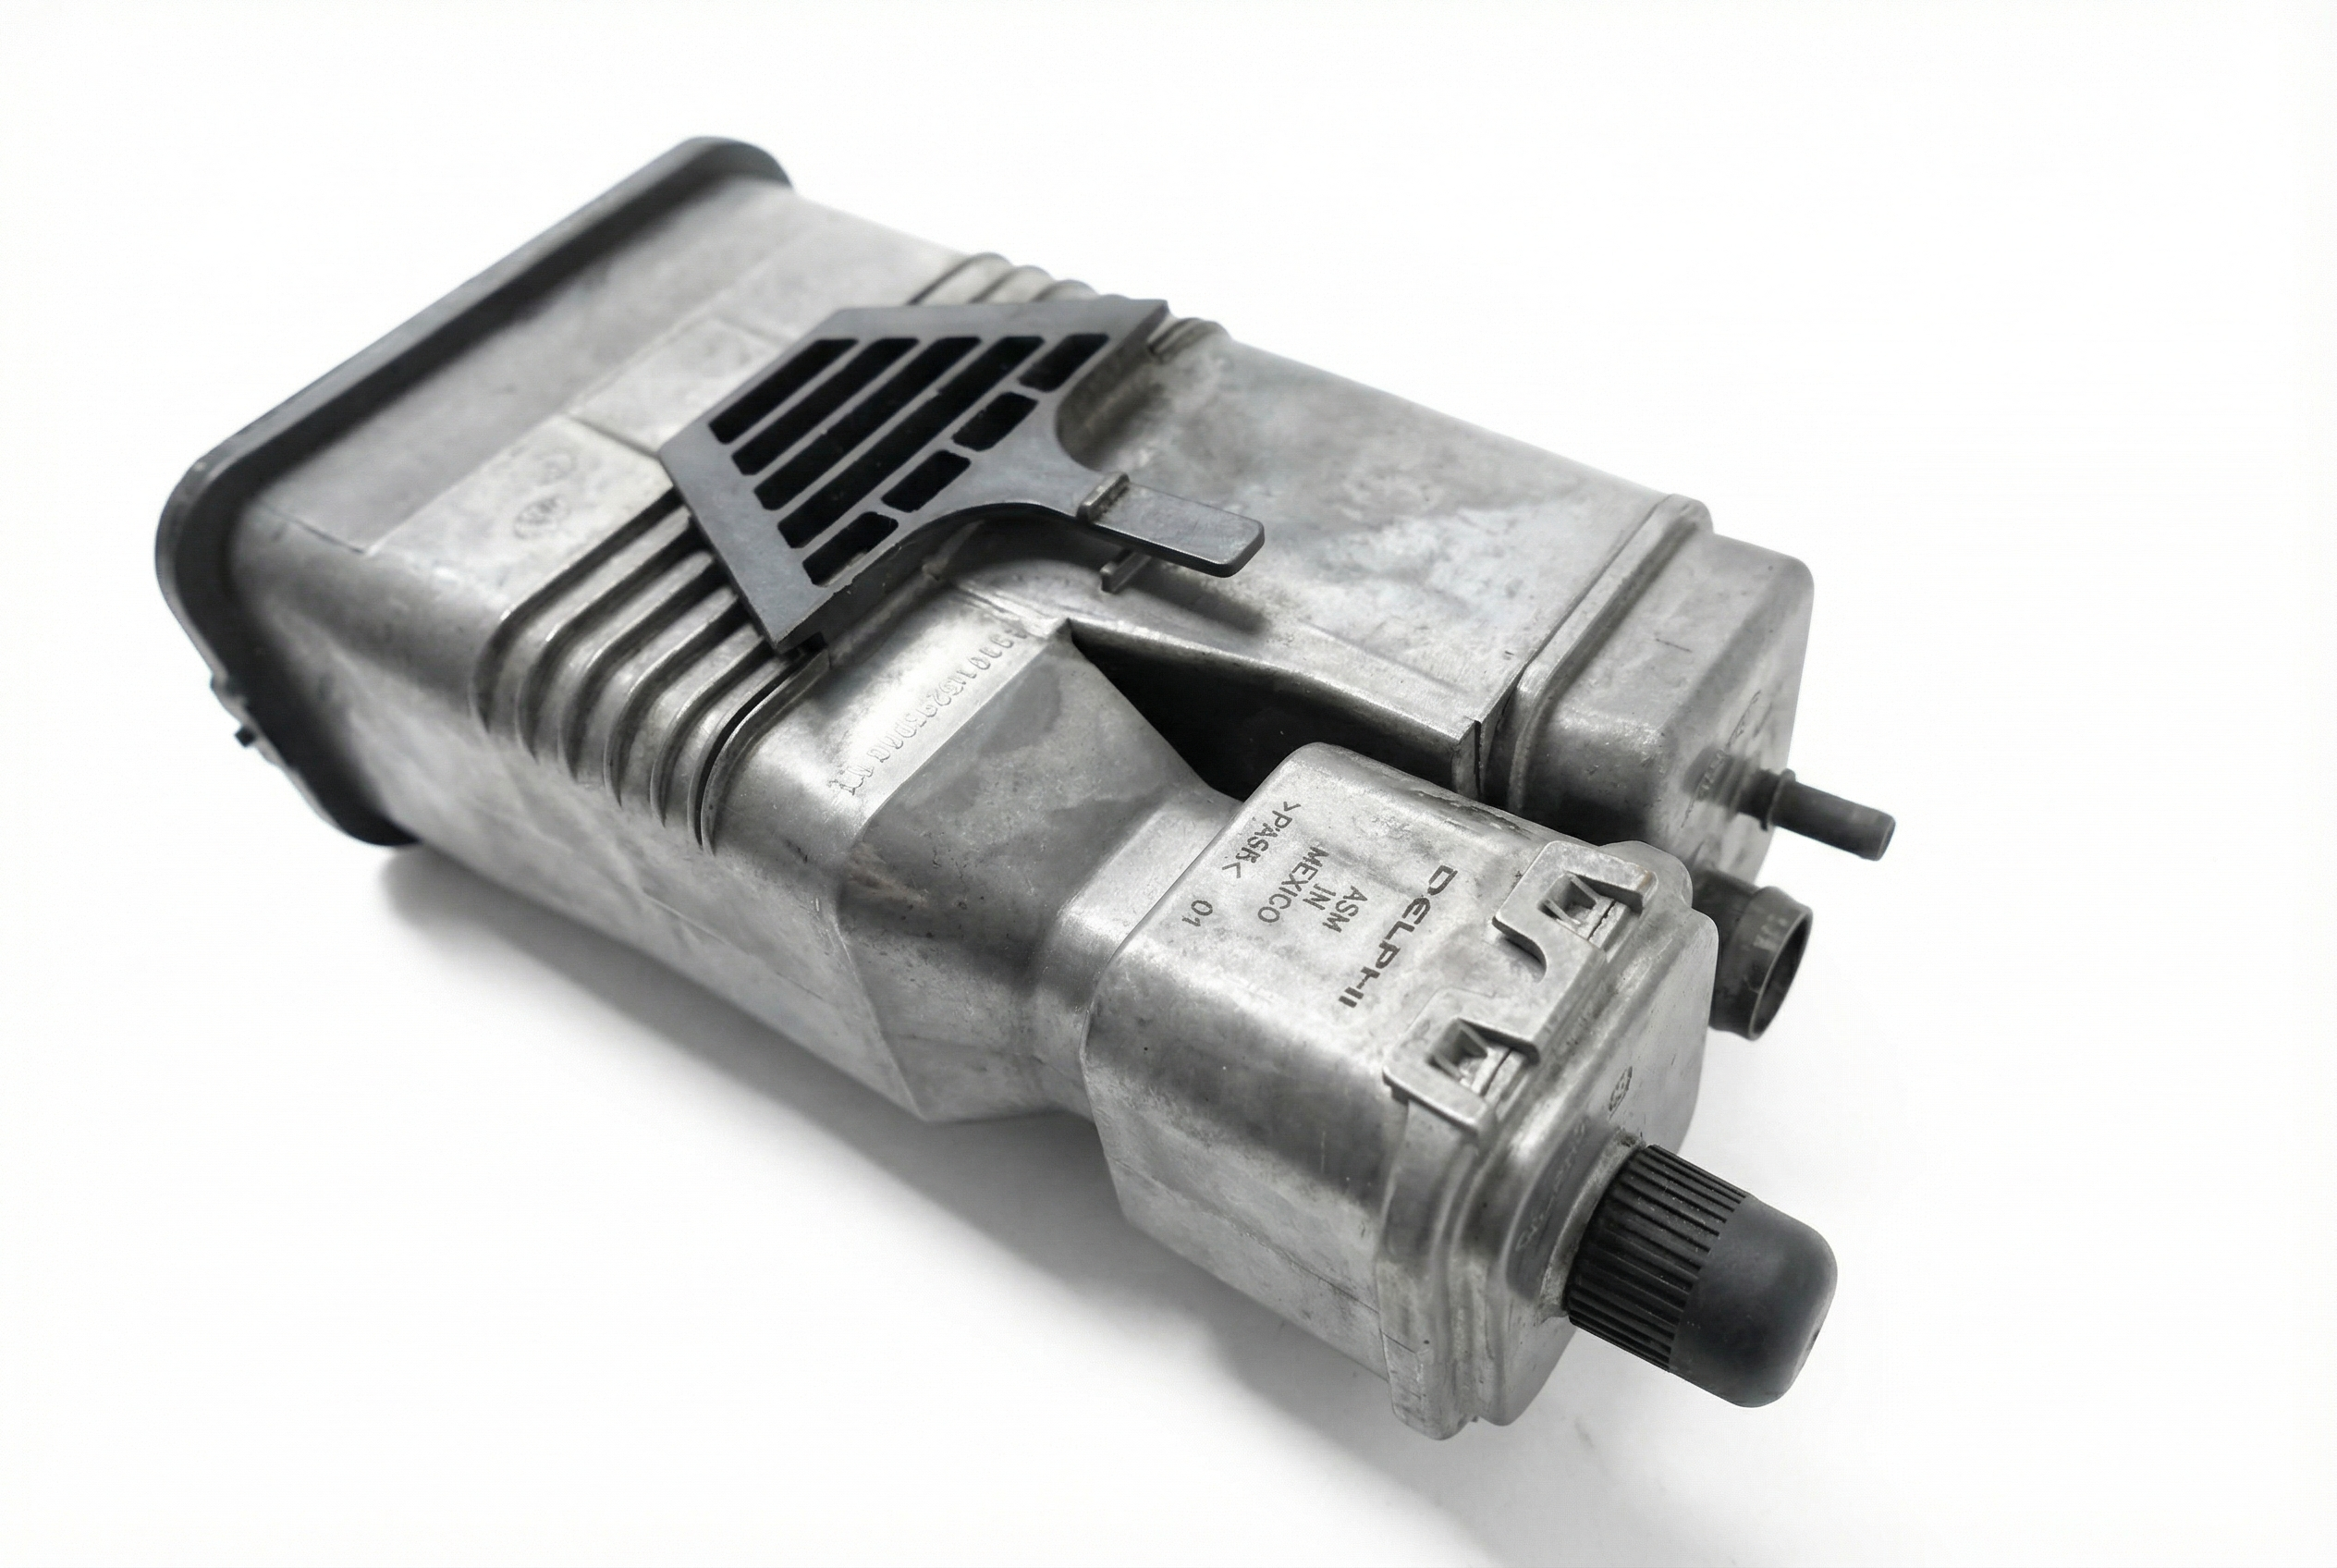
- Failed Charcoal Canister Assembly (with integrated Vent Valve) 🔴 High Probability → Shop Vapor Canister The vent valve is integrated into the charcoal canister on these models, and the entire unit is exposed to the elements under the vehicle, making it susceptible to failure from moisture and road debris over time. The internal solenoid coil can burn out or the valve can get stuck.
How to confirm: A diagnostic scan tool can be used to command the vent valve to open and close. If the valve does not respond with an audible click, and the wiring is confirmed to be good, the canister assembly is likely faulty. You can also test the resistance of the solenoid with a multimeter; an open circuit (infinite ohms) indicates a failed coil.
Typical fix: Replace the entire charcoal canister assembly. This is the most common and reliable repair. 🎬 See this step-by-step charcoal canister replacement walkthrough
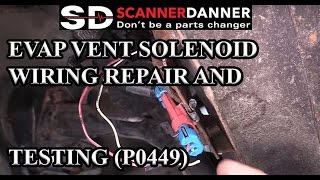
Est. part cost: $300-$700 - Damaged or Corroded Wiring/Connector 🟡 Medium Probability The charcoal canister and its electrical connector are located underneath the vehicle, exposing them to moisture, salt, and road debris which can lead to corrosion or physical damage to the wiring. Wires can become brittle and break, or pins in the connector can corrode, causing an open circuit. 🎬 Watch: How to test and repair vent solenoid wiring
How to confirm: Visually inspect the wiring harness and connector leading to the charcoal canister for any signs of damage, corrosion, or loose pins. Use a multimeter to check for battery voltage and ground at the connector with the key on.
Typical fix: Repair the damaged section of wiring or replace the connector pigtail.
Est. part cost: $20-$50 - Blown Fuse ⚪ Low Probability While not specific to this vehicle, a blown fuse for the EVAP system can cause the P0449 code.
How to confirm: Check the vehicle's fuse box for a fuse labeled 'EVAP' or similar. A visual inspection or continuity test will confirm if it's blown.
Typical fix: Replace the blown fuse. If it blows again, there is a short in the circuit that needs to be diagnosed.
Est. part cost: $1-$5
Rare But Worth Checking
- Faulty Powertrain Control Module (PCM): → Shop Engine Control Module (ECM) This is very rare. All other possibilities, especially the charcoal canister and wiring, should be thoroughly ruled out before considering a PCM failure.
Diagnosis Steps
- Read the trouble codes with an OBD-II scanner to confirm P0449 is present and note any other codes.
- Inspect the gas cap to ensure it is tight and the seal is in good condition. While not a likely cause, it is a simple check.
- Check the fuse for the EVAP system in the vehicle's fuse box.
- Locate the charcoal canister at the rear of the vehicle, near the fuel tank and spare tire.
- Visually inspect the electrical connector and wiring going to the charcoal canister for any signs of corrosion, damage, or loose connections. Tug gently on the wires to ensure they are secure in the connector.
- If the wiring appears intact, use a multimeter to test for power (battery voltage) and ground at the vent valve connector (with the key in the 'ON' position). You will need a wiring diagram for your specific year to identify the correct pins.
- If power and ground are present, the issue is most likely a failed vent valve within the charcoal canister. Use a bidirectional scan tool to command the vent valve to close. An audible click should be heard. If there is no click, the valve is faulty.
- As an alternative test, you can check the resistance of the vent solenoid's coil at the connector pins. An open circuit or infinite resistance reading indicates a failed solenoid.
- If the vent valve is confirmed to be the problem, the repair is to replace the entire charcoal canister assembly.
Parts You'll Likely Need
- Charcoal Canister Assembly
(OEM #77740-48140 (for 2008-2013 models), 77740-0E080 (for 2016-2019 non-hybrid models))— This assembly contains the integrated vent valve solenoid, which is the most common failure point for a P0449 code on this vehicle.
Trusted brands: Toyota (OEM), Aisan
OEM price range: $400-$720
Aftermarket price range: $250-$450
Related Codes That Often Appear With This One
- P0441 — Indicates incorrect purge flow, which can be related to a malfunctioning EVAP system.
- P0442 — Indicates a small leak in the EVAP system, which might be diagnosed alongside a circuit fault.
- P0446 — This code is for 'EVAP System Vent Control Circuit,' which is very similar to P0449 and points to the same components. Some manufacturers use P0446 and others P0449 for essentially the same fault.
- P0455 — Indicates a large leak in the EVAP system. A vent valve stuck open can be interpreted by the PCM as a large leak.
Platform-Specific Known Issues
- Owner Experience: 2011 Highlander P0449 Fix: An owner on ToyotaNation forums reported a P0449 code on their 2011 Highlander. After verifying the wiring was intact, they replaced the entire charcoal canister assembly (OEM Part 77740-48140). The repair took about an hour, with the most difficult part being the removal of corroded bolts. This successfully cleared the code.
Mechanic-Grade Diagnostic Values
- EVAP Vent Valve Solenoid Coil Resistance — expected: Generally between 20 and 50 Ohms. A specific value for the OEM part is not published, but a reading in this range indicates a likely good coil.. Failure: A reading of infinite resistance (Open Line) indicates a broken coil winding and a failed solenoid. A reading of zero or near-zero ohms would indicate a short circuit.
- Voltage at Vent Valve Connector — expected: With the ignition ON, one of the two pins should show battery voltage (~12V) when measured against a known good chassis ground. The other pin is the ground control wire from the PCM.. Failure: No voltage on the power wire indicates a problem upstream (fuse, wiring). If voltage is present but the valve doesn't operate when commanded, the problem is either the ground wire from the PCM or the solenoid itself.
Hidden / Shadow Codes Worth Checking
- Scan Tool Live Data PID: While not a 'hidden code,' advanced scan tools can display a data parameter like 'EVAP Vent Solenoid Status' or 'EVAP Vent Solenoid - Short to Ground or Open.' This PID shows the circuit status as seen by the PCM. It will indicate 'Yes' or 'Fault' if the PCM detects an open or short, confirming a circuit issue before you even touch a multimeter. (see via Professional scan tool (like Toyota Techstream) with live data capability for the EVAP system.)
Scan Tool Commands That Help
- Toyota Techstream or equivalent bidirectional scanner: Active Test: 'Control the Vent Valve / Solenoid' — This command allows the technician to manually toggle the vent valve solenoid on and off. It should be used after confirming power and ground wiring is suspect. While commanding the valve, listen for an audible 'click' from the charcoal canister area. No click strongly suggests a failed solenoid, assuming the wiring is intact.
Wiring & Ground Locations
- Vent Valve Connector — At the charcoal canister assembly, located at the rear of the vehicle, typically near the spare tire and fuel tank.. This is the most common point of failure for wiring. Wires can break *inside* the insulation right at the connector due to vibration and exposure. A visual check may not be sufficient; a gentle 'tug test' on each wire can reveal a hidden break.
- Rear Body Ground — There are several chassis ground points in the rear of the vehicle. While the vent valve is controlled by a PCM ground, other nearby components rely on body grounds. A common location for a ground stud is behind the rear quarter panel trim or near the frame rails.. While less likely to be the direct cause for a P0449 (which is a specific circuit fault), a poor body ground in the area can cause a range of bizarre electrical issues and is good practice to check when diagnosing electrical faults in the rear of the vehicle.
Real Owner Repair Stories
- Forum User Post (General Motors vehicle, but principle directly applies to Toyota) — Persistent P0449 code even after replacing the purge valve and vent valve/canister assembly.
❌ Tried (didn't work) Replacing purge valve, Replacing vent valve / charcoal canister
✅ What actually fixed it The final cause was a broken wire inside the insulation at the vent valve connector. The owner had checked for voltage and found it was incorrect (1.2V on the ground side). The break was not visually apparent but was found due to corrosion and ultimately confirmed by manipulating the wire. The fix was to repair the broken wire in the harness pigtail.
OEM Part Supersession History
77740-48140→77740-48140 (current)— No supersession found. This part number remains active for the 2008-2013 model years.77740-0E080→77740-0E080 (current)— No supersession found. This part number remains active for the 2016-2019 model years.
Model Year Variations Within This Range
- 2008-2013: Uses charcoal canister assembly part number 77740-48140.
- 2014-2015: Part numbers may vary in the transition to the 3rd generation. It is critical to verify with VIN. The part for 2016-2019 is 77740-0E080.
- 2016-2019: Uses charcoal canister assembly part number 77740-0E080 for non-hybrid models.
Diagnostic Flowchart
Other Known Issues on This Vehicle
Issues unrelated to this code that are worth knowing about as an owner of this generation:
- Ruptured VVT-i Oil Line (2GR-FE Engine) 🔴 High — Common on early 2nd generation models (approx. 2008-2010) with the original rubber hose. Can lead to sudden, catastrophic oil loss and engine seizure. (Ref: Limited Service Campaign (LSC) 90K was issued to replace the rubber hose with an all-metal line.)
- Melting / Sticky Dashboard 🟡 Low — Widespread on many Toyota models of this era, including the Highlander, especially in hot, humid climates. (Ref: Toyota issued a Warranty Enhancement Program (ZE6) to cover replacement.)
- Torque Converter Shudder 🟠 Medium — Reported by some owners of 3rd generation models (2014-2019) at low speeds (around 40 mph), feeling like driving over rumble strips. (Ref: For some Toyota models, a TSB was issued involving a software update and/or torque converter replacement, though not specifically confirmed for all Highlander years.)
- Oil Leaks from Timing Cover / Valve Covers 🟠 Medium — Some 2008-2010 models with the 3.5L V6 can develop oil leaks from the timing cover or valve cover gaskets, which can be labor-intensive to repair.
Used vs. New Parts: Buying Guide for This Vehicle
When a used part is the smart pick: A used charcoal canister is a high-risk purchase and generally not recommended. It only makes sense if the cost is extremely low (e.g., under $50) and the buyer is willing to accept the financial loss if the part is non-functional. Given the labor to install, a new part is almost always the smarter choice.
Donor-vehicle mileage cap: roughly under 50000 miles for the part to have meaningful remaining life.
What to inspect on the donor part:
- Ask the seller if the part was tested or if it came from a vehicle that was running without a check engine light.
- Visually inspect for cracks, damage, or signs of being submerged in water.
- Check the electrical connector pins for corrosion or damage.
- If possible, perform a basic bench test by blowing low-pressure air through the ports to check for obvious blockages.
OEM-only on this vehicle (don't cheap out):
- Charcoal Canister Assembly: While aftermarket is available, the OEM part (made by Aisan for Toyota) is the highest probability for a long-term fix. Aftermarket EVAP components can sometimes have slightly different operating parameters that can cause issues, though less common for a simple circuit code like P0449.
Aftermarket brands forum-validated for this vehicle:
- Dorman is a widely available aftermarket brand for this component, though quality can be variable compared to OEM.
Brands owners have reported issues with on this vehicle:
- Unnamed, ultra-cheap 'universal' parts should be avoided. An EVAP valve from a different application may not have the correct flow or electrical characteristics, leading to repeat codes.
Real Owner Stories
Aggregated from forums and TSBs cited above. Mileages and costs reflect what owners reported in those sources.
2011 Toyota Highlander
Symptoms: Check engine light with code P0449. Wiring was inspected and found to be intact.
What fixed it: Replaced the entire charcoal canister assembly (OEM Part 77740-48140). The repair took about an hour, though removing corroded bolts was difficult.
Source hint: ToyotaNation Forum - 'P0449 on 2011 Highlander'
Related OBD-II Codes
Frequently Asked Questions
Where is the charcoal canister located on my 2008-2019 Highlander?
Can I just replace the vent valve solenoid by itself to fix P0449?
Why is my Highlander having trouble at the gas station (pump clicking off) along with the P0449 code?
Is there a specific fuse I should check for the EVAP system?
Are there any other major issues I should look out for on my 2GR-FE engine while fixing this?
Does my Highlander share this EVAP issue with other Toyota models?
Helpful Videos

Used OEM Parts in Stock
New Aftermarket Parts Available


The information in this article is provided for general reference and educational purposes only. Vehicle specifications, procedures, and part compatibility can vary by production date, trim level, and region. Always consult your vehicle's factory service manual and verify part numbers before purchasing or performing repairs. Safety-critical components such as airbags, seat belts, and braking systems should be installed by a qualified professional.
- Toyota Highlander:
- 🧭 Diagnostic Flowchart
- 🎬 Helpful Videos
- 🛍️ Shop This Part
- What's Unique About the 2008-2019 Toyota Highlander
- Symptoms You May Notice
- Most Likely Causes
- Rare But Worth Checking
- Diagnosis Steps
- Parts You'll Likely Need
- Related Codes That Often Appear With This One
- Platform-Specific Known Issues
- Mechanic-Grade Diagnostic Values
- Hidden / Shadow Codes Worth Checking
- Scan Tool Commands That Help
- Wiring & Ground Locations
- Real Owner Repair Stories
- OEM Part Supersession History
- Model Year Variations Within This Range
- Other Known Issues on This Vehicle
- Used vs. New Parts: Buying Guide for This Vehicle
- Real Owner Stories
- 2011 Toyota Highlander
- Related OBD-II Codes
- Frequently Asked Questions
- 🎟️ Get 5% Off