
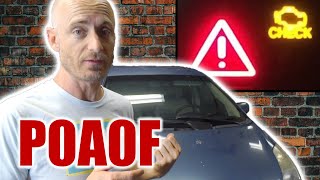
P0452 on 2004-2009 Toyota Prius: EVAP Pressure Sensor Low Input Causes and Fixes
On a 2004-2009 Prius, P0452 is most often a failed Fuel Tank Pressure Sensor located on the charcoal canister. Before replacing it, always check for a loose gas cap first. The sensor replacement is labor-intensive due to its location, with shop costs ranging from $350-$550.
- Always check your gas cap first for a P0452 code; it's the easiest and cheapest potential fix.
- The code indicates a low voltage electrical signal (below 0.45V), not necessarily a leak in the EVAP system.
- The most common failed part is the Fuel Tank Pressure Sensor itself.
- Be prepared for a high labor cost if the sensor needs replacement, as it is in a very difficult-to-access location on the 2004-2009 Prius.
- Driving with this code is not dangerous, but it will prevent you from passing an emissions test.
What's Unique About the 2004-2009 Toyota Prius
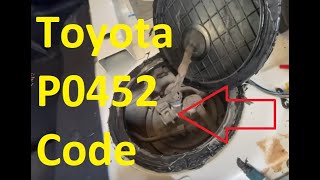
For the second-generation Prius (XW20), the key challenge with a P0452 code is the location of the Fuel Tank Pressure Sensor. Unlike many vehicles where it's on top of the fuel pump, Toyota integrated it into the charcoal canister assembly. This entire assembly is tucked above the rear subframe, making access difficult and significantly increasing the labor time and cost for what would otherwise be a simple sensor replacement. This design choice is the primary reason a P0452 repair on this Prius is more involved than on many other cars.
Symptoms You May Notice
- Check Engine Light is on
- Possible faint fuel smell (rare)
- Vehicle will fail an emissions test
- Replacing other EVAP components like the purge valve or vent solenoid. P0452 specifically points to an issue with the pressure sensor circuit's input being electrically low, not the functionality of the valves.
Most Likely Causes
- Loose or Faulty Gas Cap 🔴 High Probability → Shop Fuel Tank Cap This is a common issue on all vehicles. The gas cap is a critical sealing point for the EVAP system, and its seal can degrade over time or it may not be tightened correctly after refueling. It is the easiest and most common first step in diagnosis. 🎬 Watch: How to diagnose and fix a P0452 code
How to confirm: Inspect the gas cap for any visible cracks or damage to the rubber seal. Ensure it is tightened until it clicks at least once. Clear the code and drive for a few days to see if it returns.
Typical fix: Tighten the existing cap or replace it with a new OEM or high-quality aftermarket cap.
Est. part cost: $15-$40 - Faulty Fuel Tank Pressure Sensor 🟡 Medium Probability → Shop Fuel Tank The sensor itself can fail electrically over time, providing an incorrect low voltage reading to the ECM. This is the most common component failure for this specific code. 🎬 See: Fuel tank pressure sensor replacement guide
How to confirm: Using a scan tool with live data, monitor the fuel tank pressure sensor voltage. If the reading is stuck at a very low voltage (e.g., under 0.45V) regardless of conditions, the sensor is likely faulty. This requires confirming the sensor is receiving a 5V reference and has a good ground first.
Typical fix: Replace the Fuel Tank Pressure Sensor. This is labor-intensive as it is located on the charcoal canister above the rear subframe, which may need to be lowered for access.
Est. part cost: $40-$180 - Wiring or Connector Issue ⚪ Low Probability The wiring harness leading to the charcoal canister is located underneath the vehicle, exposing it to moisture, road debris, and potential corrosion which can cause a short or open circuit, pulling the signal voltage low.
How to confirm: Visually inspect the wiring harness and connector near the charcoal canister for any signs of damage, corrosion, or loose pins. Use a multimeter to test for a 5-volt reference signal and a good ground at the sensor connector.
Typical fix: Repair the damaged section of the wiring harness or clean/replace the connector.
Est. part cost: $5-$50
Rare But Worth Checking
- Faulty Engine Control Module (ECM): This is extremely rare. The ECM should only be considered after all other possibilities, including the sensor and its entire circuit, have been exhaustively tested and ruled out.
Diagnosis Steps
- Check the Gas Cap: Ensure the gas cap is tight and the seal is in good condition. A loose or worn-out cap is a very common cause for EVAP codes. Clear the code after tightening and see if it returns.
- Scan Tool Live Data: Connect an OBD-II scanner and observe the live data for the Fuel Tank Pressure Sensor (FTP). A reading that is consistently very low (stuck below 0.45V) suggests a problem with the sensor or its circuit. A normal reading with the gas cap off (at atmospheric pressure) should be between 1.3V and 2.5V.
- Visual Inspection: Raise the rear of the vehicle and visually inspect the charcoal canister (located above the rear subframe, near the left rear corner) and the wiring going to the Fuel Tank Pressure Sensor. Look for any obvious signs of damage, corrosion, or rodent activity.
- Test the Circuit: Disconnect the sensor and use a multimeter to check the connector. You should find a 5-volt reference wire, a ground wire, and a signal wire. Confirm the 5V reference and ground are present. If they are missing, the problem is in the wiring leading to the ECM.
- Test the Sensor: If the wiring provides the correct voltage and ground, the sensor itself is the most likely culprit.
- Smoke Test (Optional): While P0452 is typically an electrical fault, if you suspect a large leak could be causing an illogical reading, a smoke test can be performed on the EVAP system to check for leaks. However, a leak will usually trigger other codes like P0441, P0455, or P0456.
Parts You'll Likely Need
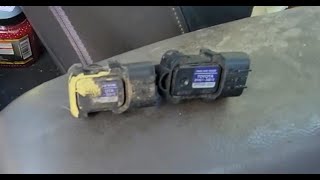
- Fuel Tank Pressure Sensor
(OEM #89461-47010)— This sensor is the most common component to fail that directly causes the P0452 low voltage code.
Trusted brands: Denso, Standard Motor Products, Genuine Toyota
OEM price range: $170-$250
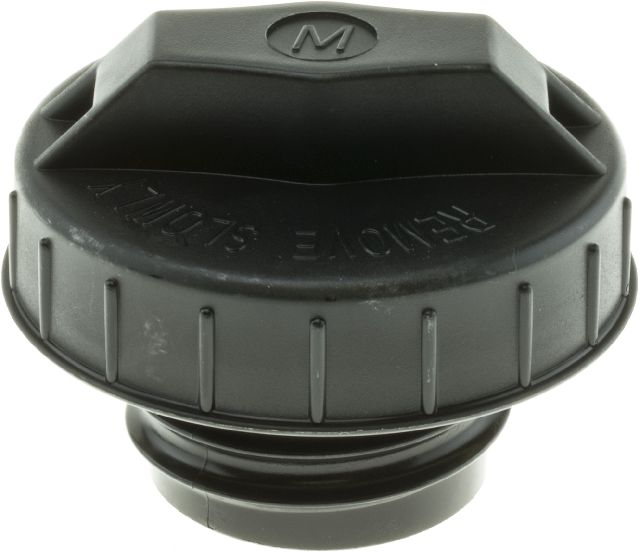
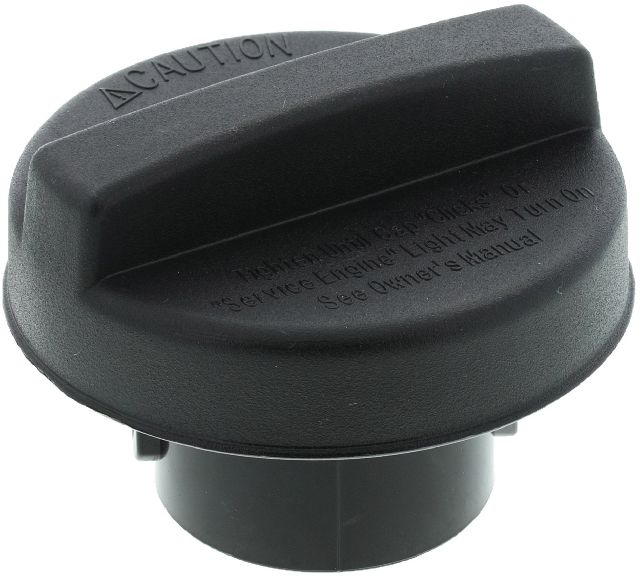
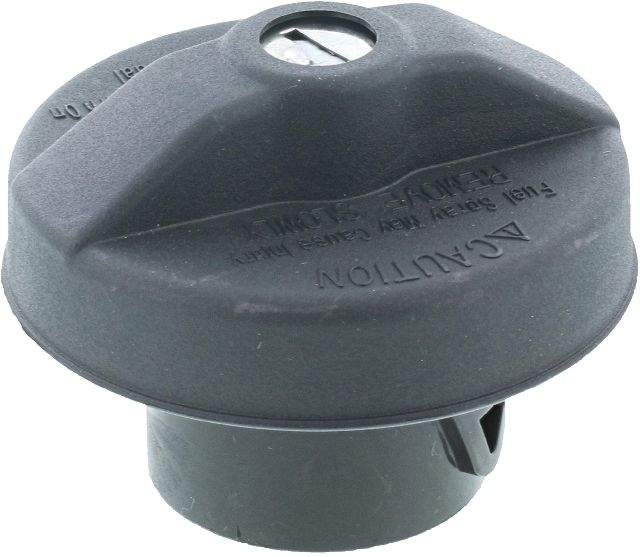
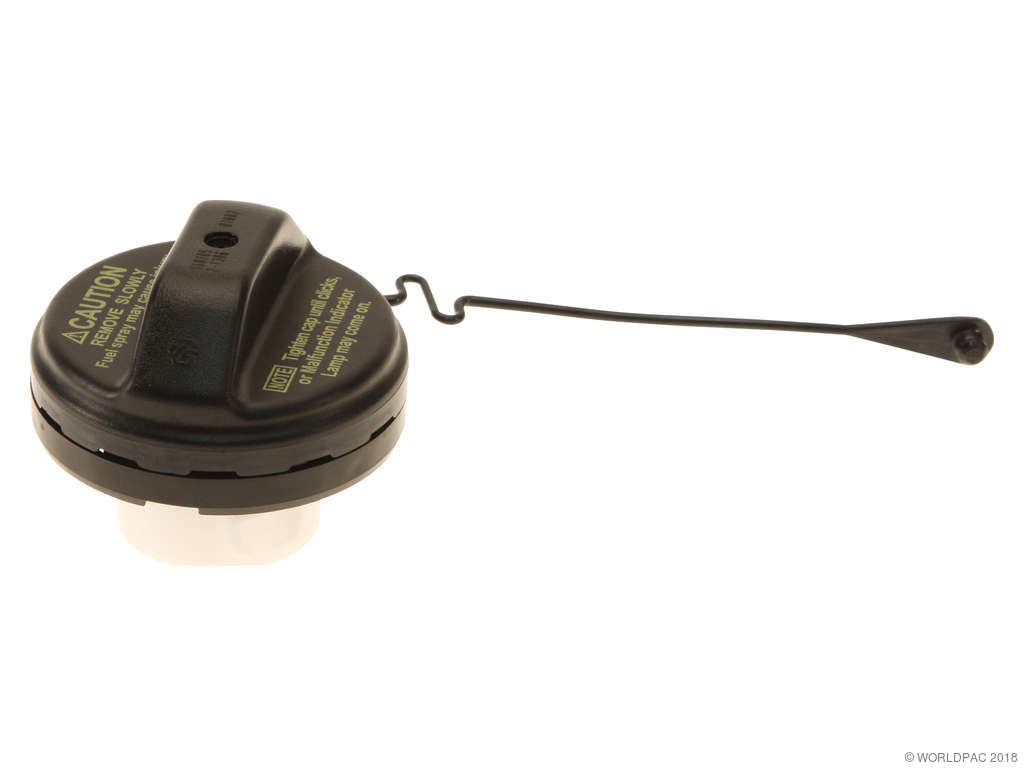
Aftermarket price range: $40-$160 - Gas Cap
(OEM #77300-47010)— A faulty or loose gas cap is the simplest and most common cause of EVAP system codes.
Trusted brands: Genuine Toyota, Stant
OEM price range: $25-$40
Aftermarket price range: $15-$25
Platform-Specific Known Issues
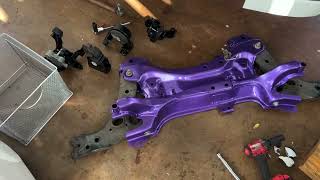
- Difficult Sensor Access: Owners on PriusChat forums consistently confirm the fuel tank pressure sensor is located on the charcoal canister, which is mounted above the rear subframe. Access requires lowering the subframe, making it a challenging DIY job that many owners opt to take to a shop due to the complexity and need for specialized tools. 🎬 Watch: How to lower and raise the Prius subframe
Mechanic-Grade Diagnostic Values
- Fuel Tank Pressure Sensor Signal Voltage (at sensor connector) — expected: 0.5V to 4.5V (general operating range). Failure: Voltage is less than 0.45V for 0.5 seconds, which triggers the P0452 code.
- 5V Reference Voltage (at sensor connector) — expected: ~5.0V. Failure: Significantly lower than 5.0V or 0V, indicating a wiring issue or a problem with the ECM's 5V reference circuit.
- Ground Circuit Resistance (at sensor connector to chassis ground) — expected: < 1.0 Ohm. Failure: High resistance or an open circuit (OL), indicating a bad ground connection.
Hidden / Shadow Codes Worth Checking
- Mode $06 Data: Toyota's EVAP monitor runs a series of self-tests. While not a 'shadow code,' failing values in Mode $06 for specific Test IDs (TIDs) and Component IDs (CIDs) related to the pressure sensor can indicate a component is on the verge of failure before a hard code like P0452 is set. This data is most useful for advanced diagnosis when a problem is intermittent. (see via A professional scan tool or an advanced DIY tool with Mode $06 capability (like Torque Pro with custom PIDs).)
Scan Tool Commands That Help
- Toyota Techstream: EVAP System Check (Auto Mode) — While P0452 is an electrical code, Techstream can be used to command the entire EVAP system through its self-test procedure. This can help verify if other components are functioning correctly, which is useful for ruling out other potential issues after an electrical repair has been made. It allows a technician to confirm the repair without waiting for the vehicle's natural drive cycle to run the monitor.
- Toyota Techstream: Data List > EVAP — To monitor the 'Fuel Tank Press' value in real-time. This is the primary way to confirm the sensor is stuck low. The reading should change when the gas cap is removed or when applying a slight vacuum/pressure to the system with a hand pump.
Wiring & Ground Locations
- V7 Canister Connector — On the charcoal canister assembly, located above the rear subframe in the left rear of the vehicle.. This is the primary electrical connector for the Fuel Tank Pressure Sensor. All voltage and ground tests for the sensor circuit must be performed at the pins of this connector.
- BQ Ground Point — Located in the right rear of the vehicle, near the EVAP system components.. This is a likely chassis ground point for the EVAP system components. A corroded or loose connection at this point could cause a high-resistance ground, leading to incorrect sensor readings and potentially triggering a P0452.
- E7 ECM Connector — Behind the right side of the dashboard, at the Engine Control Module.. This is where the signal wire from the fuel tank pressure sensor terminates. If voltage and ground are good at the V7 connector but the code persists, a continuity test would be performed between the signal pin at V7 and the corresponding pin at E7 to find a potential break in the wire.
Real Owner Repair Stories
- JK-Forum.com user (story about a Jeep, but illustrates a universal cause) (Jeep Wrangler JK (year not specified)) — Check Engine Light for EVAP system (P0452) after the vehicle sat for months.
❌ Tried (didn't work) Initial diagnosis was confusing without a clear starting point.
✅ What actually fixed it A visual inspection revealed a mouse had chewed through the wiring and connector for the EVAP canister assembly. The fix was to repair the damaged wiring harness, not replace any components. - PriusChat Forum User (2004 Toyota Prius) — ABS, Brake, and Anti-Skid warning lights, with codes indicating a wiring harness problem.
❌ Tried (didn't work) Replacing the ABS computer twice (one used, one new).
✅ What actually fixed it The user identified a known issue of corrosion in the contacts of a wiring harness near the ABS computer, particularly in salt-air environments. The resolution involves cleaning or replacing the affected harness/connectors rather than the expensive computer modules. While not a P0452 story, it highlights that on this aging platform, harness corrosion is a real-world cause of electrical faults that can be misdiagnosed as component failure.
"I Checked Everything" — The Actual Cause
- P0452 is an electrical circuit code (low voltage input), not a leak code (like P0455 or P0456). Therefore, a smoke test will almost always come back clean. The root cause is not a physical leak but rather a short in the wiring, a failed sensor providing a low reading, or a bad ground connection. Mechanics who perform a smoke test for this code are likely misinterpreting its meaning.
OEM Part Supersession History
89461-47010→89461-47010 (current)— No supersession. This part number remains the active OEM part number.
Heads up: This part number is used across a wide range of Toyota vehicles, including newer models like the Corolla Cross, Grand Highlander, and Tacoma, indicating it is a standard, reliable sensor design.
Diagnostic Flowchart
Other Known Issues on This Vehicle
Issues unrelated to this code that are worth knowing about as an owner of this generation:
- Inverter Coolant Pump Failure 🔴 High — Very common failure. Can occur at any mileage but is more frequent over 100,000 miles. Leads to inverter overheating and vehicle shutdown. (Ref: Safety Recall C0U / NHTSA 12V536000. Also addressed in TSB EG001-07.)
- Combination Meter (Dashboard Display) Failure 🟠 Medium — Common issue where the speedometer and fuel gauge display goes completely black, often intermittently at first, especially in cold weather. Can also cause issues with turning the car off or opening the rear hatch. (Ref: TSB-0172-09 Rev2 addresses this with an updated ECU.)
- HID Headlight Ballast Failure 🟠 Medium — Widespread problem on models with factory HID headlights. Symptoms include flickering, int
Used vs. New Parts: Buying Guide for This Vehicle
When a used part is the smart pick: Purchasing a complete used charcoal canister assembly from a junkyard can be a cost-effective option, as a new OEM assembly is very expensive. This is most practical if you suspect a crack in the canister housing itself or if you want to get all the associated valves and the pressure sensor in one go.
Donor-vehicle mileage cap: roughly under 150000 miles for the part to have meaningful remaining life.
What to inspect on the donor part:
- Inspect the plastic housing of the canister for any visible cracks or damage, especially around the hose ports and sensor mounting points.
- Check the electrical connector pins on the pressure sensor for corrosion or damage.
- If possible, source the part from a vehicle in a dry, salt-free climate to minimize the risk of corrosion on electrical components.
- Ensure all hose connection points are intact and not brittle.
OEM-only on this vehicle (don't cheap out):
- While the sensor itself can be replaced with aftermarket, using a Genuine Toyota (often made by Denso) part is recommended for best fit and longevity, especially given the high labor cost to access it.
Aftermarket brands forum-validated for this vehicle:
- Denso (often the OEM supplier)
- Standard Motor Products (SMP)
Brands owners have reported issues with on this vehicle:
- Unknown, no-name brands found on online marketplaces should be avoided, as sensor accuracy and longevity can be questionable, and the high labor cost of replacement makes a repeat job very undesirable.
Real Owner Stories
Aggregated from forums and TSBs cited above. Mileages and costs reflect what owners reported in those sources.
2004-2009 Toyota Prius 1.5L
Symptoms: The Fuel Tank Pressure Sensor was providing an incorrect low voltage reading to the ECM, triggering the P0452 code.
What fixed it: Replacement of the Fuel Tank Pressure Sensor located on the charcoal canister.
Source hint: PriusChat: Multiple threads corroborate that the Fuel Tank Pressure Sensor is located on the charcoal canister above the rear subframe
2004-2009 Toyota Prius 1.5L
Symptoms: The Check Engine Light was on and the owner needed to locate the carbon canister for inspection.
What fixed it: Identified the canister in the left rear corner of the car, aft of the fuel tank, to inspect for damage or sensor issues.
Source hint: PriusChat - 'Carbon Canister location' thread (https://priuschat.com/threads/carbon-canister-location.243169/)
Related OBD-II Codes
Frequently Asked Questions
Where is the Fuel Tank Pressure Sensor located on my 2004-2009 Prius?
Can I replace the P0452 sensor myself on a Gen 2 Prius?
Is there a specific brand of sensor I should use for the P0452 fix?
Could my P0452 code be related to the Inverter Coolant Pump recall?
What should I check first before paying for a charcoal canister repair?
If I need a new charcoal canister, should I buy it used?
Helpful Videos
We Have This Part in Stock


The information in this article is provided for general reference and educational purposes only. Vehicle specifications, procedures, and part compatibility can vary by production date, trim level, and region. Always consult your vehicle's factory service manual and verify part numbers before purchasing or performing repairs. Safety-critical components such as airbags, seat belts, and braking systems should be installed by a qualified professional.
- Toyota Prius:
- 🧭 Diagnostic Flowchart
- 🎬 Helpful Videos
- 🛍️ Shop This Part
- What's Unique About the 2004-2009 Toyota Prius
- Symptoms You May Notice
- Most Likely Causes
- Rare But Worth Checking
- Diagnosis Steps
- Parts You'll Likely Need
- Platform-Specific Known Issues
- Mechanic-Grade Diagnostic Values
- Hidden / Shadow Codes Worth Checking
- Scan Tool Commands That Help
- Wiring & Ground Locations
- Real Owner Repair Stories
- "I Checked Everything" — The Actual Cause
- OEM Part Supersession History
- Other Known Issues on This Vehicle
- Used vs. New Parts: Buying Guide for This Vehicle
- Real Owner Stories
- 2004-2009 Toyota Prius 1.5L
- 2004-2009 Toyota Prius 1.5L
- Related OBD-II Codes
- Frequently Asked Questions
- 🎟️ Get 5% Off