
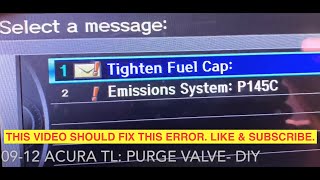
P0455 on 2012-2013 Acura TL: EVAP Large Leak Causes and Fixes
For a 2012-2013 Acura TL, code P0455 almost always points to a loose or faulty gas cap. This is an easy and inexpensive fix. Before suspecting other parts, ensure the gas cap is tight and the seal is in good condition. An OEM replacement cap is strongly recommended over aftermarket options if replacement is needed.
- Always check the gas cap first for code P0455. Ensure it's tight and the seal is intact.
- This code does not indicate a serious mechanical problem and the vehicle is safe to drive.
- You will not pass an emissions inspection until this code is resolved.
- If a new gas cap does not fix the issue, a smoke test is the most reliable way to find the source of the large leak.
What's Unique About the 2012-2013 Acura TL
For the fourth-generation Acura TL, the P0455 code is so commonly associated with the fuel cap that Acura issued a Technical Service Bulletin (TSB 14-006) for it. The TSB directly links P0455 and the 🎬 See how to diagnose and solve large EVAP leak codes. "TIGHTEN FUEL CAP" message to a potentially loose or sticking fuel fill cap, making it the primary suspect by a wide margin. Forum discussions frequently highlight that owners who used aftermarket caps continued to have issues until switching to an OEM cap.
Diagnostic Flowchart
Tap your situation to follow the diagnostic path that matches what you're seeing on this vehicle.
Symptoms You May Notice
- Check Engine Light is on
- A "TIGHTEN FUEL CAP" message may appear on the multi-information display (MID)
- A faint smell of gasoline, especially around the rear of the car.
- A whooshing sound when opening the gas cap, indicating pressure is not being properly managed.
- Rough idle or difficulty starting immediately after refueling (a strong indicator of a stuck-open purge valve).
- Replacing the purge or vent valve before checking the gas cap. The gas cap is the most frequent and cheapest fix and should always be the first step.
- Using a cheap, aftermarket gas cap. Many owner reports on forums like Acurazine and Reddit state that P0455 issues persisted until a genuine OEM Acura/Honda cap was installed.
Most Likely Causes
- Loose or Faulty Gas Cap 🔴 High Probability → Shop Fuel Tank Cap Acura released TSB 14-006 specifically for the 2012-2013 TL, noting the original fuel cap gasket could create too much friction, preventing a proper seal. This is the most common failure point.
How to confirm: Ensure the cap is tightened until it clicks at least once. Inspect the rubber O-ring on the cap for cracks, dirt, or signs of wear. The TSB specifies replacing caps with a black gasket with an updated part. If the seal is compromised, the cap needs replacement. Many owners on forums report that only an OEM cap will solve the issue.
Typical fix: Tighten or replace the fuel cap with a genuine OEM part.
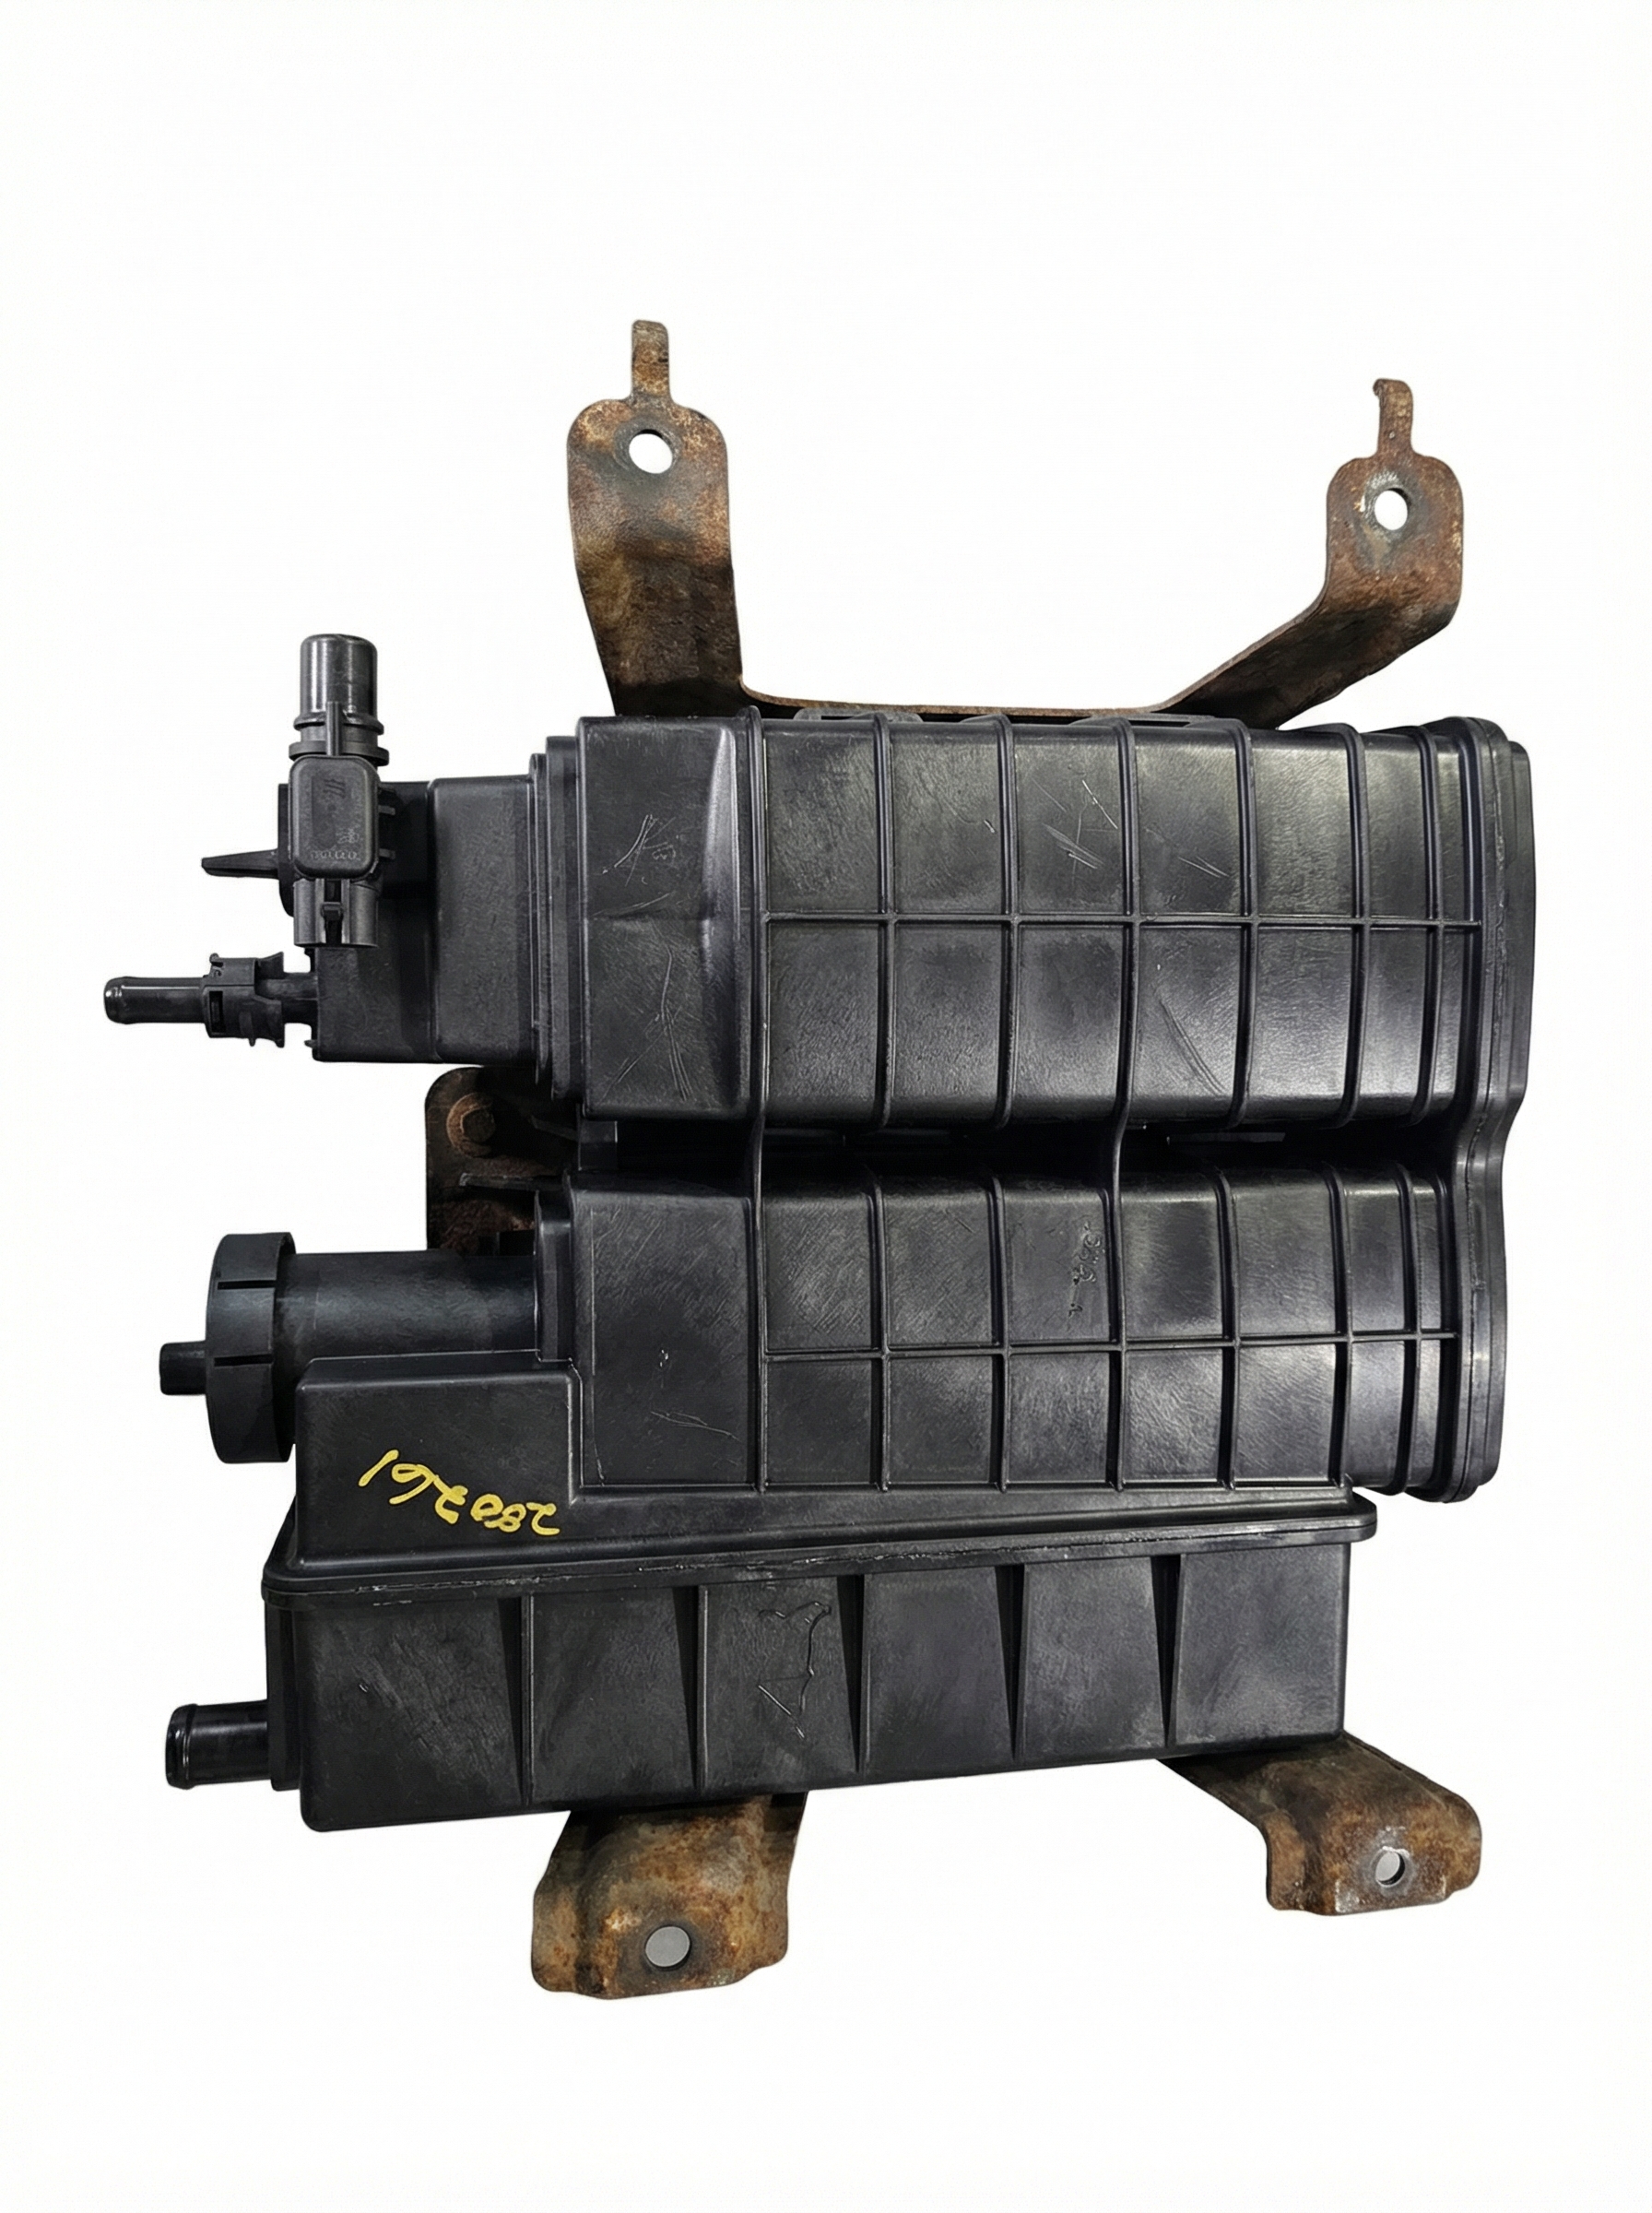
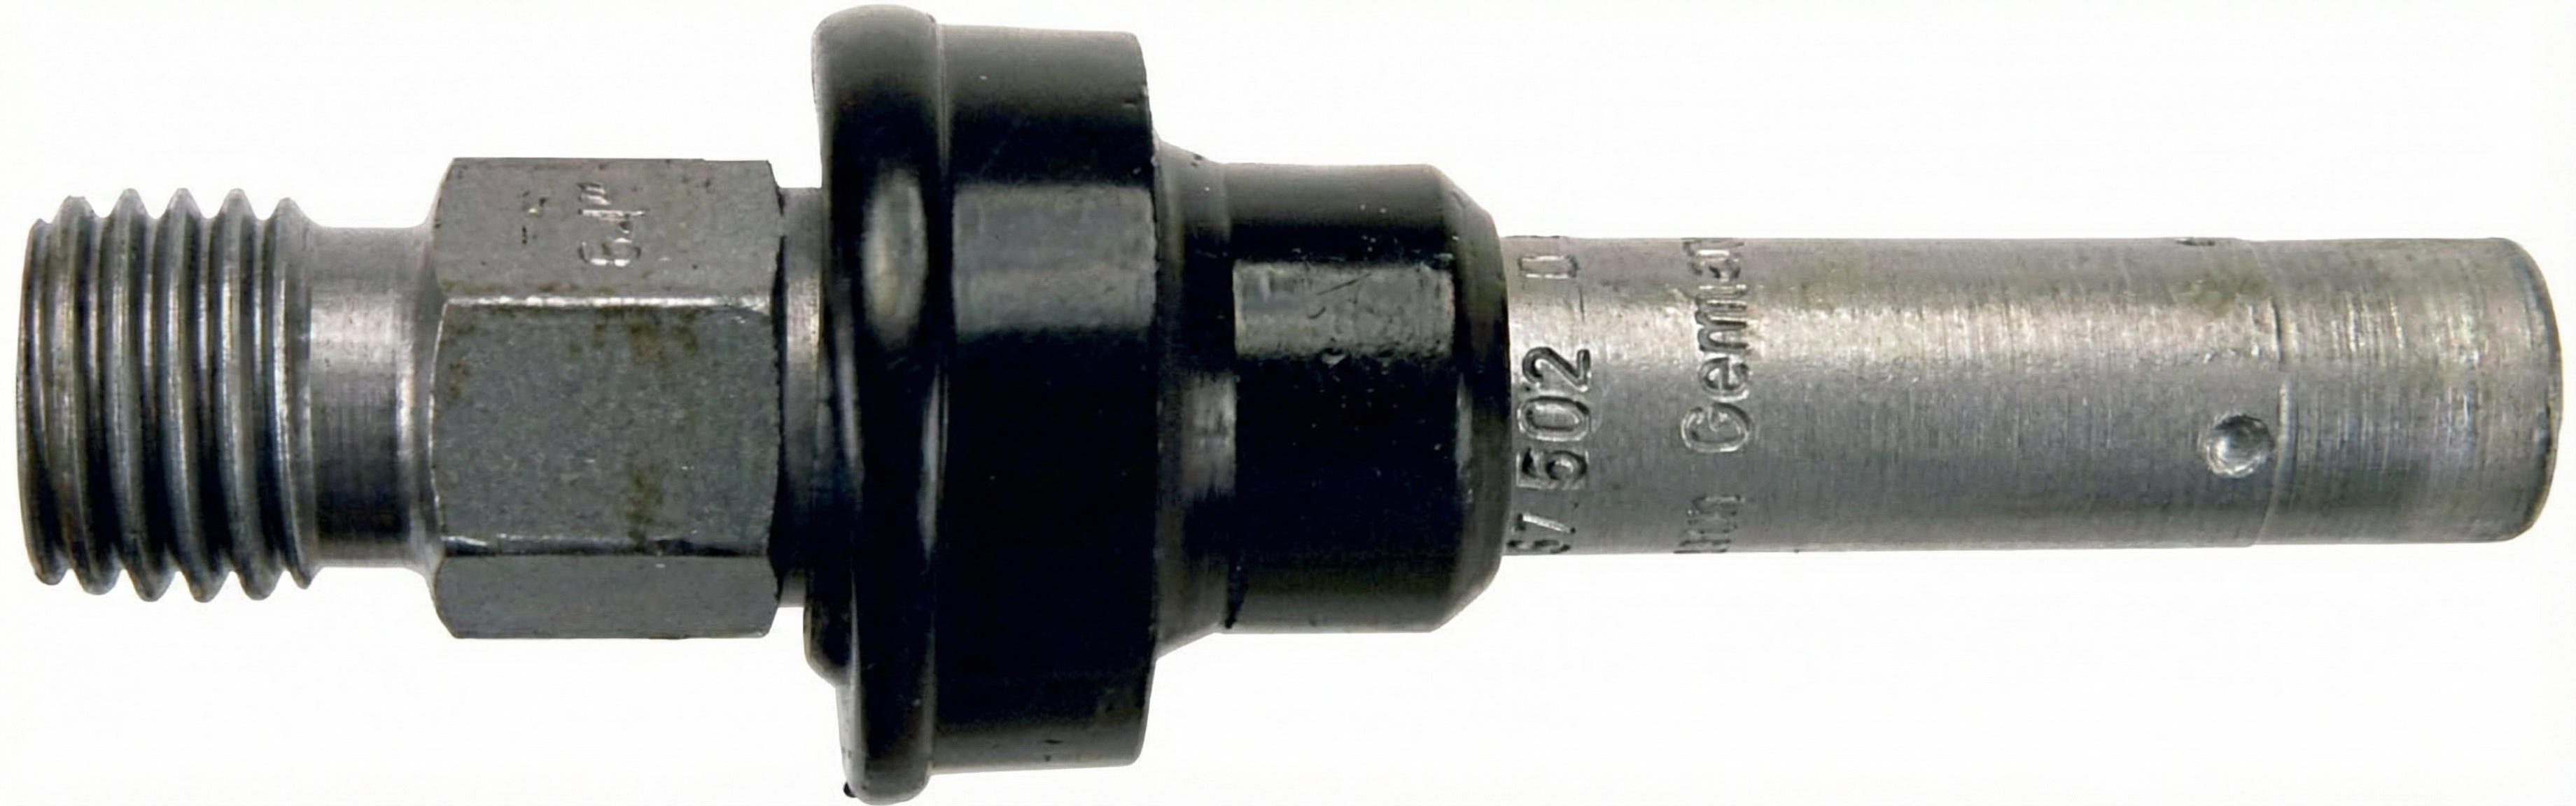
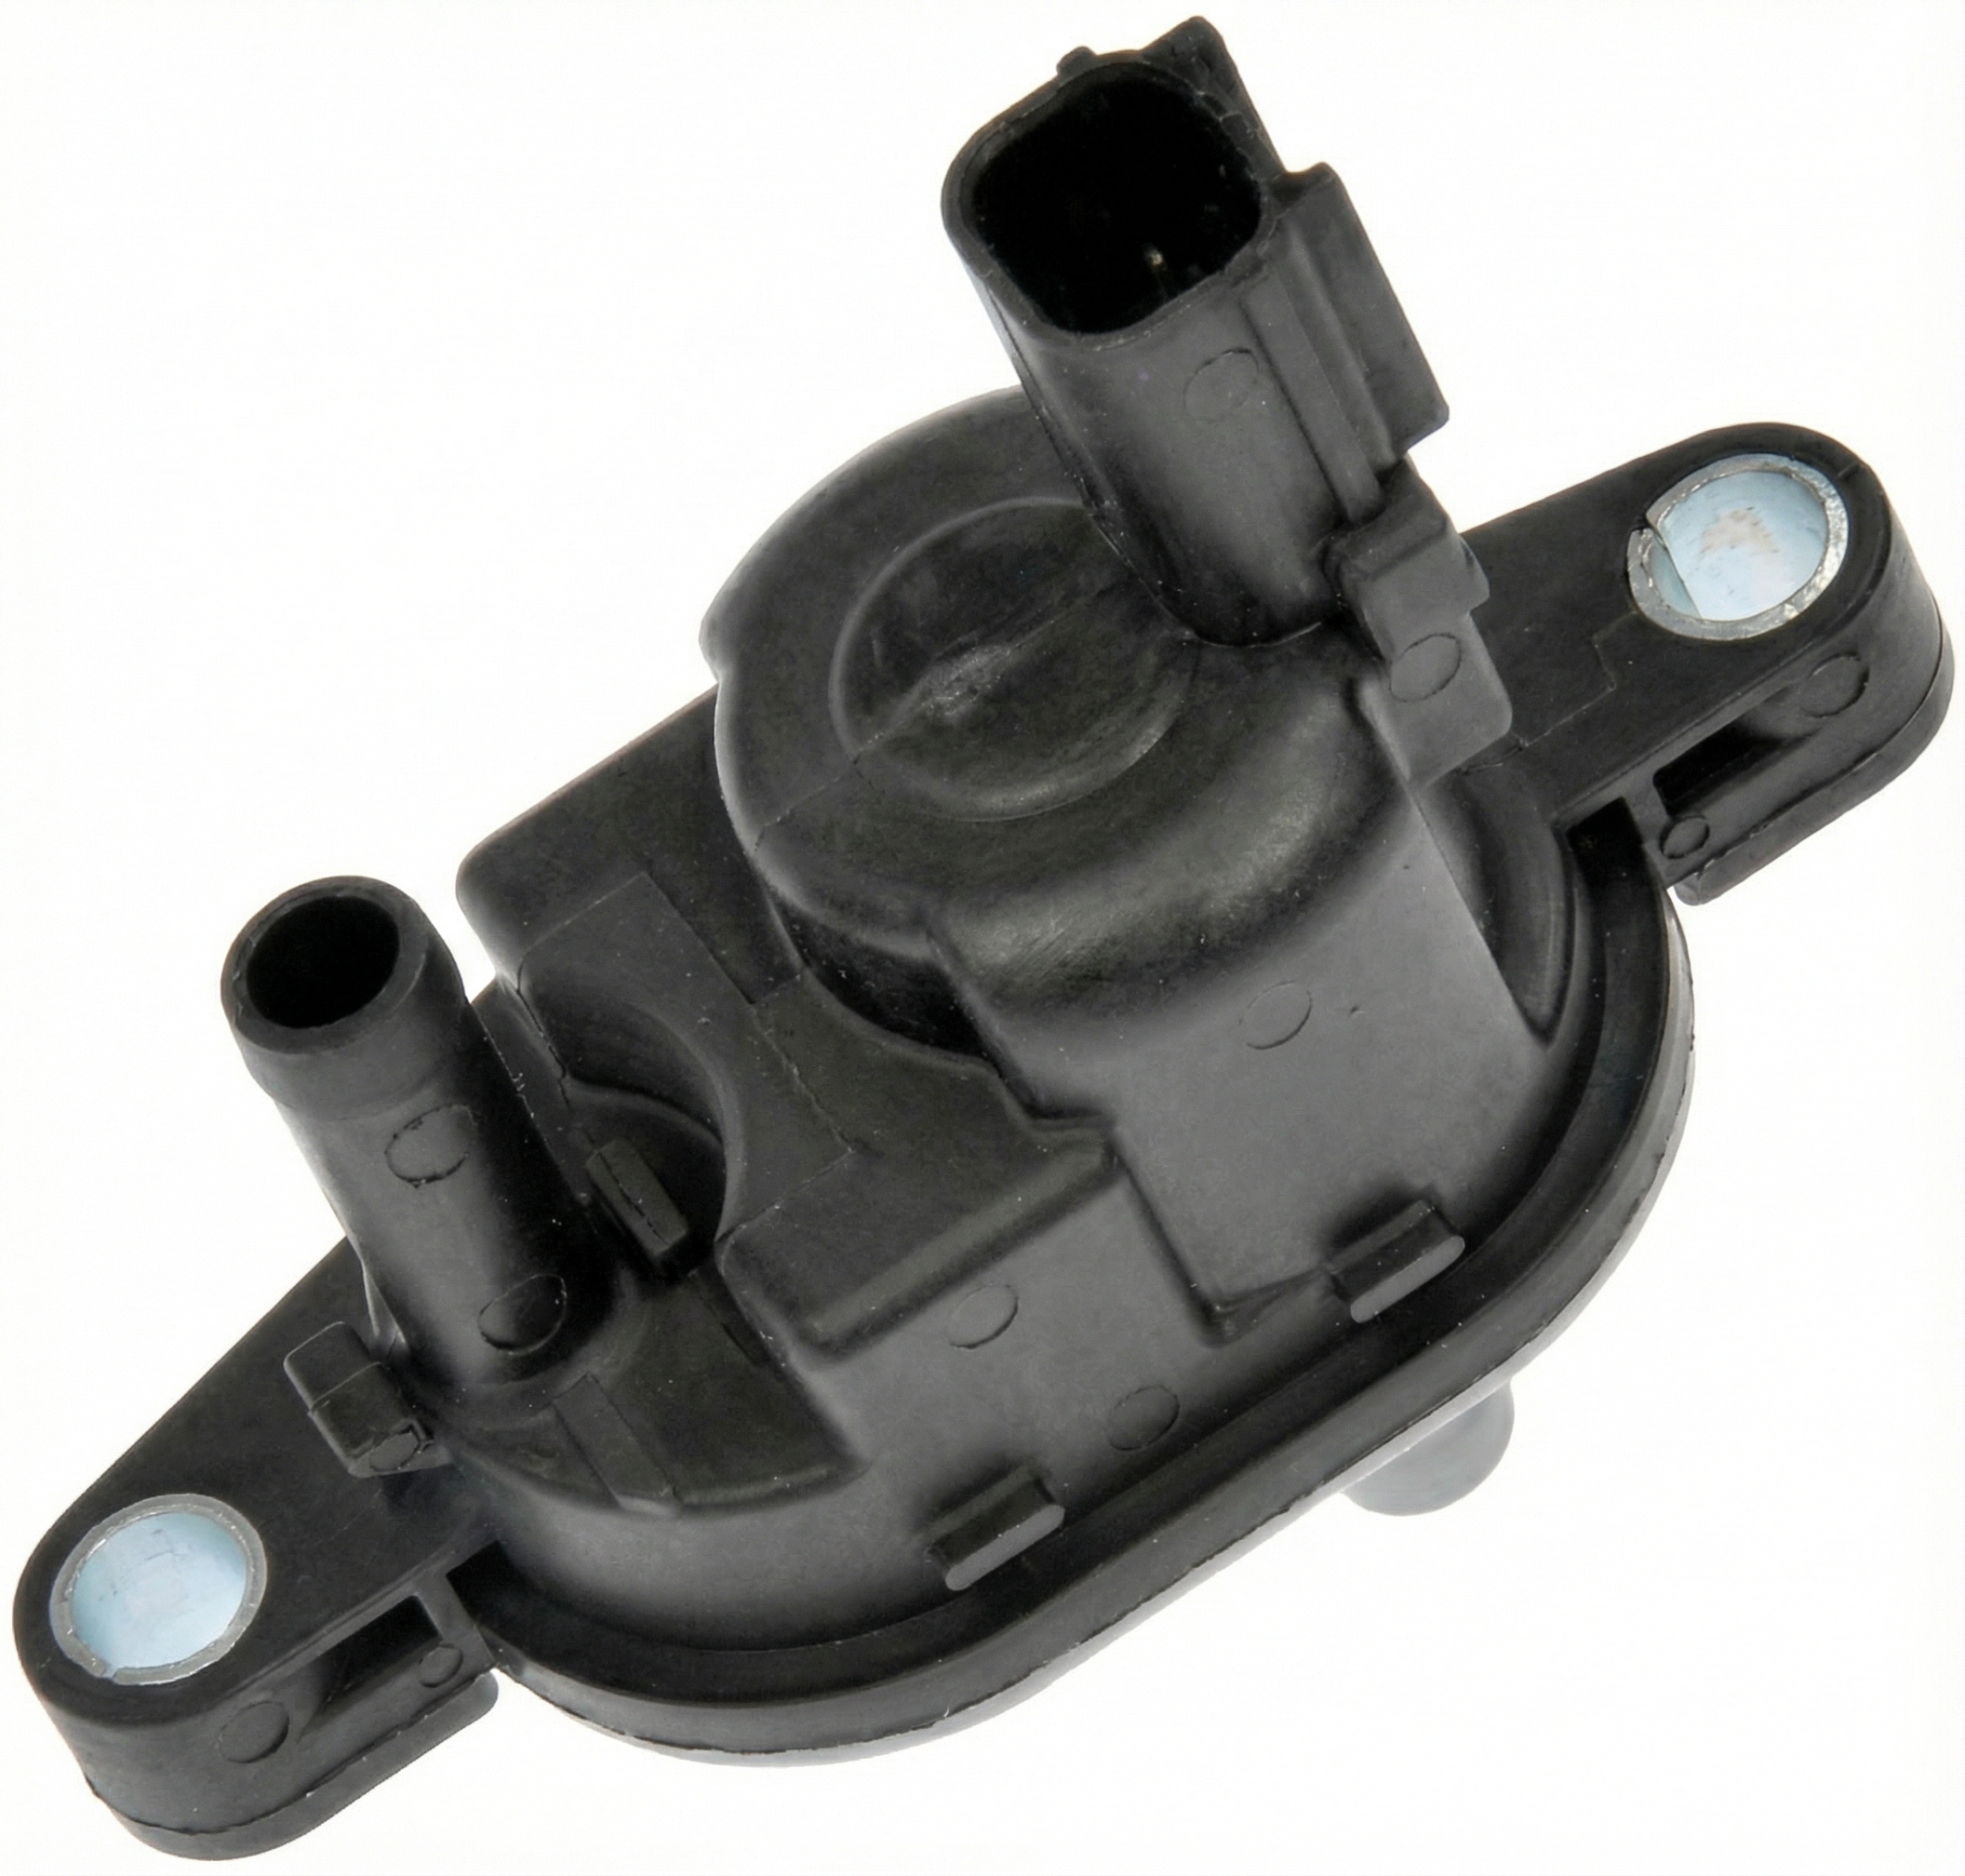
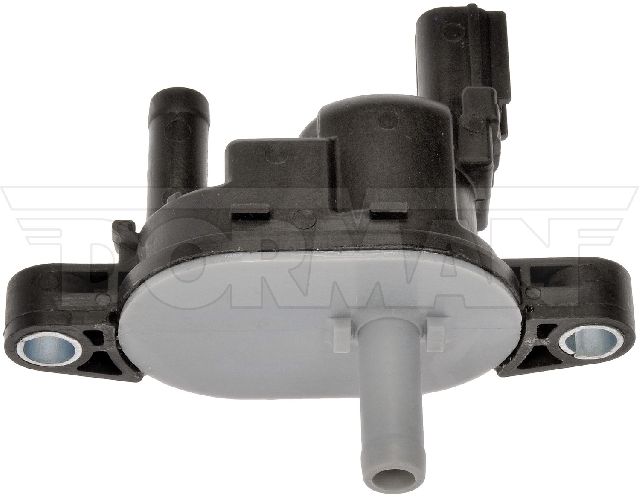
Est. part cost: $30-$55 - Faulty EVAP Canister Purge Valve 🟡 Medium Probability → Shop Vapor Canister This valve, which controls the flow of fuel vapors to the engine, is a known failure point on many Honda/Acura vehicles. It can get stuck open, creating a constant vacuum leak that the system interprets as a large leak.
How to confirm: The purge valve is located in the engine bay, mounted on the intake manifold, and is relatively easy to access. A key symptom is a rough idle or stalling right after filling the gas tank. With the engine running, you can disconnect the hose from the valve and feel for suction; if there is constant vacuum at idle, it's stuck open and faulty. A scan tool can also command the valve to open and close to check for an audible click.
Typical fix: Replace the canister purge valve solenoid. This is a straightforward DIY job requiring basic tools like a 10mm socket and pliers.
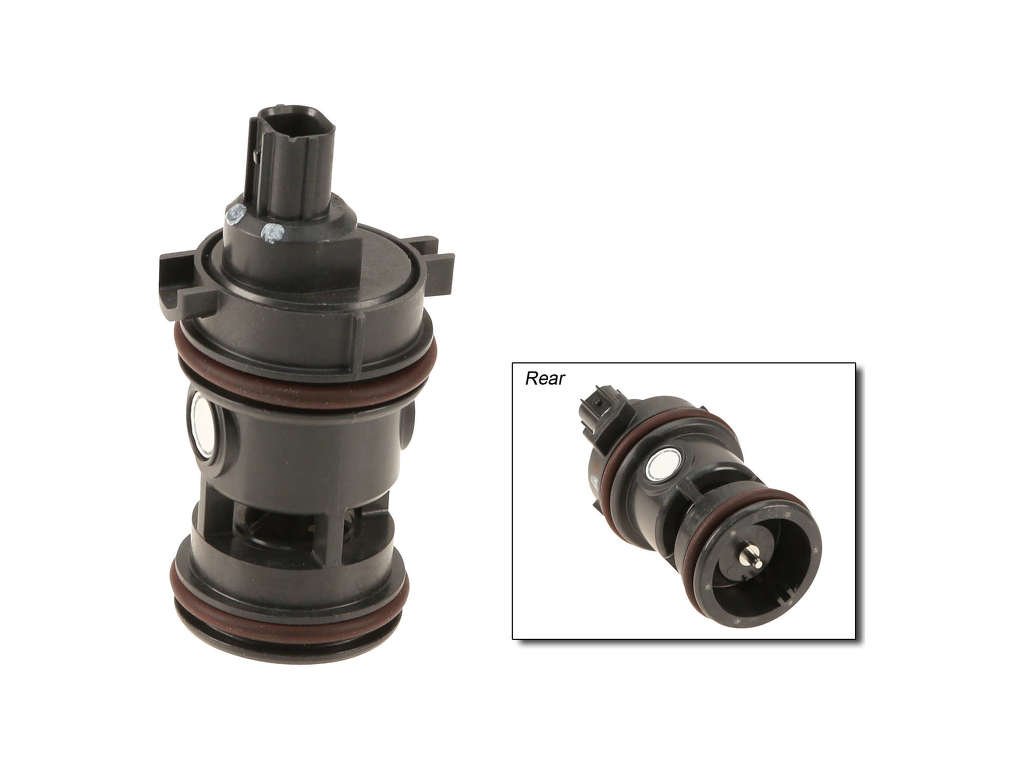
Est. part cost: $40-$90 - Faulty EVAP Canister Vent Solenoid ⚪ Low Probability → Shop Vapor Canister This valve is normally open and closes to seal the system for a leak test. Located under the car near the charcoal canister, it is exposed to road grime and moisture, which can cause it to fail and stick open.
How to confirm: This part is harder to access, located near the driver's side rear wheel. A smoke test is the most effective way to confirm a leak at the vent solenoid. A symptom of a stuck-closed (not stuck-open) vent valve can be difficulty filling the fuel tank, where the pump clicks off repeatedly.
Typical fix: Replace the canister vent solenoid. This is more involved than the purge valve, requiring the car to be jacked up.
Est. part cost: $40-$100 - Cracked or Disconnected EVAP Hoses ⚪ Low Probability Rubber and plastic hoses can become brittle and crack over time, especially in hot climates or due to age. A disconnected or chewed-through hose (by rodents) creates a large leak instantly.
How to confirm: Visually inspect all accessible EVAP lines running from the engine bay to the charcoal canister near the fuel tank. The definitive method is to perform a smoke test, which will force smoke through the system and reveal the exact location of any leaks. 🎬 Watch this guide on how to fix common EVAP leak codes.
Typical fix: Replace the cracked hose or reconnect a loose one. Small sections of hose can be purchased by the foot.
Est. part cost: $10-$50
Rare But Worth Checking
- Cracked Charcoal Canister: → Shop Vapor Canister The canister itself can be damaged by road debris or develop internal faults, leading to a crack and a large leak. This is uncommon but should be checked during a visual inspection underneath the vehicle. Replacement can be costly.
- Leaking Fuel Tank Filler Neck: → Shop Fuel Tank Rust or damage to the metal filler neck where the gas cap seals can prevent a proper seal, even with a new cap. This is more common in areas with heavy road salt usage. A smoke test will quickly reveal a leak in this area.
- Leaking Fuel Tank Gasket: → Shop Fuel Tank The gasket under the fuel pump assembly access panel (often under the rear seat) can fail, causing a large EVAP leak and a strong fuel smell inside the car.
Diagnosis Steps
- Read the code with an OBD-II scanner and record any other codes present.
- Inspect the gas cap. Remove it, check the seal for damage, and reinstall it, ensuring it clicks several times. If the cap's gasket is black, it's the original style and should be replaced per TSB 14-006.
- Clear the code and drive for a few days to see if it returns. If it doesn't, the gas cap was the issue.
- If the code returns, check for symptoms of a bad purge valve (rough idle after refueling). If present, inspect and test the purge valve in the engine bay.
- If no obvious issues are found, perform a visual inspection of all visible EVAP hoses in the engine bay and under the car for obvious cracks or disconnections.
- If no visible issues are found, the most effective next step is a professional smoke test. This test fills the EVAP system with a harmless smoke under low pressure, and any leaks will be immediately visible from hoses, the canister, valves, or filler neck.
- Based on the smoke test results, replace the leaking component. A Honda-specific scan tool can also be used to command valves to close and test the system's ability to hold pressure.
Parts You'll Likely Need
- Fuel Cap
(OEM #17670-T3W-A01 (replaces 17670-TR0-A11))— This is the most common cause of a P0455 code on this vehicle, as confirmed by manufacturer TSB 14-006. Using an OEM part is highly recommended.
Trusted brands: Acura (OEM)
OEM price range: $35-$55
Aftermarket price range: $15-$25 - Vapor Canister Purge Valve
(OEM #36162-RMX-A01)— This valve is a common failure point that can get stuck open, causing a large leak and often a rough idle after refueling. It's located in the engine bay and is relatively easy to replace.
Trusted brands: Acura (OEM), Dorman, Standard Motor Products
OEM price range: $70-$90
Aftermarket price range: $40-$60 - Vapor Canister Vent Solenoid
(OEM #17310-S84-L02)— This valve can fail and stick open, causing the system to be unable to seal for its self-test. Its location under the car makes it prone to corrosion.
Trusted brands: Acura (OEM), Dorman, Standard Motor Products
OEM price range: $80-$120
Aftermarket price range: $40-$70
Related Codes That Often Appear With This One
- P0456 — P0456 indicates a 'very small leak'. It can appear alongside P0455 if there are multiple leak points or if the computer's leak detection threshold varies. TSB 14-006 covers both codes.
- P145C / P0497 — These are Honda/Acura specific codes that often point directly to a faulty EVAP canister purge valve, strengthening that diagnosis if seen with P0455. 🎬 Watch: Simple walkthrough for replacing the purge valve and fixing P145C.
- P1456 / P1457 — These are Honda/Acura specific codes for leaks in the fuel tank side of the EVAP system. Their presence can help pinpoint the leak's location toward the rear of the vehicle.
Technical Service Bulletins (TSBs) & Recalls
- Acura TSB 14-006 (Feb 18, 2014): 'The MIL comes on and DTC P0455 (EVAP system large leak) and/or DTC P0456 (EVAP system very small leak detected) is set. The fuel fill cap (gas cap) may also be loose or have a stick-slip feeling when tightened.' Cause is listed as excessive friction from the gasket.
- Honda TSB 12-031 (May 19, 2012): While for other Honda models, this TSB also addresses P0455/P0456 from a faulty fuel cap, showing a pattern across the brand.
Platform-Specific Known Issues
- Acura TSB 14-006 (previously referenced as a 2014 bulletin) directly addresses P0455 and P0456 on 2012-13 TLs. It identifies a faulty fuel fill cap gasket and instructs technicians to replace caps with a black gasket with an updated part (originally 17670-TR0-A11).
- Acura TSB 12-031 also addresses the "TIGHTEN FUEL CAP" message appearing on the MID, sometimes without a DTC, highlighting the sensitivity of the cap and sensor system.
Mechanic-Grade Diagnostic Values
- EVAP Canister Purge Valve Solenoid Resistance — expected: 15 to 30 Ohms. Failure: A reading of infinite resistance (open circuit) or zero resistance (short circuit) indicates a faulty solenoid coil.
- EVAP Canister Vent Valve Solenoid Resistance — expected: Approximately 20 to 30 Ohms. Failure: A reading significantly outside this range, especially an open circuit, points to a bad solenoid.
- Fuel Tank Pressure (FTP) Sensor Voltage — expected: Approximately 1.4V - 1.5V with the system at atmospheric pressure (engine off, gas cap removed).. Failure: A sensor that does not show a change in voltage when the system is put under vacuum or pressure during a test is likely faulty. If the voltage is stuck high or low, it can falsely indicate a leak.
Scan Tool Commands That Help
- Honda HDS (or advanced professional scanner): EVAP Service Bay Test / EVAP System Test — This is an automated function that commands the PCM to run the entire EVAP monitor test sequence. It will close the vent valve, open the purge valve to create a vacuum, and monitor the FTP sensor to check if the system can hold vacuum. It's used to verify a fix or to test the system's integrity without waiting for a full drive cycle.
- Honda HDS (or advanced professional scanner): Manual control of EVAP Purge Valve and EVAP Vent Valve — This bidirectional control allows a technician to individually command the purge valve open/closed and the vent valve closed. This is critical for isolating faults. For example, you can command the vent valve closed and then apply smoke to see if the valve itself is leaking internally, or command the purge valve open to check for blockages.
Wiring & Ground Locations
- Under-Hood Fuse/Relay Box — Located in the engine compartment.. Contains fuses and relays that may provide power to the EVAP system components, such as the purge solenoid.
- Driver's Under-Dash Fuse/Relay Box — Located inside the cabin, under the driver's side dashboard.. Contains fuses that power various ECU and emissions components. A blown fuse here could disable part of the EVAP system.
- EVAP System Wiring Harness — Runs from the PCM in the engine bay, along the chassis, to the EVAP canister and fuel tank area at the rear of the vehicle.. A comprehensive 1300-page PDF containing wiring diagrams and harness locations for the 2012 TL is available on Acurazine.com, which can be used to trace specific wires for continuity, shorts, or opens.
Real Owner Repair Stories
- YouTube channel 'blainenojiri' (Honda/Acura (specific model not stated, but diagnosis is directly applicable)) — Failed smog inspection due to a P0455 code.
❌ Tried (didn't work) The owner went straight to diagnosing the component based on research.
✅ What actually fixed it The EVAP canister vent solenoid was faulty. The old solenoid was shown to be stuck and would not actuate properly. Replacing the vent solenoid, located on the charcoal canister at the rear of the vehicle, resolved the P0455 code and allowed the car to pass its smog test.
"I Checked Everything" — The Actual Cause
- In some cases, a technician will perform a smoke test for P0455 and find no visible leaks, yet the code returns. This often indicates the problem is not a simple physical leak in a hose or gasket. The actual cause is frequently a component that is failing to operate as commanded by the PCM. The two most common culprits are the EVAP Canister Vent Solenoid failing to close completely when energized, or a faulty Fuel Tank Pressure (FTP) sensor that is providing incorrect readings to the PCM, making it 'think' there is a leak when the system is actually sealed. In this scenario, the next step is to use a bidirectional scan tool to command the vent valve shut and observe if it holds a vacuum, and to test the FTP sensor's voltage output against actual pressure/vacuum.
OEM Part Supersession History
17670-TR0-A11→17670-T3W-A01— The original fuel cap gasket material could cause excessive friction, preventing a proper seal and leading to P0455/P0456 codes, as noted in TSB 14-006.
Helpful Videos
![[Diagnose Code P0456 P0455] Evap Large Leaks Problem SOLVED 2009+ Acura RDX 2.3L #acura](https://img.youtube.com/vi/jc8tpvGnLEI/mqdefault.jpg)


Used OEM Parts in Stock
New Aftermarket Parts Available


The information in this article is provided for general reference and educational purposes only. Vehicle specifications, procedures, and part compatibility can vary by production date, trim level, and region. Always consult your vehicle's factory service manual and verify part numbers before purchasing or performing repairs. Safety-critical components such as airbags, seat belts, and braking systems should be installed by a qualified professional.
- Acura TL:
- 🧭 Diagnostic Flowchart
- 🎬 Helpful Videos
- 🛍️ Shop This Part
- What's Unique About the 2012-2013 Acura TL
- Symptoms You May Notice
- Most Likely Causes
- Rare But Worth Checking
- Diagnosis Steps
- Parts You'll Likely Need
- Related Codes That Often Appear With This One
- Technical Service Bulletins (TSBs) & Recalls
- Platform-Specific Known Issues
- Mechanic-Grade Diagnostic Values
- Scan Tool Commands That Help
- Wiring & Ground Locations
- Real Owner Repair Stories
- "I Checked Everything" — The Actual Cause
- OEM Part Supersession History
- 🎟️ Get 5% Off