
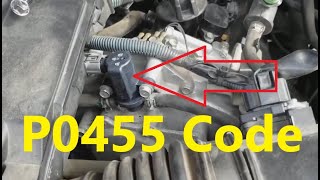
P0455 on 2016-2020 Cadillac CT6: EVAP Large Leak Causes and Fixes
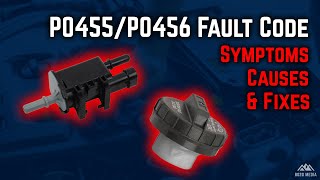
P0455 on a Cadillac CT6 indicates a large leak in the evaporative emissions (EVAP) system. The most common and simple fix is to check for a loose or worn-out gas cap. If the cap is secure, the next most likely culprits are a faulty EVAP purge valve or vent solenoid, which are common failure points on many GM vehicles.
- Always check your gas cap first. Make sure it's tight and the seal is intact before attempting any other repairs.
- GM provides a clear diagnostic path in TSB #21-NA-124: check lines, then the vent valve, then the purge valve.
- A smoke test is the most effective way to find a leak if it's not the gas cap or one of the common valves.
- This code will cause an automatic failure on an emissions test, so it should be addressed before any required inspection.
What's Unique About the 2016-2020 Cadillac CT6
While the Cadillac CT6 is unique for being the only vehicle built on GM's Omega platform, its EVAP system components and failure modes are common across the GM family. General Motors has provided clear diagnostic guidance through Technical Service Bulletin (TSB) #21-NA-124. This bulletin helps technicians by outlining a specific chronological order of operations for diagnosing P0455: 1) Inspect EVAP lines and connections, 2) Check the vent valve for being stuck open, and 3) Investigate the purge valve. This factory-recommended procedure helps avoid unnecessary parts replacement on the CT6 and other GM models.
Diagnostic Flowchart
Tap your situation to follow the diagnostic path that matches what you're seeing on this vehicle.
Symptoms You May Notice
- Check Engine Light is on
- A noticeable smell of gasoline, especially around the rear of the vehicle or near the fuel cap.
- Difficulty refueling (gas pump nozzle clicks off repeatedly before the tank is full). This happens because a stuck-closed vent valve prevents air from escaping the tank as fuel enters, causing pressure to build and prematurely shut off the pump.
- Replacing the fuel tank pressure (FTP) sensor. While an FTP sensor can fail, it will typically set its own specific trouble codes (like P0452 or P0453) and is not a common cause for a P0455 leak code alone.
Most Likely Causes
- Loose, Damaged, or Incorrect Fuel Cap 🔴 High Probability → Shop Fuel Tank Cap The fuel cap is the most frequently handled part of the emissions system, and its seal can wear out over time or simply not be tightened correctly after refueling. This is the most common cause for P0455 on most vehicles and the easiest first step in diagnosis.
How to confirm: Ensure the gas cap clicks at least once when tightened. Remove the cap and inspect its rubber O-ring for any cracks, tears, or deterioration. A new, OEM-spec cap is a cheap and effective troubleshooting step.
Typical fix: Tighten or replace the fuel tank cap.
Est. part cost: $15-$40 - Faulty EVAP Canister Purge Valve 🟡 Medium Probability → Shop Vapor Canister This valve controls the flow of stored fuel vapors to the engine. It is a 'normally closed' valve that can become stuck open, creating a constant leak path that the system detects. TSB #21-NA-124 lists this as the last of the three main components to investigate after checking lines and the vent valve.
How to confirm: With the engine off, the valve should be closed. You can remove the valve and try to blow through it; if air passes, it's stuck open and faulty. A scan tool can also be used to command the valve open and closed while monitoring system pressure.
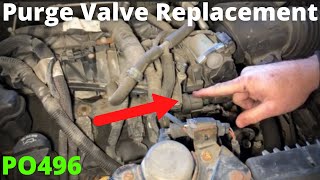
Typical fix: Replace the canister purge valve. It is typically located in the engine bay, mounted on or near the intake manifold. 🎬 Watch: How to replace the purge valve on a GM 3.6L engine.
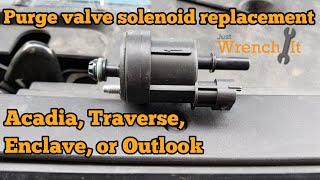
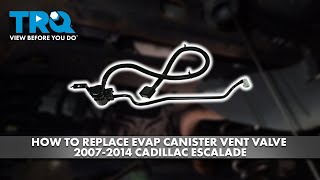
Est. part cost: $35-$60 - Faulty EVAP Canister Vent Solenoid/Valve 🟡 Medium Probability → Shop Vapor Canister This valve is 'normally open' to allow fresh air into the EVAP system but must close during a system self-test. If it gets stuck open or its seal fails, it will cause a large leak code. It is often located near the charcoal canister by the fuel tank and is a known failure point on many GM vehicles. 🎬 See this walkthrough for replacing a Cadillac vent solenoid.
How to confirm: A scan tool is needed to command the valve closed. A smoke test is then performed; if smoke exits the vent valve while it is commanded shut, the valve is faulty. TSB #21-NA-124 recommends checking this component for a stuck-open position after inspecting the EVAP lines.
Typical fix: Replace the canister vent solenoid.
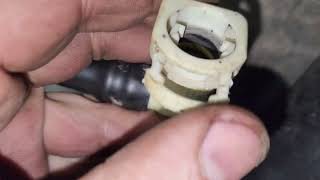
Est. part cost: $40-$150 - Cracked or Disconnected EVAP Hose ⚪ Low Probability Plastic and rubber hoses can become brittle and crack over time due to heat and age. A disconnected or cracked line creates a significant leak. TSB #21-NA-124 specifically recommends inspecting all purge connections for proper installation and damage first, as this is a simple but crucial step.
How to confirm: Perform a thorough visual inspection of all EVAP lines between the engine, charcoal canister, and fuel tank. The best way to confirm a leak is with a smoke test, which will make the leak visible as smoke escapes from the crack or loose connection.
Typical fix: Replace the damaged section of hose or reconnect it if it has come loose.
Est. part cost: $10-$50
Rare But Worth Checking
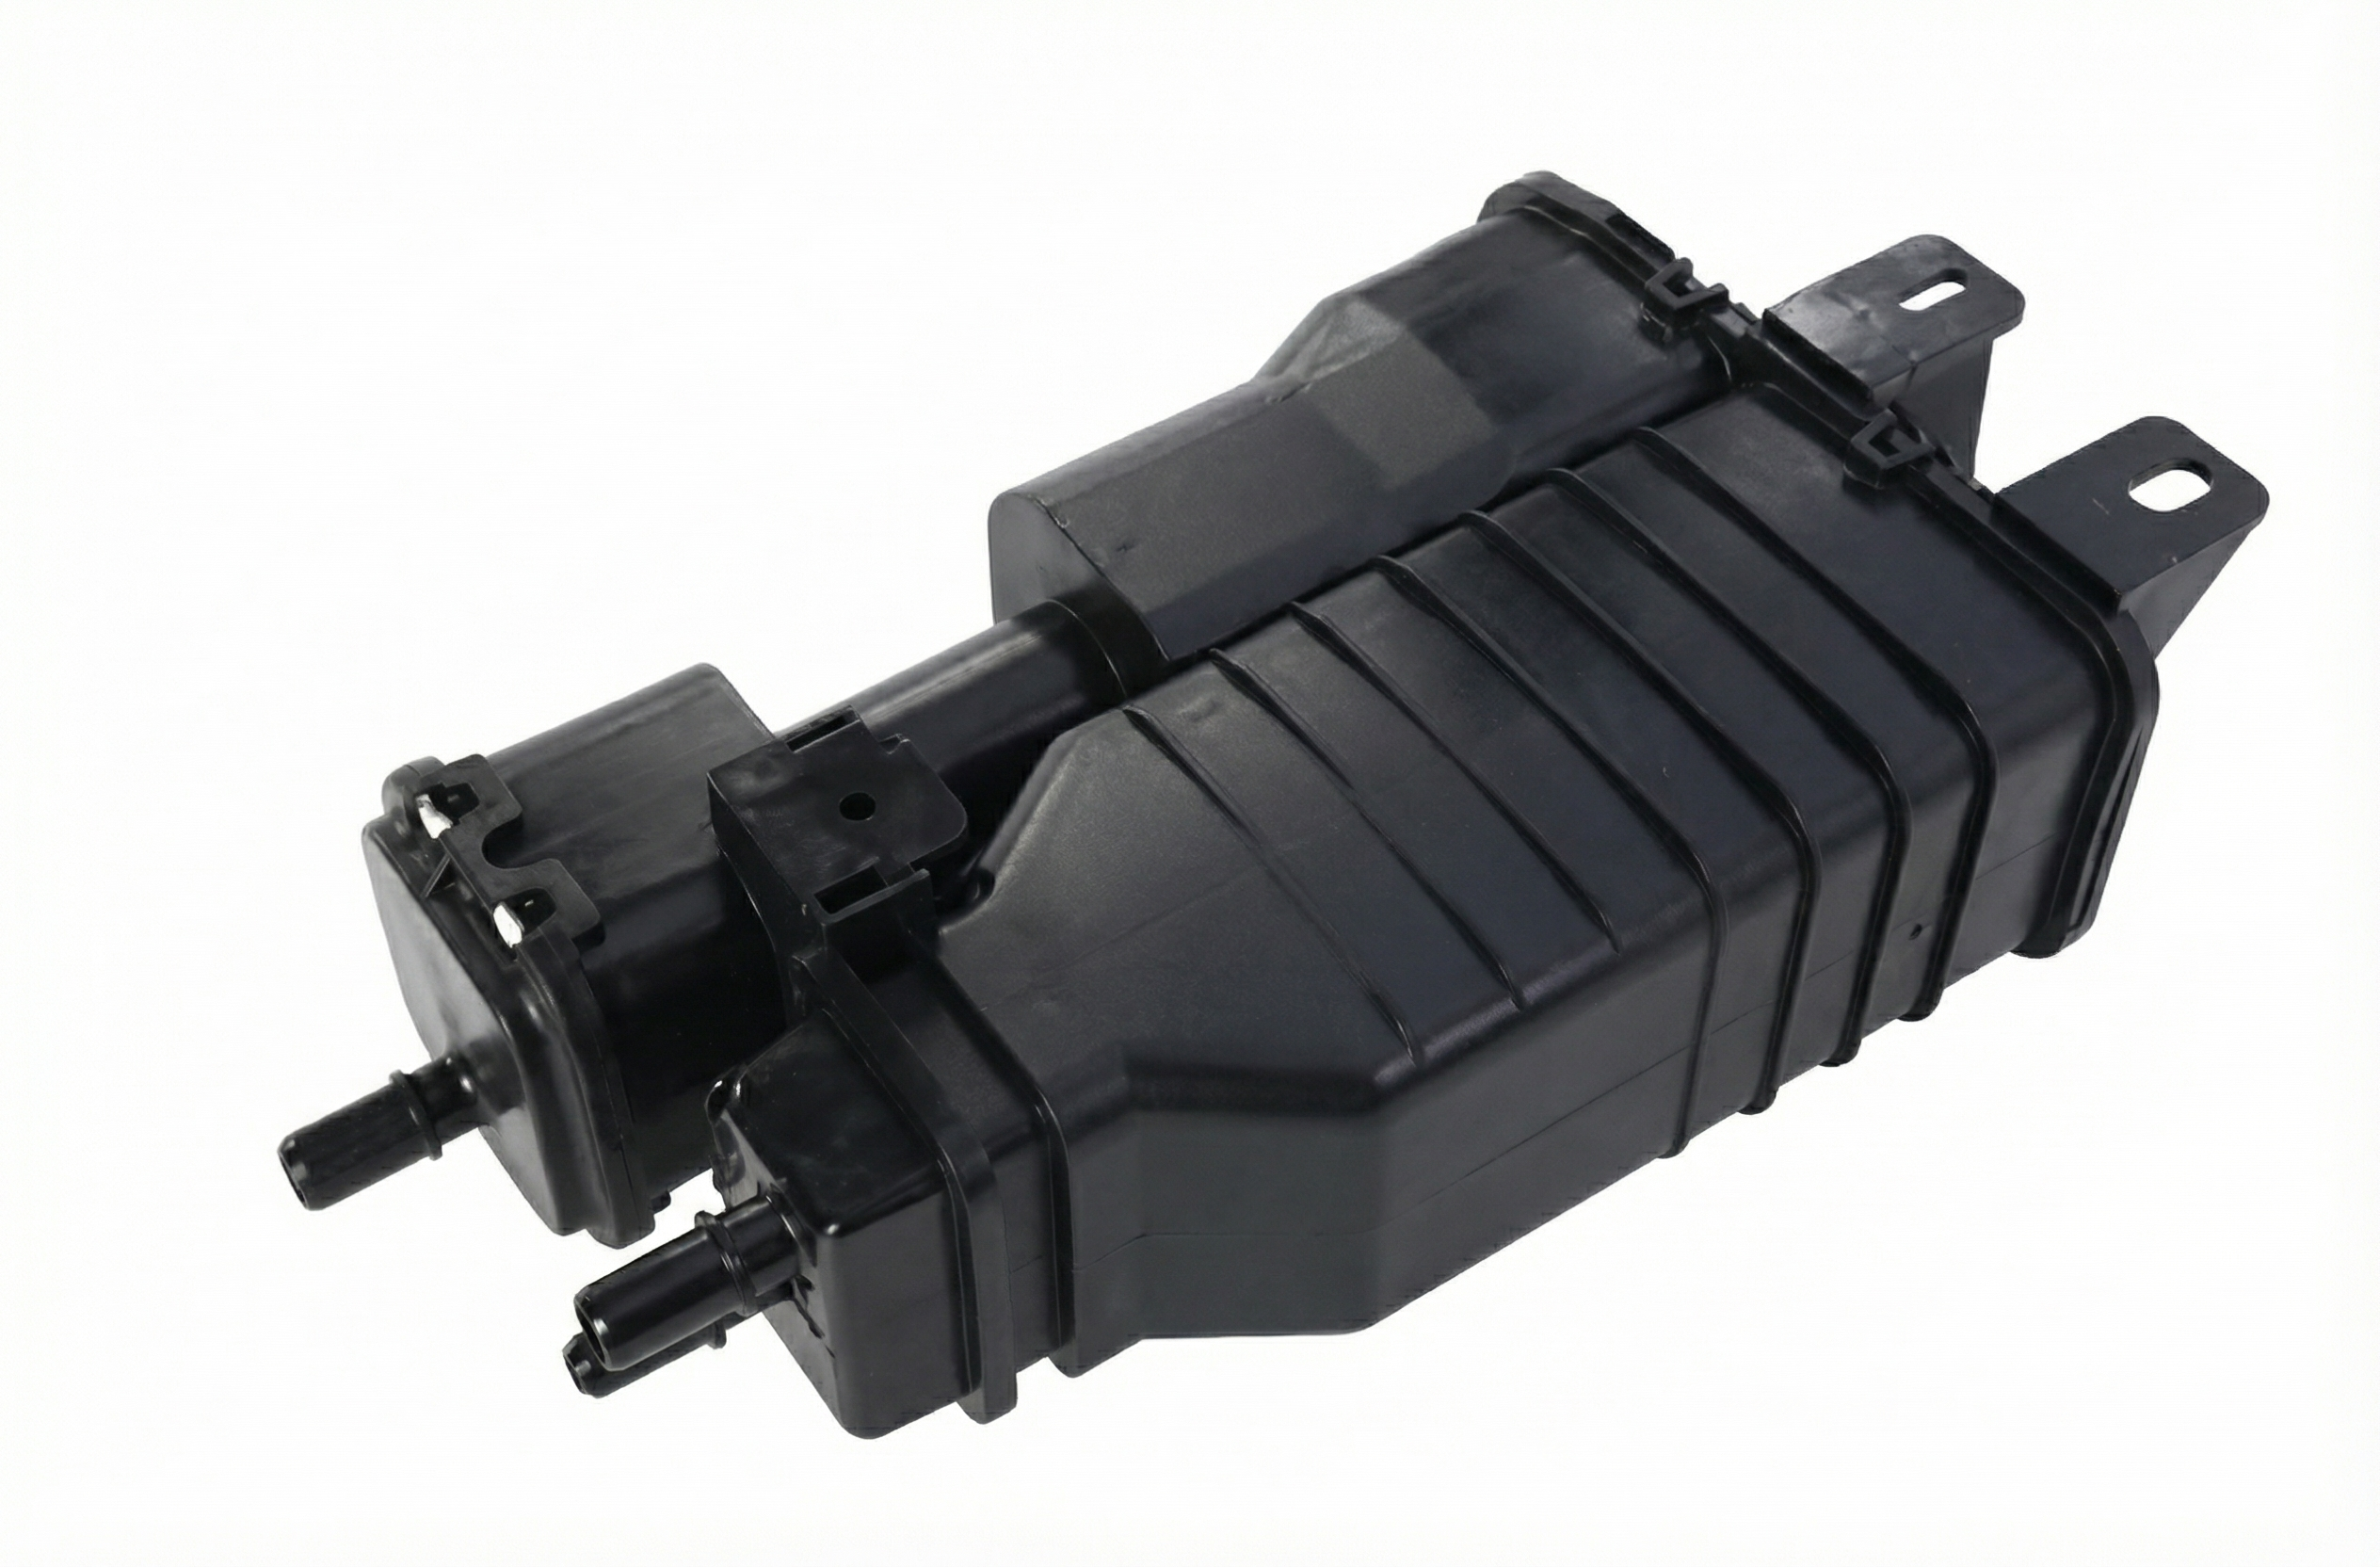
- Cracked EVAP Charcoal Canister: → Shop Vapor Canister The canister itself can develop a crack from road debris or age, creating a large leak. This is less common than valve or hose failures but should be checked during a smoke test if no other source is found.
- Damaged Fuel Filler Neck: → Shop Fuel Filler Neck Rust or damage to the metal filler neck where the gas cap seals can prevent a proper seal, even with a new cap. This has been the subject of recalls on other GM vehicles and should be visually inspected when checking the gas cap.
Diagnosis Steps
- Check the Fuel Cap: Ensure the gas cap is tight and clicks. Remove it and inspect the seal for cracks or damage. If it looks worn, replacement is a cheap and easy first step. If the code returns, proceed to the next steps.
- Visual Inspection (TSB Step 1): Following the guidance from TSB #21-NA-124, visually inspect all accessible EVAP hoses and purge lines, especially at connection points, for any obvious cracks, damage, or disconnections.
- Scan Tool Analysis & Vent Valve Check (TSB Step 2): Use a professional scan tool to command the EVAP vent valve closed. Listen for a click from the valve, which is typically near the fuel tank. If it doesn't operate, or if it's stuck open, it's likely faulty.
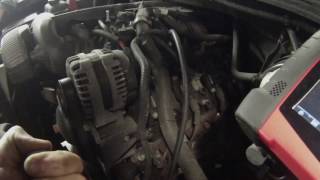
- Purge Valve Test (TSB Step 3): Locate the purge valve in the engine bay. It is a 'normally closed' valve. Disconnect it and attempt to blow through it. If air passes, the valve is stuck open and must be replaced.
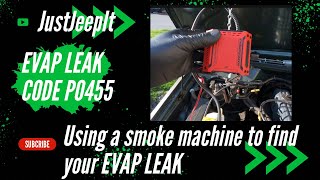
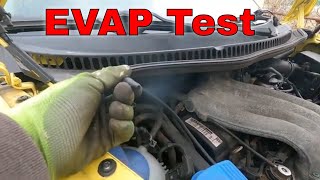
- Smoke Test: If the cause is still not apparent, perform a smoke test. This involves injecting pressurized smoke into the EVAP service port. With the vent valve commanded closed, smoke will escape from the location of the leak, making it easy to pinpoint whether it's a hose, the canister, the vent valve seal, or the filler neck.
Parts You'll Likely Need
- Fuel Tank Cap
(OEM #95995094)— This is the most common cause of a P0455 code due to improper tightening or a worn seal.
Trusted brands: ACDelco (OEM)
OEM price range: $20-$35
Aftermarket price range: $15-$25 - Vapor Canister Purge Valve
(OEM #12630282)— This valve frequently fails by sticking open, creating a large, permanent leak in the system. It's a common failure point on many GM vehicles using the 3.6L V6 engine.
Trusted brands: ACDelco (OEM), Dorman, Standard Motor Products
OEM price range: $40-$60
Aftermarket price range: $25-$45 - Vapor Canister Vent Solenoid
(OEM #84524035)— This solenoid, located near the fuel tank, can fail and get stuck open, preventing the system from sealing for its self-test. This is a very common cause for P0455 if the gas cap is not the issue.
Trusted brands: ACDelco (OEM), Dorman 911-140
OEM price range: $50-$150
Aftermarket price range: $20-$80
Related Codes That Often Appear With This One
- P0442 — P0442 indicates a small EVAP leak. They often share the same root causes, and a component may be intermittently failing, sometimes causing a small leak and other times a large one. The official GM TSB #21-NA-124 groups these two codes together for diagnosis.
- P0449 — This code specifically points to a fault in the EVAP Vent Solenoid Control Circuit. If you see P0449 alongside P0455, it strongly suggests the vent solenoid or its wiring is the root cause of the large leak.
Technical Service Bulletins (TSBs) & Recalls
- 21-NA-124: Provides diagnostic tips for P0442 and P0455. It recommends a specific chronological order for checking components: 1) EVAP line connections for damage/seating, 2) Vent valve function (checking for stuck-open), and 3) Purge valve function.
Platform-Specific Known Issues
- Shared GM Component Failures: While there are no widespread P0455 issues documented specifically for the CT6 in owner forums, the vehicle uses the same family of EVAP components (purge valves, vent solenoids) as other high-volume GM products like the Cadillac Escalade and Chevrolet Silverado. Therefore, owner experiences and common failure patterns from those vehicles are highly relevant for diagnosing a P0455 code on the CT6.
Mechanic-Grade Diagnostic Values
- EVAP Purge Valve Solenoid Resistance — expected: 15 - 30 Ohms. Failure: A reading far outside this range, or an open circuit (infinite resistance), indicates a failed solenoid coil.
- Fuel Tank Pressure (FTP) Sensor Voltage at Rest — expected: Approximately 1.5 Volts. Failure: A voltage that is significantly different, skewed, or stuck at a specific value indicates a potential sensor issue.
- Fuel Tank Pressure (FTP) Sensor Voltage During Vacuum Test — expected: Greater than 3.2 Volts. Failure: If the scan tool and a manual gauge show vacuum but the FTP voltage does not increase, the FTP sensor is likely faulty.
Scan Tool Commands That Help
- GDS2 / Tech2: EVAP System Bay Test — This is a guided, automated test to force the EVAP monitor to run and complete. It is extremely useful for verifying a repair or setting the I/M readiness monitor to pass an emissions inspection without performing a lengthy drive cycle.
- Professional Scan Tool (e.g., Snap-on, Autel): EVAP Vent Solenoid Control (On/Off) — This bidirectional command is used to manually close the normally-open vent solenoid. This is the first step in sealing the system to perform a pressure, vacuum, or smoke test.
- Professional Scan Tool (e.g., Snap-on, Autel): EVAP Purge Solenoid Control (% Duty Cycle) — This command manually opens the normally-closed purge solenoid to test its function or to introduce a vacuum into the EVAP system from the engine.
- GDS2 / Tech2: Purge/Seal — This function seals the EVAP system (closes the vent valve) and then commands the purge valve to apply engine vacuum, allowing the technician to monitor the FTP sensor and confirm the system can hold a vacuum.
Wiring & Ground Locations
- EVAP Vent Solenoid Connector — At the EVAP vent solenoid, typically located near the charcoal canister by the fuel tank.. The wires leading to this connector are known to break internally, inside the insulation, right at the connector. The harness will appear visually undamaged, but the open circuit prevents the vent solenoid from closing, causing the P0455 test to fail. Pulling firmly on each wire can reveal the break.
Real Owner Repair Stories
- ScannerDanner Forum (GM Vehicle with EVAP code) — EVAP system would build vacuum but would not release it quickly when the vent valve was commanded open.
❌ Tried (didn't work) Commanding the vent valve open with a scan tool.
✅ What actually fixed it The charcoal canister was replaced. The original canister was internally restricted, preventing air from flowing through the vent path even when the vent solenoid was open. The new canister allowed air to pass freely. - CorvetteForum user (GM Vehicle (Corvette)) — EVAP readiness monitor would not set to 'Ready', preventing the vehicle from passing an emissions inspection.
❌ Tried (didn't work) Performing the GM multi-step EVAP drive cycle multiple times.
✅ What actually fixed it Using a Tech2 scan tool emulator (VCX Nano) to run the 'EVAP System Bay Test'. This forced, automated test ran the monitor and set it to 'Ready' in about an hour. The user had to use a piece of wood to hold the gas pedal to maintain a steady 2000 RPM for the test to complete successfully.
"I Checked Everything" — The Actual Cause
- A common reason for a P0455 code to persist after a smoke test passes is an electrical issue with the vent solenoid circuit. A wire can be broken inside the insulation near the connector, which is common on GM vehicles. The system has no physical leak, so it passes a smoke test, but the ECU cannot command the vent valve closed to run the self-test, causing the test to fail and the code to set.
- Another possibility is a restriction, not a leak. The charcoal canister can become internally clogged with dirt or charcoal granules. This prevents the system from venting properly when the vent solenoid is opened. A smoke test would show no leak, but the system cannot relieve vacuum as expected by the ECU, leading to a failed test.
Model Year Variations Within This Range
- 2016-2020: The vapor canister part number is specific to the engine. For example, models with the 3.0L Twin-Turbo V6 (LGW) use a different canister than models with the 2.0L Turbo, 3.6L V6, or 4.2L V8 engines. Always verify the part number with the vehicle's VIN.
Helpful Videos

Used OEM Parts in Stock
New Aftermarket Parts Available


The information in this article is provided for general reference and educational purposes only. Vehicle specifications, procedures, and part compatibility can vary by production date, trim level, and region. Always consult your vehicle's factory service manual and verify part numbers before purchasing or performing repairs. Safety-critical components such as airbags, seat belts, and braking systems should be installed by a qualified professional.
- Cadillac CT6:
- 🧭 Diagnostic Flowchart
- 🎬 Helpful Videos
- 🛍️ Shop This Part
- What's Unique About the 2016-2020 Cadillac CT6
- Symptoms You May Notice
- Most Likely Causes
- Rare But Worth Checking
- Diagnosis Steps
- Parts You'll Likely Need
- Related Codes That Often Appear With This One
- Technical Service Bulletins (TSBs) & Recalls
- Platform-Specific Known Issues
- Mechanic-Grade Diagnostic Values
- Scan Tool Commands That Help
- Wiring & Ground Locations
- Real Owner Repair Stories
- "I Checked Everything" — The Actual Cause
- Model Year Variations Within This Range
- 🎟️ Get 5% Off