
P0455 on 2008-2012 Chevrolet Captiva: Causes and Fixes for a Large EVAP Leak
On a 2008-2012 Chevrolet Captiva, code P0455 means a large leak in the evaporative emissions (EVAP) system. The most likely cause is a loose or faulty gas cap. If that's not it, suspect a failed EVAP purge or vent valve. A key symptom is a hard start after refueling (pointing to the purge valve) or the fuel nozzle constantly clicking off (pointing to the vent valve). A GM TSB advises checking seven specific hose connections before replacing parts.
- P0455 is a large EVAP leak. Start with the simplest fix: check that your gas cap is tight and its seal is intact.
- If the gas cap isn't the issue, the next most likely culprits are the EVAP purge valve (in the engine bay) or the vent valve (near the gas tank).
- A GM service bulletin for this vehicle specifically calls out checking all EVAP hose connections for damage or being improperly seated before you replace any parts.
- You can continue to drive the car with this code, but it will not pass an emissions test until the leak is fixed.
What's Unique About the 2008-2012 Chevrolet CAPTIVA
While the causes for P0455 are common across many vehicles, General Motors issued a Technical Service Bulletin (TSB #21-NA-124) relevant to this Captiva generation and its platform mates. It specifically highlights that EVAP system leaks are often due to improperly seated or damaged tube connections. The TSB provides a clear diagnostic hierarchy, instructing technicians to thoroughly inspect seven critical EVAP line connection points before condemning parts like the purge or vent valves.
Diagnostic Flowchart
Tap your situation to follow the diagnostic path that matches what you're seeing on this vehicle.
Symptoms You May Notice
- Check Engine Light is on
- A noticeable fuel smell, especially around the rear of the vehicle or after parking in a garage.
- Difficulty starting the engine right after filling the gas tank. The engine may crank but fail to start for several minutes. This strongly points to a stuck-open EVAP purge valve.
- The fuel pump nozzle clicks off repeatedly during refueling, making it difficult to fill the tank. This suggests a blockage in the vent path, often a failed vent valve or clogged canister.
- Potentially a slight decrease in fuel economy, though it may not be obvious to the driver.
- Replacing the fuel tank pressure sensor. This sensor is what detects the leak, but it is rarely the cause of the leak itself. A faulty sensor will typically set a different code related to its circuit or performance (e.g., P0452, P0453).
Most Likely Causes
- Loose, Missing, or Faulty Gas Cap 🔴 High Probability → Shop Fuel Tank Cap This is the most common cause for P0455 on virtually all vehicles. The seal on the cap can crack or harden over time, or the cap may not have been tightened properly after refueling, preventing the system from sealing.
How to confirm: Ensure the gas cap is present and tightened until it clicks at least three times. Inspect the rubber O-ring seal on the cap for cracks, stiffness, or damage.
Typical fix: Tighten the cap. If the seal is damaged or the code returns, replace the gas cap with a new OEM or quality equivalent part.
Est. part cost: $10-$30 - Faulty EVAP Canister Purge Valve 🟡 Medium Probability → Shop Vapor Canister This valve can fail by sticking open. When stuck open, it allows un-metered fuel vapors to flood the engine, especially after refueling, causing a 'hard start' condition. TSB #21-NA-124 also notes a stuck-closed purge valve can cause a P0455 by blocking the system during its test phase.
How to confirm: The strongest symptom is a rough idle or difficulty starting immediately after a fill-up. To test, locate the valve in the engine bay. With the engine off, disconnect the valve and try to blow through it. If air passes, it's stuck open and needs replacement.
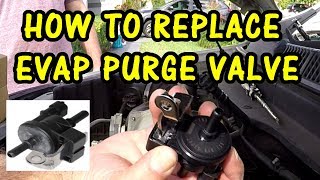
Typical fix: Replace the purge valve. It is typically mounted on the engine intake manifold. One owner of a platform-mate Saturn Vue noted a cheap aftermarket valve failed in under two weeks, suggesting using an OEM or reputable brand part is wise.
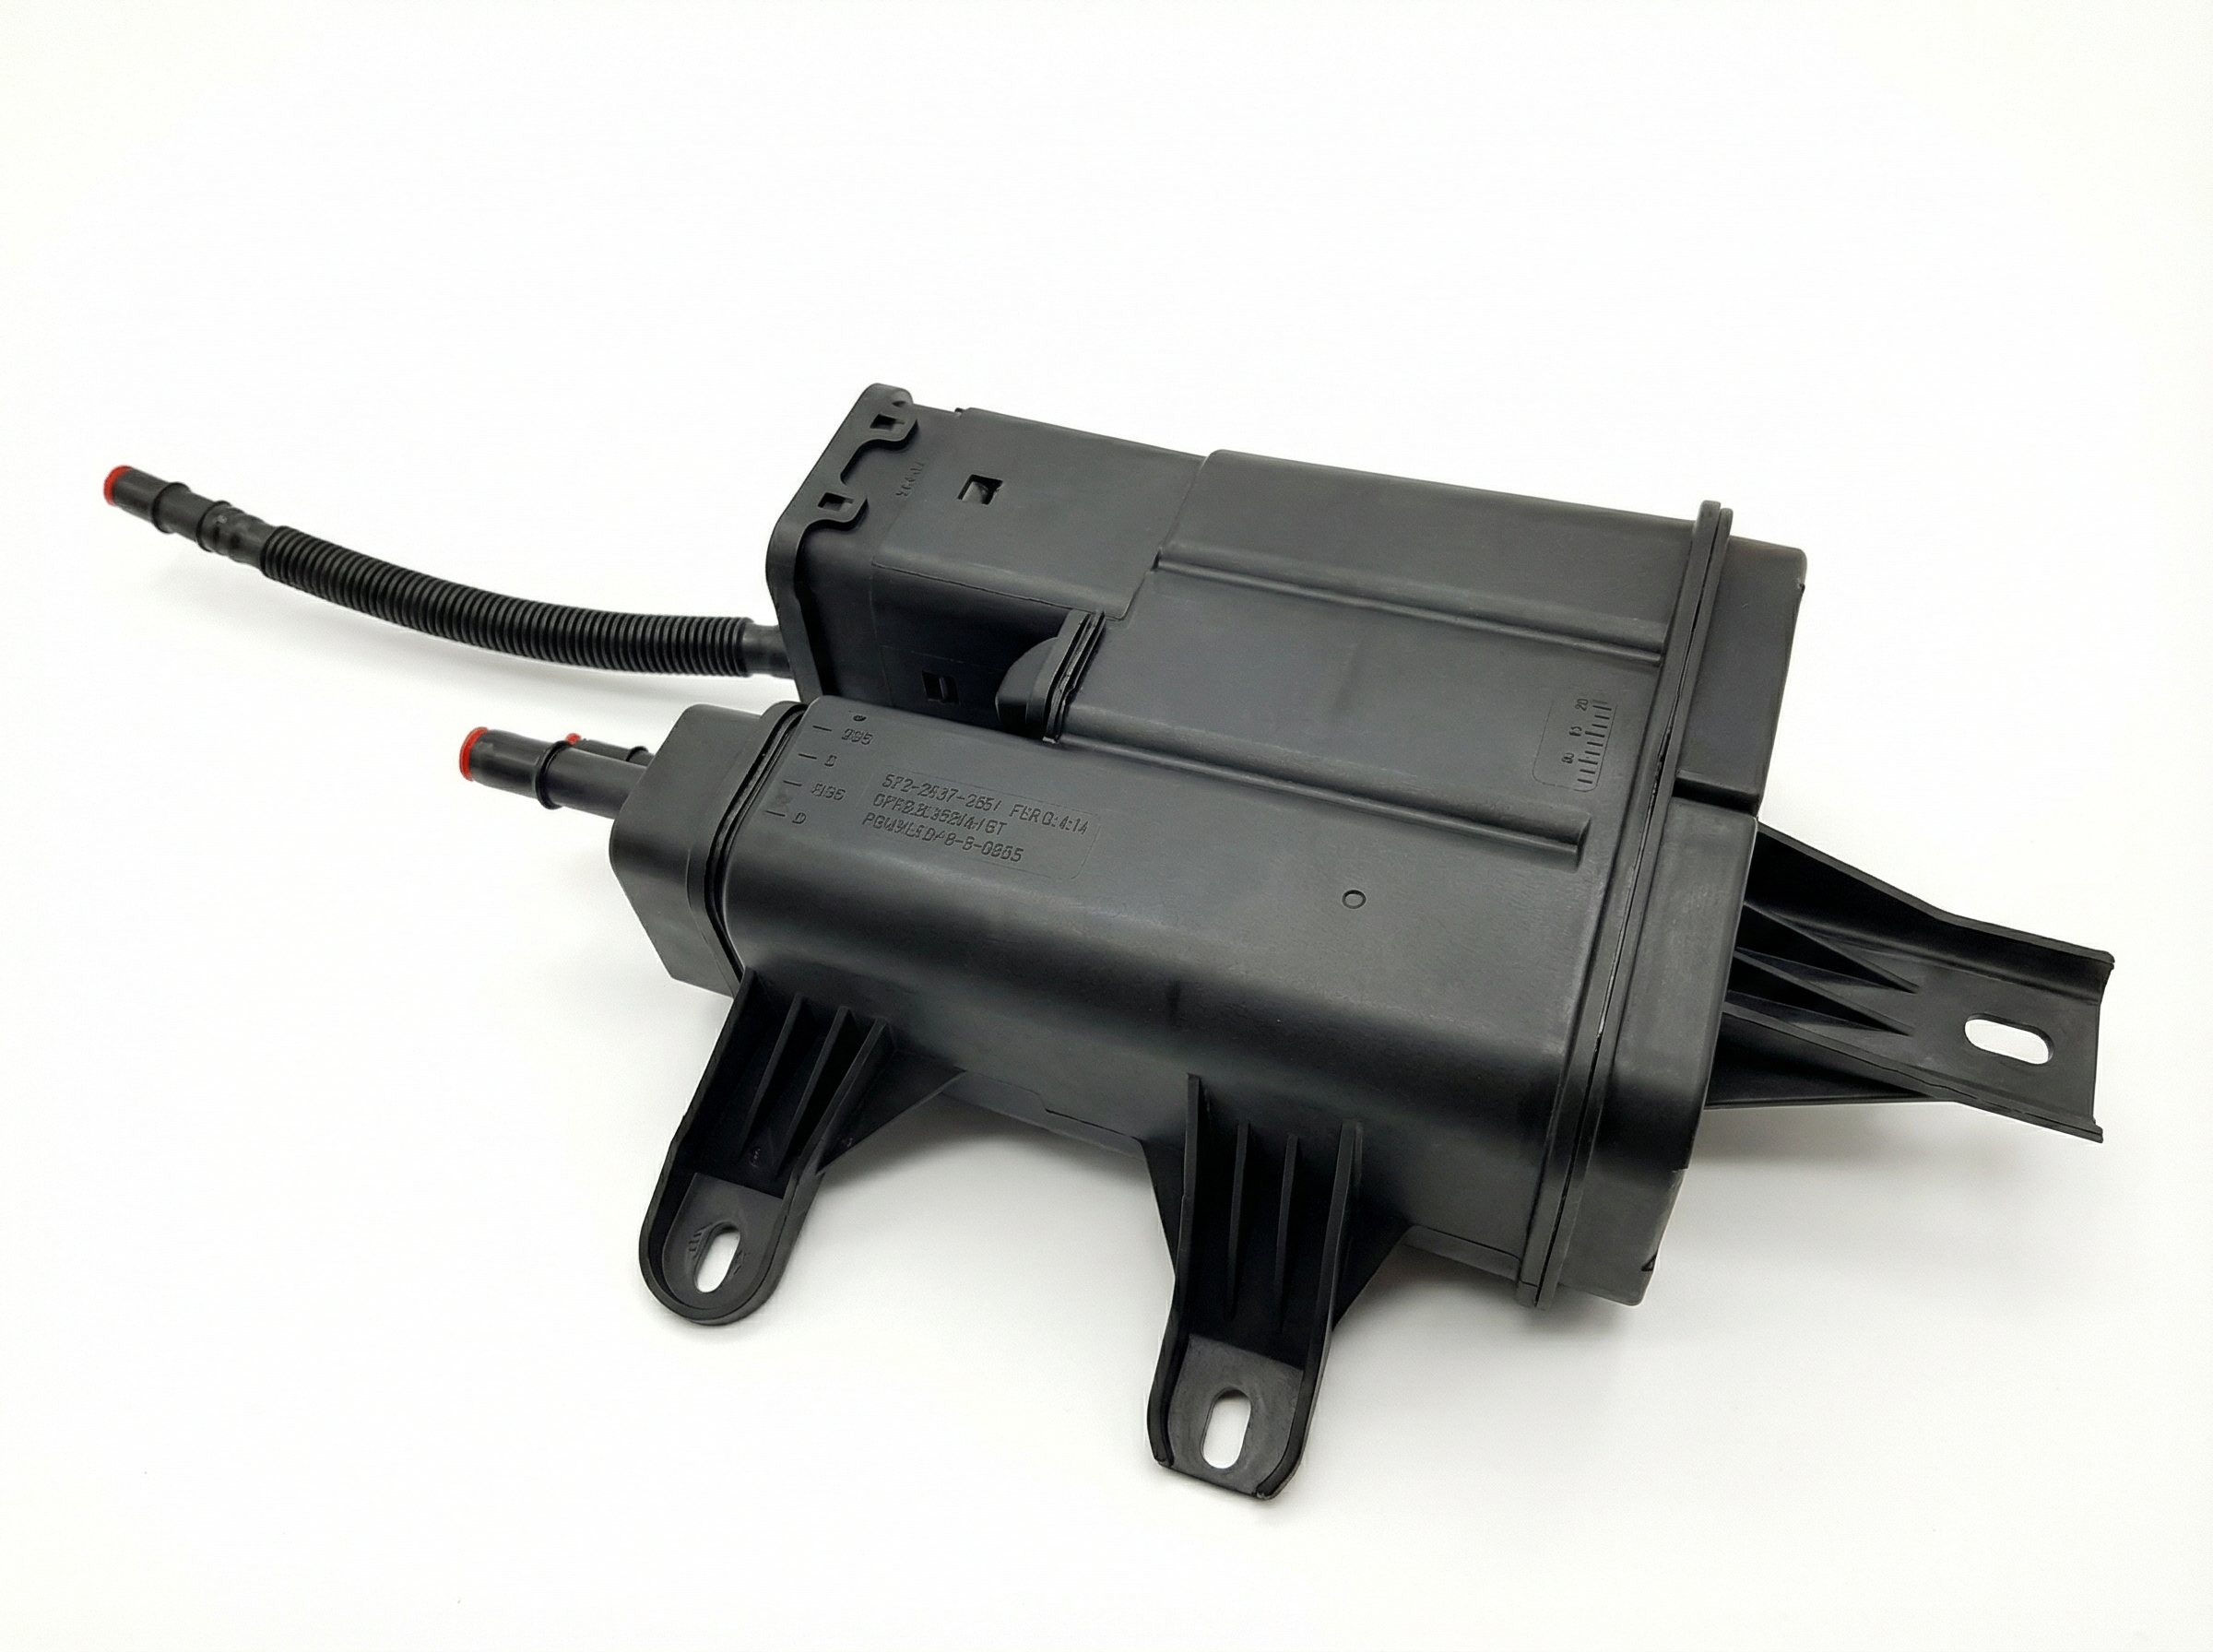
Est. part cost: $30-$70 - Faulty EVAP Canister Vent Valve/Solenoid 🟡 Medium Probability → Shop Vapor Canister This valve is normally open and must close to seal the system for testing. It is located near the charcoal canister at the rear of the vehicle and is exposed to road debris and moisture. If it gets stuck open, the system can never seal, immediately causing a large leak code.
How to confirm: A primary symptom is the fuel nozzle clicking off constantly during refueling. The valve is located near the charcoal canister at the rear of the vehicle. A scan tool can command it closed to test for function; you should hear a click. If it doesn't close or is stuck, it's faulty.
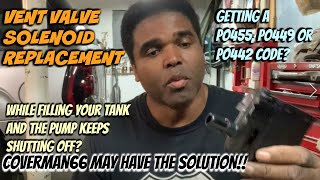
Typical fix: Replace the vent valve solenoid. Access requires safely raising the rear of the vehicle. The electrical connector and hose fittings can be brittle, so care should be taken during removal. 🎬 See how to swap out a faulty vent valve solenoid.
Est. part cost: $35-$60 - Cracked or Disconnected EVAP Hoses ⚪ Low Probability As highlighted in GM TSB #21-NA-124, plastic lines and rubber connections can become brittle, cracked, or simply unseated over time. This creates a direct leak path for fuel vapors.
How to confirm: Visually inspect all EVAP lines. Per the TSB, there are seven critical connection points to check for integrity before replacing other parts. A smoke test is the most definitive way to find a hard-to-see leak.
Typical fix: Replace the damaged section of hose or securely reconnect it. Ensure the locking tabs on quick-connect fittings are fully engaged.
Est. part cost: $5-$50
Rare But Worth Checking
- Cracked Charcoal Canister: → Shop Vapor Canister The plastic housing of the canister can be damaged by road debris or become brittle with age, causing a large crack and a P0455 code. This should be checked during a visual inspection, especially if a fuel smell is present near the rear of the vehicle.
- Damaged Fuel Tank Filler Neck: → Shop Fuel Tank Corrosion or physical damage to the metal filler neck can prevent even a new gas cap from creating a proper seal, leading to a persistent leak.
Diagnosis Steps
- Check the Gas Cap: This is the simplest and most common fix. Ensure it is tight (clicks 3-4 times) and inspect its seal for cracks or damage. If in doubt, it's an inexpensive first part to replace. Clear the code and drive.
- TSB-Guided Visual Inspection: If the code returns, follow the advice of TSB #21-NA-124 and perform a detailed inspection of the EVAP line connections before replacing parts. There are seven critical connection points to check for being unseated or damaged: - Purge tube to purge valve (at intake manifold) - Purge tube to chassis EVAP line (at rear of engine) - Chassis EVAP line to canister - Fuel tank load line to canister - Vent valve line to vent valve - Fuel tank load line jumper connection (near fuel tank) - Fuel tank cap seating properly
- Evaluate Specific Symptoms: If you have a 'hard start after refueling', suspect the Purge Valve. If you have 'trouble filling the fuel tank', suspect the Vent Valve or a vent line blockage.
- Test the Purge Valve: Locate the purge valve on the engine. With the engine off, remove it and try to blow through it. If air passes, it is stuck open and must be replaced.
- Test the Vent Valve: Locate the vent valve near the canister at the rear of the vehicle. It is normally open. Use a scan tool to command it closed; you should hear a click and it should no longer allow air to pass through. If it doesn't operate or remains open, it is faulty.
- Perform a Smoke Test: If the leak source is still not found, a smoke test is the most effective method. A machine injects low-pressure smoke into the EVAP system (usually via the purge line service port), and any leaks will be visible as smoke escapes from the faulty component or hose. 🎬 Watch: How a smoke test pinpoints a gross EVAP leak.
Parts You'll Likely Need
- Gas Cap — This is the most frequent cause of a P0455 code due to improper tightening or a worn-out seal.
Trusted brands: ACDelco (e.g., GT281), Stant (e.g., 10834)
OEM price range: $20-$35
Aftermarket price range: $10-$25 - Vapor Canister Purge Valve / Solenoid
(OEM #12735397 (supersedes 12690512, 12597567, and others))— A very common failure point. It can stick open, causing hard starts after refueling, or stick closed, which can also trigger P0455. It's located in the engine bay and is relatively easy to replace. 🎬 Watch: Step-by-step guide to replacing the Captiva purge valve.
Trusted brands: ACDelco, Dorman, Standard Motor Products
OEM price range: $45-$70
Aftermarket price range: $25-$50 - Vapor Canister Vent Valve / Solenoid
(OEM #ACDelco 25950499 (Dorman 911-036 is a common aftermarket cross))— This valve, located at the rear of the vehicle, often fails by sticking open due to exposure to the elements, preventing the system from sealing for its leak test. Failure is often indicated by difficulty fueling the vehicle.
Trusted brands: ACDelco, Dorman, SKP
OEM price range: $40-$60
Aftermarket price range: $35-$50
Related Codes That Often Appear With This One
- P0442 — P0442 indicates a small EVAP leak. You might see this code intermittently as a component begins to fail before the leak worsens and triggers the large leak code P0455.
- P0449 — This code specifically points to a fault in the EVAP Vent Valve Solenoid control circuit. It is often seen alongside P0455 if the vent valve is the root cause of the large leak.
Technical Service Bulletins (TSBs) & Recalls
- Bulletin #21-NA-124: Provides crucial diagnostic tips for P0442 and P0455. It emphasizes a specific inspection and testing hierarchy, starting with a visual check of seven critical EVAP line connections before testing the vent and purge valves.
Platform-Specific Known Issues
- GM Technical Service Bulletin #21-NA-124 is the most important vehicle-specific document for this issue. It advises technicians to follow a specific diagnostic order: 1) Inspect seven key EVAP line connections for being unseated or damaged. 2) Test the vent valve for a stuck-open condition. 3) Test the purge valve for being stuck open or
Mechanic-Grade Diagnostic Values
- EVAP Canister Purge Valve Solenoid Resistance — expected: 15 to 38 Ohms at room temperature.. Failure: An open circuit (infinite resistance) or a reading significantly outside the expected range indicates a failed solenoid coil.
- EVAP Canister Vent Valve Solenoid Resistance — expected: 15 to 65 Ohms, depending on the specific part installed.. Failure: An open circuit (infinite resistance) or a reading outside the typical range for the part suggests a faulty coil.
- Fuel Tank Pressure (FTP) Sensor Voltage (Key On, Engine Off, Gas Cap Removed) — expected: Approximately 1.3V to 1.7V.. Failure: A reading stuck at 0V or 5V suggests a wiring issue or a failed sensor. A reading that does not change when pressure/vacuum is applied also indicates a fault.
Scan Tool Commands That Help
- GM Tech2 / GDS2 (or clone like VCX Nano with Tech2Win): EVAP System Service Bay Test — This is a comprehensive, automated test to force the EVAP monitor to run and verify system integrity after a repair, or to diagnose a stubborn issue without waiting for the natural drive cycle. It guides the technician through a series of engine-on and engine-off procedures to test the entire system.
- Professional Scan Tool with Bidirectional Controls: EVAP Purge/Seal (or EVAP Vent Solenoid Control) — This command allows you to manually close the normally-open EVAP Vent Valve to seal the system. This is critical for performing a smoke test or a vacuum decay test to confirm the vent valve is functioning electrically and mechanically before looking for other leaks.
- Professional Scan Tool with Bidirectional Controls: EVAP Purge Solenoid Control — Allows you to command the normally-closed Purge Valve to open and close (often by a percentage). This helps test if the valve is stuck open or closed. You should hear it clicking and see a change in fuel trims or system pressure when activated.
Wiring & Ground Locations
- G105 — Left rear of the engine.. This ground provides a path for various engine components. A corroded or loose G105 can cause erratic behavior from sensors and solenoids in the EVAP system, leading to false codes.
- X101 — Behind the engine fuse block.. This is the main 36-pin engine-to-body harness connector. Any corrosion or pin damage here can interrupt signals between the ECM and the EVAP components, particularly the purge solenoid in the engine bay.
- EVAP Vent Solenoid Harness — Runs along the vehicle's frame from the engine bay to the rear near the fuel tank.. Due to its exposed location underneath the vehicle, this harness is susceptible to physical damage from road debris or corrosion, which can cause an open or short in the vent solenoid circuit, often triggering P0449 alongside P0455.
Real Owner Repair Stories
- YouTube channel 'redraif' (2004 Saturn Vue (platform mate)) — Check Engine Light with codes P0446 and P0455, and a 'no start' condition immediately after refueling.
❌ Tried (didn't work) The owner had previously replaced the EVAP vent solenoid and fuel tank pressure sensor.
✅ What actually fixed it The owner replaced the EVAP purge valve with a Dorman aftermarket part, which failed within two weeks, causing the symptoms. The final fix was replacing the faulty new Dorman valve with another aftermarket brand (SKP), which resolved all symptoms and codes. - YouTube channel 'I Fix It All Garage' (Chevrolet HHR (similar GM EVAP system)) — Persistent P0455 code.
❌ Tried (didn't work) Replacing the gas cap., Replacing the EVAP purge valve.
✅ What actually fixed it After the initial parts replacements did not clear the code, the final repair was replacing a rotted EVAP vapor line that runs from the charcoal canister module to the front of the vehicle. This was a known issue on that platform.
"I Checked Everything" — The Actual Cause
- An intermittent electrical failure in the purge or vent solenoid. A component may seal perfectly during a static smoke test but fail to operate correctly when commanded by the ECM during a drive cycle. A Saturn Vue owner experienced this with a brand new, but faulty, aftermarket purge valve that failed intermittently.
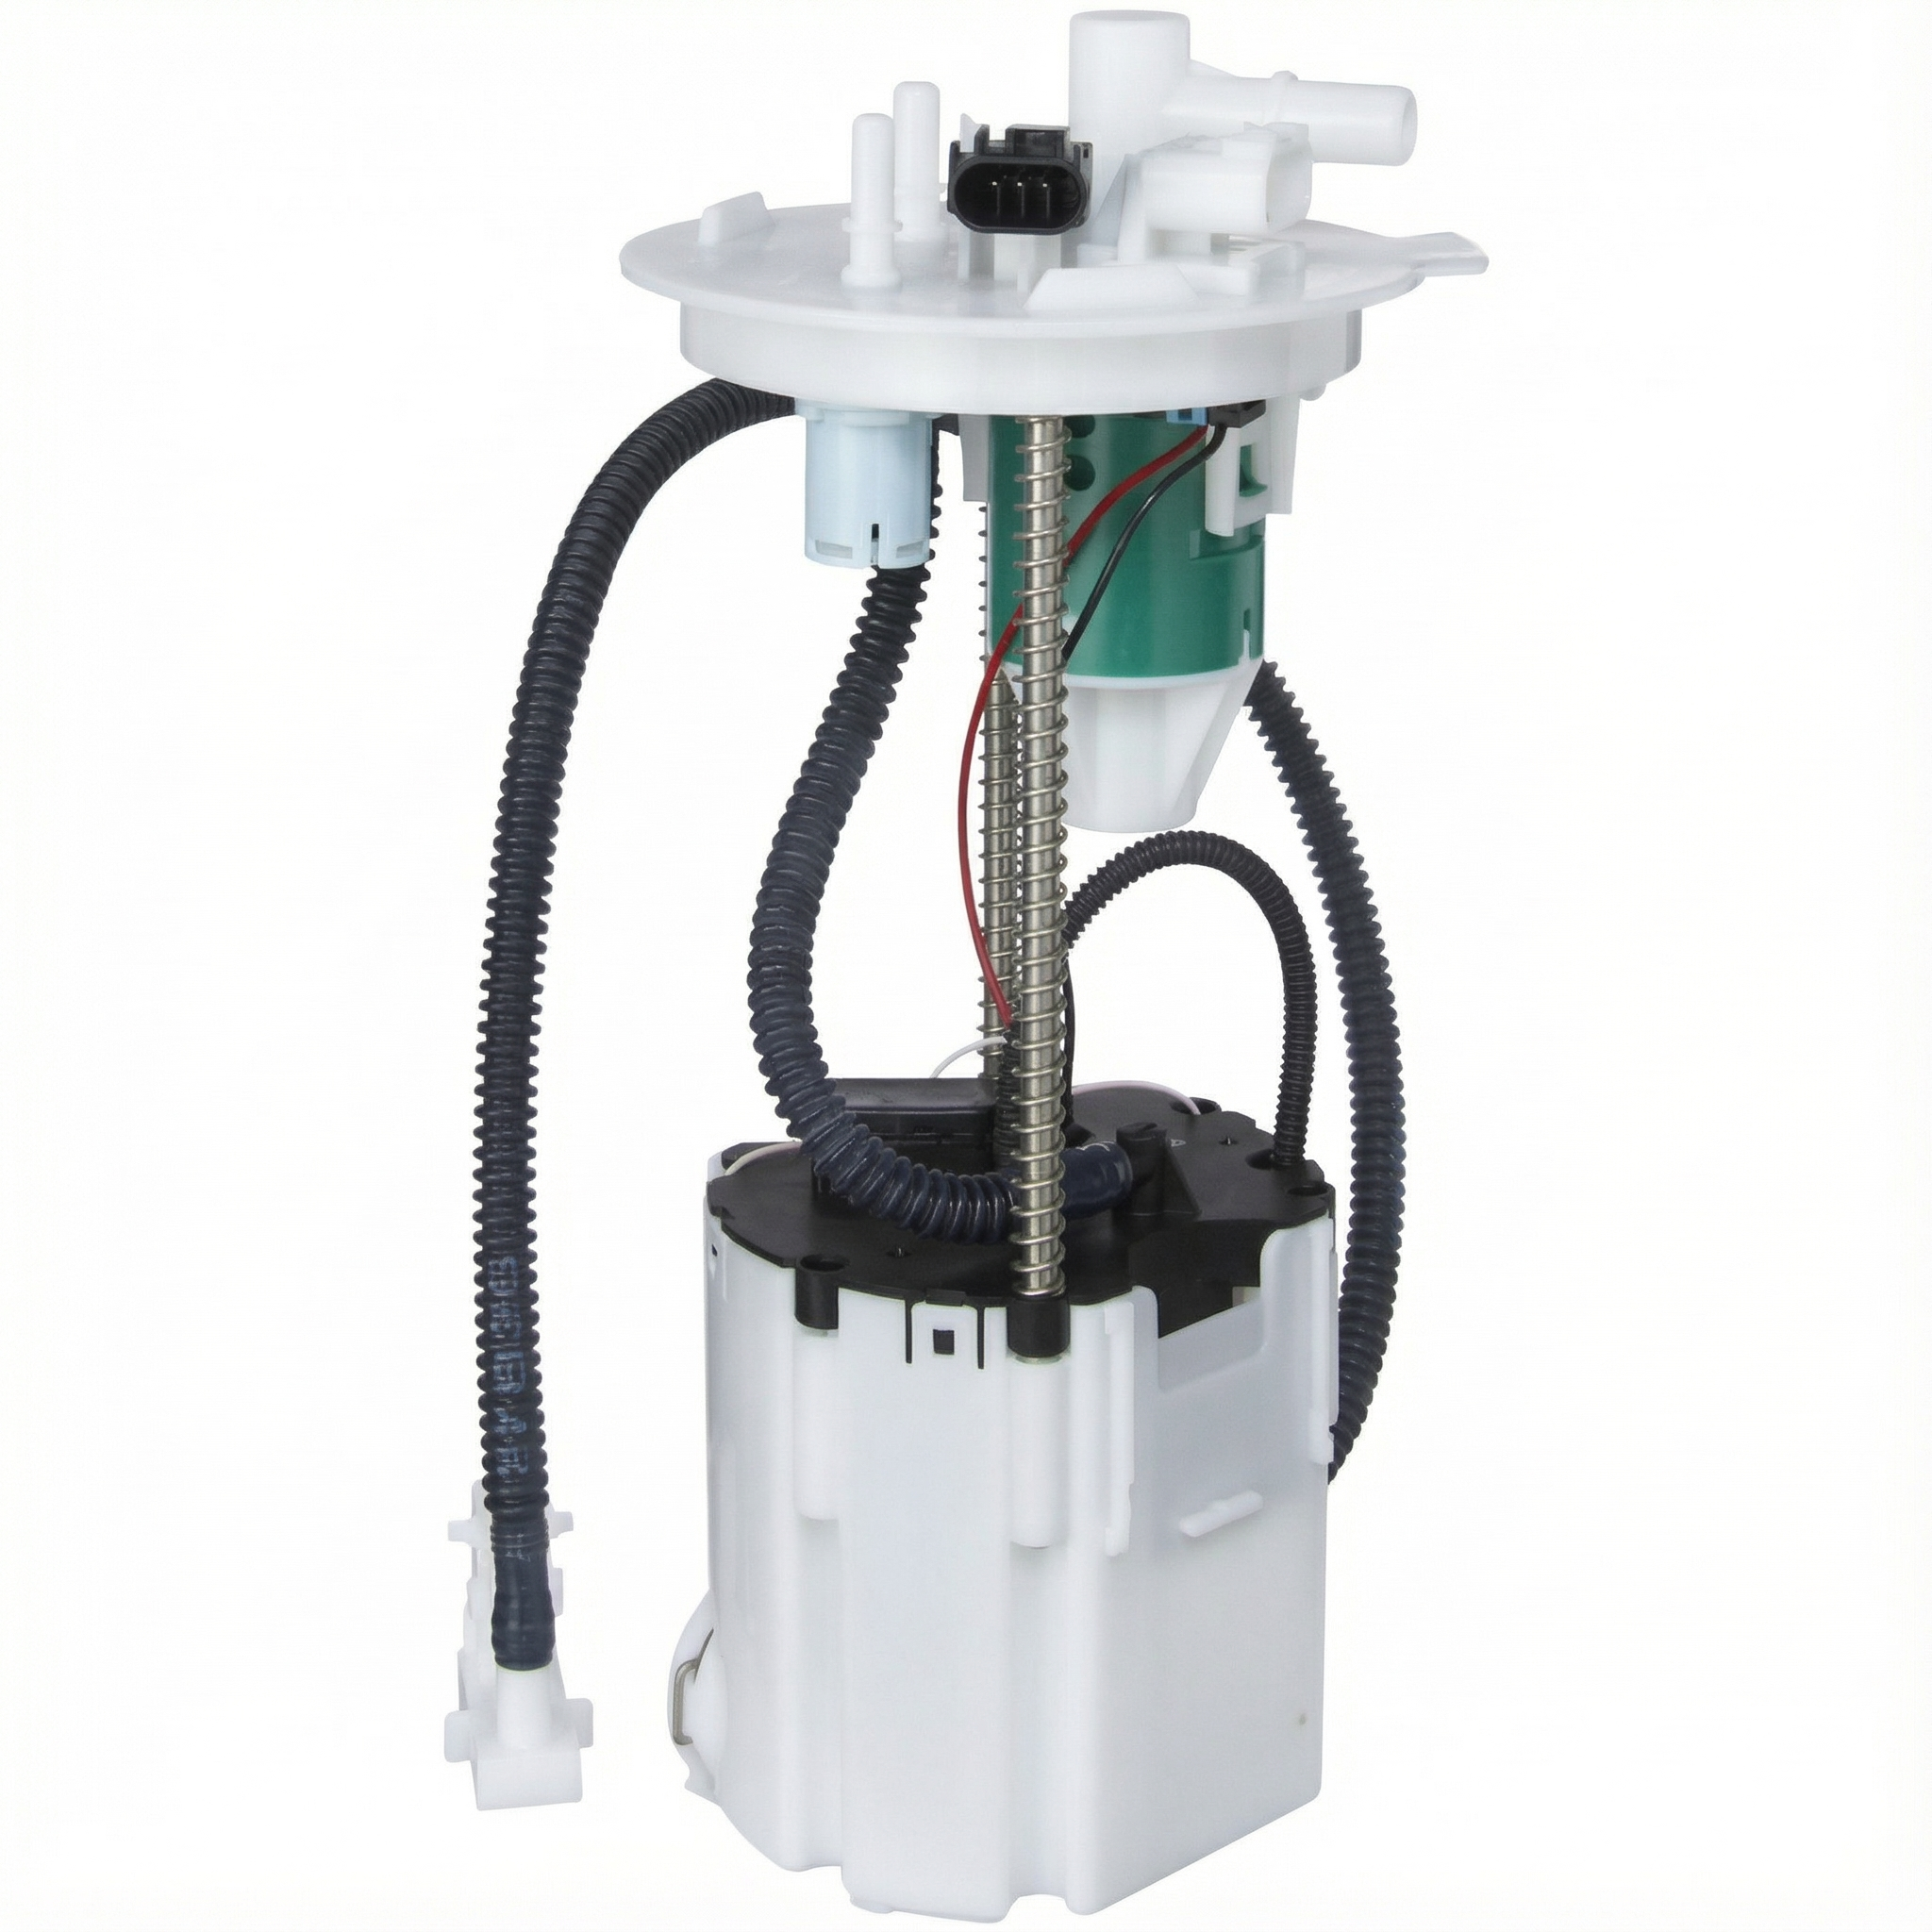
- A hairline crack in the fuel pump module's plastic lock ring. This component is on top of the fuel tank and can be overlooked during a standard smoke test, which often focuses on hoses and valves. The crack may only open under specific pressure or temperature conditions.
OEM Part Supersession History
12610560, 12597567→12690512, 12735397— Internal design improvements to address sticking issues.
Heads up: These part numbers are common for the purge valve on GM 3.0L and 3.6L V6 engines used in the Captiva and its platform mates.
Model Year Variations Within This Range
- 2011-2012: The Captiva received a facelift for the 2011 model year. While the EVAP system's function remained the same, the physical routing of some EVAP hoses and the exact mounting locations of components may differ slightly from the 2008-2010 models.
- 2008-2012: The vehicle was available with different engines (e.g., 2.4L I4, 3.0L V6). The location of the engine-mounted EVAP purge valve and the routing of its associated vacuum lines will be different depending on the engine.
Helpful Videos


Used OEM Parts in Stock

New Aftermarket Parts Available


The information in this article is provided for general reference and educational purposes only. Vehicle specifications, procedures, and part compatibility can vary by production date, trim level, and region. Always consult your vehicle's factory service manual and verify part numbers before purchasing or performing repairs. Safety-critical components such as airbags, seat belts, and braking systems should be installed by a qualified professional.
- Chevrolet CAPTIVA:
- 🧭 Diagnostic Flowchart
- 🎬 Helpful Videos
- 🛍️ Shop This Part
- What's Unique About the 2008-2012 Chevrolet CAPTIVA
- Symptoms You May Notice
- Most Likely Causes
- Rare But Worth Checking
- Diagnosis Steps
- Parts You'll Likely Need
- Related Codes That Often Appear With This One
- Technical Service Bulletins (TSBs) & Recalls
- Platform-Specific Known Issues
- Mechanic-Grade Diagnostic Values
- Scan Tool Commands That Help
- Wiring & Ground Locations
- Real Owner Repair Stories
- "I Checked Everything" — The Actual Cause
- OEM Part Supersession History
- Model Year Variations Within This Range
- 🎟️ Get 5% Off