
P0455 on 2008-2015 Chevrolet Impala: EVAP Large Leak Causes and Fixes
For a 2008-2015 Impala, P0455 most often means you have a loose/faulty gas cap or a bad EVAP vent solenoid. Check the gas cap first (a free check), but the likely fix is replacing the EVAP vent solenoid near the driver's side rear wheel. This part is a known high-failure item due to rust and exposure. The updated part often requires a new wiring harness adapter. The total DIY cost is about $40-$75.
- P0455 means your Impala has a large leak in its emissions system, but it's safe to drive.
- Always check your gas cap first. Make sure it's tight and the seal isn't damaged. This is the easiest and cheapest potential fix.
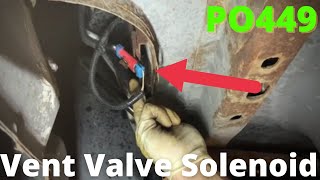
- The most likely part to have failed is the EVAP vent solenoid, located near the driver's side rear wheel. It's a common problem on this car and a relatively inexpensive DIY fix.
- If you also have a P0449 code, the EVAP vent solenoid is almost certainly the culprit.
- A smoke test is the most reliable way to find the leak if it's not the gas cap or one of the common solenoids.
What's Unique About the 2008-2015 Chevrolet IMPALA
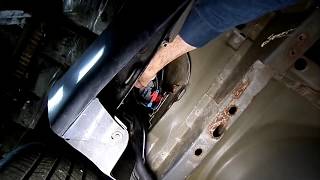
The 2008-2015 Impala spans two generations (9th gen: 2006-2013/16; 10th gen: 2014-2020), but the P0455 code is a very common issue on both, frequently pointing to the same few parts. A message on the driver information center saying "Tighten Gas Cap" is a classic symptom on these cars that often accompanies the P0455 code, even when the cap is tight, strongly suggesting a failed EVAP component. The EVAP vent solenoid, located near the driver's side rear wheel, is a particularly common failure point due to its exposure to road debris and moisture, which causes the valve itself to fail or its metal mounting bracket to rust off completely.
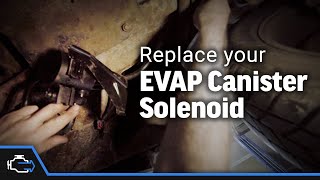
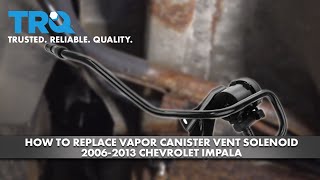
🎬 Watch: How to replace the vent solenoid on 9th gen models.Diagnostic Flowchart
Tap your situation to follow the diagnostic path that matches what you're seeing on this vehicle.
Generation note: This range covers the end of the 9th generation (2008-2013, and up to 2016 as the 'Impala Limited' for fleets) and the beginning of the 10th generation (2014-2015). While the body and interior are different, the common causes and fixes for P0455, particularly the gas cap and EVAP vent solenoid, are very similar across these model years. The vent solenoid location and replacement procedure are nearly identical on the 9th gen Impala and its W-body platform mates like the Buick LaCrosse.
Symptoms You May Notice
- Check Engine Light is on
- A message on the dashboard that reads "Tighten Gas Cap"
- A faint to strong smell of fuel, especially around the rear of the car
- Difficulty starting after filling the gas tank (if the purge valve is stuck open)
- Gas pump nozzle shuts off repeatedly when trying to refuel (indicates a blocked vent path, often a failed vent solenoid)
- Replacing the purge valve when the vent valve is the actual problem. TSB #21-NA-124 advises checking lines and the vent valve *before* the purge valve.
- Replacing the gas cap repeatedly without checking other components like the vent solenoid, which also causes the 'Tighten Gas Cap' message.
- Replacing parts without confirming the leak source with a smoke test, leading to unnecessary expense.
Most Likely Causes
- Loose, Damaged, or Incorrect Gas Cap 🔴 High Probability → Shop Fuel Tank Cap This is the most common cause for any vehicle, as the cap is frequently removed and its seal can wear out or be installed incorrectly. Aftermarket caps are a frequent source of leaks if their seals are not designed correctly.
How to confirm: Inspect the gas cap for cracks or a worn, brittle seal. Ensure it is tightened until it clicks at least once. A visual inspection may reveal an aftermarket cap that doesn't seal properly. Also, inspect the fuel filler neck sealing surface for rust or debris.
Typical fix: Tighten the existing cap or replace it with a new OEM-equivalent cap. Clean the filler neck surface.
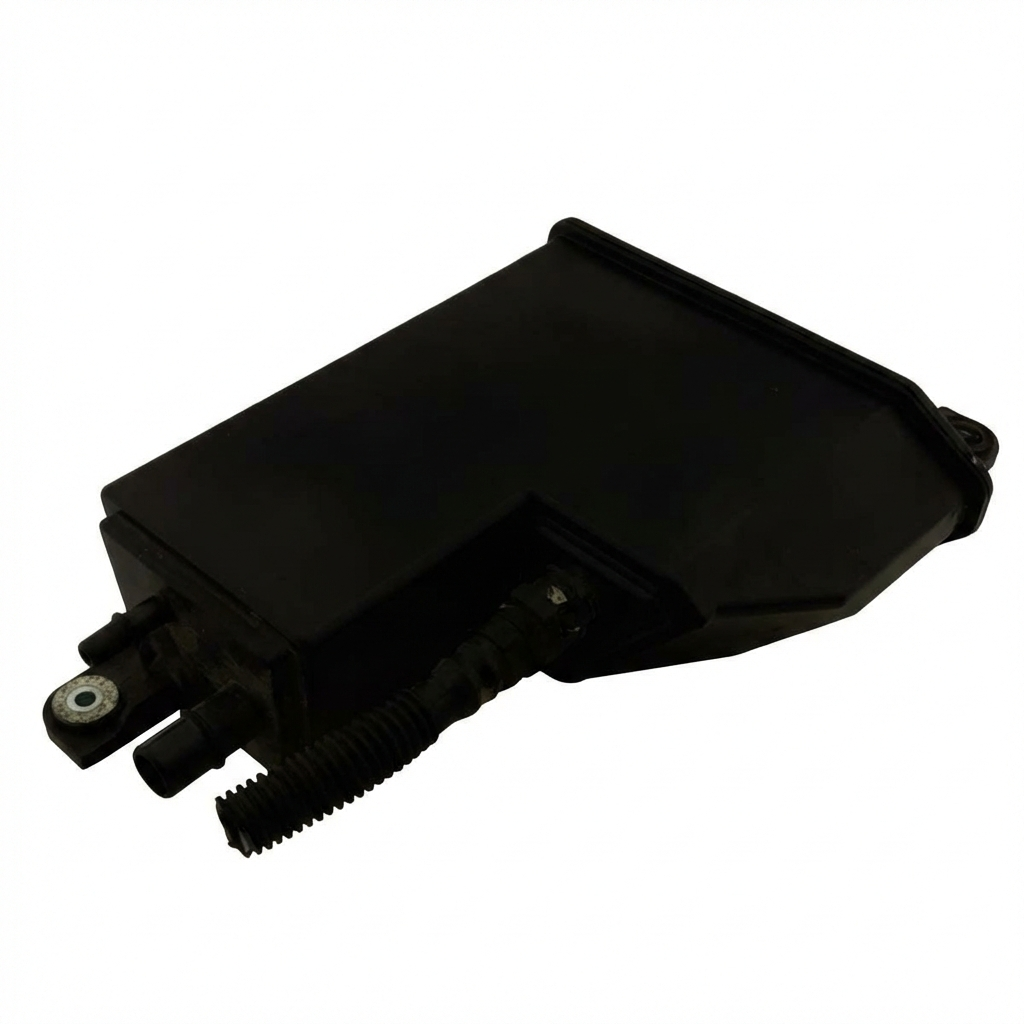
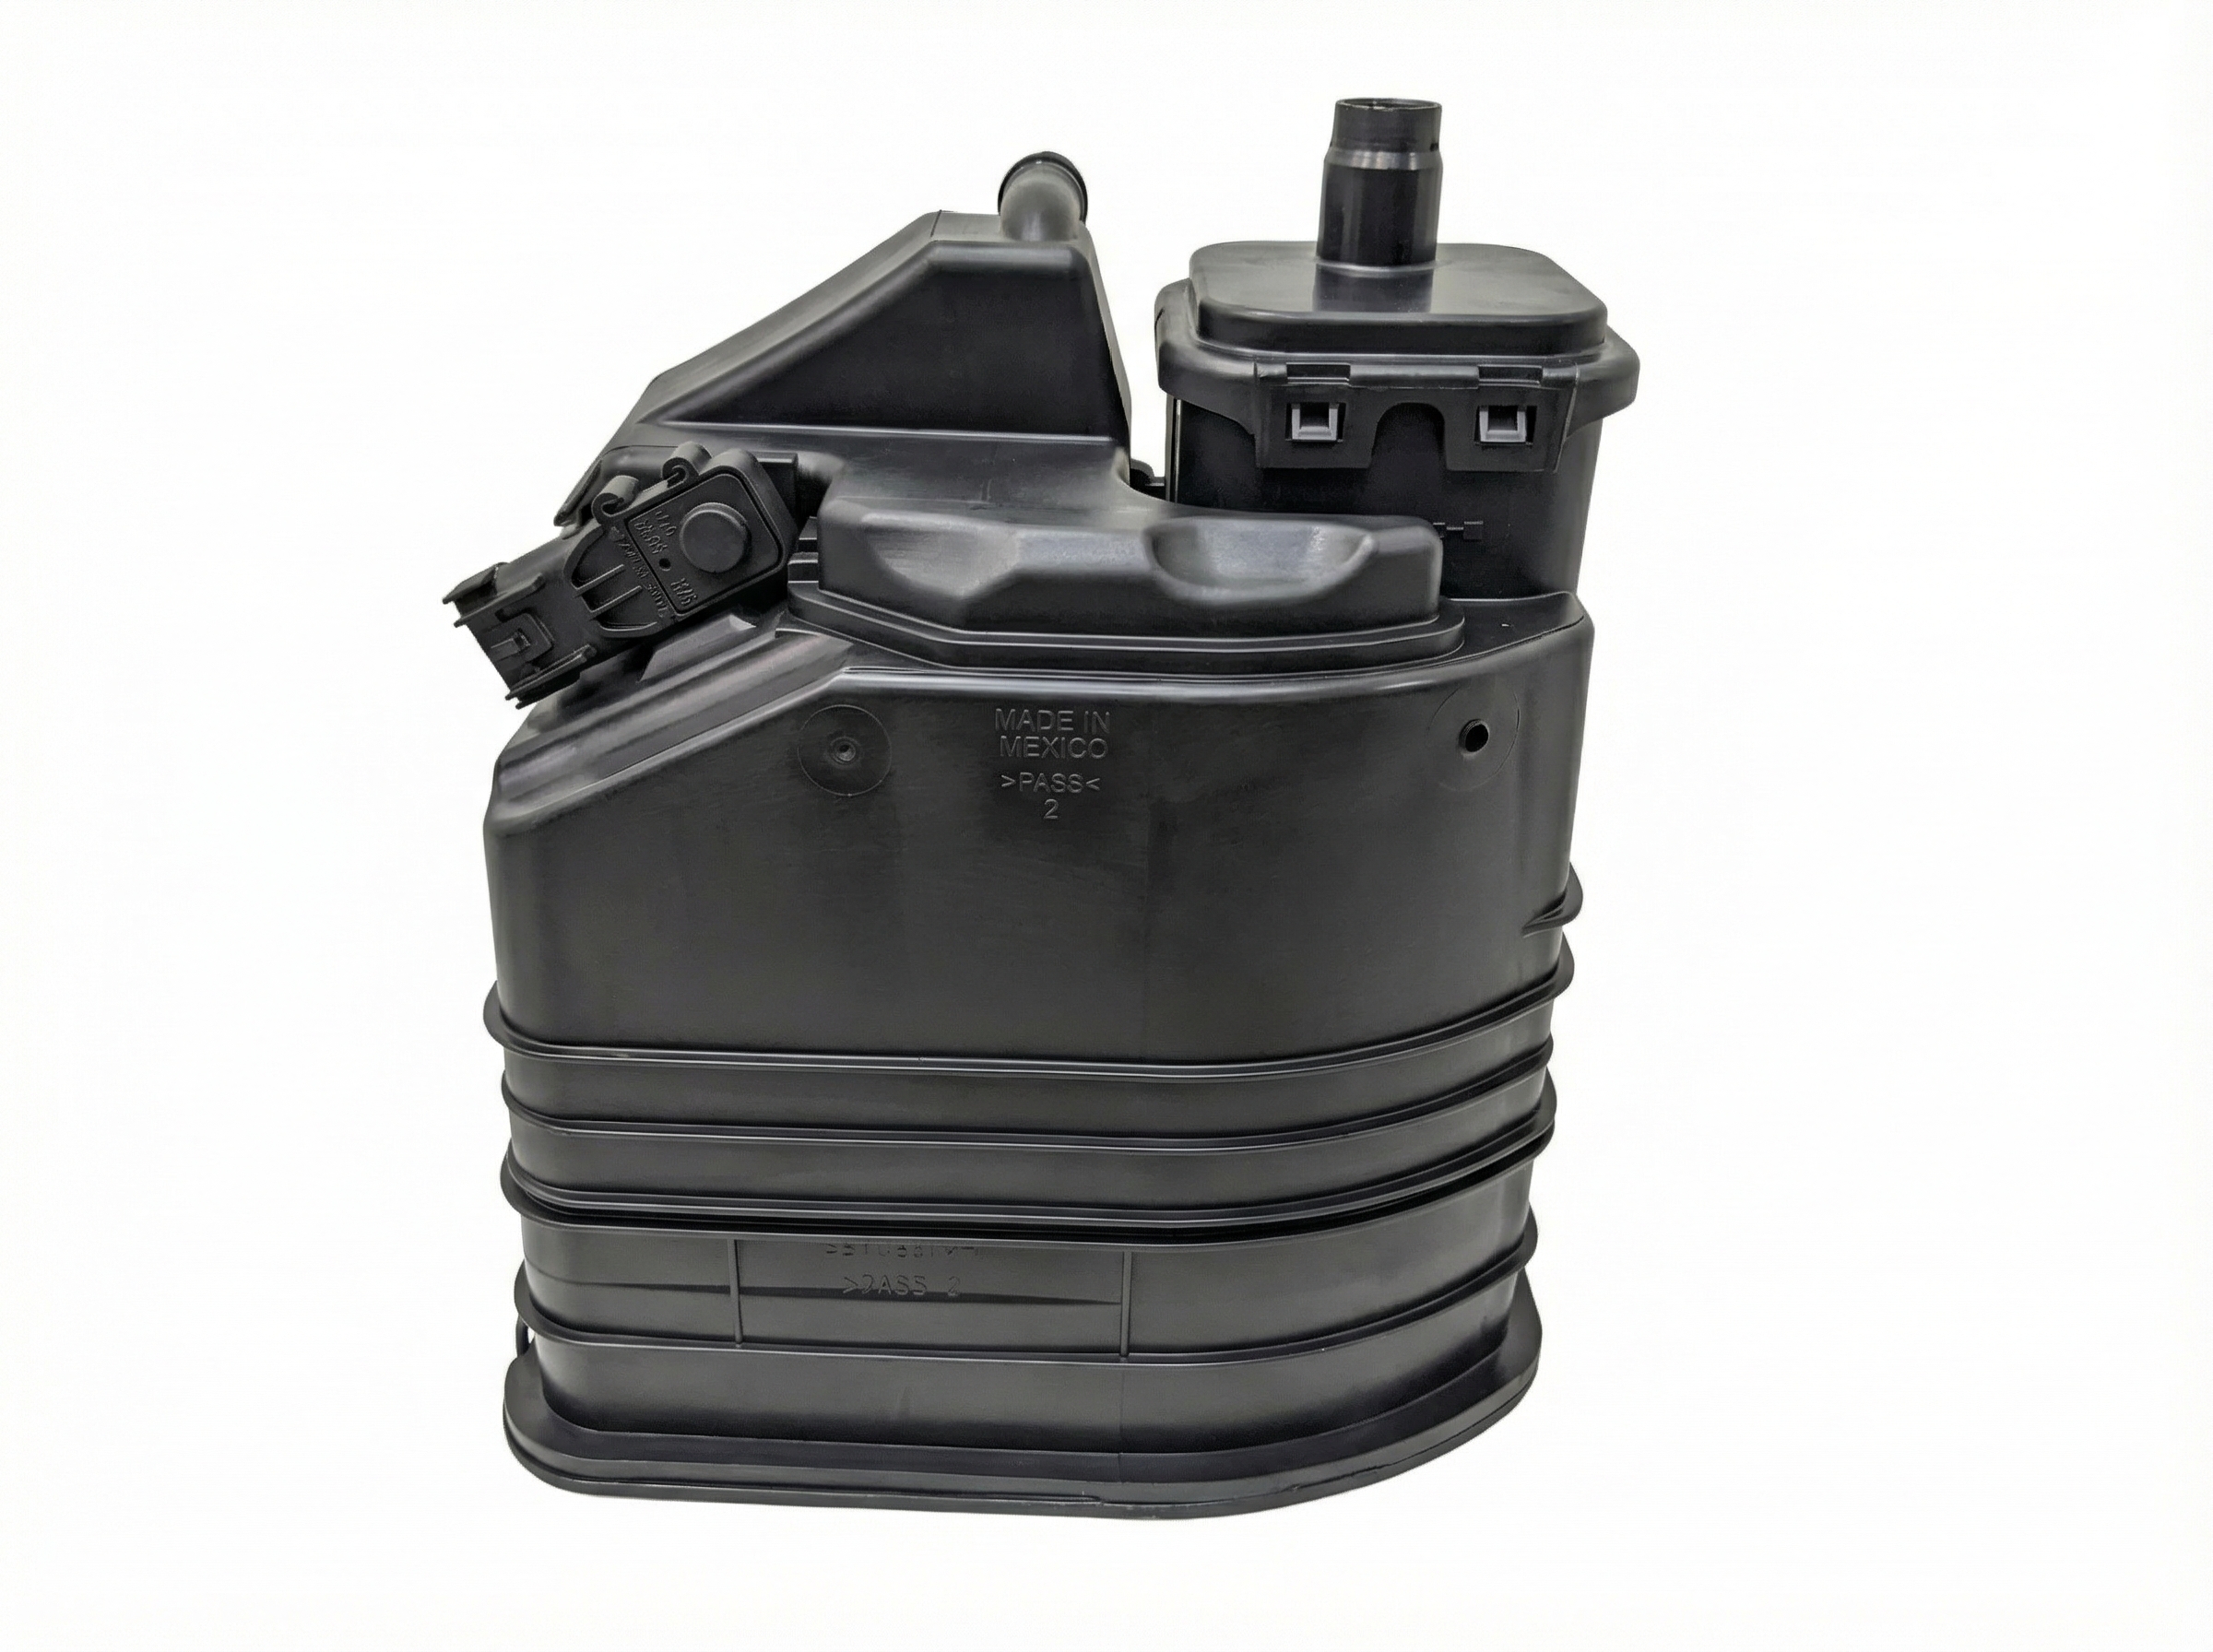
Est. part cost: $15-$30 - Faulty EVAP Vent Solenoid/Valve 🔴 High Probability → Shop Vapor Canister The vent solenoid is located under the car near the driver's side rear wheel, where it is exposed to road salt, dirt, and moisture, causing it to fail or its mounting bracket to rust and break. It can get stuck open, creating the large leak detected by the P0455 code.
How to confirm: The valve is normally open. A scan tool can command it closed for testing. A smoke test will show smoke exiting the valve if it's stuck open. You can also remove it and apply 12V power; if it doesn't close and stop air from passing through, it's bad. Often found with code P0449 (vent circuit fault).
Typical fix: Replace the EVAP vent solenoid. The original part often rusts off its bracket. The updated replacement part usually requires a separate harness adapter to connect to the vehicle's wiring.
Est. part cost: $30-$60 - Faulty EVAP Purge Valve/Solenoid 🟡 Medium Probability → Shop Vapor Canister This valve is located in the engine bay and can become stuck open over time, creating a constant vacuum leak from the EVAP system into the engine.
How to confirm: The purge valve is normally closed. Disconnect the hoses from it and try to blow through it. If air passes through, it is stuck open and needs to be replaced. On the 3.6L V6 (2012+), you can disconnect the electrical connector and EVAP line, start the engine, and feel for suction on the valve's port; any suction indicates it's stuck open.
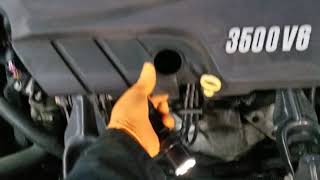
Typical fix: Replace the purge valve. On 9th gen models, it's often on a valve cover; on 10th gen models (3.6L V6), it's located behind the throttle body.
Est. part cost: $25-$50 - Cracked or Disconnected EVAP Hoses ⚪ Low Probability Hoses, especially in areas exposed to the elements or engine heat, can become brittle and crack over time. The connection to the fuel filler neck and the lines around the charcoal canister are possible points of failure.
How to confirm: Perform a thorough visual inspection of all EVAP lines from the engine bay to the fuel tank. A smoke test is the most effective way to pinpoint a cracked or disconnected hose.
Typical fix: Replace the damaged section of hose or reconnect it securely.
Est. part cost: $10-$40
Rare But Worth Checking
- Cracked Charcoal Canister: → Shop Vapor Canister The plastic housing of the charcoal canister can crack from road debris impact or age, creating a large leak. This is almost always found during a smoke test when other components check out.
- Rusted Fuel Filler Neck: → Shop Fuel Filler Neck In regions with heavy road salt use, the metal fuel filler neck can rust through, particularly on the smaller vent line that runs alongside the main pipe. This creates a large leak that prevents the system from sealing. A smoke test will quickly reveal smoke billowing from the filler neck area behind the wheel well liner.
Diagnosis Steps
- Check for a "Tighten Gas Cap" message on the driver information center.
- Inspect the gas cap. Ensure it's tight and the seal is not cracked or worn. Check the filler neck for rust. If in doubt, replace the cap with an OEM part as it's an inexpensive first step.
- Visually inspect the EVAP hoses in the engine bay and under the car for obvious cracks or disconnections, especially around the purge valve and canister.
- Locate the EVAP vent solenoid near the driver's side rear wheel. Check its electrical connector and check for heavy rust or a broken mount, which is very common.
- Test the EVAP purge valve in the engine bay. Disconnect its hoses and try to blow through it (with the engine off). If air passes, it's stuck open and needs replacement.
- If simple checks don't reveal the issue, a smoke test is the most effective next step. This involves injecting smoke into the EVAP system's service port (usually in the engine bay with a green cap) to visually identify the source of the leak.
Parts You'll Likely Need
- EVAP Canister Vent Solenoid
(OEM #ACDelco 214-2149 (this is an updated part number, supersedes 25932571))— This is a very common failure item on the Impala, often getting stuck open due to rust and corrosion from its exposed location under the car, causing a P0455 code.
Trusted brands: ACDelco, Dorman (911-059), Standard Motor Products (CVS113)
OEM price range: $40-$60
Aftermarket price range: $25-$45 - EVAP Vent Solenoid Harness Adapter
(OEM #ACDelco PT2125 (or included with some aftermarket kits))— The updated vent solenoid design (ACDelco 214-2149) uses a different electrical connector than the original factory harness. This adapter is frequently required to complete the installation on older models.
Trusted brands: ACDelco, Dorman
OEM price range: $15-$25
Aftermarket price range: $10-$20 - Fuel Cap
(OEM #ACDelco GT295 (for 9th Gen))— A worn out, loose, or incorrect aftermarket gas cap is the simplest and a very common cause for a large EVAP leak.
Trusted brands: ACDelco, Stant
OEM price range: $15-$25
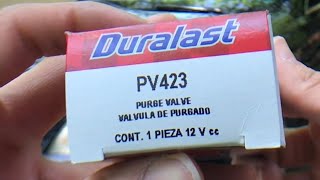
Aftermarket price range: $10-$20 - EVAP Canister Purge Valve
(OEM #ACDelco 214-1680 (9th Gen) or 214-2317 (10th Gen))— Can get stuck open, causing a constant leak. It's a common failure point for EVAP systems in general and a prime suspect if you also have a P0496 code.
Trusted brands: ACDelco, Dorman (911-147 or 911-082), Bosch
OEM price range: $30-$50
Aftermarket price range: $20-$40
Related Codes That Often Appear With This One
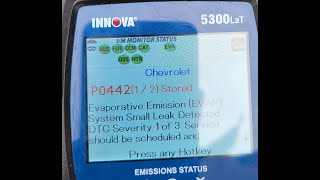
- P0442 — This code is for a small EVAP leak. It can appear alongside P0455 if the system has multiple leaks or if a component is failing intermittently. A manufacturer TSB (#21-NA-124) was issued to address diagnosing both codes together.
- P0449 — This code specifically points to a fault in the EVAP vent solenoid control circuit. If you see P0449 with P0455, the vent solenoid is almost certainly the problem, either electrically or mechanically.
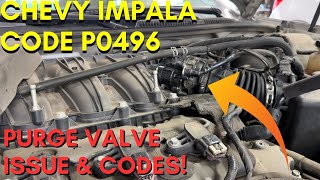
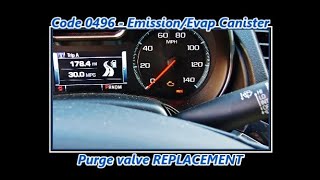
- P0496 — This code indicates 'EVAP Flow During a Non-Purge Condition,' which almost always means the purge valve is stuck open. If seen with P0455, the purge valve is the primary suspect.
Technical Service Bulletins (TSBs) & Recalls
- TSB #21-NA-124: Titled "Diagnostic Tip for Malfunction Indicator Lamp (MIL) Illuminated - DTC P0442 and/or P0455 Set", this bulletin advises technicians on a diagnostic sequence. It recommends first inspecting all EVAP lines and connections, then testing the vent valve for being stuck open, and only after that, investigating the purge valve.
Platform-Specific Known Issues
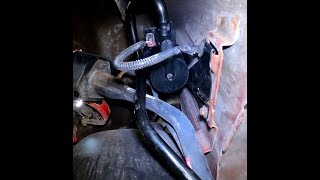
- Rusted Vent Solenoid Bracket: A very common issue on 9th generation Impalas is for the metal bracket holding the EVAP vent solenoid to completely rust through, causing the solenoid to hang by its hoses. This stresses the hose connections and can cause the part to fail. The replacement part often comes with a new bracket. In some cases, the mounting bolt will also be rusted and may need to be cut off and replaced.
Mechanic-Grade Diagnostic Values
- EVAP Vent Solenoid Coil Resistance — expected: ~20 Ohms. Failure: A reading in the mega-ohm (MΩ) range or 'OL' (Open Loop) indicates a failed, open-circuited solenoid.
- EVAP Purge Solenoid Coil Resistance — expected: 15-36 Ohms (varies with temperature). Failure: A reading significantly outside this range, or 'OL' (Open Loop), suggests the solenoid coil is bad.
- Fuel Tank Pressure (FTP) Sensor Voltage (Key On, Engine Off, Gas Cap Off) — expected: ~1.5 Volts DC. Failure: A reading that is stuck high (e.g., 4.5V) or low (e.g., 0.1V) and does not change indicates a faulty sensor or wiring issue. This reading represents atmospheric pressure.
Scan Tool Commands That Help
- GM Tech2 / GDS2 or equivalent professional scan tool: EVAP Service Bay Test (or similar bidirectional control) — Use this function to manually operate EVAP components to isolate a fault. You can command the normally-open Vent Solenoid to close ('Not Venting') and command the normally-closed Purge Solenoid to open via a duty cycle (e.g., 50%). While monitoring FTP sensor voltage, this confirms if the valves are responding to commands and if the system can build a vacuum.
Wiring & Ground Locations
- G301 — On the floor, to the left of the driver's seat, under the carpet/trim.. This is a major body ground point. Corrosion here due to moisture from wet shoes or snow can cause intermittent electrical problems for various systems, potentially including the EVAP components that rely on a solid ground path to function.
- G302 — On the floor, to the right of the front passenger's seat, under the carpet/trim.. Similar to G301, this is another critical floor-pan ground point susceptible to moisture and corrosion, which can lead to hard-to-diagnose electrical faults in the EVAP system.
- EVAP Vent Solenoid Connector — At the EVAP vent solenoid, located near the driver's side rear wheel.. This connector is exposed to the elements. The terminals can corrode, or the wiring can chafe, leading to a P0449 (vent circuit fault) along with P0455. The updated solenoid often requires a harness adapter, making this connection a critical point of inspection.
Real Owner Repair Stories
- LS1Tech Forum User & Technician Response (2013 Chevrolet Impala) — Persistent 'Permanent' P0455 code.
❌ Tried (didn't work) Replaced gas cap, Replaced EVAP vent solenoid, Replaced EVAP canister
✅ What actually fixed it The final fix was not posted by the owner, but a responding technician advised that after those parts are replaced, the most likely culprits are a stuck-open EVAP Purge Valve or a faulty Fuel Tank Pressure Sensor. The technician also noted that for GM vehicles, using OEM parts is critical as aftermarket EVAP components have a high failure rate. - Chevrolet Forum User (2004 Chevrolet Trailblazer (Similar GM EVAP System)) — P0455 code, smoke test passed with no leaks found.
❌ Tried (didn't work) Replaced EVAP vent valve, Replaced EVAP purge valve, Replaced gas cap
✅ What actually fixed it The user suspected the Fuel Tank Pressure Sensor (FTPS) was faulty, causing the code without an actual leak. A technician advised them to use a scan tool to check the sensor's voltage with the gas cap off to see if it was reading atmospheric pressure correctly, confirming the FTPS as the next logical diagnostic step when a smoke test is clean.
"I Checked Everything" — The Actual Cause
- In some cases, the EVAP system can pass a smoke test with no visible leaks, yet the P0455 code persists. This often occurs when the leak is not physical but electronic. The most common cause in this scenario is a faulty Fuel Tank Pressure (FTP) sensor. The sensor itself is not leaking smoke, but it is sending an incorrect voltage signal to the ECM, making the computer believe a large leak exists. A technician noted this is the third most likely cause after the purge and vent valves.
When the Usual Fixes Don't Work
- While the gas cap and EVAP vent solenoid are the most common fixes, there are documented cases where replacing both did not resolve the P0455 code. In these instances, the next most likely causes are a stuck-open EVAP purge valve in the engine bay or a faulty Fuel Tank Pressure (FTP) sensor on the fuel pump assembly. The FTP sensor is a notable counter-example because it can cause the code without any physical leak, meaning a smoke test will come back clean. In at least one owner-reported case, after replacing the gas cap, purge valve, and vent valve, the code remained, indicating the final cause was a crack or disconnection in an EVAP line itself.
OEM Part Supersession History
10382105, 15750484, 22728634→25932571— Design updates to improve reliability of the EVAP vent solenoid.25932571→ACDelco 214-2149— Further design revision of the EVAP vent solenoid. This is the most current recommended replacement.
Heads up: The updated part (214-2149) often uses a different style of electrical connector than the original factory harness. A separate adapter harness (e.g., ACDelco PT2125) is frequently required to complete the installation.
Model Year Variations Within This Range
- 2008-2011 vs 2012-2015: The location of the EVAP Purge Valve differs based on the engine. On the earlier 3.5L and 3.9L V6 engines, the purge valve is typically mounted on a valve cover. On the later 3.6L V6 engine (introduced in 2012), the purge valve is located under the plastic engine cover, on the intake manifold directly behind the throttle body.
Helpful Videos


Used OEM Parts in Stock

New Aftermarket Parts Available


The information in this article is provided for general reference and educational purposes only. Vehicle specifications, procedures, and part compatibility can vary by production date, trim level, and region. Always consult your vehicle's factory service manual and verify part numbers before purchasing or performing repairs. Safety-critical components such as airbags, seat belts, and braking systems should be installed by a qualified professional.
- Chevrolet IMPALA:
- 🧭 Diagnostic Flowchart
- 🎬 Helpful Videos
- 🛍️ Shop This Part
- What's Unique About the 2008-2015 Chevrolet IMPALA
- Symptoms You May Notice
- Most Likely Causes
- Rare But Worth Checking
- Diagnosis Steps
- Parts You'll Likely Need
- Related Codes That Often Appear With This One
- Technical Service Bulletins (TSBs) & Recalls
- Platform-Specific Known Issues
- Mechanic-Grade Diagnostic Values
- Scan Tool Commands That Help
- Wiring & Ground Locations
- Real Owner Repair Stories
- "I Checked Everything" — The Actual Cause
- When the Usual Fixes Don't Work
- OEM Part Supersession History
- Model Year Variations Within This Range
- 🎟️ Get 5% Off