
P0455 on 2012-2016 Honda CR-V: EVAP Large Leak Causes and Fixes
On a 2012-2016 Honda CR-V, code P0455 is most often caused by a loose or faulty gas cap. Before buying any parts, tighten the cap until it clicks multiple times, clear the code, and drive for a few days. If it returns, a new genuine Honda gas cap (part #17670-T3W-A01) costs around $30-$55 and is the most common, simple fix. Many owners report aftermarket caps failing to solve the issue.
- Always check the gas cap first for code P0455. Ensure it's tight and the seal is intact. Replacing it is the most likely and cheapest solution.
- This code does not affect engine safety or performance; you can continue to drive the vehicle, but you will fail an emissions test.
- If a new gas cap doesn't solve the issue, the next most likely culprits are the EVAP purge valve (in the engine bay) or the vent solenoid (near the fuel tank).
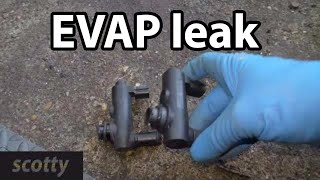
- A smoke test is the most reliable way to find leaks in EVAP hoses or the charcoal canister if the valves and gas cap are functioning correctly.
What's Unique About the 2012-2016 Honda CR-V
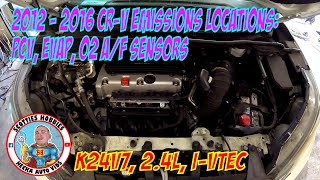
For the fourth-generation Honda CR-V (2012-2016), the P0455 code is a very common and straightforward issue. Like many Honda models, the most frequent culprit is the gas cap losing its seal over time. Owners strongly recommend using a genuine Honda OEM cap, as aftermarket versions are frequently reported to not seal correctly and fail to resolve the code. After the gas cap, the next most likely causes are the canister purge valve located on the intake manifold in the engine bay or the vent solenoid near the fuel tank. There are no widespread, unique design flaws on this specific CR-V generation that make it unusually prone to this code beyond normal wear 🎬 Watch: A complete diagnostic walkthrough for CR-V EVAP leaks. and tear of these common EVAP components.
Symptoms You May Notice
- Check Engine Light is on
- A faint smell of gasoline, especially around the rear of the vehicle or in the garage after being parked.
- In rare cases, a rough idle or difficulty starting immediately after refueling if the purge valve is stuck open.
- Replacing the fuel tank pressure (FTP) sensor. While an FTP sensor can fail, it is much more likely to trigger its own specific trouble codes (like P0452) and is rarely the cause of a P0455 leak code.
Most Likely Causes
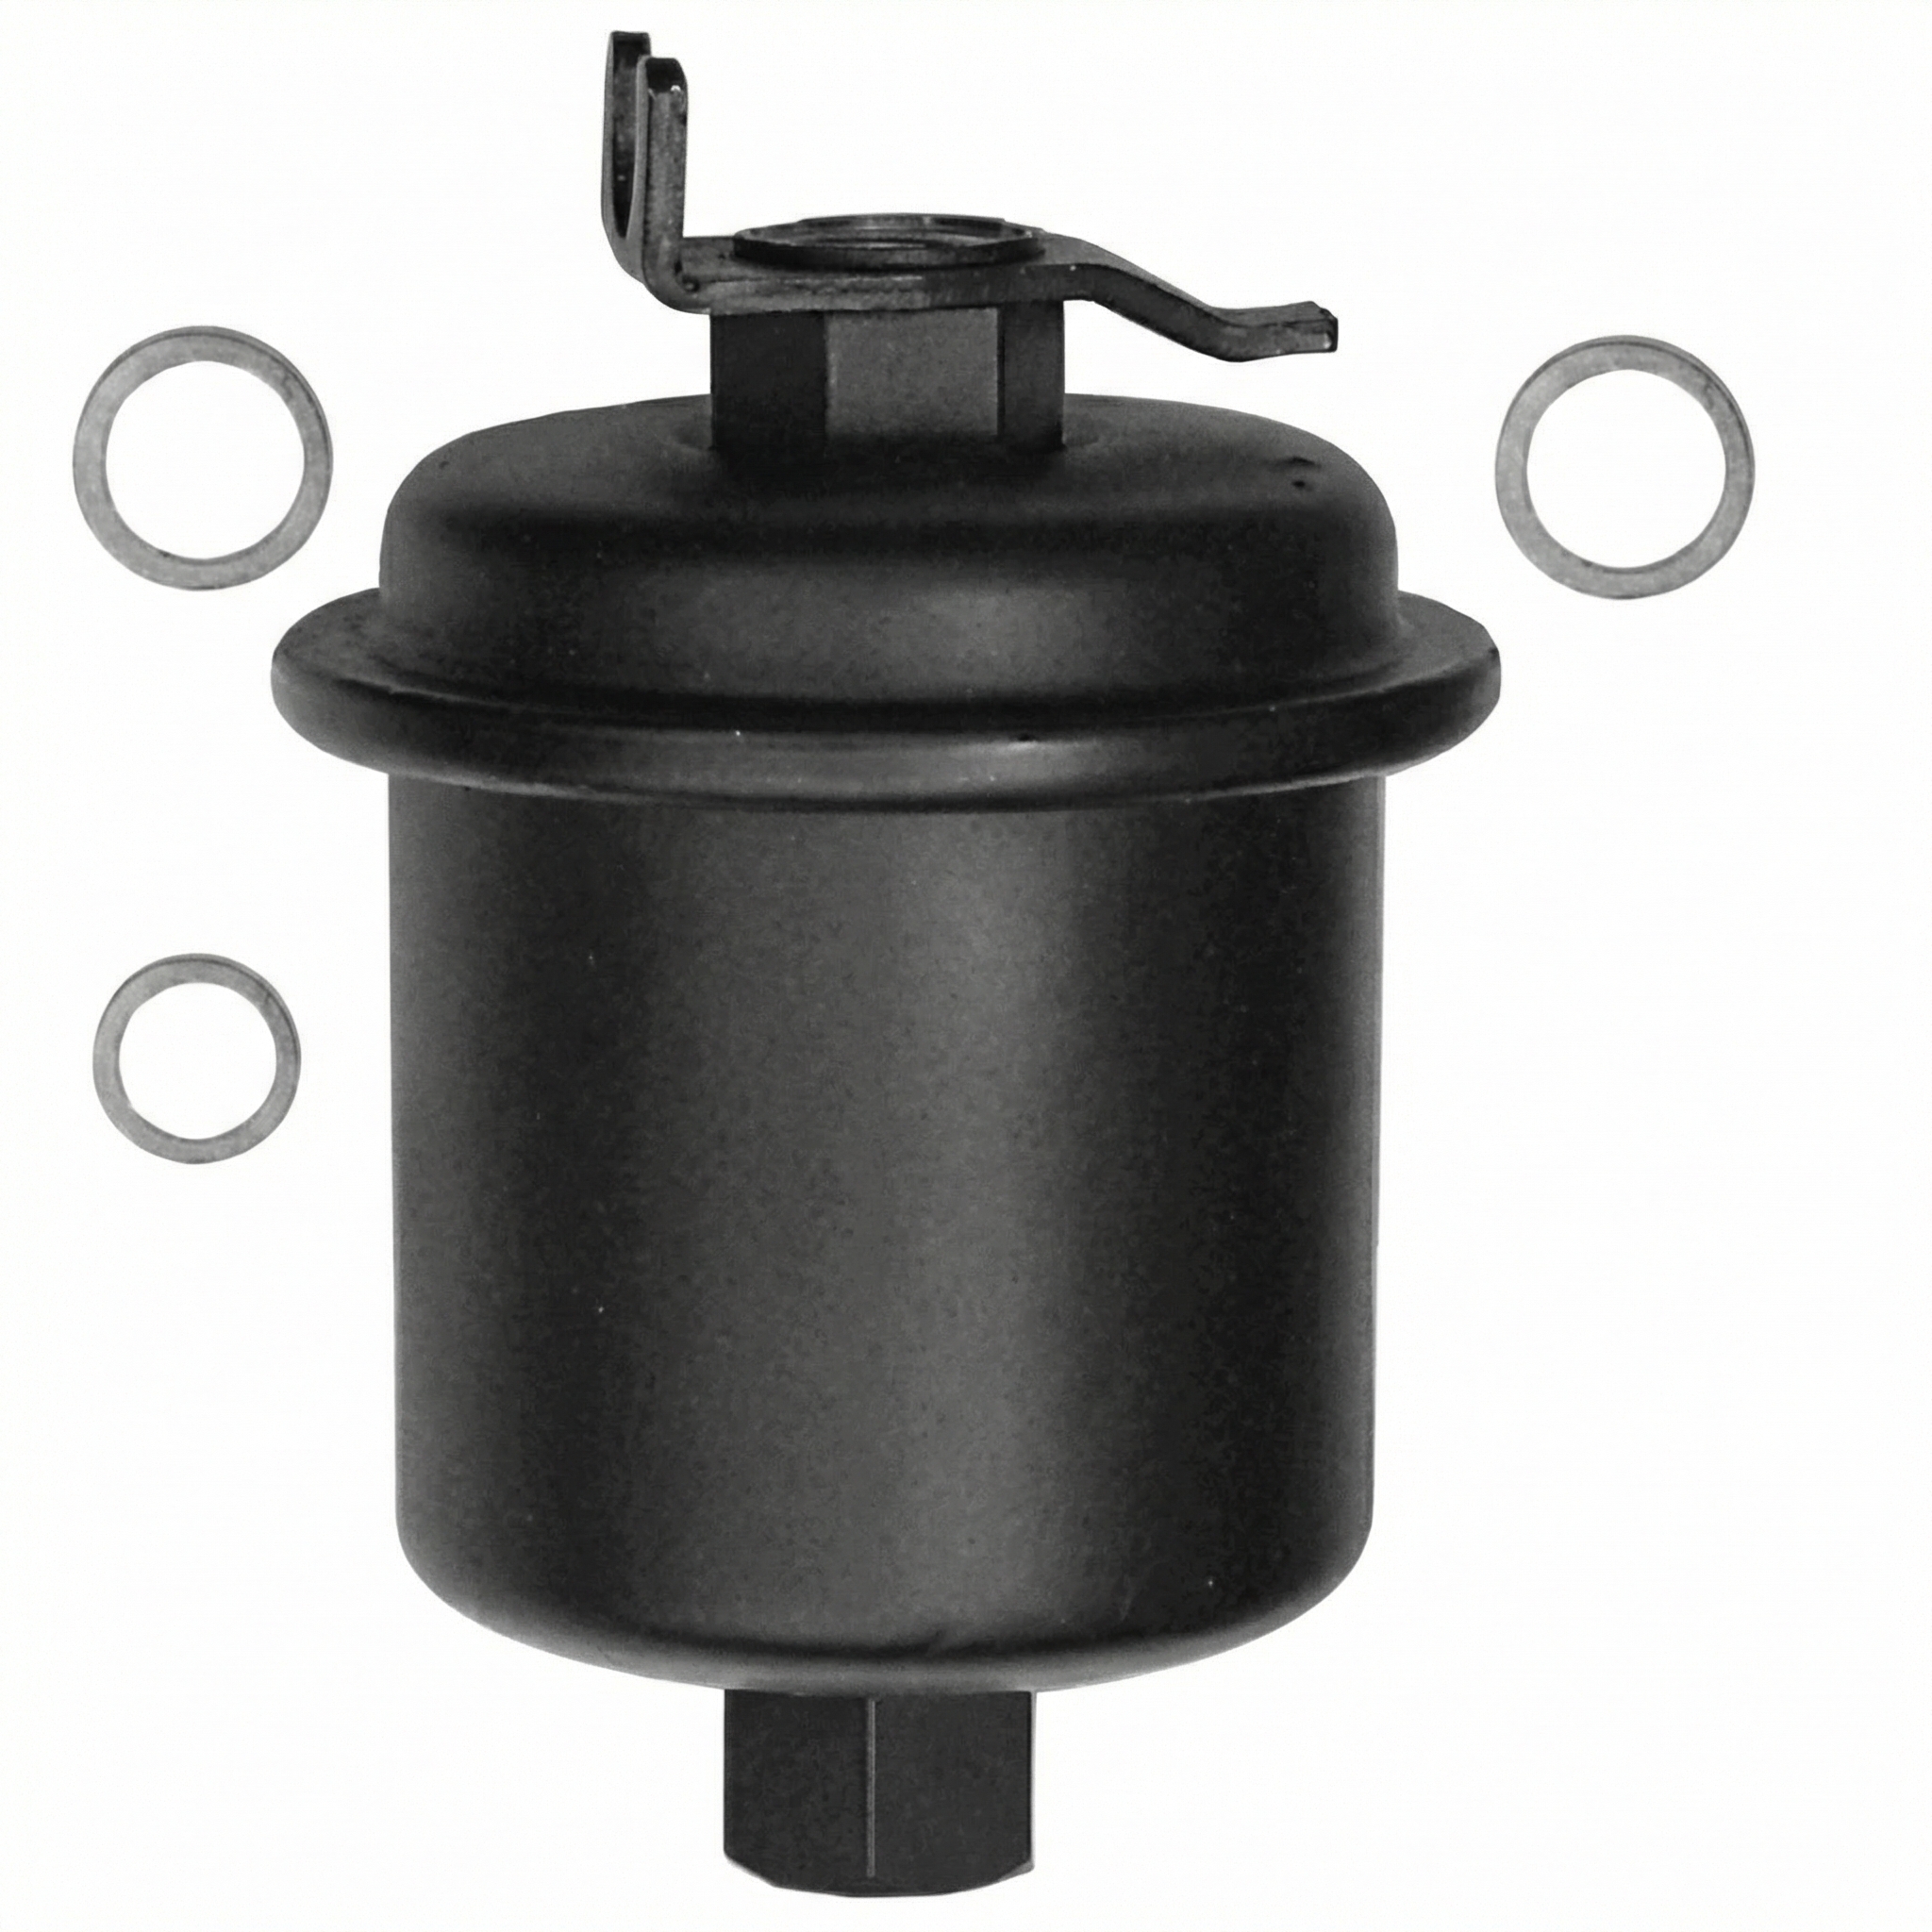
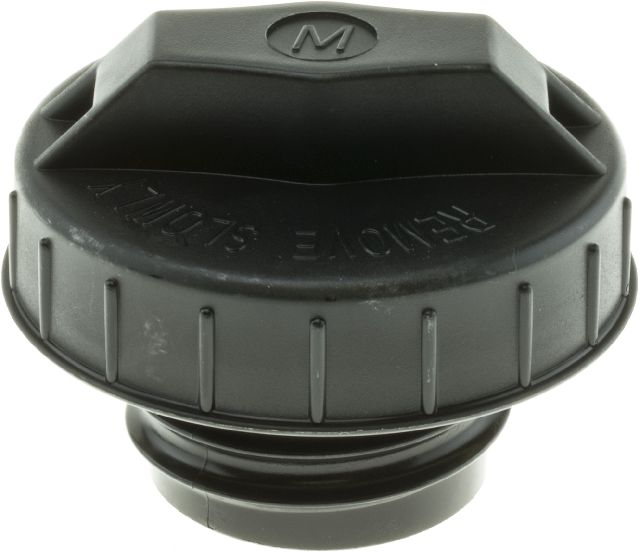
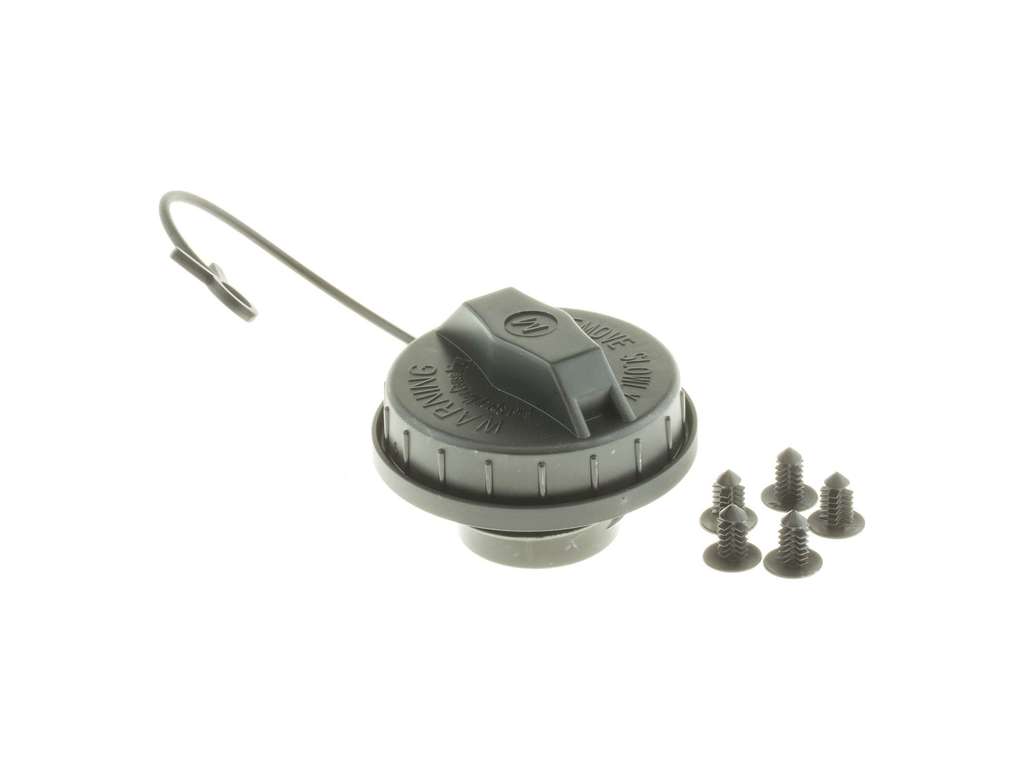
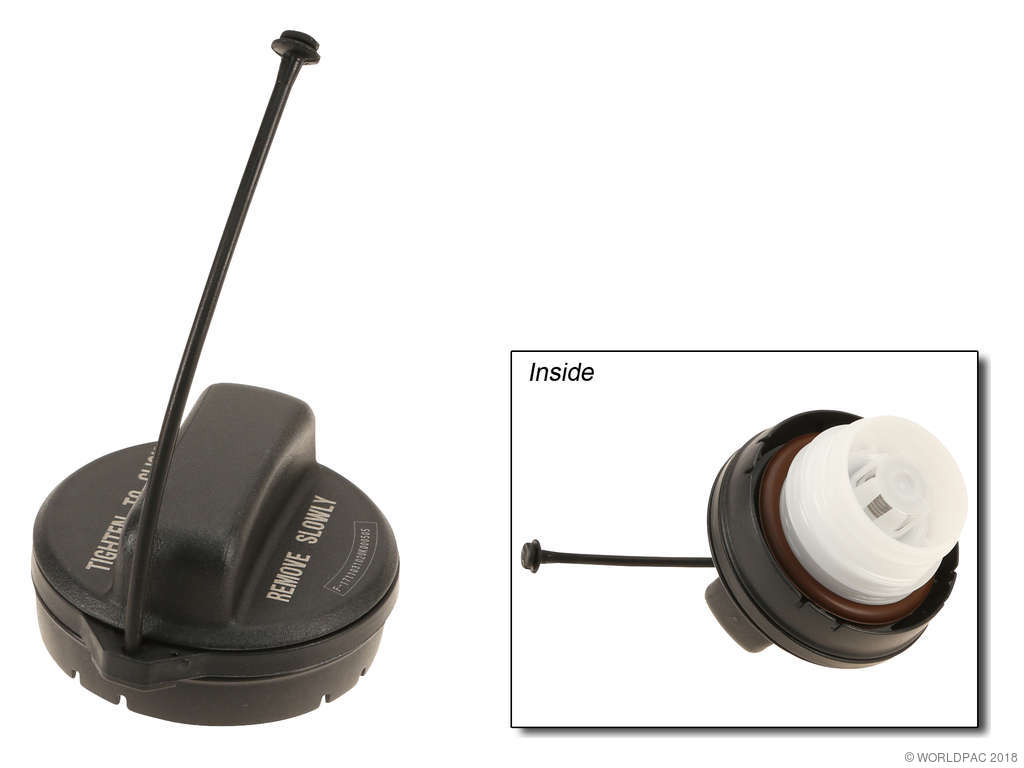
- Loose, Damaged, or Incorrect Gas Cap 🔴 High Probability → Shop Fuel Tank Cap The rubber gasket on the gas cap can dry out, crack, or become deformed over time, preventing a proper seal. This is the most common cause for P0455 on virtually all vehicles, including the CR-V. Forum users repeatedly emphasize that using a genuine Honda cap is critical for a lasting fix.
How to confirm: First, ensure the cap is tightened until it clicks several times. Clear the code and drive for a few days. If the light returns, visually inspect the cap's rubber seal for any cracks, stiffness, or damage. A definitive test requires a pressure tester, but replacement with an OEM part is often cheaper than diagnosis.
Typical fix: Replace the gas cap with a new genuine Honda OEM part (17670-T3W-A01).
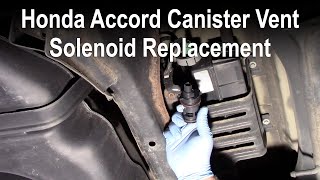
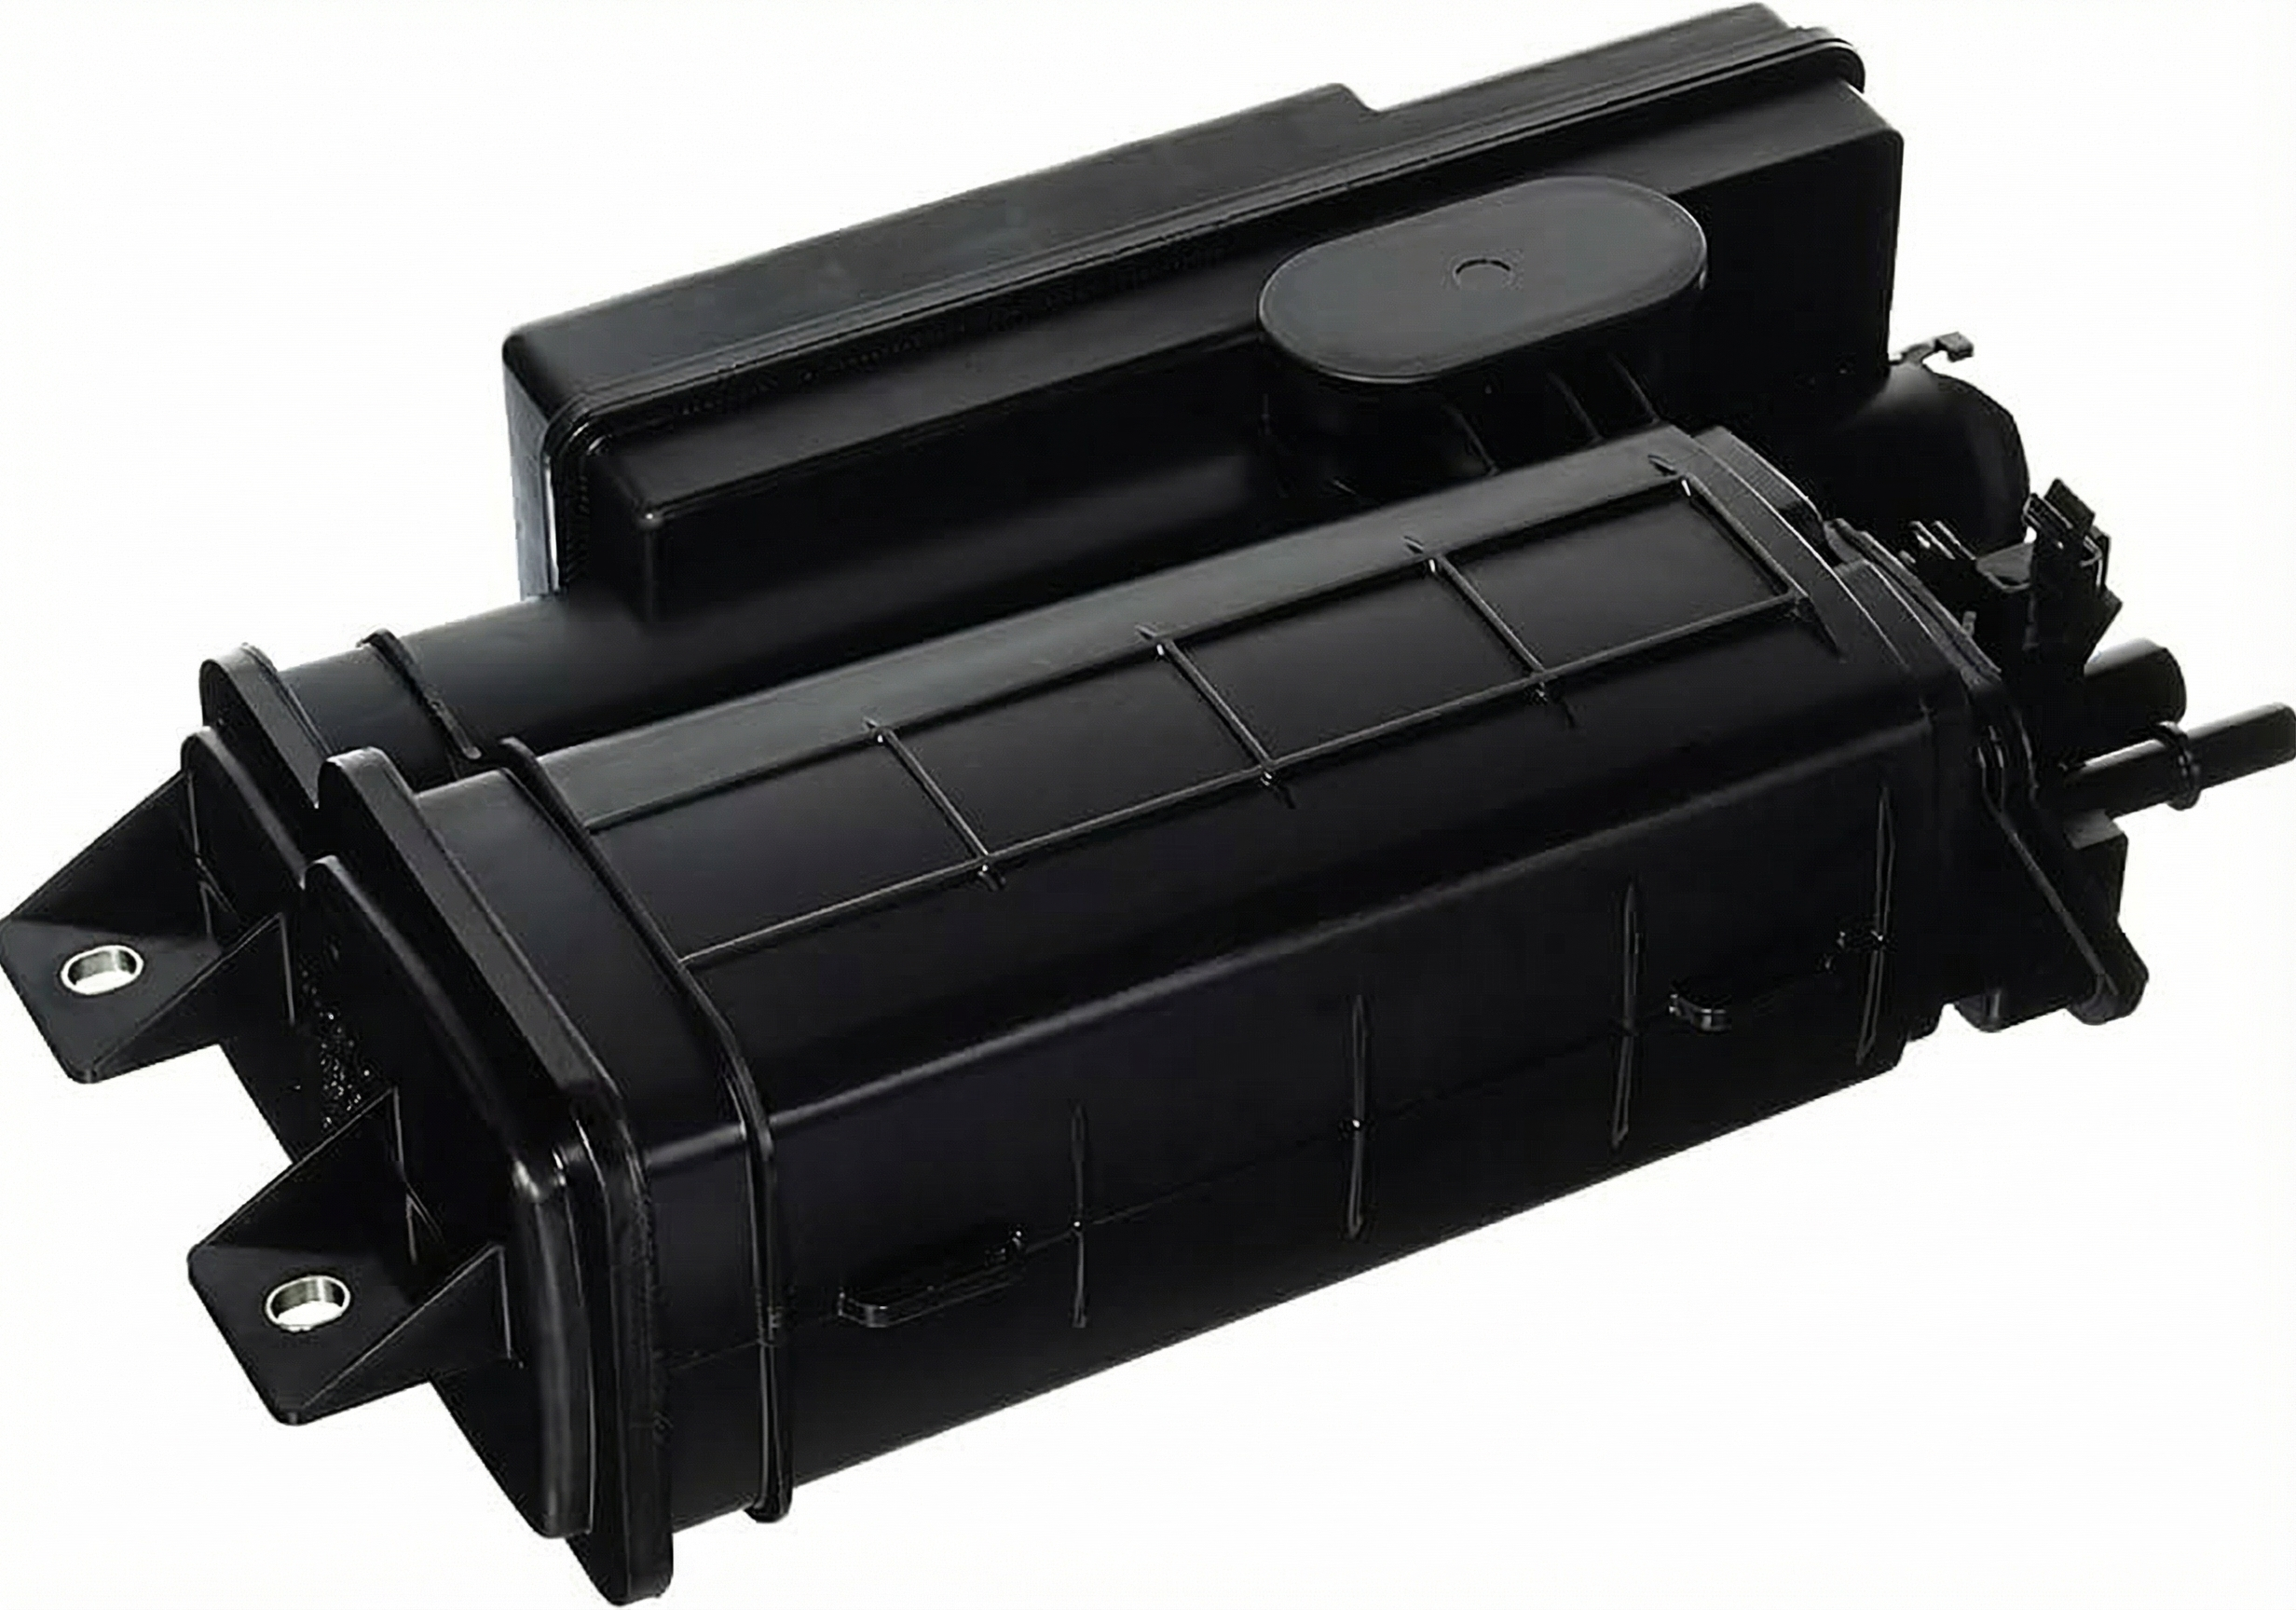
Est. part cost: $30-$55 - Faulty EVAP Canister Purge Valve 🟡 Medium Probability → Shop Vapor Canister This valve controls the flow of fuel vapors from the charcoal canister to the engine. It can become stuck open, creating a constant leak within the EVAP system. It is a common failure point on many Honda models from this era.
How to confirm: The purge valve is normally closed when the engine is off. It is located on the intake manifold in the engine bay. Disconnect it and try to blow through it. If air passes through, it is stuck open and needs replacement.
Typical fix: Replace the purge valve solenoid assembly. This is typically held on by two 8mm or 10mm nuts and is easily accessible. 🎬 See how to quickly remove the vapor purge solenoid.
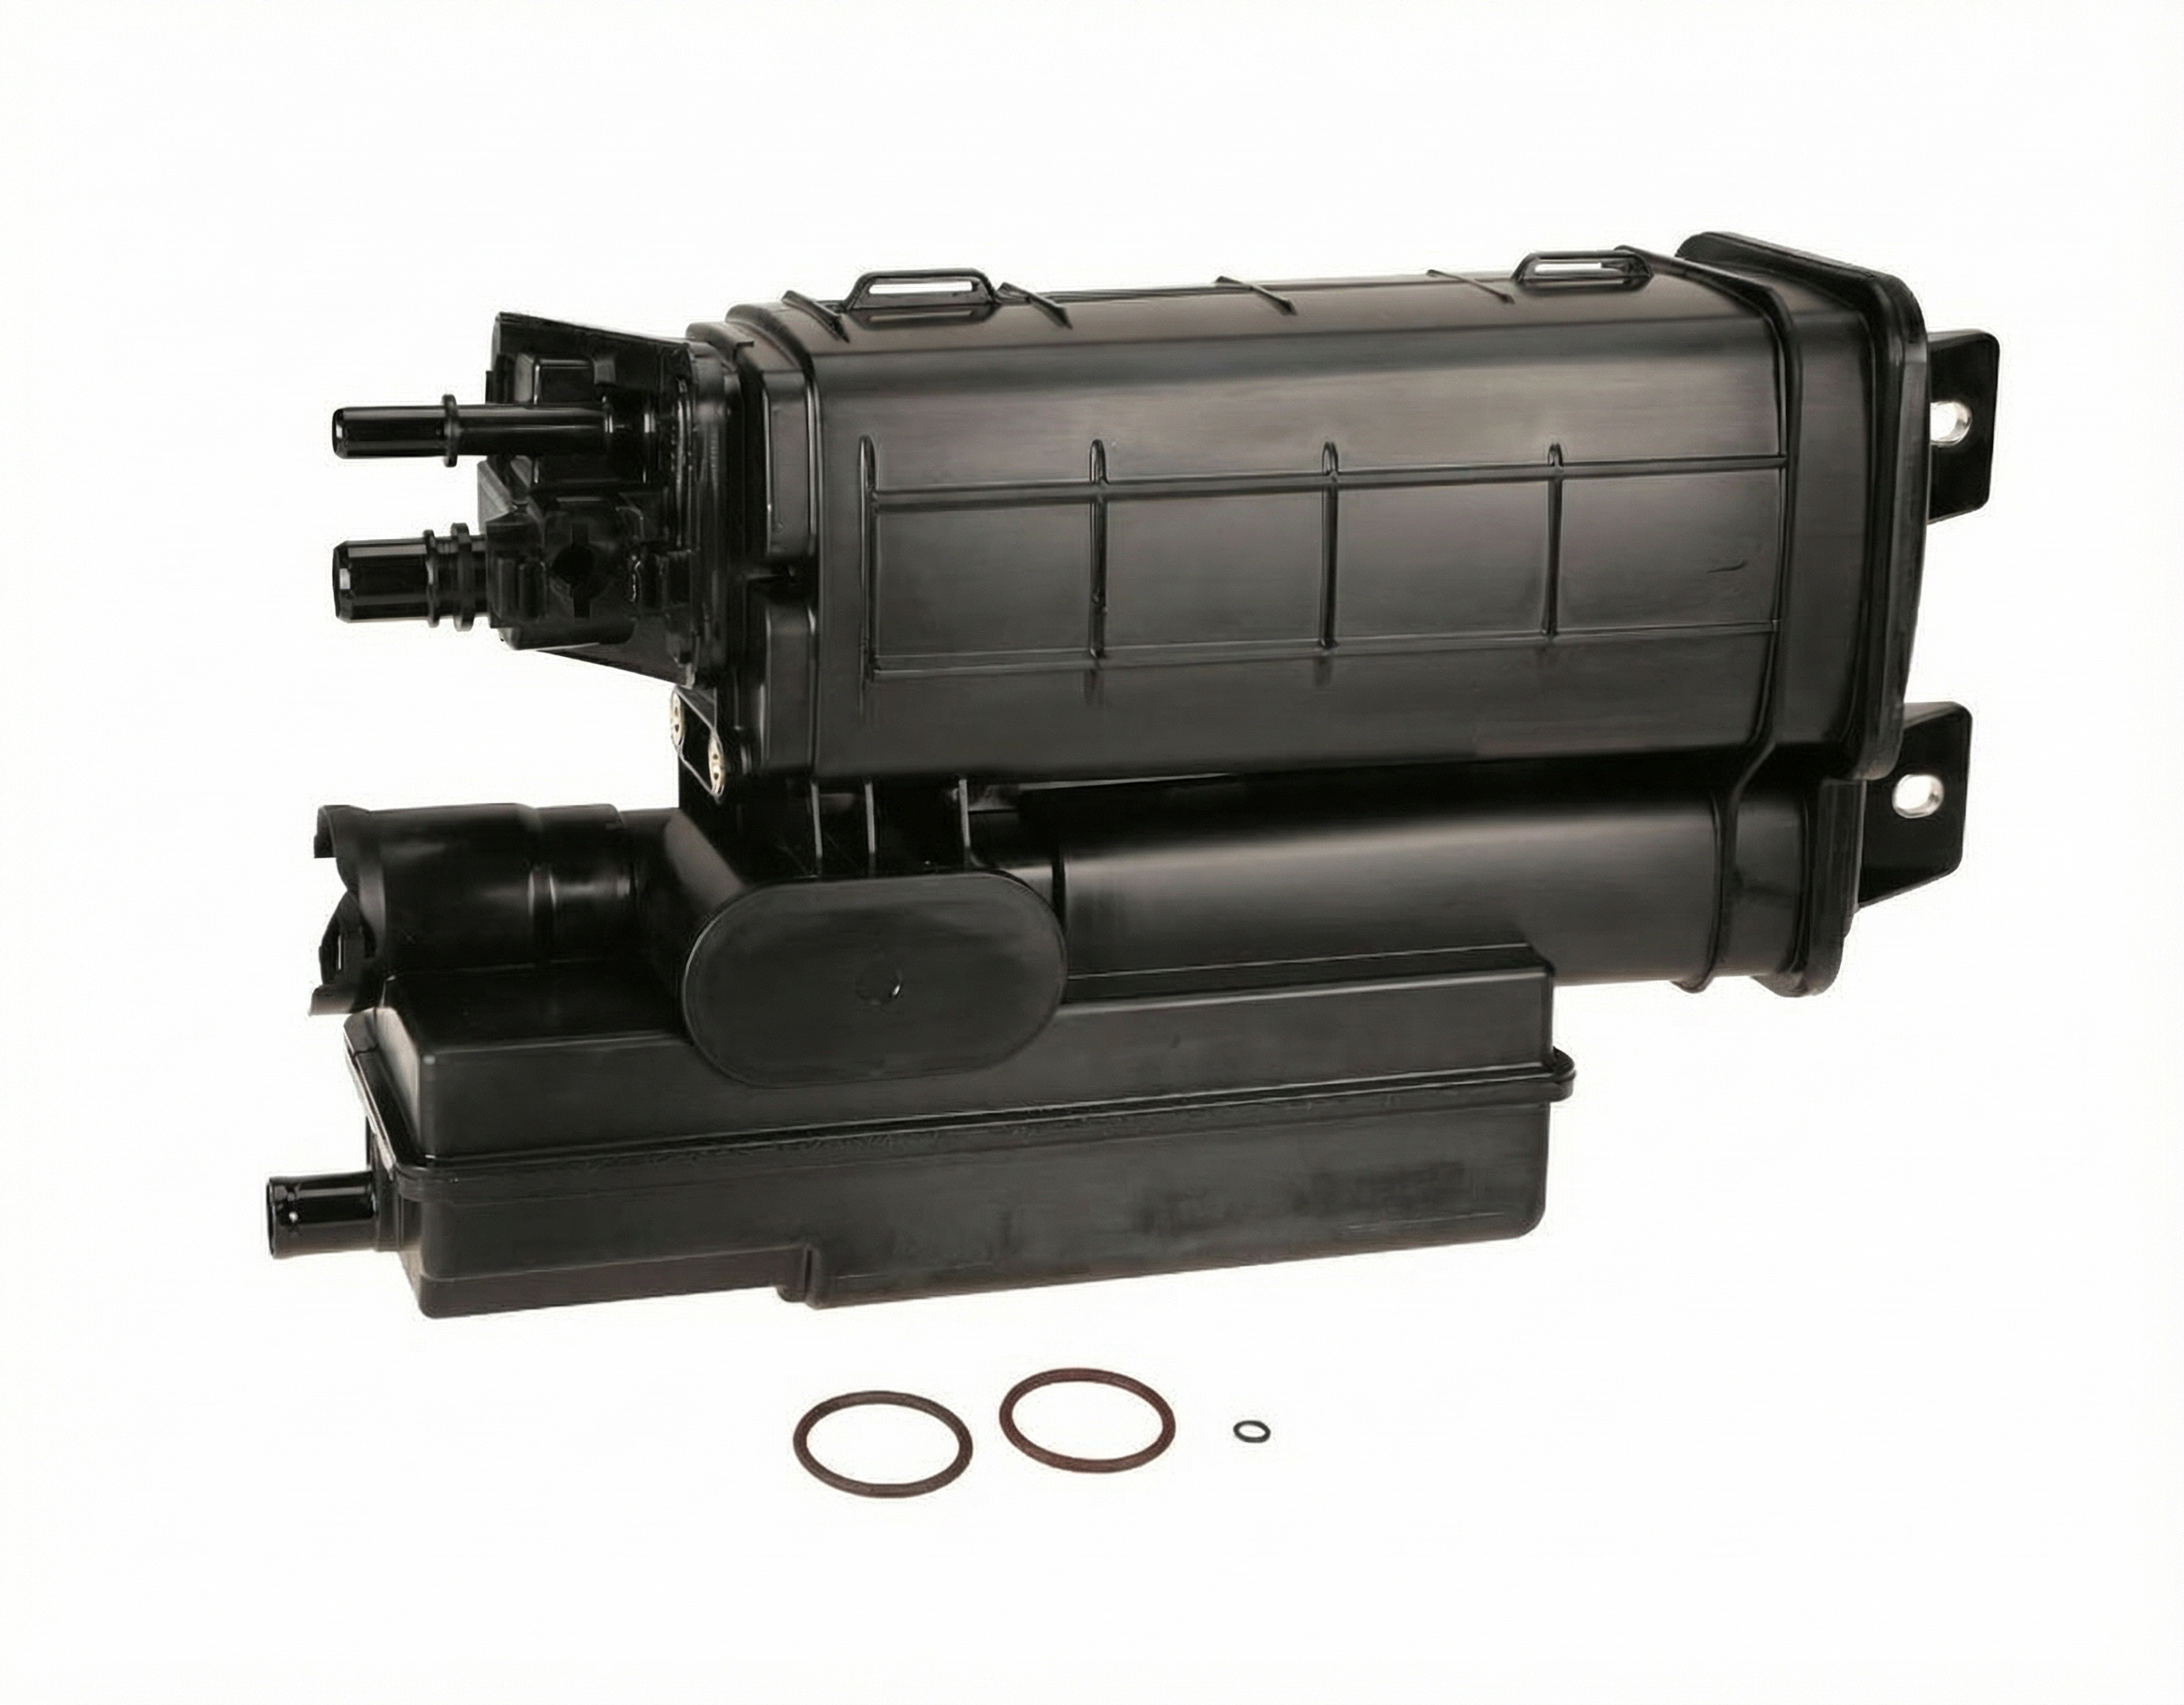
Est. part cost: $40-$150 - Faulty EVAP Canister Vent Solenoid/Valve 🟡 Medium Probability → Shop Vapor Canister This valve is normally open to allow air into the canister but closes when the system runs a leak test. If it gets stuck open or fails to close, the system cannot seal and will report a large leak. It is located under the vehicle near the charcoal canister and is exposed to road salt and debris.
How to confirm: The vent valve is located near the charcoal canister under the vehicle, towards the rear. It can be tested by applying 12V power to see if it actuates (clicks) and closes. A professional may use a scan tool to command it closed for testing.
Typical fix: Replace the vent solenoid.
Est. part cost: $60-$90 - Cracked or Disconnected EVAP Hoses ⚪ Low Probability Rubber hoses can become brittle and crack with age and exposure to heat and elements, creating a leak. This is more common on older, higher-mileage vehicles.
How to confirm: Visually inspect all accessible EVAP lines running from the engine bay to the fuel tank area for obvious cracks, breaks, or loose connections. A smoke test is the most effective way to find a leak in the hose network.
Typical fix: Replace the damaged section of hose.
Est. part cost: $10-$50
Rare But Worth Checking
- Cracked Charcoal Canister: → Shop Vapor Canister The plastic housing of the canister can be damaged by road debris or become brittle with age, leading to a large leak. This is uncommon but should be checked if other components are fine.
- Leaking Fuel Filler Neck: → Shop Fuel Filler Neck Corrosion or damage to the metal pipe where the gas cap seals can prevent a proper seal, even with a new cap. This is a possibility, especially in rust-prone areas, and may require a smoke test to identify.
Diagnosis Steps
- Read the code with an OBD-II scanner to confirm P0455 is present.
- Inspect the gas cap. Remove it, check the seal for damage, and reinstall it, ensuring it clicks multiple times. Clear the code.
- If the code returns, replace the gas cap with a genuine Honda part (17670-T3W-A01). This is the most common and cheapest fix, and many owners report aftermarket caps do not work.
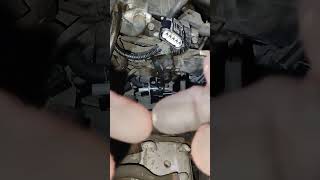
- If the code persists, visually inspect the EVAP purge valve and its hoses in the engine bay for any visible cracks or damage. The valve is located on the intake manifold.
- Test the purge valve. With the engine off, remove the valve and attempt to blow through it. If air passes, the valve is stuck open and must be replaced.
- Visually inspect the EVAP canister and vent solenoid under the rear of the vehicle for any signs of physical damage or cracked hoses.
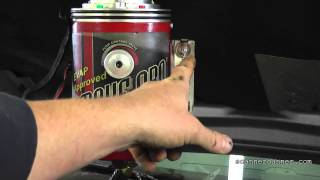
- If no obvious issues are found, the most effective next step is to have a professional perform a smoke test. This involves filling the EVAP system with a harmless, visible smoke to pinpoint the exact location of the leak. 🎬 Watch: How to perform a professional EVAP smoke test.
Parts You'll Likely Need
- Fuel Filler Cap
(OEM #17670-T3W-A01)— This is the most frequent failure point. The seal degrades over time, causing a large leak. Owner forums strongly recommend OEM over aftermarket for this part.
Trusted brands: Honda (Genuine)
OEM price range: $30-$55
Aftermarket price range: $15-$30 - Vapor Canister Purge Valve
(OEM #36162-R1A-A01)— This valve can get stuck open, causing a permanent leak in the system. It's a common failure point after the gas cap.
Trusted brands: Honda (Genuine), Dorman, Standard Motor Products
OEM price range: $60-$80
Aftermarket price range: $30-$50 - Vapor Canister Vent Solenoid
(OEM #17011-TX4-A00)— This valve can fail to close during the system's self-test, preventing it from sealing and triggering the code. Its location under the car makes it susceptible to damage.
Trusted brands: Honda (Genuine), Dorman, Standard Motor Products
OEM price range: $60-$90
Aftermarket price range: $40-$60
Related Codes That Often Appear With This One
- P0456 — EVAP System Very Small Leak Detected. Sometimes a component is failing intermittently, causing the system to detect different-sized leaks at different times.
- P0441 — EVAP System Incorrect Purge Flow. This code often points directly to a malfunctioning canister purge valve, which can also cause a P0455.
Technical Service Bulletins (TSBs) & Recalls
- Acura TSB 21-007 (related): While for Acura models, it notes that DTC P0455 can be caused by a stuck fuel main flap unit in the filler neck, suggesting a potential, though less common, area of failure on related Honda platforms.
Platform-Specific Known Issues
- A user on Reddit's r/crv with a 2013 CR-V at 80k miles resolved their P0455 code by replacing the gas cap with a genuine Honda part purchased online, after a dealer quoted $100-$400 for a diagnosis and repair. They specifically noted that opting for the genuine part over a cheaper off-brand one was a key decision based on reviews.
Scan Tool Commands That Help
- Honda HDS (or advanced bidirectional scanner): EVAP System Test — To command the vehicle's PCM to run the entire EVAP leak detection monitor on demand, which is faster than waiting for the drive cycle conditions to be met naturally.
- Honda HDS (or advanced bidirectional scanner): EVAP Canister Vent Valve ON/OFF — To manually command the normally-open vent valve to close. This is essential before performing a smoke test to ensure the system is sealed for the test. If smoke immediately exits the vent, the command failed or the valve is faulty.
Wiring & Ground Locations
- Fuse #2 (Interior Fuse Box) — Located in the fuse box under the driver's side dash, above the pedals. It is a 10A fuse.. This fuse supplies power to the EVAP system components. If this fuse is blown, the solenoids (purge and vent) will not have power to operate, which can lead to a P0455 code if the vent valve cannot be commanded closed for a test.
- G101 — Located on the left rear of the engine.. This is a primary ground point for the Powertrain Control Module (PCM) and multiple engine sensors. A poor connection here can cause erratic sensor readings and incorrect operation of PCM-controlled components like the EVAP purge and vent valves.
Model Year Variations Within This Range
- 2012-2014 vs. 2015-2016: The engine was updated in 2015 from the 2.4L K24Z7 to the 2.4L K24W9 'Earth Dreams' with a CVT. While the EVAP system's function remains the same, the physical location and mounting of components like the purge valve on the intake manifold may differ slightly between these two engine versions. Always verify part fitment for your specific model year.
Diagnostic Flowchart
Other Known Issues on This Vehicle
Issues unrelated to this code that are worth knowing about as an owner of this generation:
- VTC Actuator Rattle at Cold Start 🟠 Medium — Common on 2012-2014 models, especially in temperatures below 40°F. Causes a brief, loud rattle for 1-2 seconds upon starting the engine. (Ref: Honda TSB 16-012.)
- Engine Vibration at Idle (2015-2016 models) 🟡 Low — Widespread complaint on the 2015 model year after the introduction of the 'Earth Dreams' engine and CVT. A noticeable vibration is felt in the cabin when stopped in gear. (Ref: Honda TSB 15-046.)
- Starter Motor Grinding / Failure 🟠 Medium — A grinding noise may be heard at startup, which can lead to intermittent no-start conditions. This issue is related to clearance between the starter and torque converter. (Ref: Honda TSB 16-002 (though officially for Accord/Crosstour, the issue is noted by CR-V owners and mechanics as well).)
- Premature A/C Compressor Failure 🟠 Medium — The A/C compressor clutch can fail, leading to a loss of cooling. In some cases, the compressor fails internally, sending debris through the system, requiring a more expensive repair. (Ref: Warranty extensions were offered for some vehicles, but no universal recall.)
- Carbon Buildup on Intake Valves (2015-2016 models) 🟡 Low — A consequence of the direct-injection 'Earth Dreams' engine. Over 80,000-100,000 miles, carbon can build up, causing rough idle, hesitation, and misfires.
Used vs. New Parts: Buying Guide for This Vehicle
When a used part is the smart pick: Used parts are a reasonable option for large, non-electronic, and non-wear components like the fuel filler neck or the plastic charcoal canister body, provided they are sourced from a low-mileage vehicle in a dry climate to minimize rust and plastic degradation.
Donor-vehicle mileage cap: roughly under 80000 miles for the part to have meaningful remaining life.
What to inspect on the donor part:
- For filler necks, inspect for any rust, especially around the sealing surface for the gas cap.
- For charcoal canisters, check the plastic housing for any hairline cracks or signs of impact from road debris.
- For any part, ensure all hose nipples and electrical connector housings are intact and not brittle or broken.
- Verify the donor vehicle was not in a major collision that could have stressed the component.
OEM-only on this vehicle (don't cheap out):
- Fuel Filler Cap: This is the most critical part to buy as a new, genuine Honda part. Forum and owner consensus is overwhelming that aftermarket caps often fail to provide a proper seal, leading to the code returning.
- EVAP Solenoids (Purge and Vent): While more expensive, using genuine Honda solenoids is highly recommended to avoid premature failure and the labor of re-diagnosis. Aftermarket electronics can be a gamble on reliability.
Brands owners have reported issues with on this vehicle:
- Generic/unbranded fuel caps are frequently reported by owners to be ineffective at resolving P0455 on Honda vehicles.
Real Owner Stories
Aggregated from forums and TSBs cited above. Mileages and costs reflect what owners reported in those sources.
2013 CRV LX — 80000 miles
Symptoms: Check engine light came on; dealer quoted $100-$400 for diagnosis and repair.
What fixed it: Installed a new, genuine Honda gas cap purchased from Amazon. The check engine light turned off after a couple of days of driving.
Cost: $30-$55
Source hint: r/crv
Related OBD-II Codes
Frequently Asked Questions
Can I use an aftermarket gas cap to fix the P0455 code on my 2012-2016 CR-V?
Where is the EVAP purge valve located on the 2012-2016 Honda CR-V?
I have a 2015 CR-V with a P0455 code and a rough idle; could these be related?
Does Acura TSB 21-007 apply to my Honda CR-V?
Where is the EVAP vent solenoid located on this vehicle?
How can I tell if my CR-V's purge valve is actually bad?
Helpful Videos

Used OEM Parts in Stock
New Aftermarket Parts Available


The information in this article is provided for general reference and educational purposes only. Vehicle specifications, procedures, and part compatibility can vary by production date, trim level, and region. Always consult your vehicle's factory service manual and verify part numbers before purchasing or performing repairs. Safety-critical components such as airbags, seat belts, and braking systems should be installed by a qualified professional.
- Honda CR-V:
- 🧭 Diagnostic Flowchart
- 🎬 Helpful Videos
- 🛍️ Shop This Part
- What's Unique About the 2012-2016 Honda CR-V
- Symptoms You May Notice
- Most Likely Causes
- Rare But Worth Checking
- Diagnosis Steps
- Parts You'll Likely Need
- Related Codes That Often Appear With This One
- Technical Service Bulletins (TSBs) & Recalls
- Platform-Specific Known Issues
- Scan Tool Commands That Help
- Wiring & Ground Locations
- Model Year Variations Within This Range
- Other Known Issues on This Vehicle
- Used vs. New Parts: Buying Guide for This Vehicle
- Real Owner Stories
- 2013 CRV LX — 80000 miles
- Related OBD-II Codes
- Frequently Asked Questions
- 🎟️ Get 5% Off