
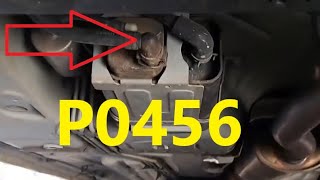
P0456 on 2012-2017 Acura MDX: EVAP Small Leak Causes and Fixes
For the 2012-2017 Acura MDX, code P0456 most often means you have a faulty gas cap or a leak in the fuel filler neck area. Start by replacing the gas cap with an OEM part (~$30-$50) for 2012-2013 models. If that fails, or for 2014-2017 capless models, the problem is likely the mis-fuel inhibit device in the filler neck, a known issue covered by a TSB. Do not replace the entire fuel filler pipe for this issue.
- P0456 on a 2012-2017 MDX is not a serious issue and will not affect drivability.
- The most likely cause is a faulty gas cap (2012-2013) or a leaking component in the capless filler neck (2014-2017).
- Always start with the cheapest and easiest fix: inspect and tighten the gas cap. If the code returns, replace it with a genuine Acura part.
- Do not replace the entire fuel filler pipe on capless models without first checking the internal 'mis-fuel inhibit device', as noted in a TSB.
- A professional smoke test is the fastest way to accurately diagnose the leak if a new gas cap doesn't solve the problem.
What's Unique About the 2012-2017 Acura MDX

While P0456 is a generic code, the 2012-2017 Acura MDX has specific, well-documented weak points that cause it. Acura has issued Technical Service Bulletins (TSBs) pointing directly to two primary culprits: a faulty gas cap that feels like it's slipping when tightened (on 2012-2013 models), and, more uniquely, a leak at the fuel filler neck's internal components on capless models (2014-2017). Owners on forums like Acurazine frequently confirm that replacing expensive parts like the charcoal canister or purge valve is a common misdiagnosis when the real issue is one of these two specific, relatively simple fixes.
Diagnostic Flowchart

Tap your situation to follow the diagnostic path that matches what you're seeing on this vehicle.
Generation note: This range covers two MDX generations: the end of the second generation (2012-2013, YD2) and the beginning of the third generation (2014-2017, YD3). The faulty gas cap issue is specifically noted in TSB #14-006 for 2012-2013 models, which advises checking for a black gasket and replacing it with an updated cap with a brown gasket. The fuel filler neck issue is noted in TSB #BTS170202 for 2017 models, which have a capless system, but the problem can affect other capless years (2014+).
Symptoms You May Notice
- Check Engine Light is on
- A "Tighten Gas Cap" message may appear on the dashboard, even if the light is off
- A faint smell of gasoline, particularly around the rear of the vehicle (rare for a small leak)
- For capless models, difficulty inserting the fuel nozzle, which may indicate a stuck mis-fuel inhibitor flap.
- Replacing the charcoal canister when the leak is at the fuel filler neck.
- Replacing the entire fuel filler pipe when only the internal mis-fuel device is needed, as warned against in TSB #BTS170202.
- Using a cheap aftermarket gas cap, which often fails to seal correctly and will not resolve the code.
Most Likely Causes

- Loose or Faulty Gas Cap 🔴 High Probability → Shop Fuel Tank Cap Acura issued a TSB (#14-006) for 2012-2013 MDX models specifically for this issue. The original cap's black gasket can create excess friction, preventing a proper seal even when clicked, and may feel like it has a 'stick-slip' feeling when tightened. The updated OEM part has a brown gasket.
How to confirm: First, ensure the cap is tightened until it clicks several times. Inspect the cap's rubber O-ring for cracks or brittleness. If the gasket is black, it is the original faulty design. If the light returns, replacing the cap with a genuine OEM part (17670-TR0-A11) is the most effective diagnostic step. Aftermarket caps are a frequent cause of this code due to improper seals.
Typical fix: Replace the fuel fill cap with a genuine OEM part.
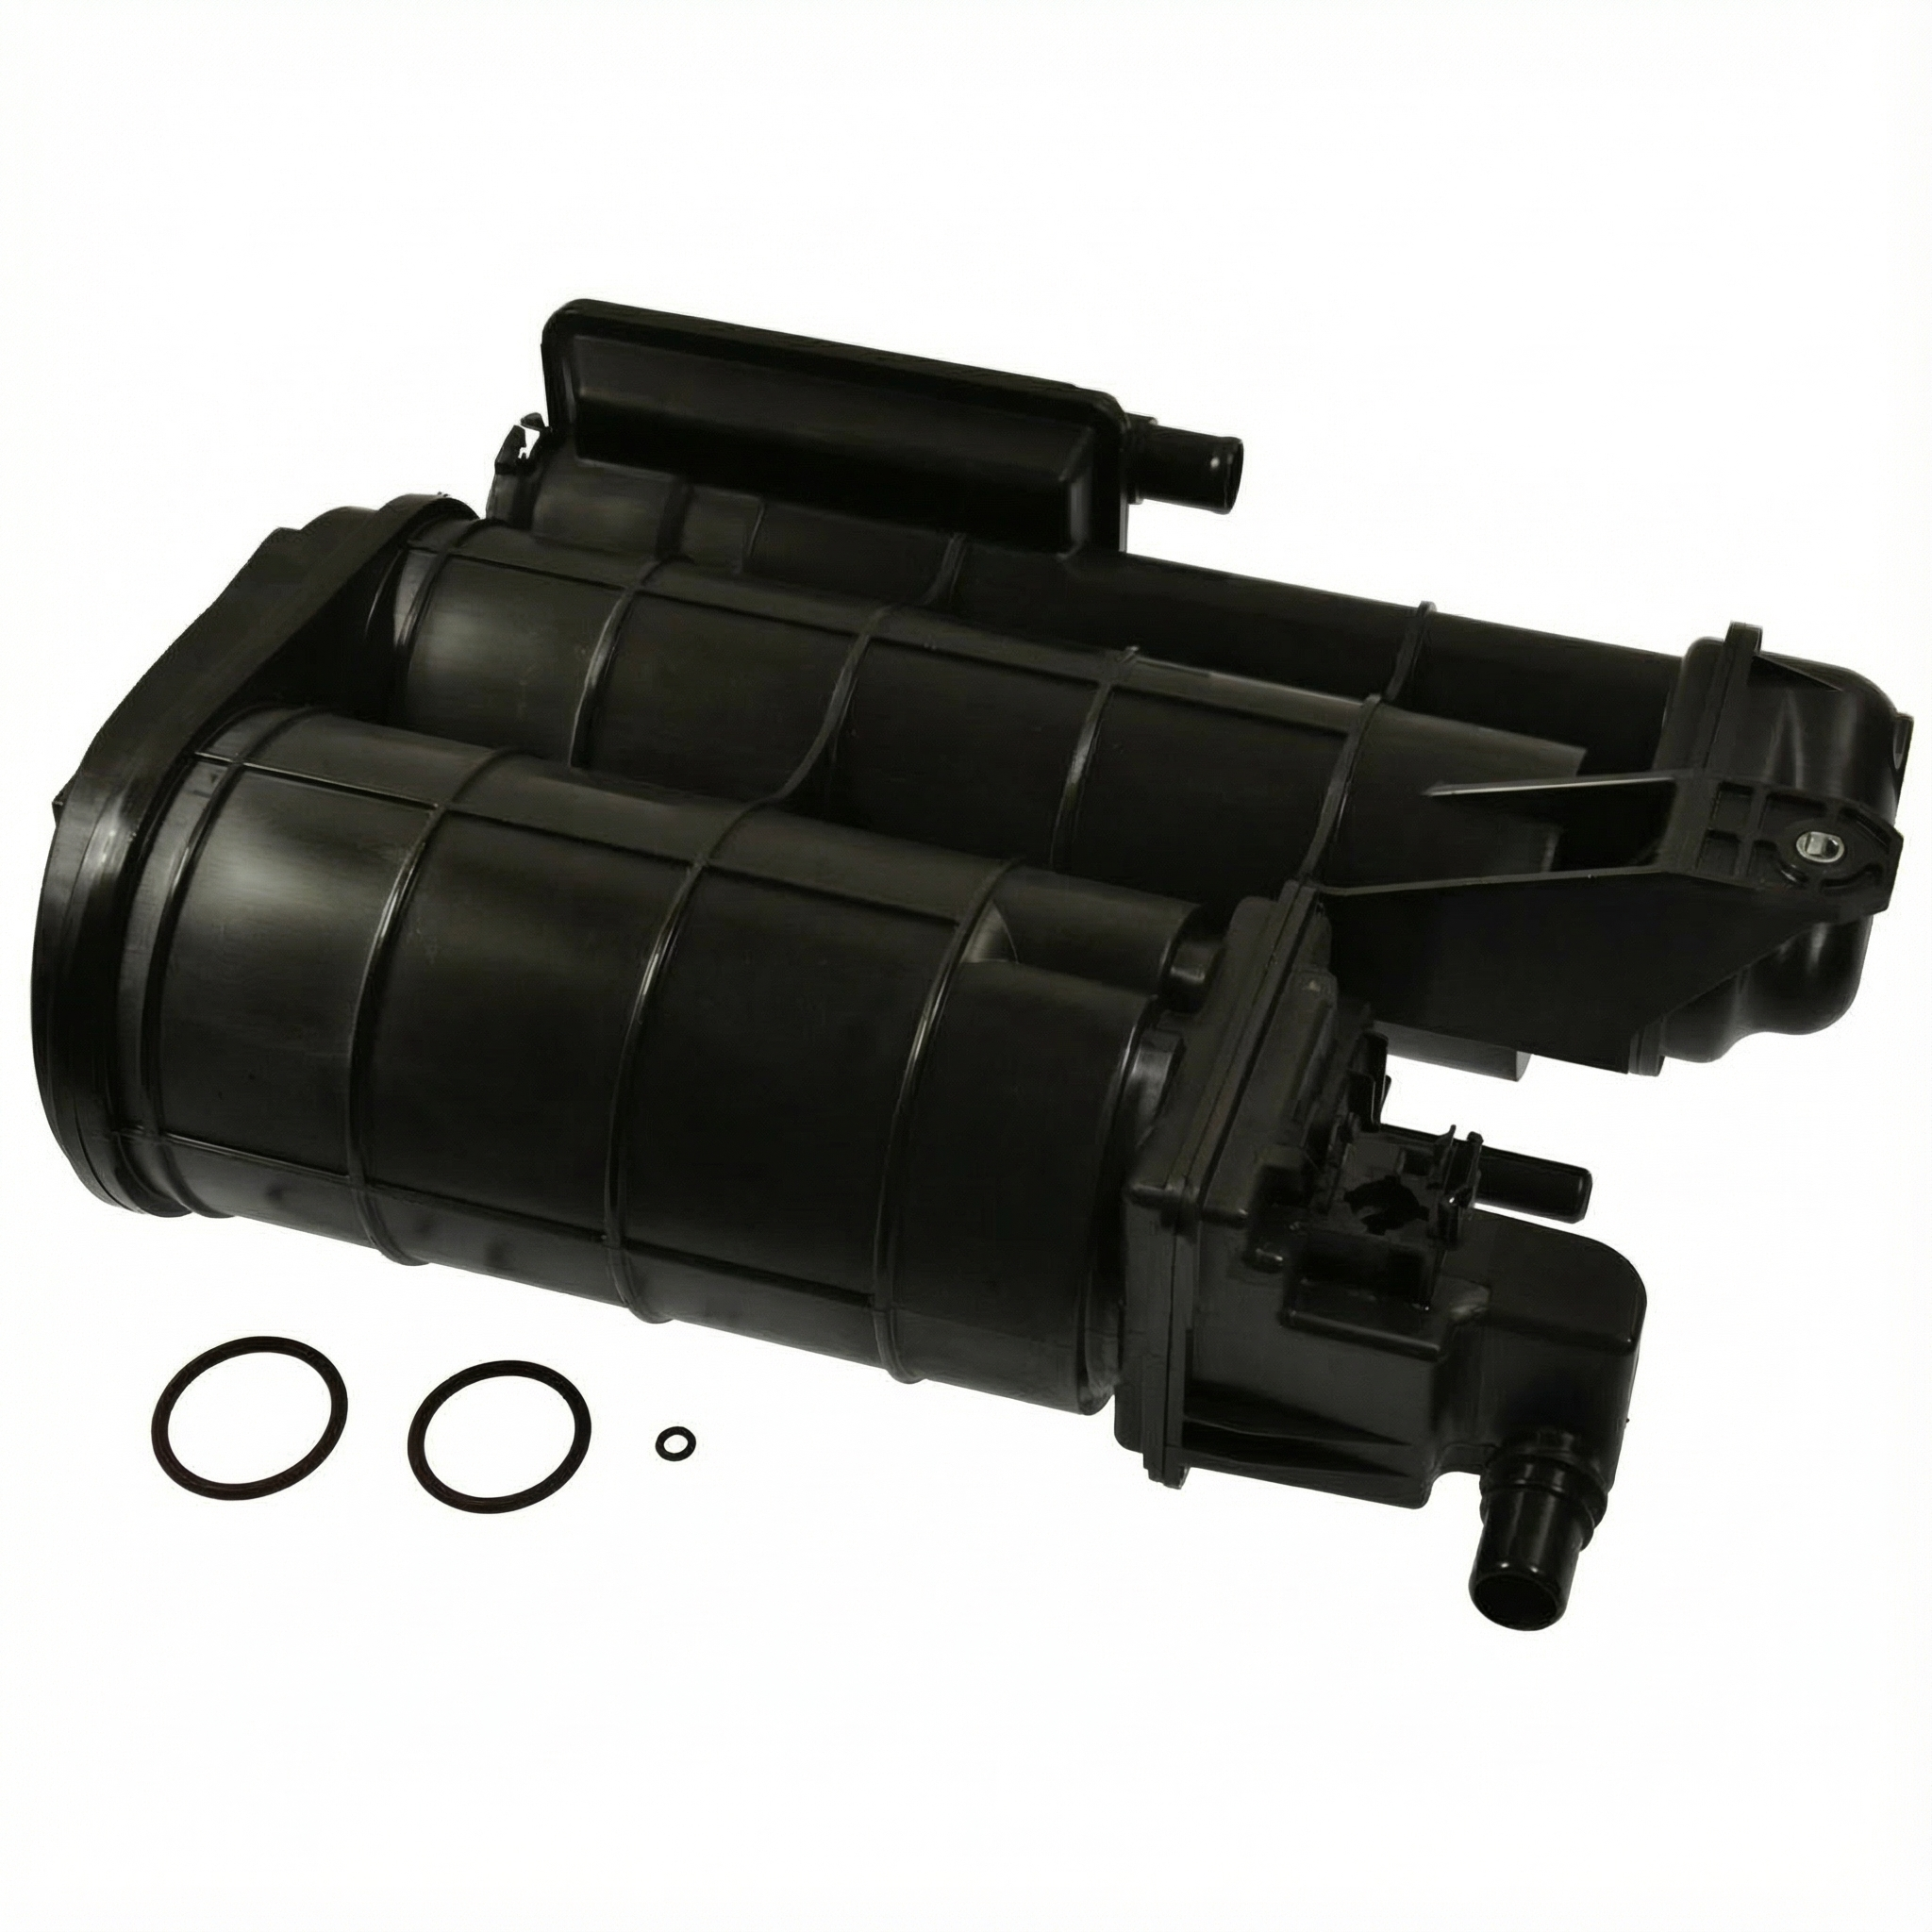
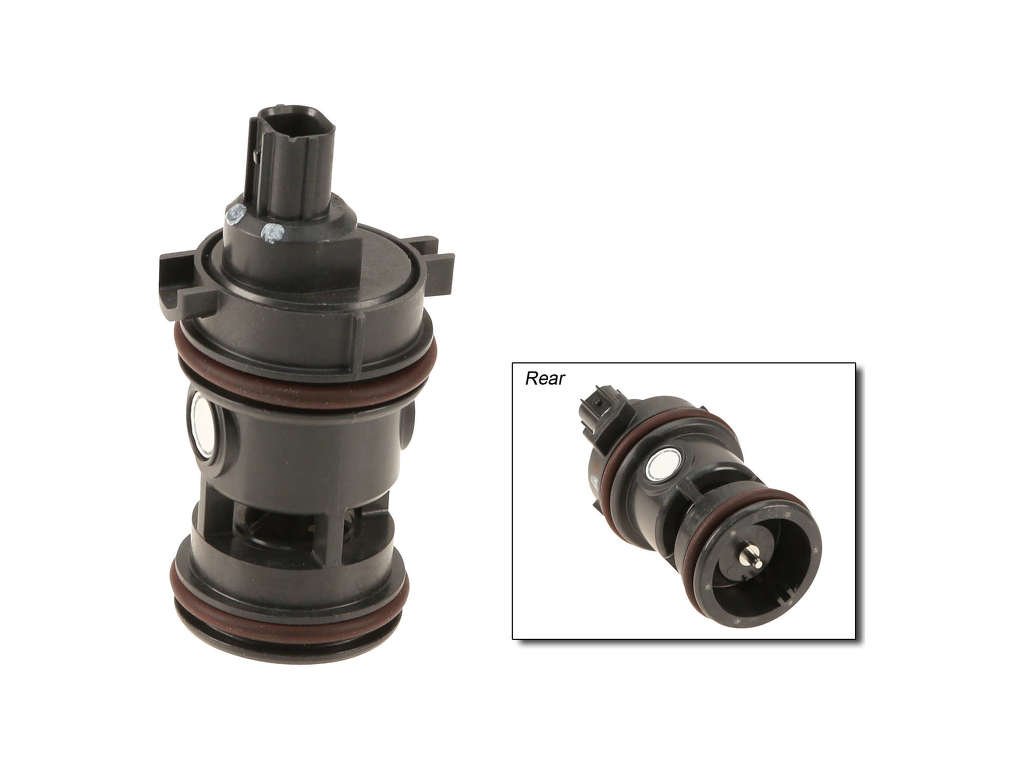
Est. part cost: $30-$50 - Leaking Fuel Filler Neck Components (Capless Models) 🔴 High Probability → Shop Fuel Filler Neck Acura TSB #BTS170202 explicitly states that for P0456 on 2017 models, a leak at the filler neck requires replacing the 'mis-fuel inhibit device and the main flap unit,' NOT the entire fuel fill pipe. This is a known failure point on capless systems where the internal flaps fail to seal properly.
How to confirm: A professional smoke test is the definitive method. The technician will introduce smoke into the EVAP system, and if it escapes from the fuel filler opening, this is the confirmed cause. Visually, you may notice the internal metal flap is stuck or doesn't spring back into place.
Typical fix: Replace the mis-fuel inhibit device (also called a shutter set or adapter) and main flap unit inside the fuel filler neck. This does not require replacing the entire pipe.
Est. part cost: $15-$25 - Cracked or Disconnected EVAP Hose 🟡 Medium Probability Rubber hoses become brittle over time with exposure to heat and elements, leading to small cracks that are hard to see, especially at connection points to other components.
How to confirm: Visually inspect all accessible EVAP lines running from the fuel tank, to the charcoal canister, and to the purge valve in the engine bay. A smoke test is the most reliable way to find a 🎬 See these 7 DIY methods to fix a small EVAP leak. small hose leak.
Typical fix: Replace the cracked section of hose.
Est. part cost: $5-$30 - Faulty EVAP Purge Valve or Vent Solenoid ⚪ Low Probability → Shop Vapor Canister These solenoids can fail by not sealing completely, creating a small leak path. While a common 🎬 Watch: A breakdown of common P0456 causes and fixes. EVAP failure point on many cars, the gas cap and filler neck are more probable on this specific MDX. A failing purge valve can sometimes cause a rough idle immediately after refueling.
How to confirm: A scan tool can command the valves to open and close to test their function. A hand vacuum pump can also be used to see if the purge valve holds vacuum when closed (it is normally closed). You can also remove the purge valve and try to blow through it; if air passes, it's faulty.
Typical fix: Replace the faulty valve or solenoid.
Est. part cost: $40-$100
Rare But Worth Checking
- Leaking Charcoal Canister: → Shop Vapor Canister The plastic housing of the canister itself can develop hairline cracks over time, but this is less common than valve or hose failures. A smoke test will easily identify a cracked canister.
- Faulty Fuel Tank Pressure (FTP) Sensor: → Shop Fuel Tank It's possible for the sensor itself to fail and give a false reading, but this usually triggers other specific sensor-related codes alongside P0456. Technicians warn not to apply excessive vacuum during testing as it can damage the FTP sensor.
- Cracked Fuel Tank Filler Pipe: → Shop Fuel Tank While the internal components are the most common failure point, rust or damage can cause the metal filler pipe itself to develop small holes, especially in regions that use road salt.
Diagnosis Steps

- Check for any other stored trouble codes with an OBD-II scanner.
- Inspect the gas cap (2012-2013 models). Remove it, check the seal for damage, and confirm it's an OEM part. The original faulty cap has a black gasket; the updated one has a brown gasket. Retighten until it clicks multiple times.
- For capless systems (2014-2017), inspect the internal filler neck flap for debris, damage, or being stuck open.
- Clear the code with a scan tool and drive for several days to see if it returns. The EVAP monitor runs only under specific conditions (e.g., certain fuel level, ambient temperature, and driving patterns).
- If the code returns, visually inspect all accessible EVAP hoses and components for obvious cracks, damage, or disconnections, particularly around the canister and purge valve.
- For a definitive diagnosis, perform a smoke test. This involves injecting vaporized smoke into the EVAP system's service port.
- Watch for smoke exiting from the leak point. Pay close attention to the gas cap/filler neck area, the charcoal canister, and the vent/purge valves and their connecting hoses. Do not use pressurized air, as this can damage EVAP components.
Parts You'll Likely Need
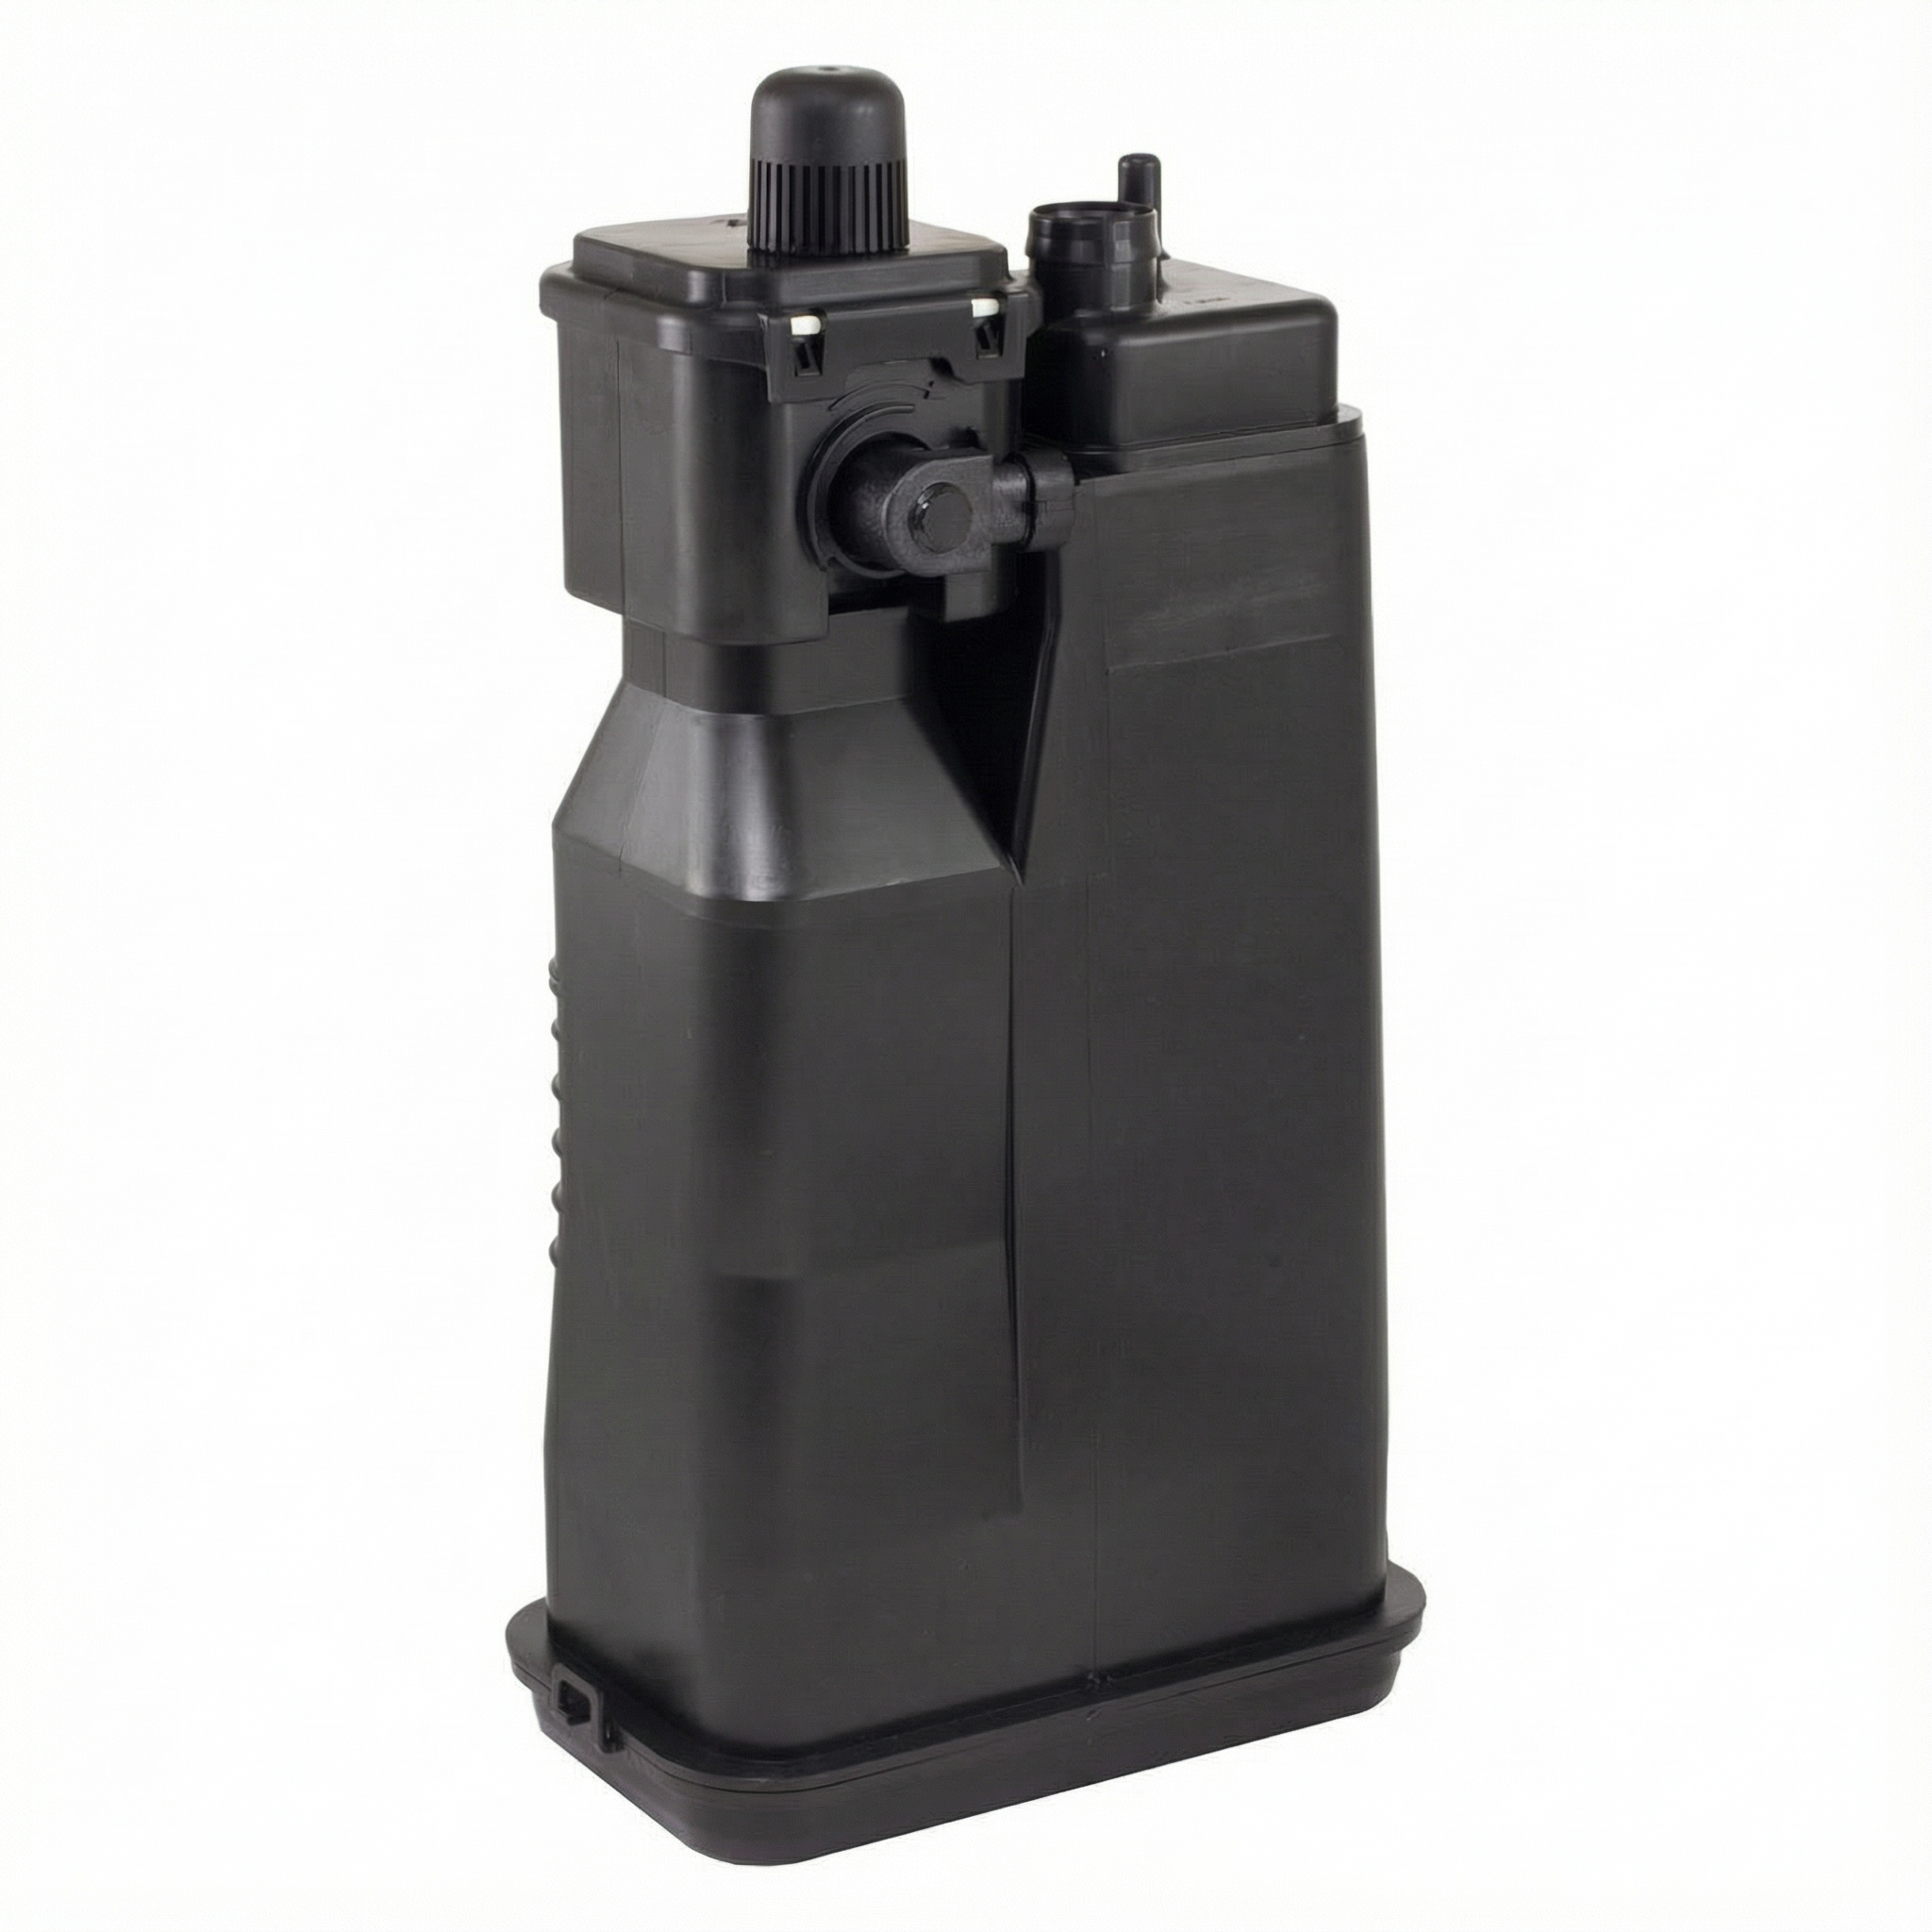
- Fuel Fill Cap
(OEM #17670-TR0-A11)— A faulty cap is a primary cause of P0456 on 2012-2013 models, as identified in Acura TSB #14-006. Using an OEM cap is highly recommended as aftermarket versions can have sealing issues due to incorrect gasket material and shape.
Trusted brands: Acura (Genuine OEM)
OEM price range: $30-$50
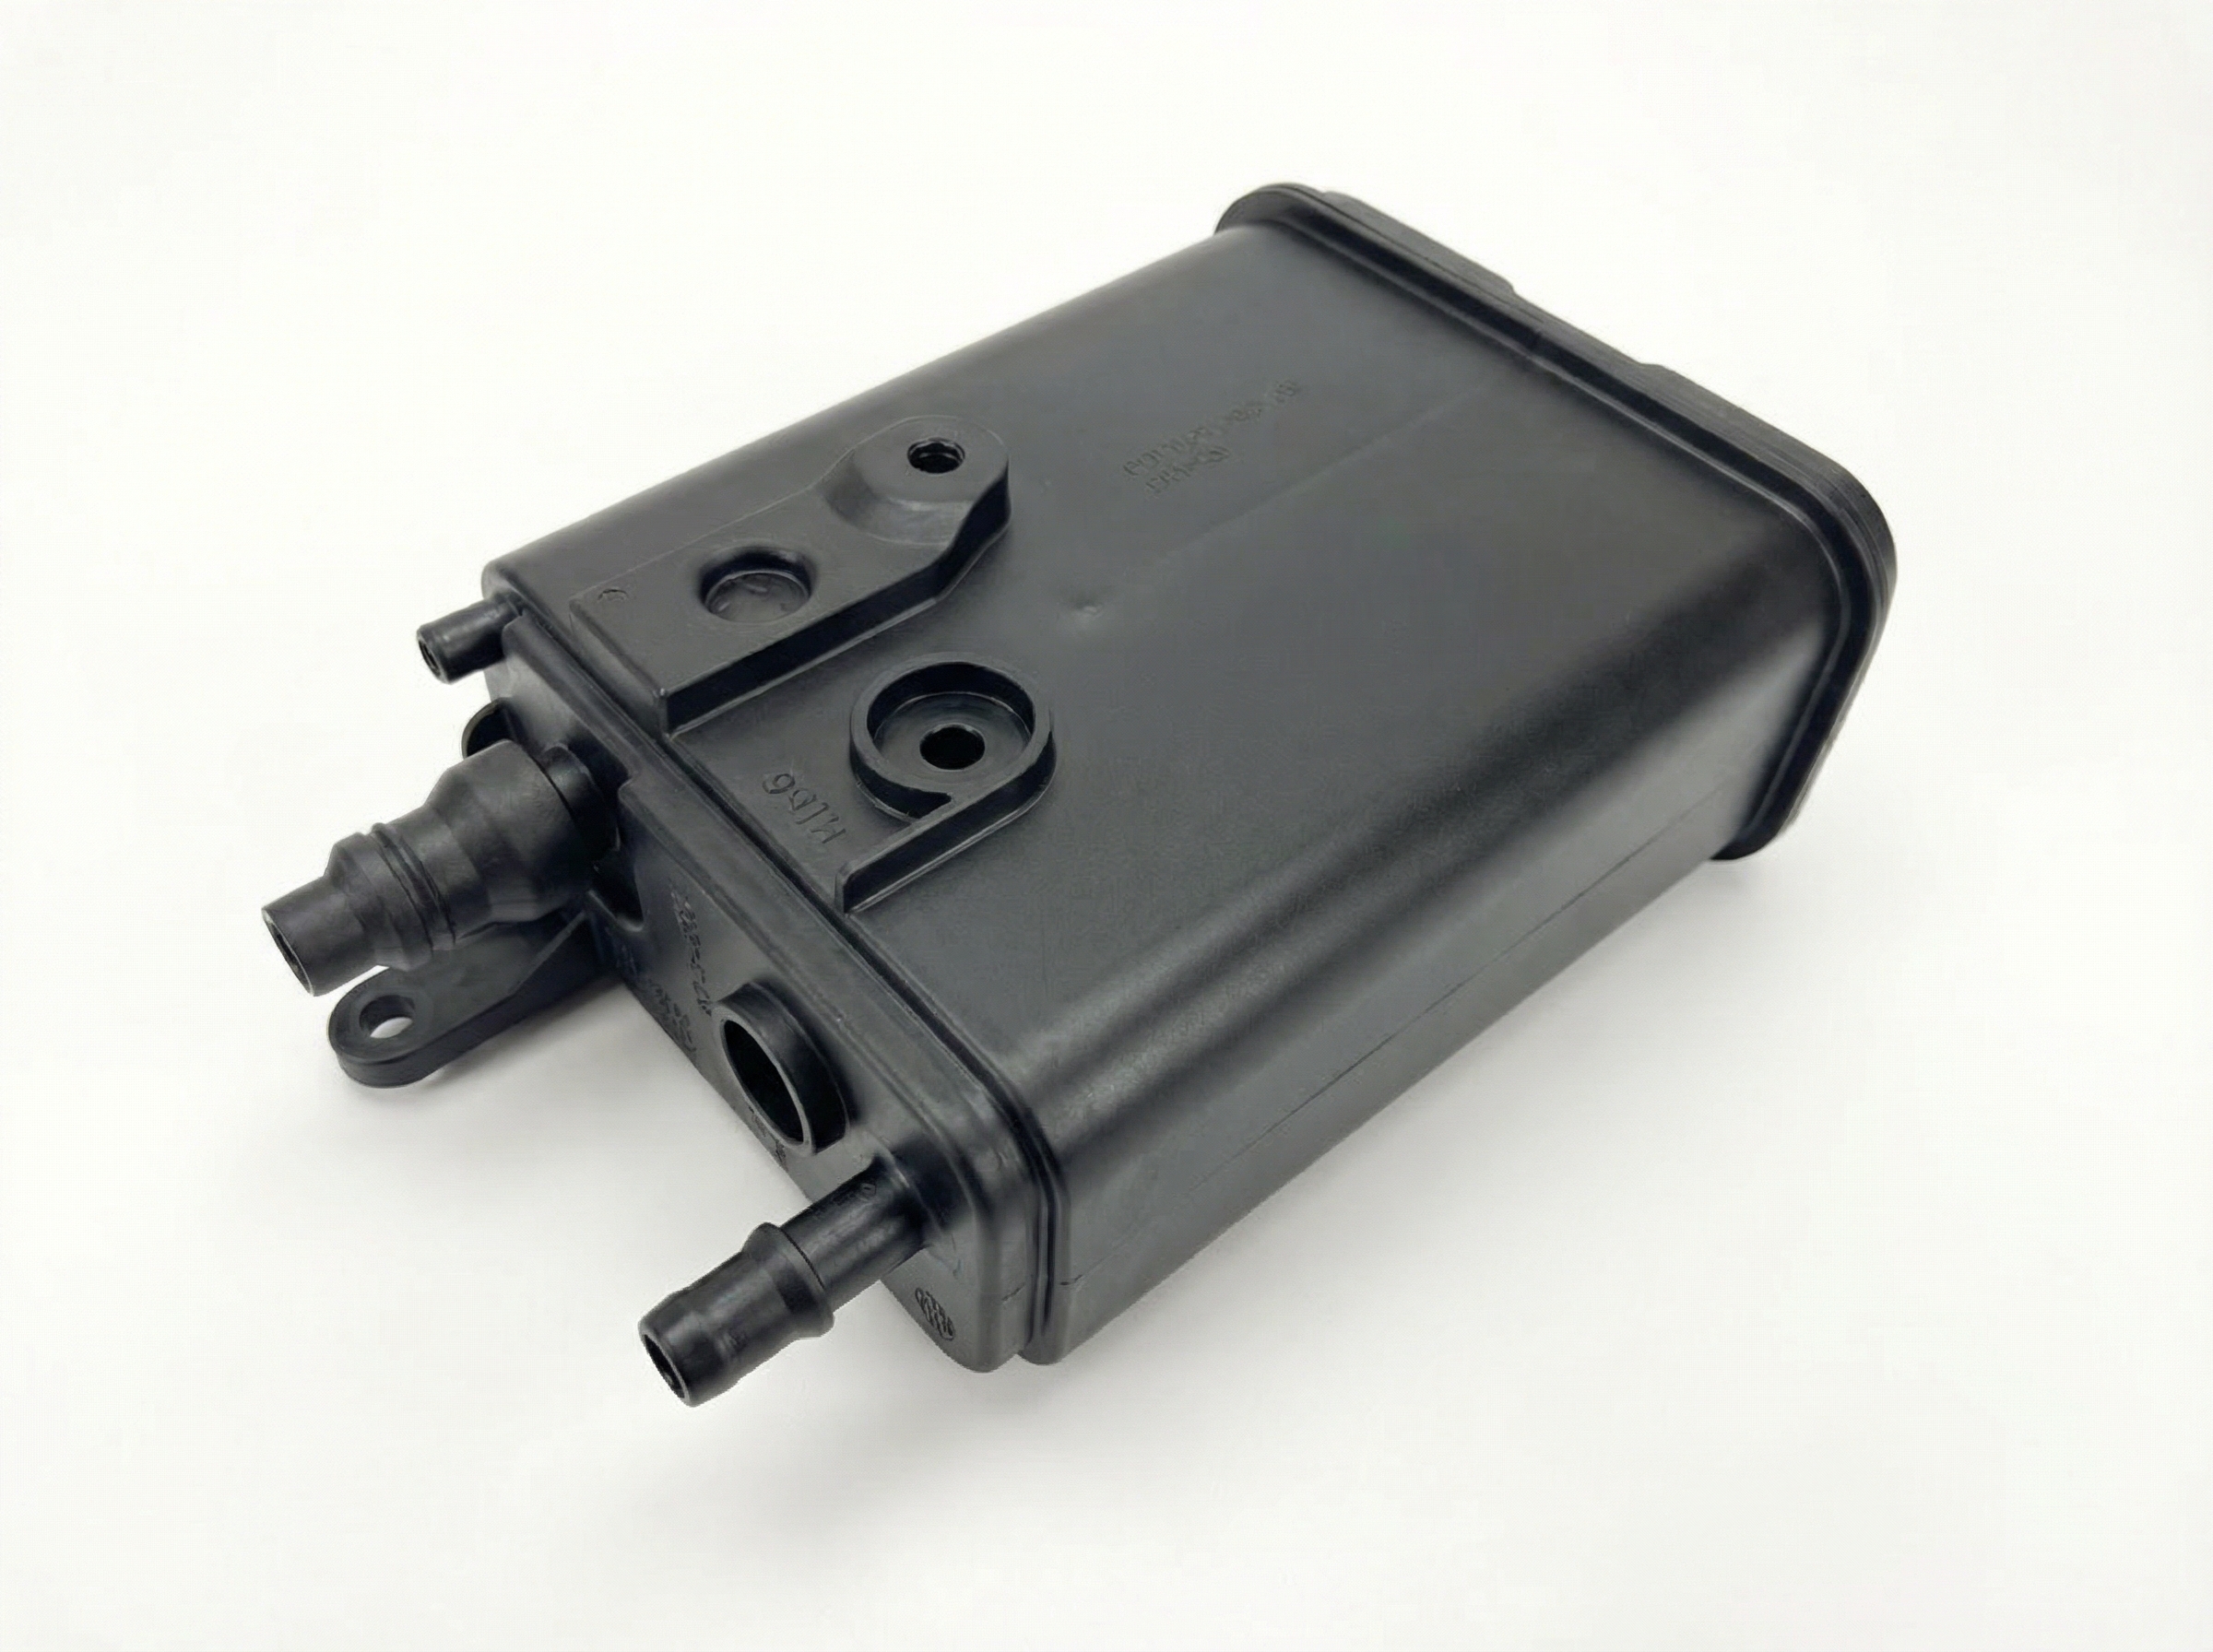
Aftermarket price range: $15-$30 - Mis-fuel Inhibit Device (Capless Shutter Set)
(OEM #17671-TZ3-A02)— This is the specific part identified in Acura TSB #BTS170202 to fix filler neck leaks on capless (2014+) models, preventing the unnecessary replacement of the entire filler pipe. It is also referred to as a 'Fuel System-Adapter'. This part number supersedes 17671-TY2-A01 and 17671-TZ3-A01.
Trusted brands: Acura (Genuine OEM)
OEM price range: $15-$25
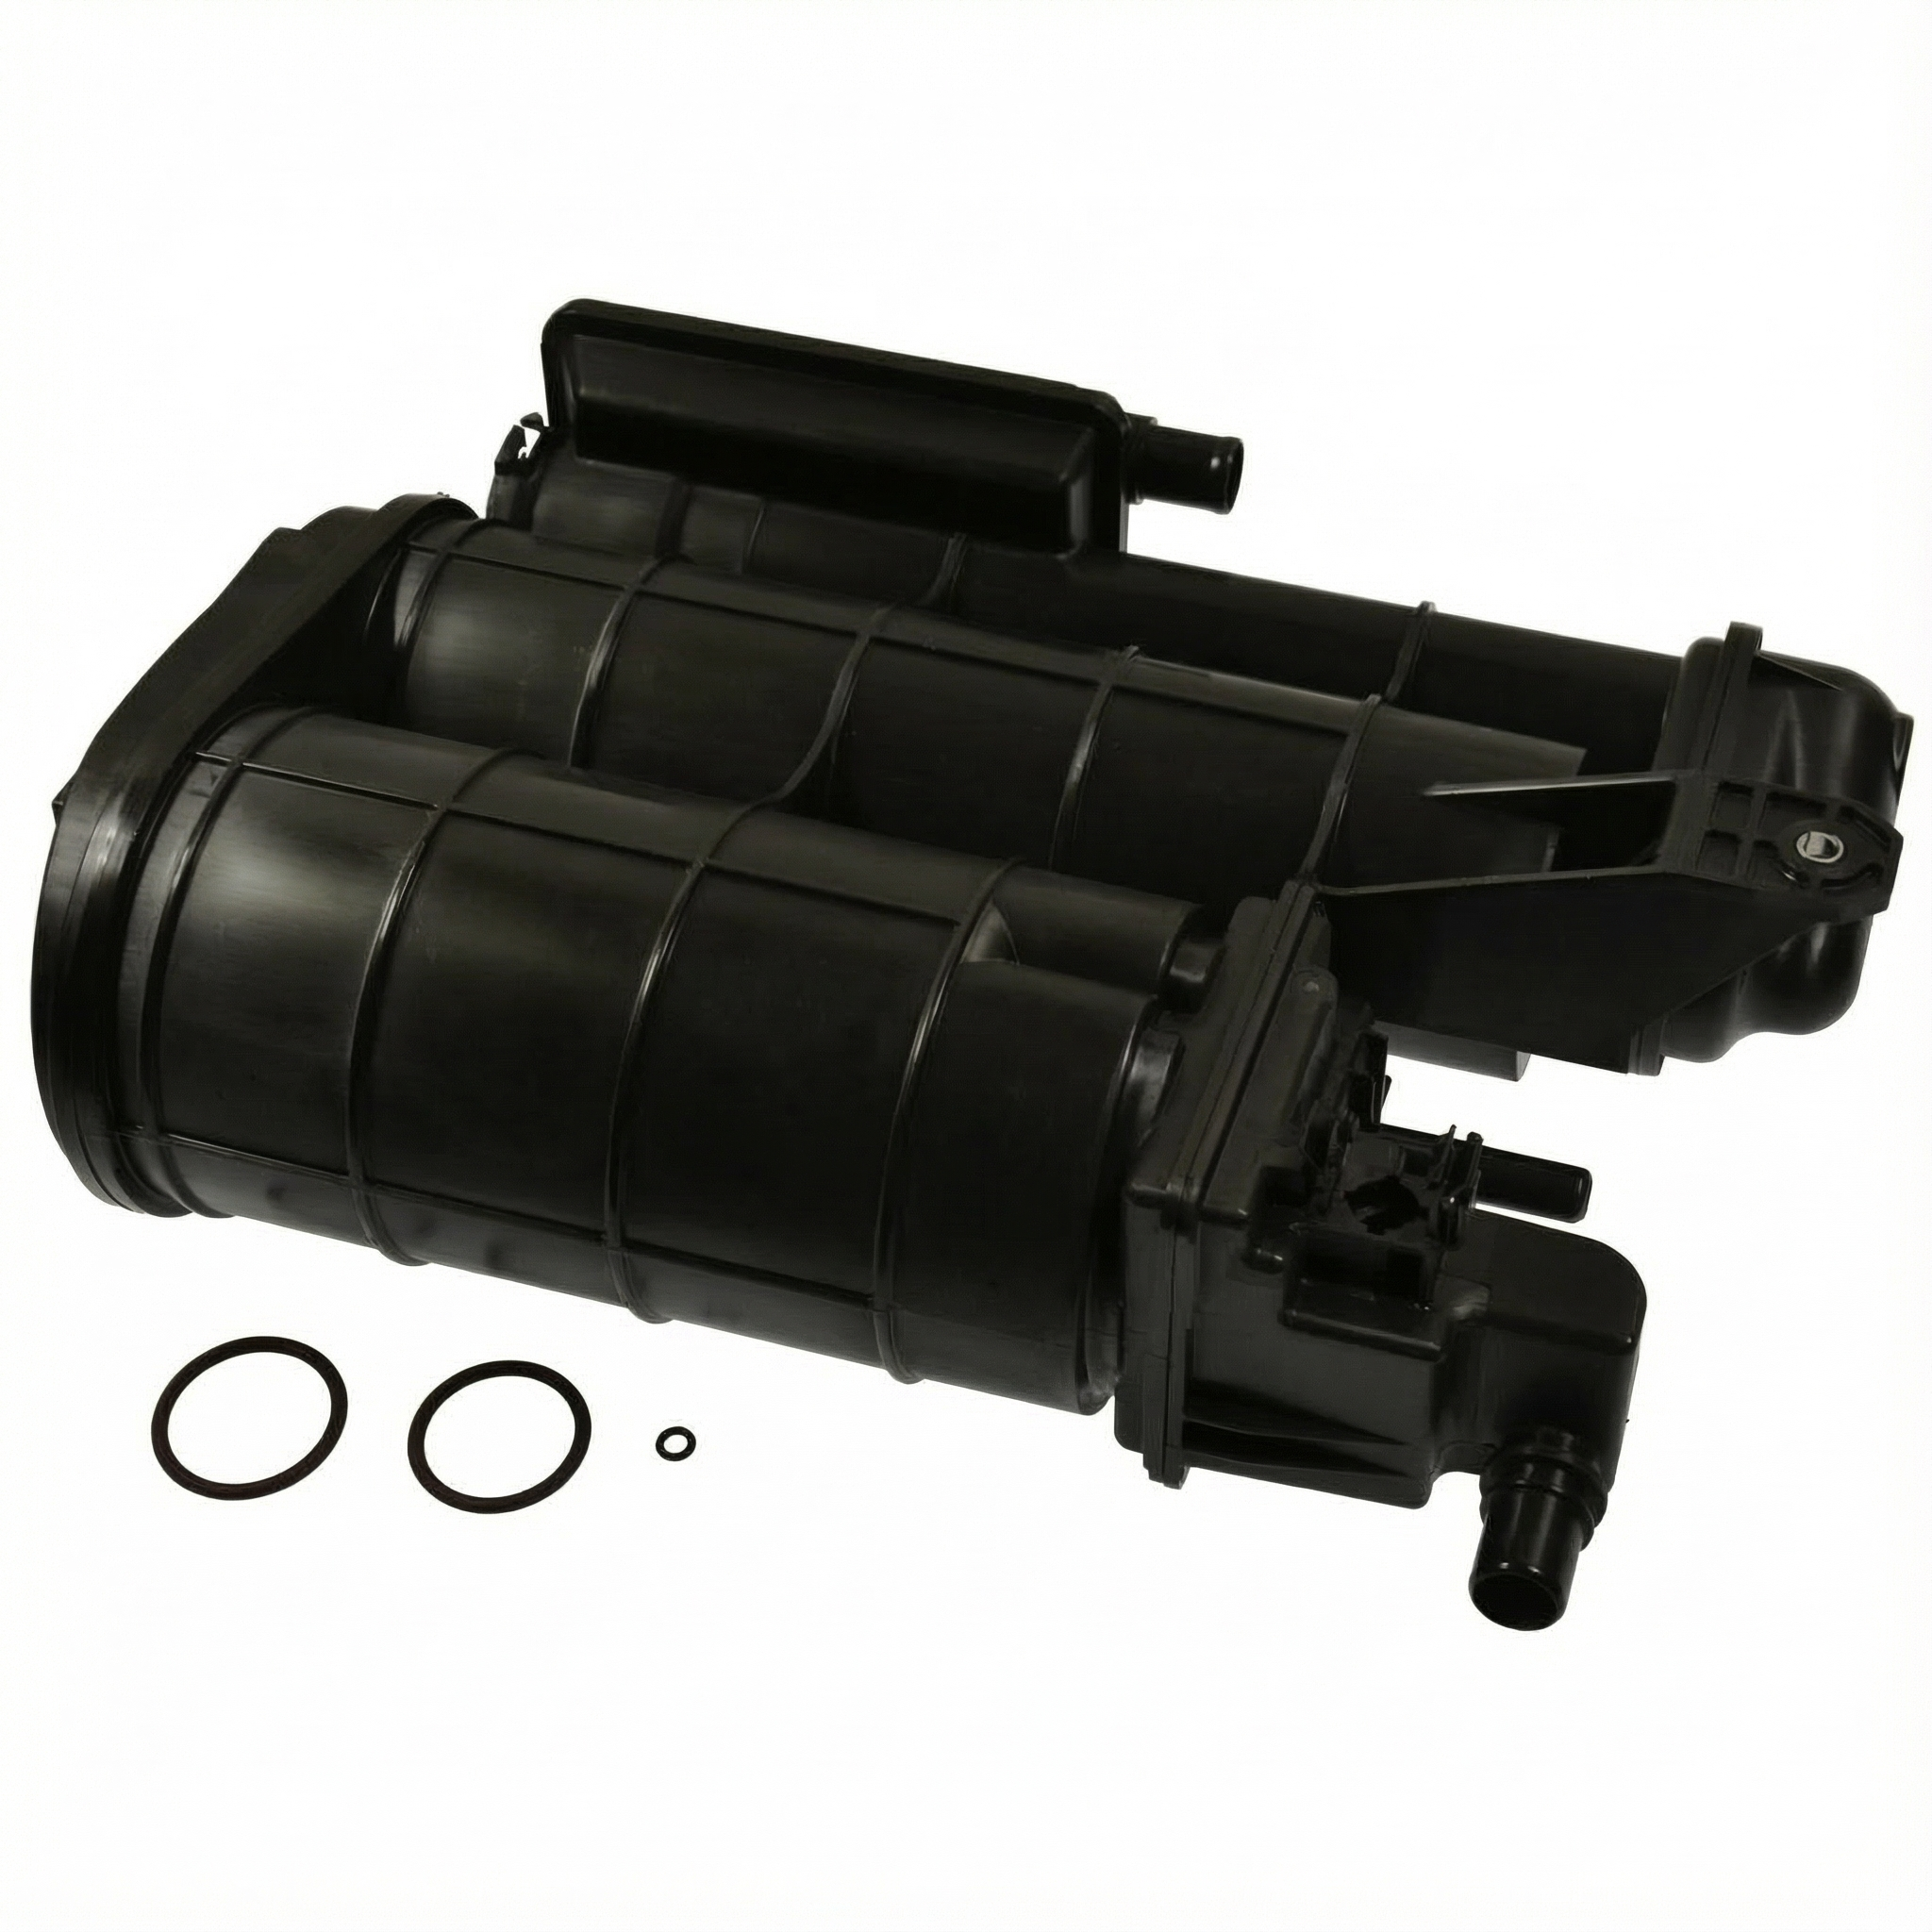
Aftermarket price range: N/A - EVAP Canister Purge Valve (Solenoid)
(OEM #36162-RMX-A01)— If the gas cap and filler neck are not the cause, a purge valve stuck slightly open is the next most likely component failure. This part is located in the engine bay.
Trusted brands: Denso, Standard Motor Products, Acura (Genuine OEM)
OEM price range: $80-$120
Aftermarket price range: $40-$70
Related Codes That Often Appear With This One
- P0455 — This code for a 'large leak' can appear with P0456 if the leak is intermittent or on the borderline between small and large. The same TSBs from Acura often mention both codes together.
- P1456 — This is a Honda/Acura specific code for a leak detected in the fuel tank side of the EVAP system. If you see this, it strongly reinforces that the search should be focused on the tank, cap, or filler neck area, rather than components in the engine bay.
Technical Service Bulletins (TSBs) & Recalls
- Service Bulletin #14-006 (dated 2014-02-18): MIL on with DTC P0455/P0456, fuel cap may feel loose or have a stick-slip feeling. Recommends replacing the fuel fill cap on affected 2012-13 MDX and other Honda/Acura models.
- Bulletin #BTS170202 (dated 2017-10-18): For P0455/P0456 with a leak at the filler neck on 2017 MDX (and other capless models), replace the mis-fuel inhibit device and main flap unit, not the fuel fill pipe.
Platform-Specific Known Issues
- Technical Service Bulletin #14-006 notes that on 2012-2013 MDX models, the fuel fill cap gasket (black in color) can create too much friction, preventing a proper seal and causing P0455/P0456. The fix is a new cap with an updated brown gasket.
Mechanic-Grade Diagnostic Values
- Fuel Tank Pressure (FTP) Sensor Voltage — expected: Typically around 2.5V with key on, engine off at atmospheric pressure. Voltage should decrease as vacuum is applied and increase with pressure.. Failure: Voltage that is stuck high (near 5V) or low (near 0V), or does not change when the EVAP system is sealed and the purge valve is activated.
- FTP Sensor 5V Reference and Ground — expected: With the sensor unplugged and key on, one pin should have ~5 volts and another should have a good ground (near 0V).. Failure: Missing 5V reference or a bad ground indicates a wiring or PCM issue, not a faulty sensor.
- EVAP Canister Purge Valve Function — expected: The valve is normally closed. When removed from the vehicle and unplugged, you should not be able to blow air through it.. Failure: If air can be blown through the valve when it is at rest, its internal seal has failed and it is leaking.
Hidden / Shadow Codes Worth Checking
- Monitor ID $3C, Test ID $B7: This is the specific Mode 6 test that the PCM runs to check for a very small EVAP leak (P0456). Advanced scan tools can view the raw test data and limits, which can help determine how close the system is to passing or failing before a code is set. (see via A professional scan tool with Mode 6 data capability.)
Scan Tool Commands That Help
- Honda HDS (or equivalent professional scanner): EVAP System Functional Test — This is the primary diagnostic function. The tool will automatically command the vent valve closed and the purge valve open to create a vacuum, then seal the system and monitor the FTP sensor for any pressure decay, which indicates a leak.
- Honda HDS (or equivalent professional scanner): Vent Solenoid ON/OFF — To manually test the vent solenoid. Command it closed (ON) and introduce smoke into the system. If smoke exits the vent hose/canister, the solenoid is not sealing correctly.
- Honda HDS (or equivalent professional scanner): Purge Valve Duty Cycle Control — To test the purge valve's response. While monitoring FTP sensor voltage, command the purge valve to open. You should see an immediate change in FTP sensor voltage as vacuum is introduced to the system.
Wiring & Ground Locations
- G401 (2012-2013 models) — Located behind the right kick panel, near the passenger's feet.. A poor ground connection for EVAP system components can cause erratic sensor readings or solenoid malfunction, mimicking a leak.
- G501 / G506 (2014-2017 models) — G501 is at the upper left end of the dash; G506 is at the upper right end of the dash.. These are primary dash-area grounds. The PCM and other control units rely on these grounds. A fault here could affect the FTP sensor readings or power to the solenoids.
- EVAP Canister Purge Valve Connector — Top right rear of the engine for 2014+ models.. This is the connection point for testing the purge valve's electrical circuit. Check for power and ground here if the valve doesn't respond to scan tool commands.
- PCM (Powertrain Control Module) — Located in the right front of the engine compartment on 2014+ models.. The PCM is the source of the 5V reference for the FTP sensor and controls all EVAP solenoids. All wiring for the EVAP system ultimately leads back here.
Real Owner Repair Stories
- YouTube channel 'JasmineFatherGarage4k' (Acura RDX (similar platform) with P0455 and P0456) — Check Engine Light with both large and small EVAP leak codes.
❌ Tried (didn't work) Initial suspicion was the gas cap., Smoke introduced at the purge solenoid hose did not show a leak in the engine bay or from the gas cap area.
✅ What actually fixed it The leak was found using a smoke machine, but only after removing the rear seat to access the top of the fuel tank. Smoke was visibly leaking from the fuel pump module's seal/gasket on top of the tank. - Acurazine forum user (Acura TL (similar EVAP system)) — Persistent P0456 after replacing parts.
❌ Tried (didn't work) Replacing the gas cap with a new aftermarket one., Replacing the purge valve.
✅ What actually fixed it The strong consensus and advice from veteran members was that aftermarket gas caps are a primary cause of repeat failures and that installing a genuine OEM gas cap is the required next step before further diagnosis. The user was also advised on how to test solenoids with a hand vacuum pump.
"I Checked Everything" — The Actual Cause
- In one documented case on a similar Acura platform, a smoke test appeared clean when inspecting from underneath the vehicle. However, the actual leak was from the fuel pump gasket on the top of the fuel tank. This leak was only discovered after removing the rear seat and the fuel pump access cover, where the smoke was clearly visible.
OEM Part Supersession History
17671-TY2-A01, 17671-TZ3-A01→17671-TZ3-A02— Updated design for the mis-fuel inhibit device (capless filler neck shutter) to improve sealing.17310-SNA-A01, 17310-TA0-A01→17310-TBA-A01— Updated design for the EVAP Canister Vent Valve/Solenoid.
Heads up: These parts are often sold as an assembly with the canister. Ensure the correct valve is being replaced.17670-TR0-A01→17670-TR0-A11— The original fuel fill cap for 2012-2013 models had a black gasket that could cause sealing issues. The updated part has a brown gasket for better performance, as noted in TSB 14-006.
Model Year Variations Within This Range
- 2012-2013: These models use a traditional gas cap (PN 17670-TR0-A11) and are subject to TSB 14-006 regarding a faulty original cap gasket causing P0455/P0456.
- 2014-2017: These models feature a capless fuel filler system. The most common cause of P0456 is a leak at the internal flaps, requiring replacement of the 'mis-fuel inhibit device' (PN 17671-TZ3-A02), as noted in TSB BTS170202.
- 2012-2013 vs 2014-2017: The electrical ground point designations differ between the YD2 and YD3 generations. For example, a key ground is G401 on the 2012 model, while the 2014 model uses G501, G506, etc., in different locations.
Helpful Videos

![How to Fix P0456 Engine Code in 7 Minutes [7 DIY Methods / Only $3.44]](https://img.youtube.com/vi/njt81AALI3U/mqdefault.jpg)
Used OEM Parts in Stock
New Aftermarket Parts Available


The information in this article is provided for general reference and educational purposes only. Vehicle specifications, procedures, and part compatibility can vary by production date, trim level, and region. Always consult your vehicle's factory service manual and verify part numbers before purchasing or performing repairs. Safety-critical components such as airbags, seat belts, and braking systems should be installed by a qualified professional.
- Acura MDX:
- 🧭 Diagnostic Flowchart
- 🎬 Helpful Videos
- 🛍️ Shop This Part
- What's Unique About the 2012-2017 Acura MDX
- Symptoms You May Notice
- Most Likely Causes
- Rare But Worth Checking
- Diagnosis Steps
- Parts You'll Likely Need
- Related Codes That Often Appear With This One
- Technical Service Bulletins (TSBs) & Recalls
- Platform-Specific Known Issues
- Mechanic-Grade Diagnostic Values
- Hidden / Shadow Codes Worth Checking
- Scan Tool Commands That Help
- Wiring & Ground Locations
- Real Owner Repair Stories
- "I Checked Everything" — The Actual Cause
- OEM Part Supersession History
- Model Year Variations Within This Range
- 🎟️ Get 5% Off