
P0456 on 2013-2015 Nissan XTERRA: Causes and Fixes for Small EVAP Leaks
For a P0456 code on a 2013-2015 XTERRA, first check that the gas cap is tight and its seal is intact. If that doesn't solve it, the most likely cause is a failed O-ring on the EVAP vent control valve, a known issue covered by Nissan TSB NTB17-082E. Replacing the entire valve assembly with an OEM part is the recommended fix, as the O-ring is no longer sold separately by Nissan.
- Always check your gas cap first. Make sure it's tight and the seal is in good condition before attempting any other repairs.
- Be aware of Nissan TSB NTB17-082E. A faulty EVAP vent control valve assembly is a very common, documented cause for P0456 on your XTERRA.
- A smoke test is the most reliable diagnostic tool to pinpoint the exact location of a small leak if the gas cap isn't the issue.
- When replacing parts, using genuine OEM components (especially the gas cap and vent control valve) is highly recommended to ensure a proper seal and avoid the code returning.
- This code does not indicate a serious mechanical problem and you can continue to drive the vehicle, but it will need to be fixed to pass an emissions inspection.
What's Unique About the 2013-2015 Nissan XTERRA
For the second-generation Nissan XTERRA (N50) and its platform mates like the Frontier and Pathfinder, the P0456 code is very frequently caused by a specific, well-documented part failure. Nissan issued Technical Service Bulletin NTB17-082E, which applies to all 2008 and newer models, stating that a common cause for P0456 is a leaking O-ring on the EVAP canister vent control valve. This makes the vent valve assembly a primary suspect, often more likely to be the culprit than on other vehicles where causes might be more varied.
Diagnostic Flowchart
Tap your situation to follow the diagnostic path that matches what you're seeing on this vehicle.
Symptoms You May Notice
- Check Engine Light is on
- A 'loose gas cap' message may appear on the odometer display.
- A faint fuel smell, though this is uncommon with such a small leak.
- Replacing other EVAP components before checking the gas cap.
- Replacing the purge valve in the engine bay when the more common failure point on this specific vehicle is the vent control valve at the rear, as per Nissan's TSB.
- Assuming an aftermarket gas cap is sealing properly. Many forum users report that only an OEM Nissan cap will resolve the issue after an aftermarket one failed to do so.
Most Likely Causes
- Loose or Faulty Gas Cap 🔴 High Probability → Shop Fuel Tank Cap This is the most common cause for P0456 on any vehicle. The seal can become dirty, worn, or the cap may simply not have been tightened correctly after refueling. Aftermarket gas caps are a frequent source of sealing problems.
How to confirm: Inspect the gas cap's rubber seal for cracks, dirt, or stiffness. Ensure it is tightened until it clicks at least once. A worn or dirty seal is a likely culprit.
Typical fix: Clean the cap and fuel filler neck sealing surfaces. If the seal is damaged or you have an aftermarket cap, replace it with a genuine OEM Nissan cap for the best seal. The OEM part number is often 17251-ZZ62D.
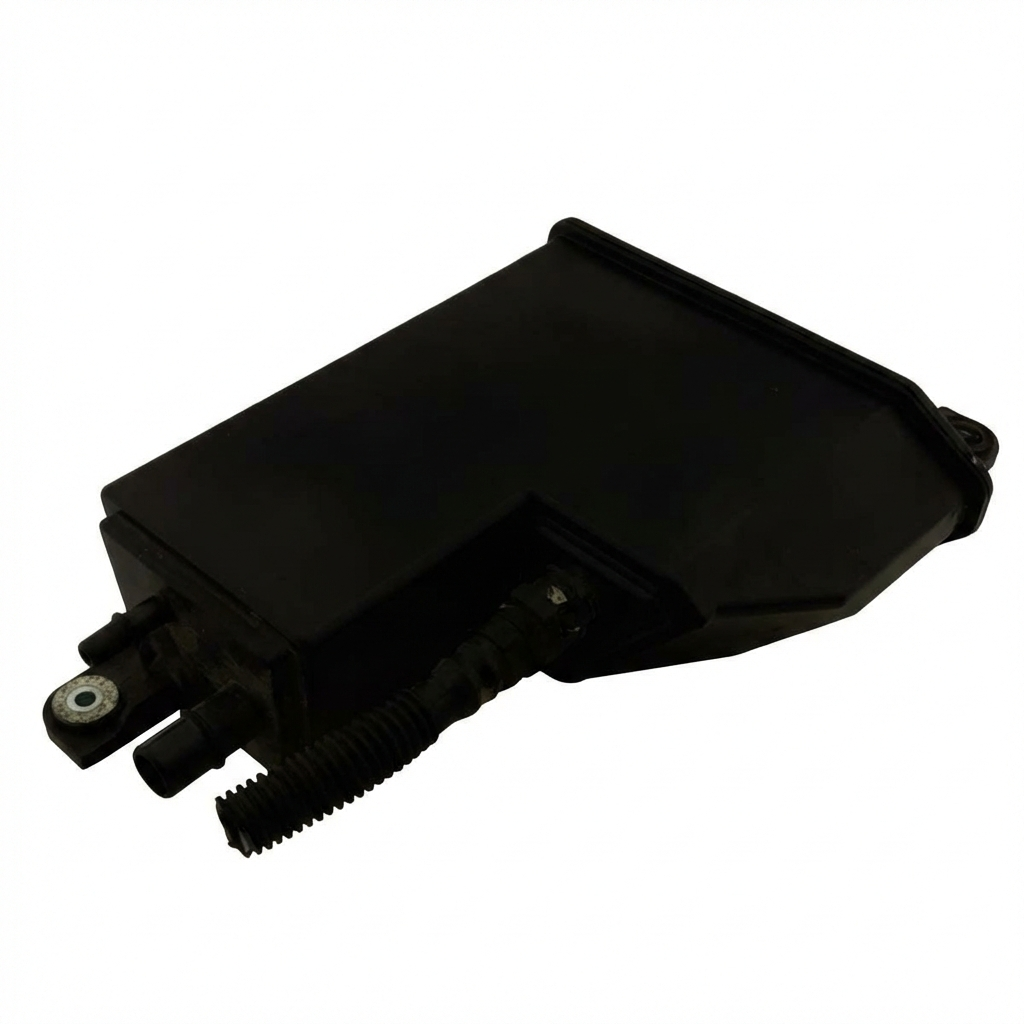
Est. part cost: $25-$40 - Failed EVAP Canister Vent Control Valve O-Ring/Assembly 🔴 High Probability → Shop Vapor Canister Vent Valve Nissan TSB NTB17-082E specifically identifies a leaking O-ring on the vent control valve as a primary cause of P0456 on this platform. The O-ring becomes brittle and cracks from age and exposure, causing a small leak where the valve mounts to the charcoal canister.
How to confirm: A smoke test is the most definitive method; smoke will be seen escaping from the vent valve area near the EVAP canister (located at the rear of the vehicle, near the spare tire). Visually inspecting the O-ring after removal may also show obvious cracks or degradation.
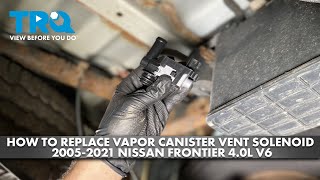
Typical fix: While older TSBs advised replacing only the O-ring, the latest revision (NTB17-082E) instructs replacing the entire vent control valve assembly, as the O-ring is no longer sold as a separate service part by Nissan. This is a common DIY repair that involves lowering the spare tire for access, disconnecting the electrical connector and hose, and twisting the valve to remove it from the canister. 🎬 See this walkthrough on replacing the vent valve assembly.
Est. part cost: $60-$100 - Faulty EVAP Canister Purge Valve 🟡 Medium Probability → Shop Vapor Canister This valve, located in the engine bay, can get stuck slightly open due to carbon buildup or age, creating a leak path. It is supposed to be fully closed when the engine is off.
How to confirm: With the engine off, remove the valve and try to blow through it. If air passes through, it is stuck open and faulty. You can also test for vacuum at the port while the engine is running; if there is constant vacuum, it's likely stuck open.
Typical fix: Replace the purge valve. This is typically an easy repair located on or near the engine intake manifold. The OEM part number is often 14930-7S000.
Est. part cost: $50-$90 - Cracked or Disconnected EVAP Hoses ⚪ Low Probability Rubber hoses throughout the EVAP system can become brittle and develop tiny cracks over time due to heat and age, especially on older, higher-mileage vehicles. This is particularly common on the small rubber hoses connecting components near the canister at the rear of the vehicle or on the purge valve in the engine bay.
How to confirm: A visual inspection may reveal obvious cracks, but a smoke test is the most reliable way to find a very small hose leak. Pay close attention to the small, curved hoses on and around the charcoal canister itself and the purge valve.
Typical fix: Replace the cracked section of the hose. It's often possible to use a generic size of fuel-rated vacuum hose for the repair.
Est. part cost: $10-$30
Rare But Worth Checking
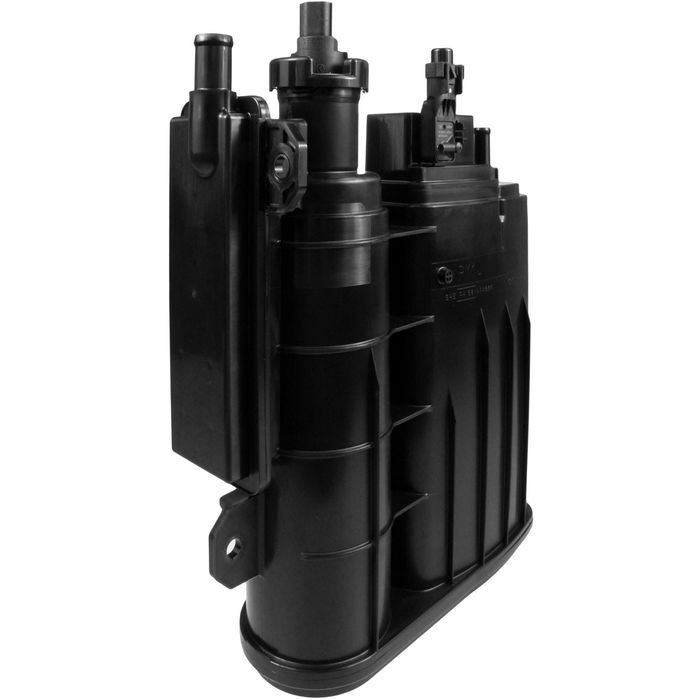
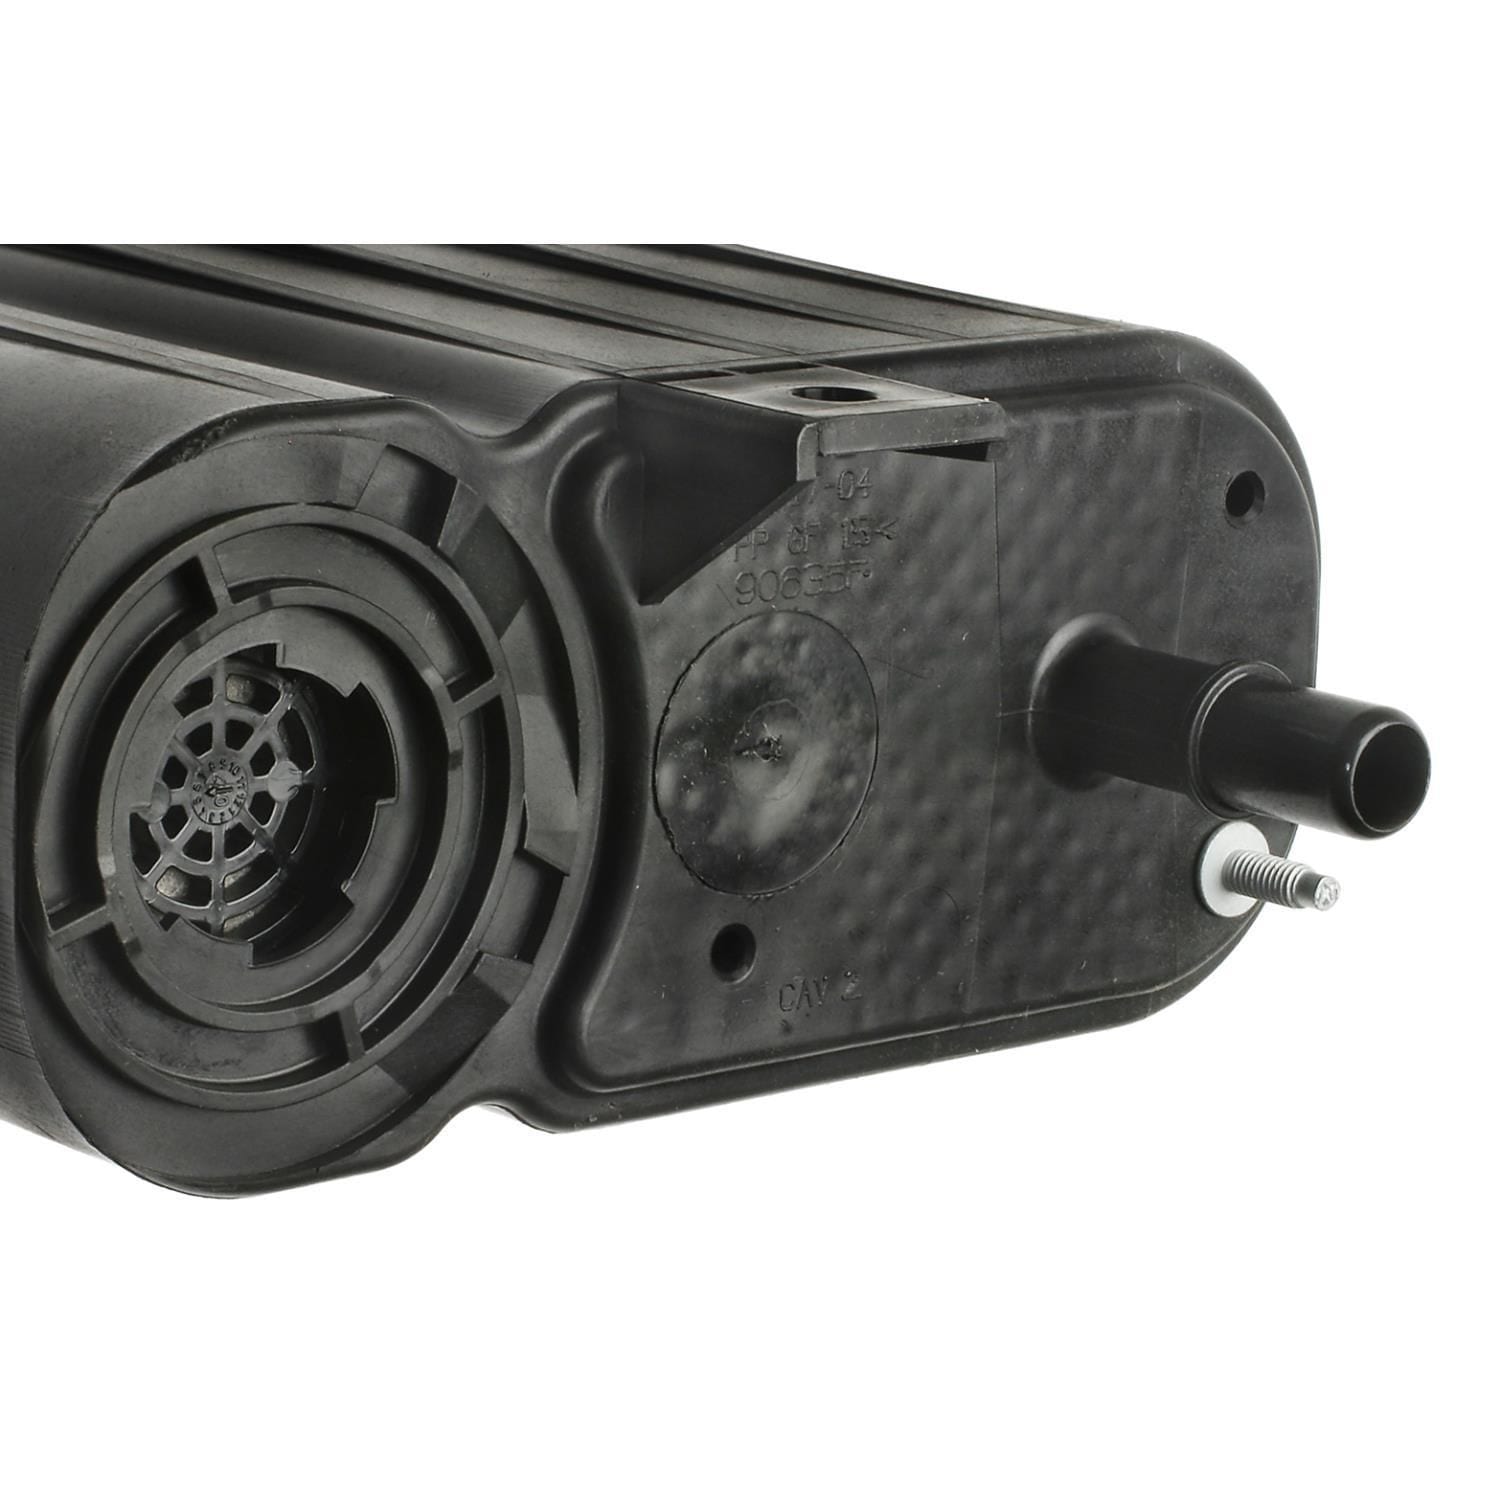
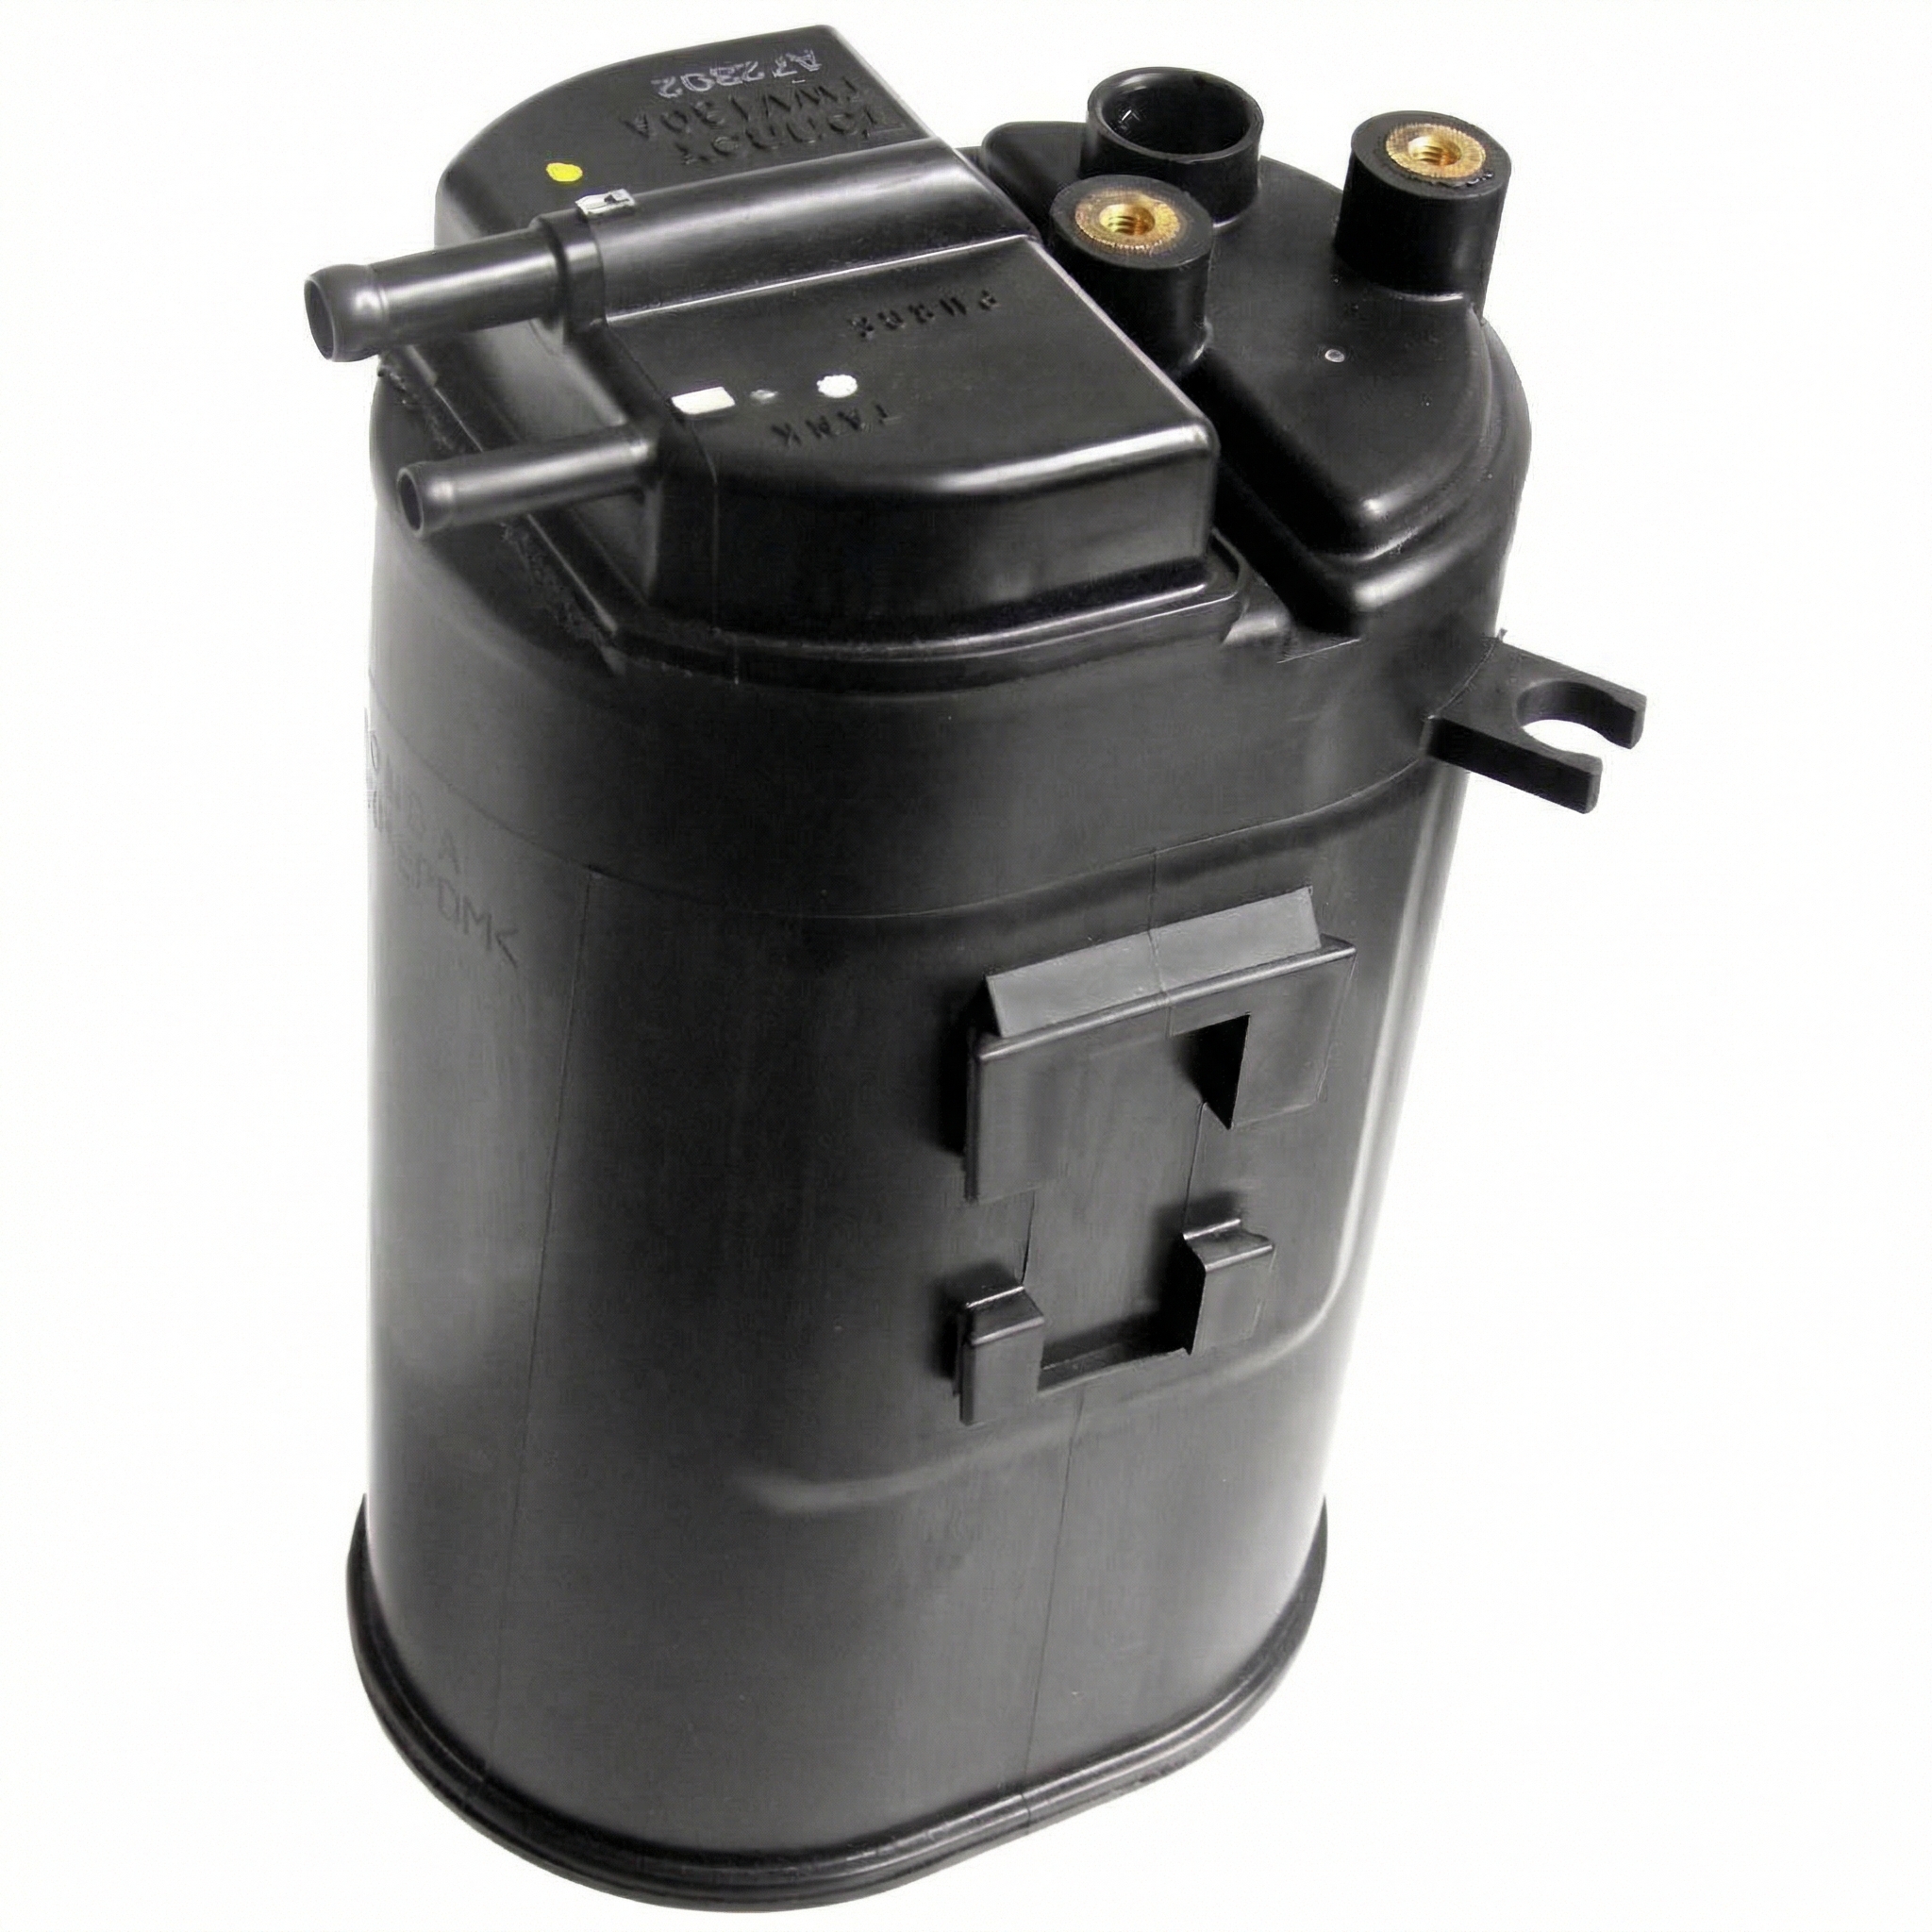
- Cracked EVAP (Charcoal) Canister: → Shop Vapor Canister The canister body itself can develop hairline cracks, leading to a leak. This is usually found with a smoke test after all other components have been checked.
- Faulty Fuel Tank Pressure Sensor: → Shop Fuel Tank Rarely, the sensor that detects the pressure in the system can fail and send incorrect data to the computer, tricking it into thinking there's a leak. This will often be accompanied by other codes like P0451, P0452, or P0453.
- Leaking Fuel Pump Sealing Gasket: → Shop Fuel Pump An uncommon but possible cause is a leak from the O-ring that seals the fuel pump assembly to the top of the fuel tank. This can be difficult to detect with a smoke test if the fuel tank is full.
Diagnosis Steps
- Check the Gas Cap: Remove the gas cap, inspect the seal for damage or debris, and retighten it until it clicks several times. Clear the code and drive for a few days to see if it returns. If you have an aftermarket cap, consider replacing it with an OEM one (Part # 17251-ZZ62D) as a first step.
- Visual Inspection: Inspect all accessible EVAP hoses in the engine bay and running along the frame to the rear of the vehicle for any obvious cracks, disconnections, or damage. Pay special attention to the hoses around the charcoal canister.
- Inspect the Vent Control Valve: Locate the EVAP canister and vent control valve at the rear of the XTERRA, usually mounted above the spare tire. Visually inspect the valve and its connection to the canister for any signs of damage.
- Perform a Smoke Test: This is the most effective way to find a small leak. A smoke machine injects low-pressure, vaporous smoke into the EVAP system via a service port or by using an adapter. The leak will be revealed by the point where smoke escapes. 🎬 Watch: How to use a smoke machine to find leaks. Pay close attention to the vent control valve O-ring area, as this is the most likely leak source per TSB NTB17-082E.
- Test the Purge Valve: Locate the purge valve in the engine bay, typically on the intake manifold. With the vehicle off, remove it and attempt to blow through it. If air passes, the valve is faulty and needs replacement (Part # 14930-7S000).
Parts You'll Likely Need
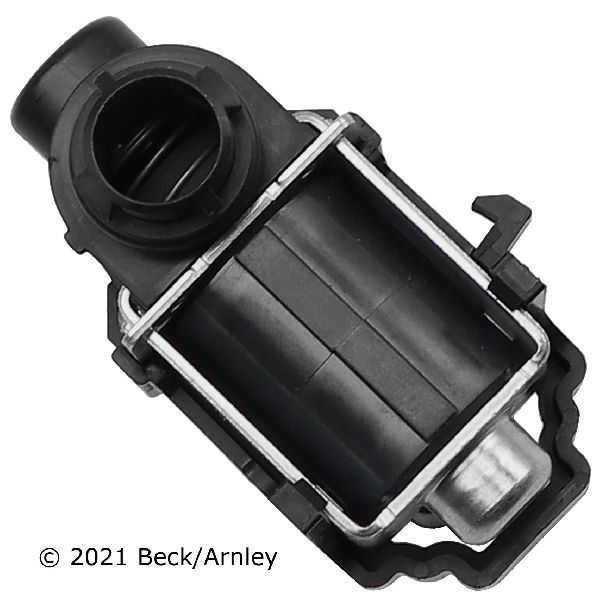
- EVAP Canister Vent Control Valve
(OEM #14935-JF02C)— This is the most common cause of P0456 on the XTERRA, according to Nissan TSB NTB17-082E. The O-ring seal fails, and the official fix is to replace the entire valve assembly. This part number supersedes previous versions like 14935-JF00A/B/C/D/E.
Trusted brands: Nissan (OEM), Bosch, Dorman, Hitachi
OEM price range: $70-$90
Aftermarket price range: $45-$70 - Fuel Cap
(OEM #17251-ZZ62D)— A loose or worn-out gas cap is the simplest and a very common cause for any EVAP leak code. Using an OEM cap is highly recommended as aftermarket versions can cause sealing issues. This part number fits the 2013-2015 Xterra.
Trusted brands: Nissan (OEM), Stant
OEM price range: $25-$40
Aftermarket price range: $15-$25 - EVAP Canister Purge Valve
(OEM #14930-7S000)— This valve in the engine bay can stick open, creating a small leak. It's a common failure point on many vehicles and a relatively easy part to replace during diagnosis.
Trusted brands: Nissan (OEM), Bosch, Dorman
OEM price range: $60-$90
Aftermarket price range: $40-$70
Related Codes That Often Appear With This One
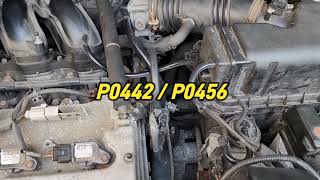
- P0442 — This code indicates a medium EVAP leak. If the small leak causing P0456 worsens (e.g., a crack in a hose or O-ring grows), it can eventually trigger P0442.
- P0455 — This code indicates a large EVAP leak. It's less common to see with P0456 but could occur if a component fails catastrophically or a hose becomes completely disconnected.
Technical Service Bulletins (TSBs) & Recalls
- NTB17-082E: 'DTC P0456 CAUSED BY EVAP LEAK AT VENT CONTROL VALVE O-RING' - This is the most current TSB and advises replacing the entire vent control valve assembly.
- NTB13-097J: 'EVAP LEAK DTC P0442, P0455, P0456 INFORMATION' - A general information bulletin regarding EVAP leak codes.
- NTB17-082/A/B/C/D: Older, superseded versions of the primary TSB. Early versions advised replacing only the O-ring, but this is no longer the recommended procedure.
Platform-Specific Known Issues
- Nissan Technical Service Bulletin NTB17-082E explicitly states that for a P0456 code, if the leak is traced to the vent control valve O-ring, the entire valve assembly should be replaced. This bulletin supersedes older versions (like NTB17-082b) that suggested replacing only the O-ring, which is no longer available as a separate service part from Nissan.
Mechanic-Grade Diagnostic Values
- Fuel Tank Pressure (FTP) Sensor Voltage — expected: The FTP sensor is a 3-wire sensor with a 5V reference, ground, and signal. With the key on and engine off, the sensor should output a specific voltage corresponding to atmospheric pressure (typically around 2.5V, but varies by manufacturer).. Failure: If the voltage is stuck at 0V or 5V, the sensor or wiring is faulty. When applying a small amount of vacuum with a hand pump, the voltage should drop. If it doesn't change, the sensor is bad.
- Fuel Pressure (at fuel rail) — expected: Approximately 43 psi (294 kPa).. Failure: Significantly lower pressure indicates a problem with the fuel pump or regulator, though this is not a primary diagnostic step for a P0456 code.
Scan Tool Commands That Help
- Nissan CONSULT-III plus or equivalent professional scanner: EVAP System Leak Check / Active Test — This function is used to command the EVAP vent control valve to close, sealing the system. This allows a technician to check if the system can hold pressure or vacuum, confirming the function of the valves before introducing smoke.
- Professional bidirectional scanner: Enhanced EVAP Leak Detection Test — This automated test seals the system, applies a specific pressure (e.g., 3 kPa), and monitors for a pressure drop over a set time (e.g., 15 minutes). It can confirm the presence and size of a leak electronically before a smoke test is performed.
Wiring & Ground Locations
- EVAP Canister Vent Control Valve — Under the right rear of the vehicle, mounted directly on the charcoal canister, which is located near the spare tire.. This is the most common failure point for P0456 on this vehicle. Knowing its location is critical for inspection, smoke testing, and replacement.
- EVAP Canister Purge Volume Control Valve — In the engine bay, typically mounted on the intake manifold or on the firewall/fender area near the brake fluid reservoir.. This is a secondary, but still common, cause. A stuck-open purge valve will cause a leak that is detectable with a smoke test or by testing the valve directly.
- Engine Control Module (ECM) — Below the center of the dashboard, often behind a lower cover panel.. This is the location of the computer that controls the EVAP system and sets the code. In rare cases of electrical issues, accessing the ECM wiring for testing may be necessary.
- ECM/Body Grounds — Various points, including under the driver's kick panel (G200) and on the engine/fender aprons.. A poor ground connection for the ECM or an EVAP system component can cause erratic behavior or false codes. Verifying clean, tight grounds is a step in advanced electrical diagnosis.
Real Owner Repair Stories
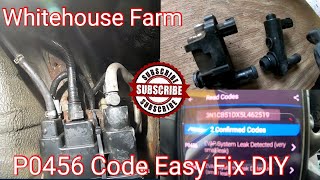
- YouTube user 'P0456 Code Nissan Easy Fix DIY' (Nissan vehicle (likely Frontier/Xterra platform)) — Intermittent P0456 Check Engine Light.
❌ Tried (didn't work) Replacing the gas cap with a new OEM part.
✅ What actually fixed it Replacing the EVAP canister vent control valve assembly at the rear of the vehicle fixed the problem. - Reddit user in r/NissanRogue (2016 Nissan Rogue (similar EVAP components)) — P0456 code, gasoline smell on first start, light turns on when tank is half full and off after a full refill.
✅ What actually fixed it The user replaced the Vapor Canister Vent Valve themselves, noting that the O-rings are a known point of failure. - YouTube user 'Xterra Rob's Garage' (2004 Nissan Xterra (first generation, but similar principle)) — P0456 and P1456 codes.
❌ Tried (didn't work) Running a scanner's built-in EVAP test, which failed even after the repair.
✅ What actually fixed it A professional smoke test identified two dry-rotted rubber hoses in the engine bay. Replacing these small hoses resolved the leak.
OEM Part Supersession History
14935-JF00A, 14935-JF00B, 14935-JF00C, 14935-JF00D, 14935-JF00E→14935-JF02C— Standard part evolution and design updates by the manufacturer.
Heads up: While older TSBs (e.g., NTB17-082b) advised replacing only the O-ring (PN 16618-JF00A), this part is no longer sold separately by Nissan for this repair. The current official fix requires replacing the entire valve assembly with the latest part number.
Helpful Videos
Used OEM Parts in Stock
New Aftermarket Parts Available


The information in this article is provided for general reference and educational purposes only. Vehicle specifications, procedures, and part compatibility can vary by production date, trim level, and region. Always consult your vehicle's factory service manual and verify part numbers before purchasing or performing repairs. Safety-critical components such as airbags, seat belts, and braking systems should be installed by a qualified professional.
- Nissan XTERRA:
- 🧭 Diagnostic Flowchart
- 🎬 Helpful Videos
- 🛍️ Shop This Part
- What's Unique About the 2013-2015 Nissan XTERRA
- Symptoms You May Notice
- Most Likely Causes
- Rare But Worth Checking
- Diagnosis Steps
- Parts You'll Likely Need
- Related Codes That Often Appear With This One
- Technical Service Bulletins (TSBs) & Recalls
- Platform-Specific Known Issues
- Mechanic-Grade Diagnostic Values
- Scan Tool Commands That Help
- Wiring & Ground Locations
- Real Owner Repair Stories
- OEM Part Supersession History
- 🎟️ Get 5% Off