
P0456 on 2010-2015 Toyota Prius: Causes and Fixes for a Very Small EVAP Leak
For a 2010-2015 Prius, code P0456 almost always means a loose gas cap or a cracked, brittle EVAP hose near the engine. First, tighten the gas cap and clear the code. If it returns, inspect the small vacuum hoses for cracks. A new OEM gas cap is about $30, and a replacement hose is under $20. A smoke test is the definitive way to find the leak if these simple fixes don't work.
- P0456 means your Prius has a very small leak in its emissions vapor system.
- First, check the gas cap. Make sure it's tight and the seal isn't cracked. This is the most common fix.
- If the gas cap isn't the issue, carefully inspect the small rubber hoses on top of the engine for tiny cracks. This is the second most common fix for this specific car.
- Driving with this code is not dangerous, but you will not pass an emissions test until it is fixed.
- If simple checks don't solve it, a mechanic will need to use a smoke machine to find the leak.
What's Unique About the 2010-2015 Toyota Prius
The 2010-2015 (Gen 3) Prius has a known issue with a specific charcoal canister that prompted a Technical Service Bulletin (TSB) for the 2010 model year. Additionally, owners frequently report that the small rubber vacuum hoses in the engine bay become brittle from heat and age, leading to tiny cracks that are just large enough to trigger this specific 'very small leak' code. While the gas cap is a common culprit on all cars, these age-related hose failures are a very common experience for Gen 3 Prius owners, as documented in numerous forum threads.
Symptoms You May Notice
- Check Engine Light is on.
- A VSC (Vehicle Stability Control) warning light may sometimes accompany the Check Engine Light.
- A faint smell of gasoline near the rear of the vehicle, though this is rare with such a small leak.
- Inability to pass a state emissions/smog test.
- Replacing the oxygen sensor. This is completely unrelated to the EVAP system.
- Replacing the catalytic converter. This is an expensive and incorrect repair for an EVAP code.
- Immediately replacing the charcoal canister without a proper smoke test. Always start with the cheapest and most most likely causes like the gas cap and hoses.
Most Likely Causes
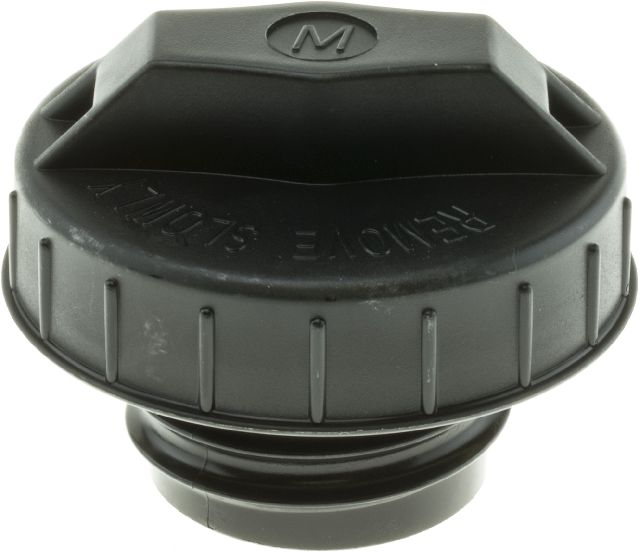
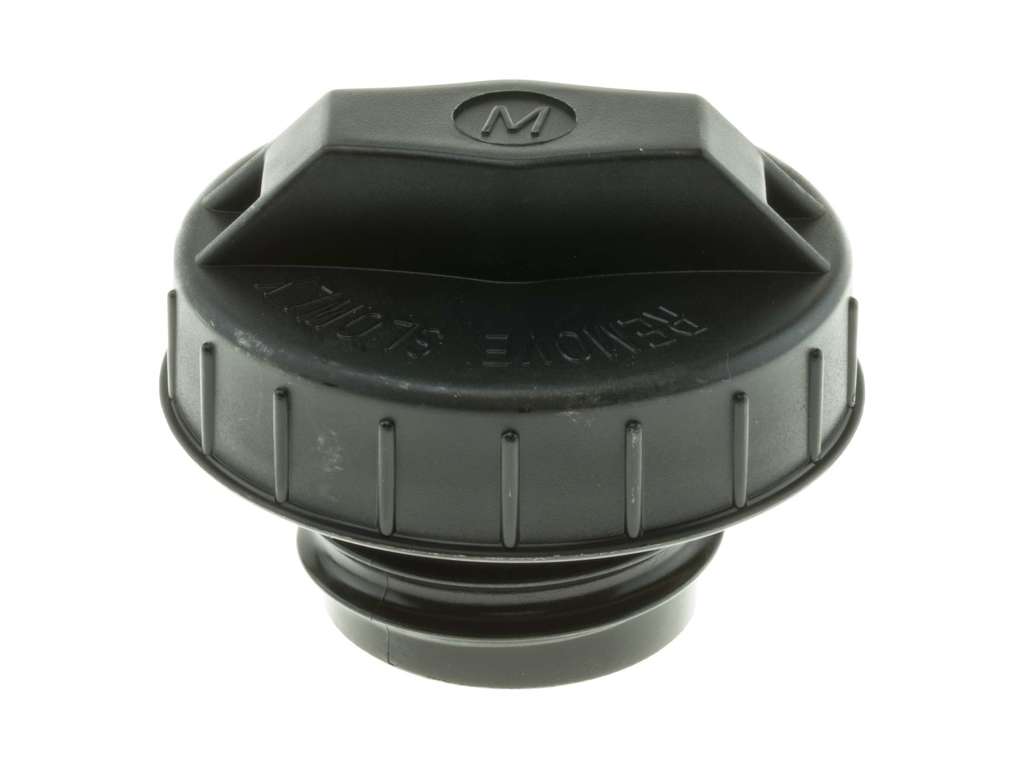
- Loose or Faulty Gas Cap 🔴 High Probability → Shop Fuel Tank Cap This is the most common cause on any vehicle. The rubber O-ring on the cap can wear out, or the cap may not have been tightened correctly after refueling. It is highly recommended to use an OEM cap, as many owners on forums like Reddit and PriusChat report that aftermarket caps fail to seal properly and do not resolve the code.
How to confirm: Remove the gas cap, inspect the rubber seal for cracks or hardness, and reinstall it, ensuring you hear it click at least once. Clear the code and see if it returns after a few drive cycles. The EVAP monitor may take several days to run again.
Typical fix: Replace the gas cap with a new OEM (Original Equipment Manufacturer) cap. Aftermarket caps are a frequent source of continued problems. As noted in NHTSA ODI #11586715, some owners find that even after replacing the cap multiple times, the P0456 error persists, suggesting the need for further system diagnosis.
Est. part cost: $25-$40 - Cracked or Brittle EVAP/Vacuum Hose 🔴 High Probability → Shop Vacuum Hose The small rubber hoses in the engine bay, particularly the one connected to the purge valve (VSV), are exposed to significant engine heat. Over 10+ years, they become hard and develop tiny cracks, often right at the connection point where a clamp sits. This is a very common failure documented by owners in DIY videos.
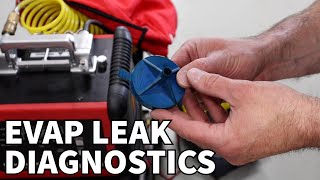
How to confirm: Visually inspect the small rubber hoses connected to the EVAP purge solenoid on top of the engine. Bend them slightly to reveal hidden cracks that may not be visible otherwise. A smoke machine test is the definitive diagnostic method, where smoke is fed into the EVAP system to reveal the leak's location.
Typical fix: Replace the cracked section of the hose. This is often a simple and inexpensive repair that involves cutting a new length of vacuum hose. 🎬 Watch: This quick video shows how to fix brittle hoses.
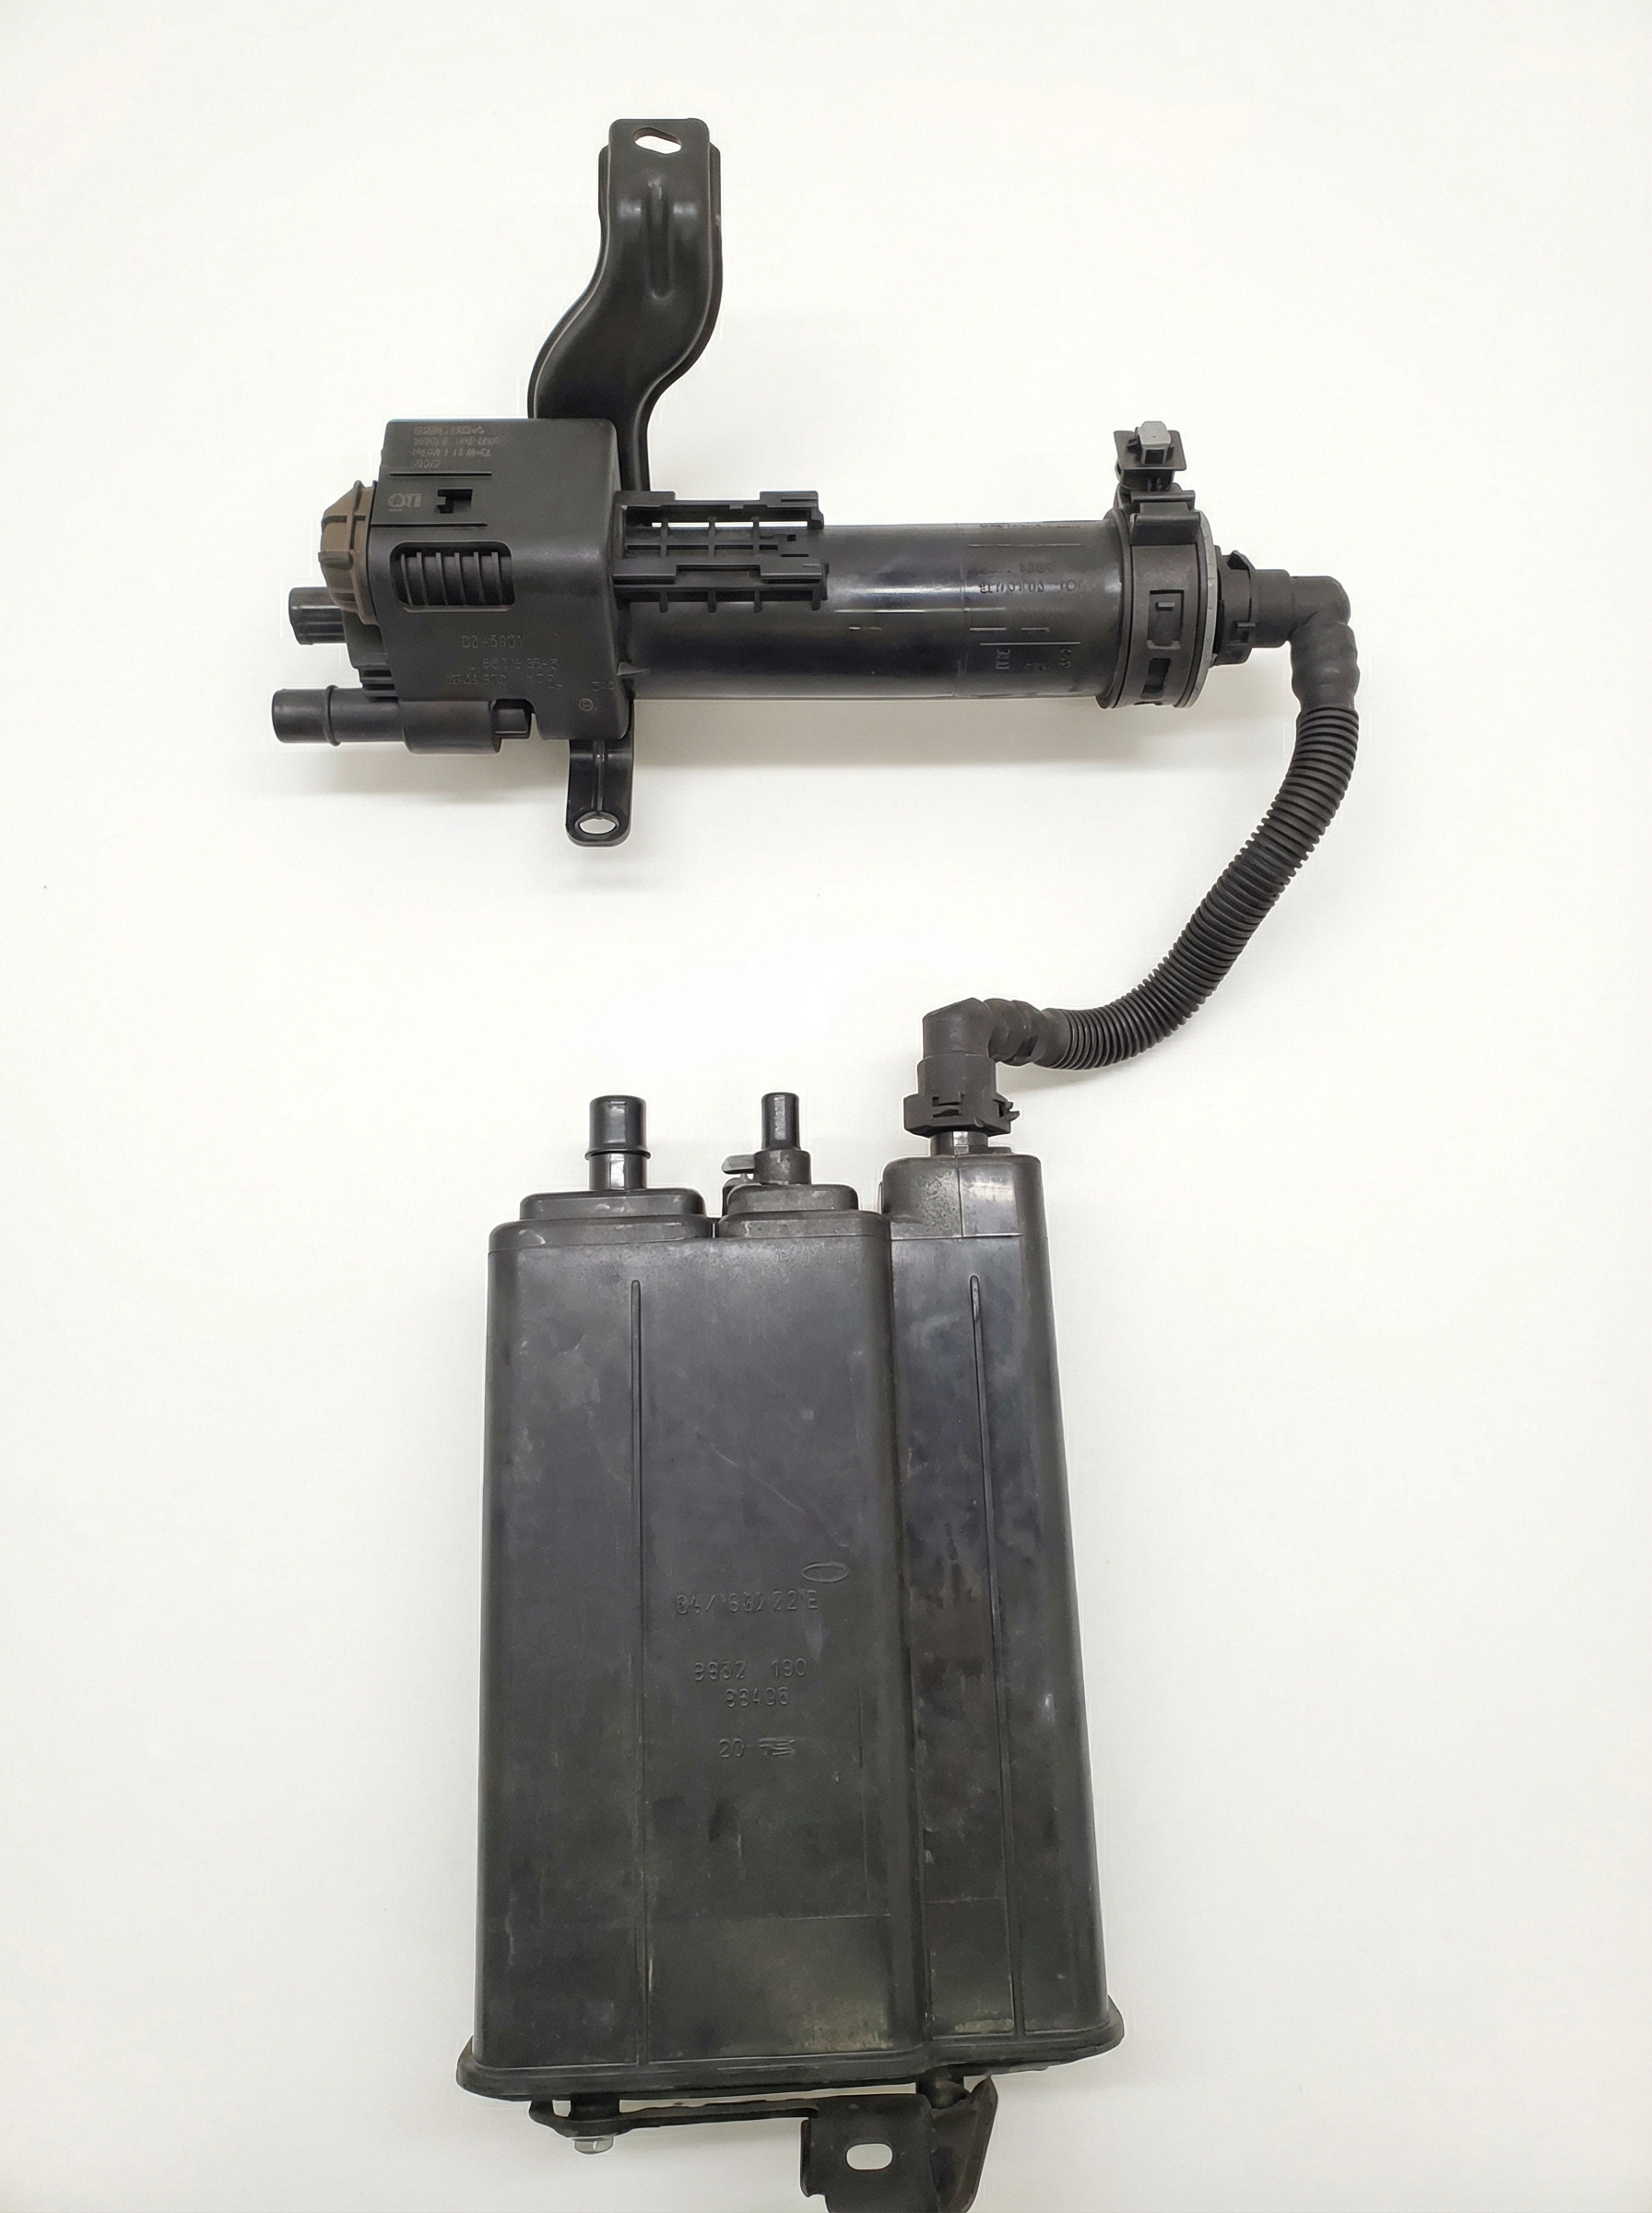
Est. part cost: $5-$20 - Faulty EVAP Purge Valve (VSV) 🟡 Medium Probability → Shop Vapor Canister The purge valve (or Vapor Switching Valve, VSV, in Toyota terminology) is a solenoid that can fail by sticking slightly open, creating a leak path.
How to confirm: With the engine off, the valve should be closed. You can remove it and try to blow through it; if any air passes, it's stuck open and faulty. A professional can also command it open and closed with a scan tool to test its function.
Typical fix: Replace the purge valve assembly.
Est. part cost: $40-$90 - Faulty Charcoal Canister Assembly ⚪ Low Probability → Shop Vapor Canister A TSB (T-SB-0130-10) was issued for some 2010 Prius models for this code, pointing to a faulty charcoal canister. The canister itself can develop cracks, or the integrated vent valve can fail. On some models, the vent valve solenoid is sold separately, but for many Prius models, it is integrated into the expensive canister assembly.
How to confirm: This is difficult to confirm without a smoke machine test to pinpoint the leak to the canister itself. The canister is located near the fuel tank, under the vehicle.
Typical fix: Replace the charcoal canister assembly. This can be an expensive repair, often costing over $1,000 at a dealership.
Est. part cost: $300-$500
Rare But Worth Checking
- Spider Web or Debris in Vent Line: Spiders and other insects can sometimes build nests inside the EVAP vent lines, causing blockages or preventing valves from sealing correctly. This is a well-documented, though uncommon, cause of various EVAP codes.
- Cracked Fuel Tank Filler Neck: → Shop Fuel Tank Rust or physical damage can cause a small crack in the metal pipe that leads from the gas cap to the fuel tank, creating a leak. One owner on PriusChat reported this as the cause of their persistent P0456, which was fixed for around $360 at a shop. Manufacturer Bulletin #T-SB-0086-16 for other Toyota models notes that a fuel filler neck may be out of position, leading to a "no click" or "no spring return" condition from the fuel cap and triggering P0456.
Diagnosis Steps
- Read the code with an OBD-II scanner to confirm P0456 is the only code present. In some cases, as seen in NHTSA ODI #11235367, P0456 may appear alongside secondary air injection system codes like P2442.
- Inspect the gas cap. Ensure it is tight. Remove it and check the rubber O-ring for any signs of cracking, tearing, or hardening.
- If the cap looks questionable or is an aftermarket brand, replace it with a genuine Toyota OEM part. Clear the codes and drive for a few days to see if the light returns. The EVAP monitor runs under specific conditions, so it may take time.
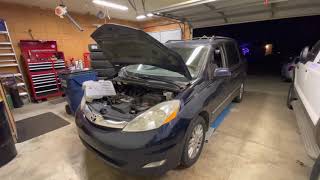
- If the light returns, perform a visual inspection of the engine bay. Locate the EVAP purge valve (VSV) and trace the small rubber hoses connected to it. Bend the hoses gently to expose any fine cracks, especially near the connection points.
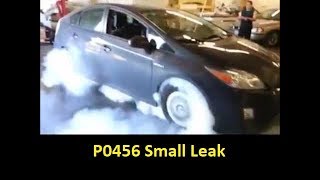
- If no obvious leaks are found, the next step is a professional smoke test. A mechanic will inject pressurized, UV-dyed smoke into the EVAP system's service port. Smoke will exit from the location of the leak, making it easy to find. 🎬 See how a smoke test identifies a Gen 3 leak.
- Based on the smoke test results, replace the leaking component. This could be a simple hose, the purge valve, the vent valve, the fuel filler neck, or the charcoal canister.
- After the repair, clear the codes and perform a drive cycle to allow the car's computer to re-run the EVAP monitor test and confirm the fix.
Parts You'll Likely Need
- Fuel Tank Cap
(OEM #77300-52040)— This is the most frequent and easiest fix. The seal fails over time, and aftermarket caps are notorious for not sealing correctly.
Trusted brands: Toyota (OEM)
OEM price range: $25-$40
Aftermarket price range: $15-$25 - EVAP Purge Valve / Vacuum Switching Valve (VSV)
(OEM #90910-12276)— This valve controls vapor flow and can get stuck, causing a leak. It's a common failure point after the gas cap and hoses.
Trusted brands: Toyota (OEM), Denso
OEM price range: $60-$100
Aftermarket price range: $30-$70 - Charcoal Canister Assembly
(OEM #77740-47060)— While less common, the canister can crack or its internal valves can fail. A TSB was issued for the 2010 model year related to this part causing a P0456 code. It is an expensive part and should only be replaced after a definitive smoke test.
Trusted brands: Toyota (OEM)
OEM price range: $350-$500
Aftermarket price range: $200-$350
Related Codes That Often Appear With This One
- P0441 — P0441 (Evaporative Emission Control System Incorrect Purge Flow) can appear with P0456 if the purge valve is malfunctioning, causing both a leak and improper flow.
- P0442 — P0442 indicates a 'small leak' (larger than P0456). If a very small leak worsens over time, the code may change from P0456 to P0442.
- P0455 — As noted in Bulletin #T-SB-0086-16, a gross leak code (P0455) can sometimes occur alongside P0456 if the fuel cap or filler neck is not sealing properly.
Technical Service Bulletins (TSBs) & Recalls
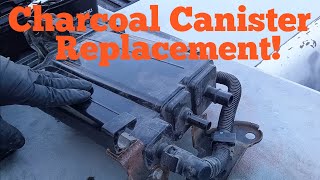
- T-SB-0130-10: Some 2010 model year Prius vehicles may exhibit a MIL 'ON' with DTC P0456, potentially caused by the charcoal canister. The fix involves replacing the canister assembly. 🎬 Watch: A walkthrough of the 2010 Prius charcoal canister replacement.
- Bulletin #T-SB-0086-16: While issued for other Toyota models, this bulletin highlights that a "no click" condition from the fuel cap or an out-of-position fuel filler neck can trigger DTC P0456.
Platform-Specific Known Issues
- Toyota issued Technical Service Bulletin T-SB-0130-10 for some 2010 Prius models that may exhibit a P0456 code due to a faulty charcoal canister.
- Owners on forums like PriusChat and Reddit frequently report that the small rubber vacuum hoses in the engine bay become extremely brittle and crack after about 10 years, making this a very common cause of P0456 on this specific generation.
- source — A user on PriusChat with a 2010 Prius reported a persistent P0456 code that was finally resolved by replacing the fuel filler neck, which had developed a crack. The repair cost was approximately $360.
Mechanic-Grade Diagnostic Values
- EVAP Purge Valve (VSV) Coil Resistance — expected: Approximately 32 ohms at room temperature for OEM part 90910-12276.. Failure: A reading significantly different, or an open/short circuit. Cheaper aftermarket versions often measure lower, around 24-28 ohms, which can still cause issues with the ECU's monitoring circuit.
- Charcoal Canister Vent Valve Solenoid Resistance — expected: 23 to 26 Ω at 20°C (68°F).. Failure: Resistance outside of the specified range indicates a faulty solenoid coil.
- Fuel Tank Pressure (FTP) Sensor Voltage — expected: Typically 0.5V to 4.5V during the self-test cycle, corresponding to pressure changes.. Failure: Voltage that is stuck, or does not change when the system is under vacuum/pressure, indicates a faulty sensor.
Scan Tool Commands That Help
- Toyota Techstream: Evaporative System Check Utility — This function, found under 'Engine and ECT -> Utility', allows a technician to manually initiate the EVAP system's self-test, bypassing the need for a 5+ hour cold soak. It commands the various valves (purge, vent) and the leak detection pump to run through a test sequence, monitoring pressure decay to confirm a leak or verify a repair without waiting for the automatic monitor to run over several drive cycles.
- Toyota Techstream: Active Test: Control the Purge VSV — This bidirectional command allows the user to manually open and close the purge valve. It is used to verify the valve's mechanical function. A technician can command it open while monitoring for a change in fuel trims or engine RPM to see if it is flowing correctly, or command it closed to see if it seals properly during a smoke test.
Wiring & Ground Locations
- Engine Bay Ground Points — On the 2ZR-FXE engine, there are key ground wire clusters on the left side of the engine compartment. One is located on the body near the engine mount, and another is a cluster bolted directly to the engine block or transmission housing, often under the coolant reservoir.. The EVAP purge valve (VSV) and other engine bay sensors rely on a clean ground connection. A corroded or loose ground at these points can cause intermittent or incorrect operation of the purge valve, leading to EVAP codes even if the component itself is good.
- IA1 Connector — Located at the upper part of the front body pillar on the driver's side (LH), joining the Engine Room Main Wire and the Instrument Panel Wire.. This is a major junction for wiring between the engine bay and the interior ECUs. A fault or corrosion in this area could disrupt communication or power to EVAP system components.
Real Owner Repair Stories
- PriusChat Forum User (2010 Toyota Prius) — Persistent P0456 code returning every 4-5 days.
❌ Tried (didn't work) Replacing the gas cap with an OEM part., Smoke testing the vehicle (no leaks found initially).
✅ What actually fixed it The user reported that after multiple attempts, the final fix was the replacement of the fuel filler neck, which had developed a crack. The repair at a shop cost approximately $360. - NHTSA ODI #10350227 — An owner reported that their dealer diagnosed a P0456 code as being caused by an animal making a small pinhole in the gas return line.
- NHTSA ODI #11419086 — An owner described a situation where a recurring check engine light forced a dealer inspection, which diagnosed the problem as Code P0456, referring to a small leak in the evaporative emission control system.
"I Checked Everything" — The Actual Cause
- In one documented case on a Prius forum, a persistent P0456 code that did not show a leak during a standard smoke test was ultimately caused by a cracked fuel filler neck. The crack was likely small enough that it only leaked under specific vacuum conditions not replicated by the initial smoke test, or it was in a location obscured from view. The final fix was replacing the entire filler neck assembly.
OEM Part Supersession History
77300-52040→77300-06040— Part consolidation and design update.
Heads up: The new part number 77300-06040 is the current recommended OEM replacement for the original cap.90910-12276→90910-TC001— Part revision/update by Toyota.
Heads up: 90910-TC001 is listed as the replacement for 90910-12276 and should be compatible.
Model Year Variations Within This Range
- 2010: A Technical Service Bulletin (T-SB-0130-10) was issued specifically for some 2010 models, identifying a potentially faulty charcoal canister (PN 77740-47060) as the cause for P0456. While the canister can fail on any year, it was a recognized issue on the first year of this generation.
Diagnostic Flowchart
Other Known Issues on This Vehicle
Issues unrelated to this code that are worth knowing about as an owner of this generation:
- Excessive Oil Consumption 🔴 High — Common on 2010-2014 models, especially over 100,000 miles. Attributed to piston ring design. Can lead to 1 quart consumed per 1,000-2,000 miles.
- Brake Booster / Actuator Failure 🔴 High — A very common and expensive failure, often occurring between 100k-200k miles. Symptoms include a persistent buzzing noise, a stiff or soft brake pedal, and multiple warning lights (ABS, VSC, BRAKE). Codes C1256 or C1391 are common. Toyota issued a warranty extension, but many vehicles are now outside the coverage window. (Ref: Warranty Extension Program (ZJB))
- Clogged EGR System (Valve, Cooler, and Intake Manifold) 🟠 Medium — Extremely common after 100,000 miles. Carbon buildup clogs the EGR cooler and passages, leading to engine shudder, misfires, and potentially contributing to head gasket failure. Preventative cleaning every 75k-100k miles is highly recommended by the owner community.
- Head Gasket Failure 🔴 High — A significant issue for the 2010-2015 models, often linked to a clogged EGR system causing uneven cylinder temperatures. Symptoms include a rough, rattling startup, coolant loss, and misfire codes. It is a very expensive repair, often costing $3,000-$5,000.
- Hybrid Inverter Failure 🔴 High — Can cause the vehicle to stall while driving. This was a major issue that led to multiple recalls and warranty extensions. The issue involves overheating components within the Intelligent Power Module (IPM). (Ref: Recalls 14V053000, 18V684000, 20V369000 (20TB10 / 20TA10))
Used vs. New Parts: Buying Guide for This Vehicle
When a used part is the smart pick: For this repair, used parts are generally not recommended for the most common culprits. However, a used fuel filler neck or a large plastic/metal EVAP line from a low-mileage, non-corroded donor car could be a cost-effective option if a smoke test confirms that is the point of failure.
Donor-vehicle mileage cap: roughly under 80000 miles for the part to have meaningful remaining life.
What to inspect on the donor part:
- For hoses: Squeeze the hose to ensure it is still pliable and not hard or brittle.
- For plastic components (canister, filler neck): Inspect carefully for any hairline cracks, especially around seams and mounting points.
- For electrical connectors: Ensure pins are clean, straight, and free of corrosion.
- Check the donor vehicle's history for location; avoid parts from vehicles registered in the 'Salt Belt' if possible to minimize rust/corrosion issues.
OEM-only on this vehicle (don't cheap out):
- Fuel Tank Cap: The rubber seal is the critical component. A used cap has a used seal of unknown age and condition. Aftermarket caps are notoriously problematic and often fail to seal correctly, making OEM the only reliable choice.
- EVAP Purge Valve (VSV): Due to the precise resistance and flow characteristics monitored by the ECU, only an OEM (Toyota/Denso) part is recommended. Inexpensive aftermarket versions are known to have incorrect resistance values, leading to persistent or new error codes.
Aftermarket brands forum-validated for this vehicle:
- Denso (For Purge Valve - often the OEM supplier)
Brands owners have reported issues with on this vehicle:
- Unbranded/generic gas caps from online marketplaces.
- Low-cost, unbranded purge valves that do not meet the OEM resistance specification of ~32 ohms.
Real Owner Stories
Aggregated from forums and TSBs cited above. Mileages and costs reflect what owners reported in those sources.
2010 Toyota Prius
Symptoms: Persistent P0456 code (EVAP emissions system small leak detected) occurring every 4 or 5 days.
What fixed it: Replacing the fuel filler neck which had developed a crack.
Cost: $360-$360
Source hint: PriusChat Forum Experience: Cracked Filler Neck
2010 Toyota Prius
Symptoms: Check Engine Light ON with DTC P0456.
What fixed it: Replacing the charcoal canister assembly as per the technical service bulletin.
Source hint: T-SB-0130-10
Toyota Owner (NHTSA ODI #10350227)
Symptoms: Check engine light with code P0456.
What fixed it: The dealer found a small pinhole in the gas return line, which they attributed to an animal.
Related OBD-II Codes
Frequently Asked Questions
Is there a Technical Service Bulletin for the P0456 code on my 2010 Prius?
Can I use an aftermarket gas cap to fix the P0456 code on my Prius?
Why is my VSC light on at the same time as the Check Engine Light for P0456?
Where are the most common leak points in the engine bay for this generation Prius?
How much does it cost to replace the charcoal canister on a 2010-2015 Prius?
What other major issues should I look out for if my 2010-2015 Prius has high mileage?
Helpful Videos
Used OEM Parts in Stock
New Aftermarket Parts Available


The information in this article is provided for general reference and educational purposes only. Vehicle specifications, procedures, and part compatibility can vary by production date, trim level, and region. Always consult your vehicle's factory service manual and verify part numbers before purchasing or performing repairs. Safety-critical components such as airbags, seat belts, and braking systems should be installed by a qualified professional.
- Toyota Prius:
- 🧭 Diagnostic Flowchart
- 🎬 Helpful Videos
- 🛍️ Shop This Part
- What's Unique About the 2010-2015 Toyota Prius
- Symptoms You May Notice
- Most Likely Causes
- Rare But Worth Checking
- Diagnosis Steps
- Parts You'll Likely Need
- Related Codes That Often Appear With This One
- Technical Service Bulletins (TSBs) & Recalls
- Platform-Specific Known Issues
- Mechanic-Grade Diagnostic Values
- Scan Tool Commands That Help
- Wiring & Ground Locations
- Real Owner Repair Stories
- "I Checked Everything" — The Actual Cause
- OEM Part Supersession History
- Model Year Variations Within This Range
- Other Known Issues on This Vehicle
- Used vs. New Parts: Buying Guide for This Vehicle
- Real Owner Stories
- 2010 Toyota Prius
- 2010 Toyota Prius
- Toyota Owner (NHTSA ODI #10350227)
- Related OBD-II Codes
- Frequently Asked Questions
- 🎟️ Get 5% Off