
P1185 on 2013-2016 Chevrolet Malibu 2.5L: Engine Oil Temperature Circuit Explained
This code indicates a problem with the Engine Oil Temperature (EOT) sensor circuit. On the 2.5L Ecotec, the temperature sensor is integrated into the oil pressure sensor. The most common fix is replacing this combination sensor, but it's a difficult job as the sensor is located under the intake manifold.
- P1185 on a 2013-2016 Malibu 2.5L points to an electrical fault in the Engine Oil Temperature sensor circuit.
- The oil temperature and oil pressure sensors are a single, integrated unit on this engine.
- The most common cause is the failure of this combination sensor (GM P/N 12635992, superseded by 19436255).
- The repair is very labor-intensive (DIY Difficulty 5/5) because the sensor is located under the intake manifold.
- Always replace the intake manifold and throttle body gaskets during this repair to prevent future vacuum leaks.
What's Unique About the 2013-2016 Chevrolet Malibu
The key challenge on the 2.5L Ecotec engine is that the Engine Oil Temperature (EOT) sensor is not a separate, easily accessible part. Instead, it is integrated into the Engine Oil Pressure (EOP) sensor. This combination sensor is notoriously difficult to access, as it is located on the side of the engine block, buried underneath the intake manifold. This design turns a simple sensor replacement into a significant repair job requiring several hours of labor.
Generation note: This guide covers the eighth-generation Chevrolet Malibu (2013-2015) and the 2016 Malibu Limited, which was a continuation of the eighth generation using the same 2.5L LKW engine. The ninth-generation Malibu, also introduced in 2016, used different engines.
Symptoms You May Notice
- Check Engine Light is on
- Inaccurate or no oil temperature reading on a scan tool (the dashboard does not have a dedicated oil temperature gauge)
- Engine may enter a reduced power mode in some circumstances as a precaution.
- The cooling fans may run continuously at high speed because the PCM defaults to a worst-case scenario to protect the engine.
- Replacing the Engine Coolant Temperature (ECT) sensor. The P1185 code is specific to the Engine Oil Temperature circuit, not the coolant temperature.
- Assuming a mechanical oiling problem. This is an electrical circuit code, not an indication of low oil pressure or an actual oil overheating issue.
Most Likely Causes
- Failed Engine Oil Pressure/Temperature Sensor 🔴 High Probability Sensors located in high-heat areas of the engine are common failure points due to constant thermal stress. Oil can also leak through the body of the sensor over time and contaminate the electrical connector.
How to confirm: Using a scan tool, observe the live data for Engine Oil Temperature. If the reading is irrational (e.g., -40°F or stuck at a single value) when the engine is warm, the sensor is likely faulty. Direct electrical testing is difficult due to the sensor's location.
Typical fix: Replace the combination oil pressure and temperature sensor. The intake manifold must be removed to access it. 🎬 See how to remove the intake manifold
Est. part cost: $30-$60 - Damaged Wiring or Connector ⚪ Low Probability The wiring harness runs in a hot, tight space and can become brittle or damaged over time, though it's less common than sensor failure. Rodents can also chew on the wiring in this concealed area.
How to confirm: Once the intake manifold is removed to access the sensor, visually inspect the connector and wiring for any signs of melting, chafing, or broken wires. Check for continuity and voltage at the connector with a multimeter.
Typical fix: Repair the damaged section of the wiring harness or replace the connector pigtail.
Est. part cost: $15-$30
Rare But Worth Checking
- Faulty Powertrain Control Module (PCM): → Shop Engine Control Module (ECM) This is extremely rare. The PCM should only be considered after the sensor and wiring have been definitively ruled out as the cause of the problem.
Diagnosis Steps
- Verify the code with an OBD-II scanner. Check for any other pending or active codes.
- Using the scanner's live data function, monitor the 'Engine Oil Temperature' parameter. Note the reading with the engine cold and as it warms up.
- An illogical reading (e.g., stuck at -40°F, 250°F, or not changing as the engine warms) points to a circuit fault.
- Check the engine oil level and condition to ensure the engine is mechanically sound.
- Due to the sensor's location, the next practical step is to gain access by removing the intake manifold. Before removal, check for loose intake manifold bolts, a common issue on this engine which can cause other codes but is good to check while there.
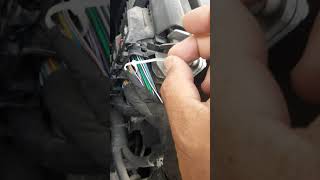
- Once the sensor is accessible, inspect the electrical connector and wiring harness for damage, corrosion, or oil contamination.
- If the wiring appears intact, replacing the Engine Oil Pressure/Temperature sensor is the most likely solution.
- After replacing the sensor, clear the codes and perform a drive cycle to ensure the fault does not return.
Parts You'll Likely Need
- Engine Oil Pressure/Temperature Sensor
(OEM #12635992)— This integrated sensor is the most common failure point for a P1185 code. Its failure causes the circuit malfunction detected by the PCM.
Trusted brands: ACDelco, GM Genuine Parts
OEM price range: $40-$60
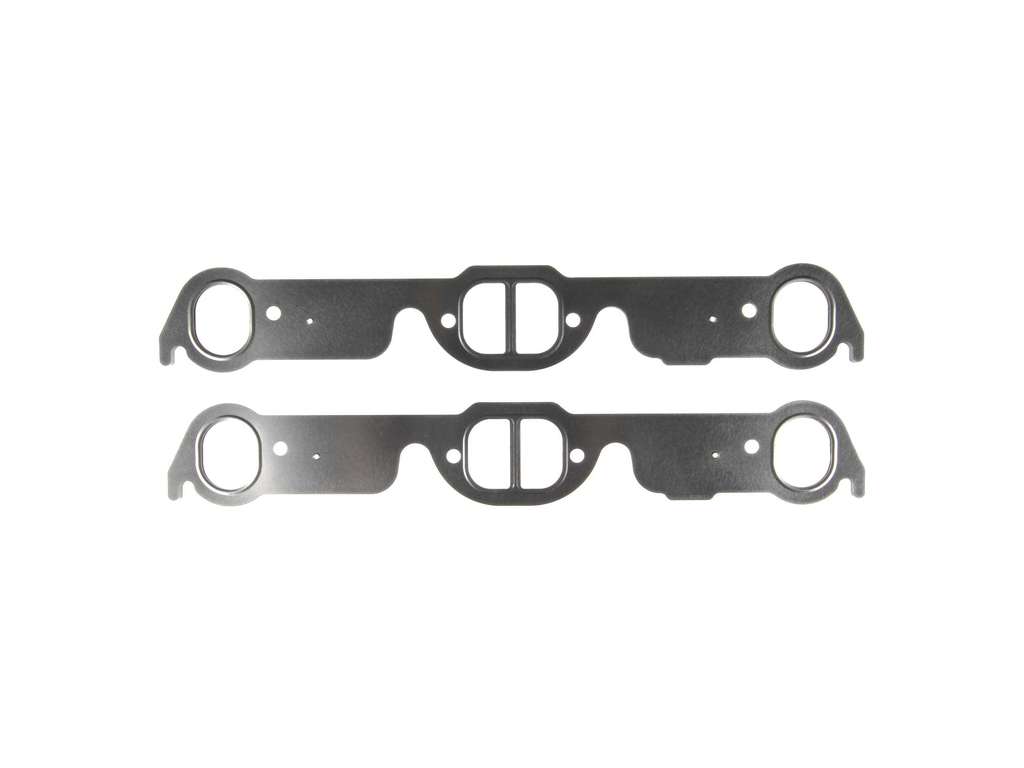
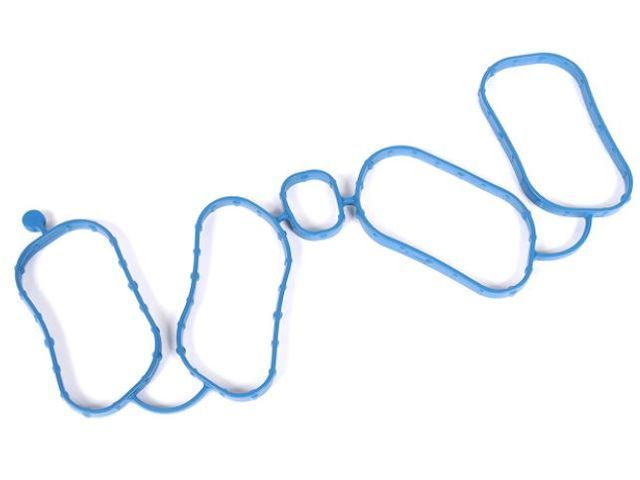
Aftermarket price range: $25-$45 - Intake Manifold Gasket Set
(OEM #12657427)— The intake manifold must be removed to access the sensor. The gaskets are single-use and must be replaced to prevent vacuum leaks after the repair.
Trusted brands: ACDelco, Fel-Pro, Mahle
OEM price range: $20-$35
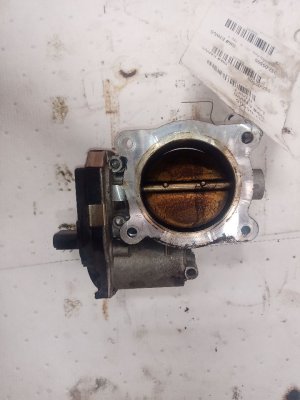
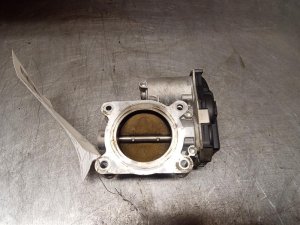
Aftermarket price range: $10-$25 - Throttle Body Gasket
(OEM #12653994)— The throttle body is removed from the intake manifold during the procedure. It is best practice to replace its gasket to ensure a proper seal and prevent vacuum leaks.
Trusted brands: ACDelco, GM Genuine Parts
OEM price range: $5-$15
Aftermarket price range: $3-$10
Related Codes That Often Appear With This One
- P0520-P0523 — These codes relate to the Engine Oil Pressure sensor circuit. Since the temperature and pressure sensors are a single integrated unit 🎬 Watch: How to solve oil pressure sensor codes on this engine, a failure of the component can trigger faults for both functions.
Platform-Specific Known Issues
- Owner Experience: DIY Replacement: An owner on a popular forum detailed their experience replacing the sensor on a 2014 Malibu 2.5L. They confirmed the difficulty, stating it took them over 5 hours as a first-timer. They emphasized the need for various socket extensions and a universal joint to reach the intake manifold bolts near the firewall. They also recommended taking photos at each step of disassembly to aid in reassembly, particularly of the vacuum lines and electrical connectors.
Mechanic-Grade Diagnostic Values
- 5V Reference Circuit Voltage at Sensor Connector (Key On, Engine Off) — expected: 4.8 - 5.2 Volts DC (measured between the 5V reference pin and a known good ground). Failure: Voltage below 4.8V or above 5.2V indicates a problem with the ECM or a short/open in the wiring harness.
- Low Reference Circuit Resistance to Ground — expected: Less than 10 Ohms (measured between the low reference pin at the sensor connector and a known good ground). Failure: Resistance greater than 10 Ohms indicates a poor ground connection, which can cause incorrect sensor readings.
- EOT Sensor Resistance vs. Temperature (Sensor Disconnected) — expected: Typical NTC thermistor behavior: ~2,200-3,000Ω at 20°C (68°F); ~250-350Ω at 80°C (176°F). Resistance should be very high when cold and decrease smoothly as it warms up.. Failure: An open circuit (infinite resistance) or short circuit (near zero resistance) at any temperature indicates a failed sensor. A reading that doesn't change with temperature also indicates failure.
Wiring & Ground Locations
- G101 — Located at the left front of the engine, on the lower block.. This is a primary ground for the Engine Control Module (ECM). A poor connection here can cause a wide range of sensor data errors, including for the EOT circuit.
- G107 — Located on the lower left side or center rear of the engine block.. A critical engine block ground. Since many sensors ground through the block, a poor connection here can introduce electrical noise and signal errors for the EOT/EOP sensor.
- G122 — Located at the rear of the engine on the cylinder head.. This is another primary engine ground. A poor connection here can cause floating or incorrect readings for multiple engine sensors that rely on a solid ground reference.
OEM Part Supersession History
24577642, 12610185→12635992— Standard part evolution and consolidation by the manufacturer.12635992→19436255— Updated design or manufacturing process by GM.
Diagnostic Flowchart
Other Known Issues on This Vehicle
Issues unrelated to this code that are worth knowing about as an owner of this generation:
- Premature Timing Chain Stretch 🔴 High — Commonly occurs between 80,000 and 150,000 miles. Often preceded by a startup rattle. (Ref: While no specific recall, numerous TSBs exist for related diagnostic codes like P0016/P0017.)
- Loose Intake Manifold Bolts 🟠 Medium — A very common issue causing vacuum leaks and lean codes (P0171, P0106). Can occur at various mileages. (Ref: TSB PIP5529B directly addresses this, recommending re-torquing the bolts.)
- Excessive Oil Consumption 🟠 Medium — Some owners report higher than normal oil consumption, though GM has a specific guideline for what is considered 'normal'. (Ref: GM has published bulletins (e.g., 05-06-04-022V) defining acceptable oil consumption rates.)
- Torque Converter/Transmission Shudder 🟠 Medium — Owners report shuddering or jerking during acceleration, often linked to torque converter clutch failure.
- Rocker Arm Oil Control Valve (OCV) Malfunction 🟡 Low — Can cause rough running and set specific diagnostic codes (e.g., P16CF). (Ref: Special Coverage N192289160 was issued for some 2014 models to replace the valve.)
Used vs. New Parts: Buying Guide for This Vehicle
When a used part is the smart pick: For this specific repair, a used part from a junkyard is NEVER a smart choice. The labor to access the sensor (2.5-4 hours) is the most expensive part of the job. The risk of a used sensor failing prematurely, forcing a repeat of the entire labor-intensive repair, far outweighs any potential savings on the part itself.
What to inspect on the donor part:
- Not applicable; avoid used parts for this component.
OEM-only on this vehicle (don't cheap out):
- Engine Oil Pressure/Temperature Sensor
Aftermarket brands forum-validated for this vehicle:
- ACDelco (GM Genuine Parts) is the most highly recommended brand. Given the labor involved, using the OEM part is the safest investment to ensure longevity and avoid repeat repairs.
Brands owners have reported issues with on this vehicle:
- While many brands exist, some owners have reported premature failures with aftermarket sensors on GM vehicles. Standard Motor Products (SMP) has been mentioned by some users as failing within a short period, leading to a repeat of the difficult repair.
Real Owner Stories
Aggregated from forums and TSBs cited above. Mileages and costs reflect what owners reported in those sources.
2014 Chevrolet Malibu 2.5L
Symptoms: The owner experienced both P0520 and P1185 codes simultaneously, indicating a failure of the dual-purpose sensor.
What fixed it: Replacement of the combination oil pressure and temperature sensor located under the intake manifold.
Source hint: ChevyMalibuForum.com: P0520 and P1185 on 2014 Malibu 2.5L
2014 Chevrolet Malibu 2.5L
Symptoms: Check engine light was on; the owner noted the extreme difficulty of the repair, requiring over 5 hours for a first-time DIY attempt.
What fixed it: Replacement of the sensor. The owner emphasized using various socket extensions and a universal joint to reach the intake manifold bolts near the firewall.
Source hint: Owner Experience: DIY Replacement
Related OBD-II Codes
Frequently Asked Questions
Why are my cooling fans running at high speed constantly on my 2014 Malibu?
Can I just replace the oil temperature sensor without removing the intake manifold?
Is there a TSB for the intake manifold issues I should check while fixing P1185?
My 2014 Malibu has both P0520 and P1185; do I need two different sensors?
Should I use an aftermarket sensor like Standard Motor Products to save money?
Is the P1185 code covered under the Rocker Arm Oil Control Valve special coverage?
Helpful Videos

Used OEM Parts in Stock
New Aftermarket Parts Available


The information in this article is provided for general reference and educational purposes only. Vehicle specifications, procedures, and part compatibility can vary by production date, trim level, and region. Always consult your vehicle's factory service manual and verify part numbers before purchasing or performing repairs. Safety-critical components such as airbags, seat belts, and braking systems should be installed by a qualified professional.
- Chevrolet Malibu:
- 🧭 Diagnostic Flowchart
- 🎬 Helpful Videos
- 🛍️ Shop This Part
- What's Unique About the 2013-2016 Chevrolet Malibu
- Symptoms You May Notice
- Most Likely Causes
- Rare But Worth Checking
- Diagnosis Steps
- Parts You'll Likely Need
- Related Codes That Often Appear With This One
- Platform-Specific Known Issues
- Mechanic-Grade Diagnostic Values
- Wiring & Ground Locations
- OEM Part Supersession History
- Other Known Issues on This Vehicle
- Used vs. New Parts: Buying Guide for This Vehicle
- Real Owner Stories
- 2014 Chevrolet Malibu 2.5L
- 2014 Chevrolet Malibu 2.5L
- Related OBD-II Codes
- Frequently Asked Questions
- 🎟️ Get 5% Off