
P1451 on 1995-2001 Ford Explorer: EVAP Vent Solenoid Circuit Malfunction Causes and Fixes
This code points to an electrical fault with the EVAP canister vent solenoid, not a gas leak. The most likely cause on this Explorer is broken or corroded wiring near the solenoid at the rear of the truck, followed by a failed solenoid. Expect to pay $25-$75 for a new solenoid.
- P1451 is an electrical circuit code, not a leak code. Don't start with a smoke machine.
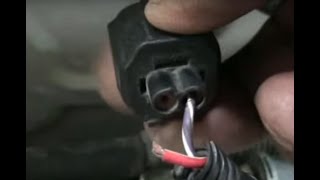
- Before buying parts, inspect the wiring to the vent solenoid near the spare tire; a broken wire right at the connector is the most likely cause.
- The part you need is the 'canister vent solenoid' at the rear of the truck, not the 'purge solenoid' in the engine bay.
- You can test the solenoid with a multimeter; resistance should be around 48-65 ohms.
- This is a DIY-friendly repair that mainly requires visual inspection and basic electrical testing. Remember to check for chafed wires further up the harness if the connector looks good.
What's Unique About the 1995-2001 Ford Explorer
🎬 Watch: Overview of common causes and fixes for P1451On the second-generation Explorer, the P1451 code is very frequently caused by the wiring that runs to the canister vent solenoid at the rear of the vehicle. This wiring is exposed to the elements and is known to chafe against the frame or corrode and break, often right at the connector itself. Many owners spend time looking for the wrong part in the engine bay (the purge solenoid) when the actual culprit (the vent solenoid) is located near the spare tire. Forum users on Ford Truck Enthusiasts report the wiring loom can also rub through on a bracket underneath the air filter box, causing an intermittent short.
Symptoms You May Notice
- Check Engine Light is on.
- Failing a state emissions inspection.
- A faint fuel odor may be noticeable near the rear of the vehicle.
- In rare cases, difficulty filling the fuel tank if the solenoid fails in the closed position, causing the pump nozzle to click off repeatedly.
- Replacing the EVAP Purge Solenoid. The purge solenoid is located in the engine bay, while the P1451 code refers to the vent solenoid circuit, located at the rear of the vehicle near the charcoal canister and spare tire. Forum threads are filled with owners who mistakenly replace the purge solenoid first.
Most Likely Causes
- Damaged or Corroded Wiring to Vent Solenoid 🔴 High Probability The wiring harness runs along the frame rail to the rear of the vehicle, making it highly susceptible to damage from road debris, moisture, and corrosion over time. The wires often break right at the solenoid connector, sometimes inside the insulation where it isn't visible. This area is constantly exposed to water and salt spray kicked up by the tires.
How to confirm: Visually inspect the entire length of the wiring leading to the canister vent solenoid, which is located near the spare tire. Pay close attention to the connector and any points where the harness touches the frame. Tug gently on each wire at the connector; they often break internally. Check for power (12V with key on) on the Red wire and check the other wire (often Violet/White or similar) for continuity back to the PCM.
Typical fix: Repair the broken or shorted section of wire. If the break is at the connector, it is best to replace the connector pigtail by splicing it in with heat-shrink butt connectors.
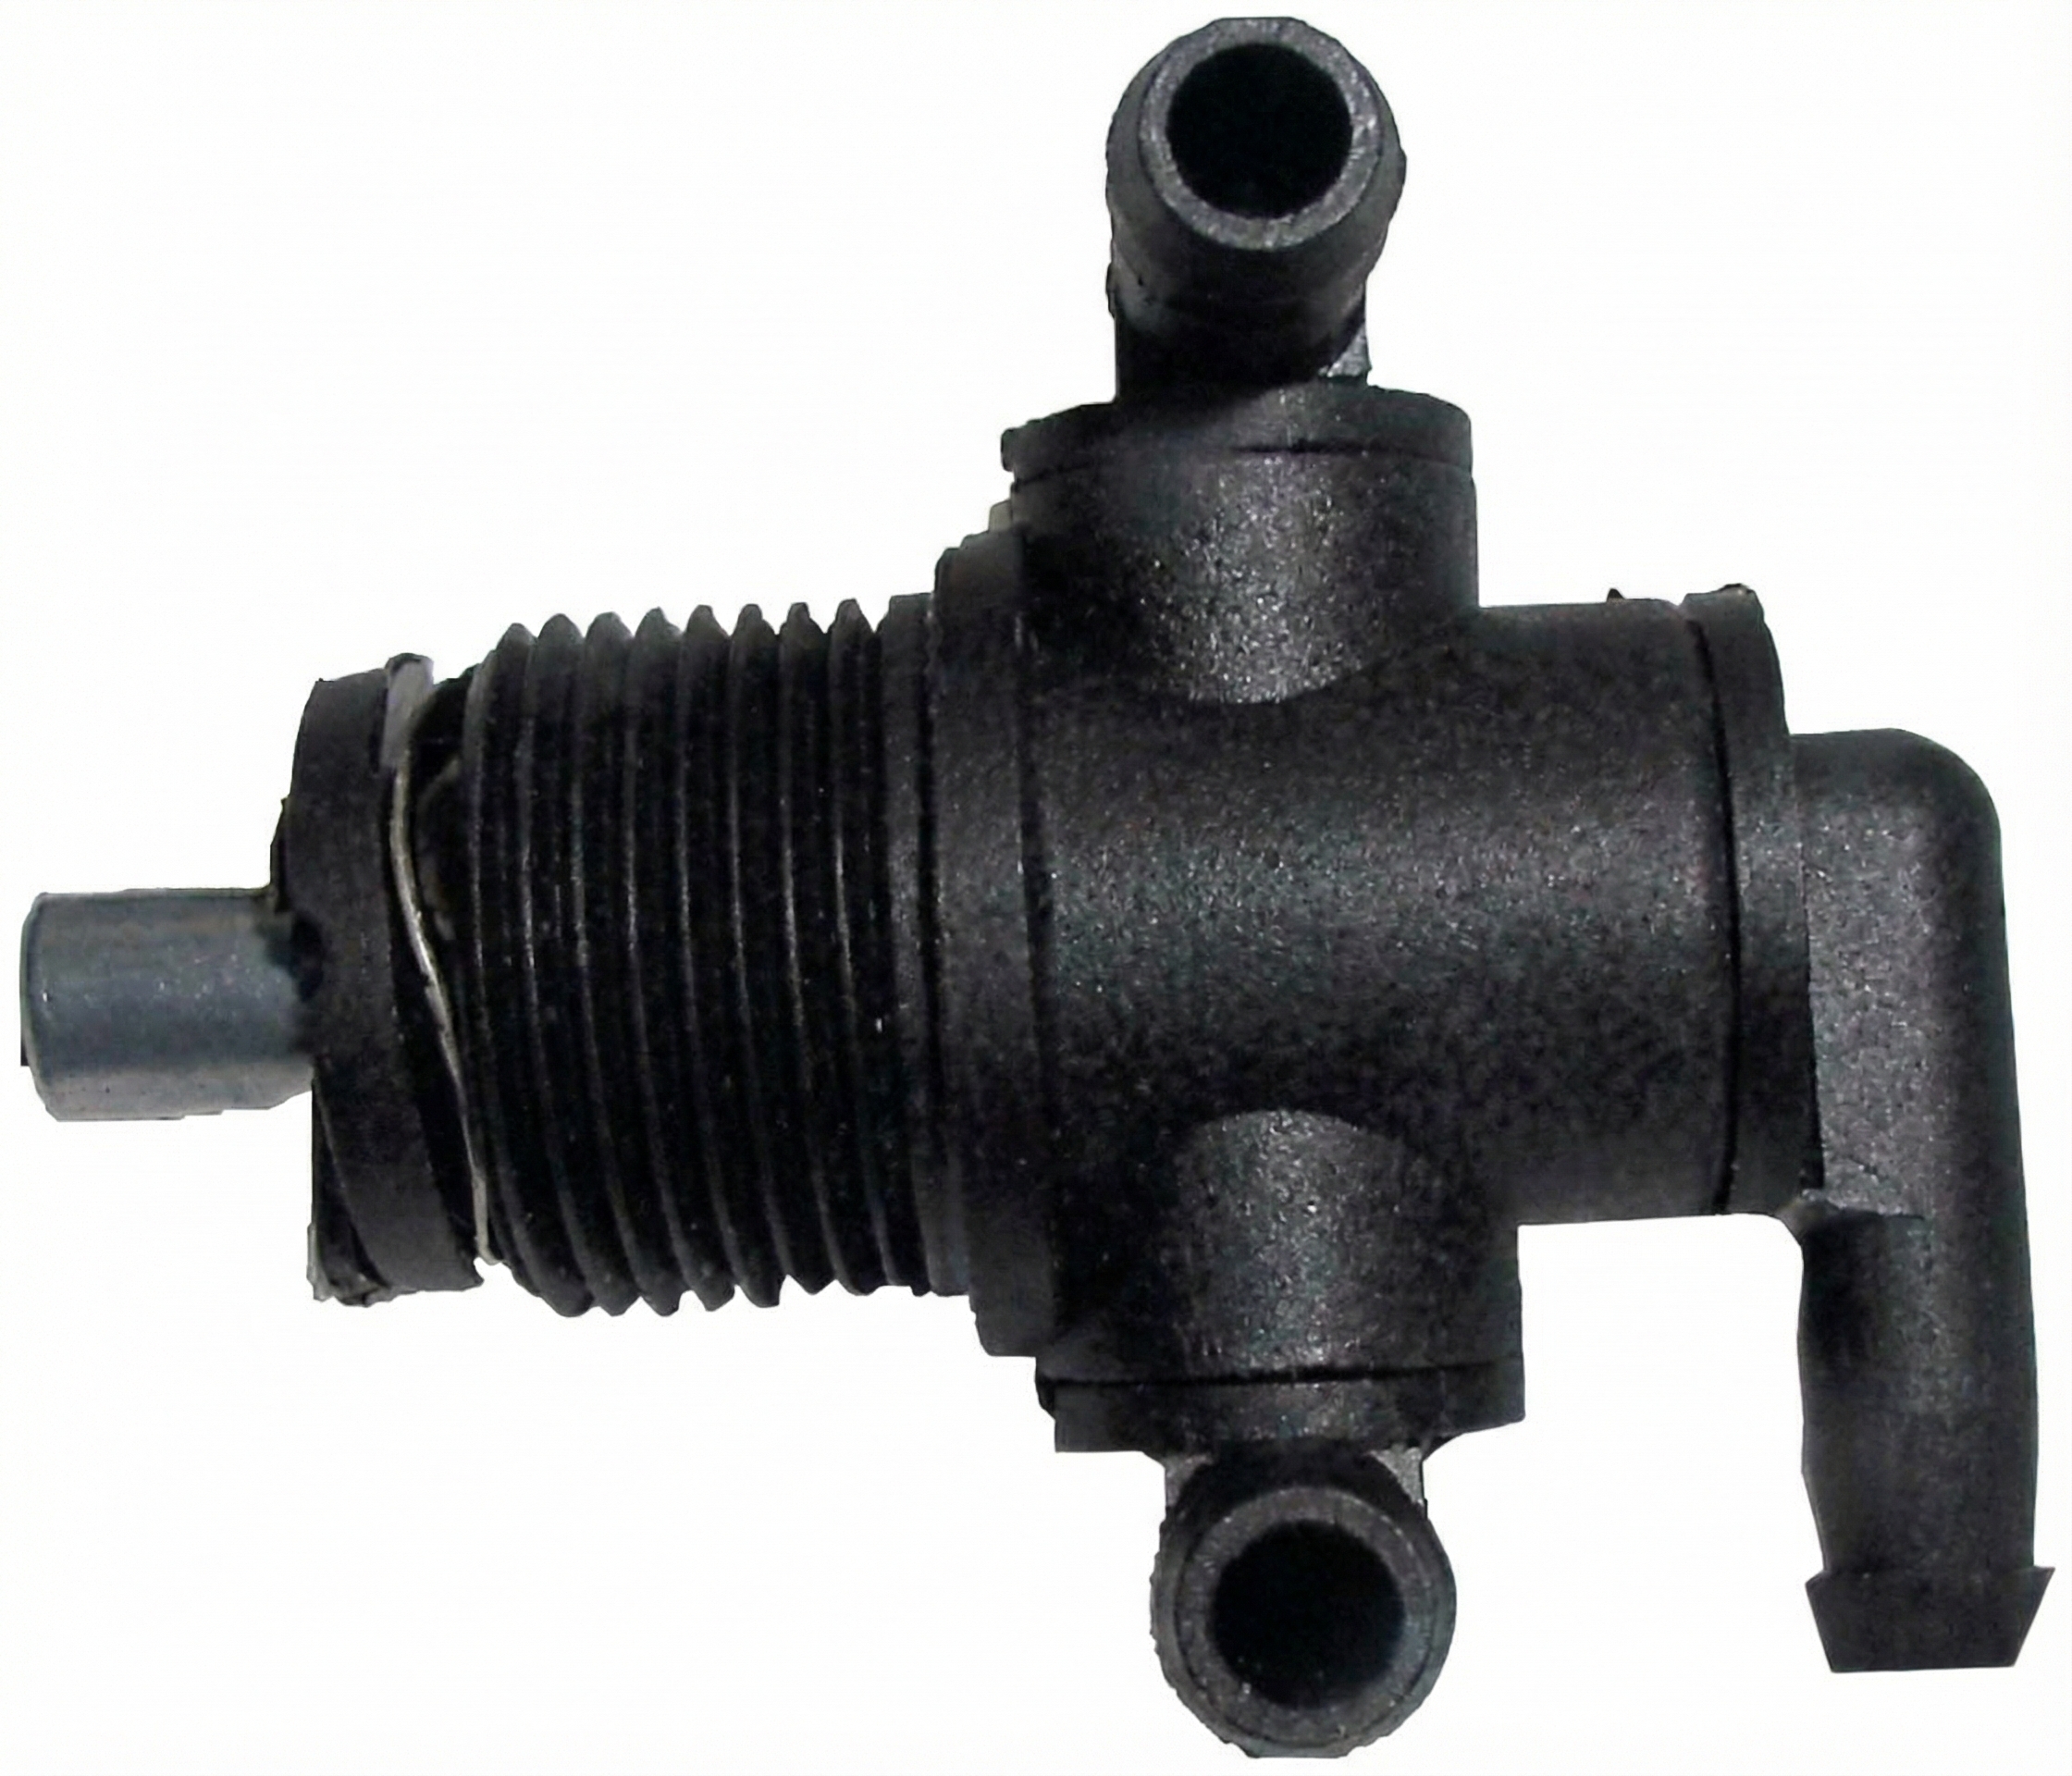
Est. part cost: $10-$25 for a pigtail connector - Faulty EVAP Canister Vent Solenoid 🟡 Medium Probability → Shop Vapor Canister The solenoid is an electromechanical part that can fail from age, heat cycles, and internal corrosion, causing its electrical coil to go open or short circuit. Its location under the vehicle exposes it to harsh conditions.
How to confirm: Disconnect the solenoid and measure the resistance across its two pins with a multimeter. 🎬 See how to test the vent valve and its wiring A good solenoid for a Ford of this era should have a resistance between 48 and 65 ohms. A reading of infinity (open) or near zero (short) indicates a failed solenoid. You can also try applying 12V directly to the pins to see if it makes an audible click.
Typical fix: Replace the canister vent solenoid.
Est. part cost: $25-$75 - Clogged EVAP Canister or Vent Hoses ⚪ Low Probability → Shop Vapor Canister The vent opening can be blocked by mud, debris, or insect nests. While this typically sets a different code (like P0446), a severe blockage could potentially affect the system's electrical self-test.
How to confirm: After removing the vent solenoid, inspect the hoses and the port on the charcoal canister for any physical blockages.
Typical fix: Clean the debris from the hoses or canister port.
Est. part cost: $0
Rare But Worth Checking
- Failed Powertrain Control Module (PCM): → Shop Engine Control Module (ECM) This is extremely rare. The PCM should only be considered after all other possibilities, including the wiring (tested for opens, shorts, and continuity) and the solenoid itself, have been exhaustively tested and ruled out. One owner on a forum replaced the PCM, and it did not fix the issue, which was later found to be a broken wire.
Diagnosis Steps
- Confirm the P1451 code is present using an OBD-II scanner.
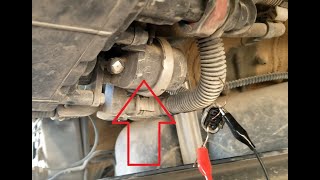
- Locate the EVAP canister vent solenoid. It is mounted on or near the charcoal canister, which is situated near the spare tire at the rear of the Explorer. 🎬 Watch: How to remove the vent valve solenoid
- Perform a thorough visual inspection of the solenoid's electrical connector and the wiring harness leading to it. Look for green corrosion ('green cruddy'), chafed insulation where the harness touches the frame, or wires broken right at the connector. Gently pull on each wire at the connector to check for internal breaks.
- If wiring looks suspect, test for power. With the key on, engine off, one of the wires at the connector (typically Red) should have 12 volts when measured to a good chassis ground.
- If power is present, test the solenoid. Disconnect it and measure the resistance of its coil using a multimeter. Compare the reading to the typical Ford specification of 48-65 ohms. A reading far outside this range indicates a bad solenoid.
- If the solenoid tests good, check the control wire (often Violet/White) for continuity back to the PCM. Also check it for a short to ground.
- Check the vent hoses and the canister port for any obstructions like dirt, mud, or spider webs.
- If the wiring and solenoid test good, the fault may be intermittent. Try wiggling the harness, especially near the connector and where it runs over the frame, while monitoring voltage to see if the connection drops out.
- If all else fails, the issue could be with the PCM driver circuit, but this is highly unlikely.
Parts You'll Likely Need
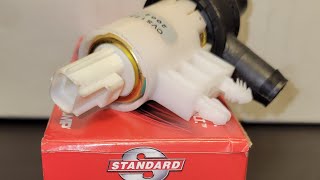
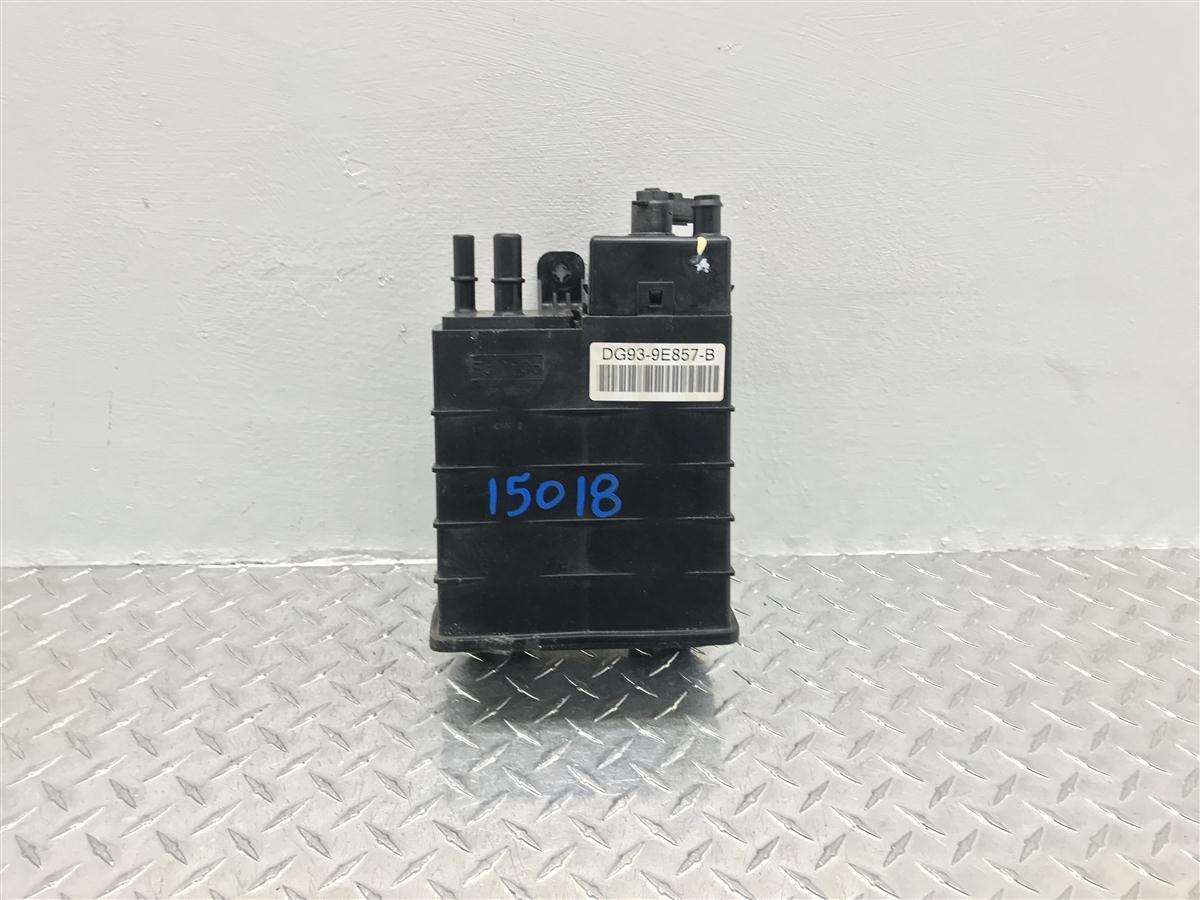
- EVAP Canister Vent Solenoid
(OEM #F57Z-9F945-A)— This is the component that the P1451 code directly monitors. If its internal coil fails (shorts or opens), it will trigger the code. This part number is the correct OEM number for this generation. The number from pass 1 was incorrect.
Trusted brands: Motorcraft (OEM), Dorman 911-128, Standard Motor Products CVS24
OEM price range: $60-$100
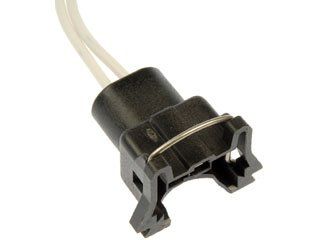
Aftermarket price range: $25-$60 - Vent Solenoid Connector Pigtail
(OEM #Varies, check by application)— Often the wires break right at the connector due to stress and corrosion. Splicing in a new pigtail is often easier and more reliable than trying to repair the original connector.
Trusted brands: Dorman 645-209, Standard Motor Products S-1080, Wells 1P1783
OEM price range: $20-$35
Aftermarket price range: $10-$20
Platform-Specific Known Issues
- Broken Wires at the Connector: A user on Ford Truck Enthusiasts Forums reported both wires to their vent solenoid were broken off about 1/4" from the connector. They had to de-pin the connector, crimp new ends on the wires, and re-install them to fix the issue. Their solenoid tested good at 56 ohms.
- Corroded Main Harness Connector: A Ford Ranger owner with P1451 traced the problem to a large harness connector located on the frame rail near the fuel filter. Pins inside this multi-wire connector had corroded and broken off, causing an open circuit to the rear vent solenoid.
- Wire Chafing Under Airbox: After replacing parts with no luck, an owner on Ford Truck Enthusiasts found the solution. The wiring harness that runs from the rear of the truck travels to the front and passes underneath the air filter box. At that point, a wire had rubbed through on a metal bracket, causing an intermittent short to ground that triggered the P1451 code.
Mechanic-Grade Diagnostic Values
- EVAP Canister Vent Solenoid Coil Resistance — expected: 48 - 65 Ohms. Failure: A reading of infinity (open circuit) or near-zero Ohms (short circuit). Some owners have reported functional solenoids as low as 37 Ohms, but the 48-65 range is the most commonly cited specification.
- Voltage at Solenoid Connector (Key On, Engine Off) — expected: One wire (typically Red) should have ~12V (battery voltage). The other wire (control, often Violet/White) should have very low voltage (~0.05V).. Failure: No voltage on the power wire indicates a break in the power feed (VPWR circuit) or a blown fuse. Voltage on the control wire when it should be low could indicate a short to power.
- Scan Tool PID 'EVAPCV' (Key On, Engine Off) — expected: When commanded open (0% duty cycle), voltage on the control wire should be near battery voltage. When commanded closed (100% duty cycle), voltage should drop by at least 4 volts.. Failure: If the voltage does not change when commanded, it indicates a break in the control wire, a faulty PCM driver, or a failed solenoid.
- Fuel Tank Pressure (FTP) Sensor Voltage (Key On, Engine Off, Gas Cap Off) — expected: Approximately 2.5 - 2.7 Volts (at atmospheric pressure).. Failure: A reading of 0V or 5V indicates a wiring fault or a failed FTP sensor. This test helps rule out a faulty sensor that could cause related EVAP codes, though not typically P1451 directly.
Scan Tool Commands That Help
- Ford IDS (or equivalent like FORScan): Output Test Mode / Active Command for EVAP Canister Vent (CV) Solenoid — This is a critical step to verify if the PCM can control the solenoid. While monitoring the voltage on the control wire, you can command the solenoid on and off (or from 0% to 100% duty cycle) to see if the circuit responds correctly. This isolates the problem to the wiring/solenoid or the PCM itself.
Wiring & Ground Locations
- PCM Connector Pin 65 — On the main 104-pin connector at the Powertrain Control Module (PCM), which is typically mounted on the passenger-side firewall.. This is the specific pin for the 'CAN VENT SOL' control wire. It is the endpoint for checking continuity from the solenoid connector back to the PCM, which is essential for diagnosing an open or shorted wire.
- Ground G104 — On a 1995 model, this is located at the left rear corner of the engine compartment, on the fender apron.. While not directly for the solenoid circuit, this is a major chassis ground point. A poor connection here can cause numerous, difficult-to-trace electrical issues as it serves as a ground for multiple systems, potentially including the PCM or related circuits.
- Engine-to-Firewall Ground Strap — Often runs from the rear of the driver's side cylinder head to a stud on the firewall.. This is a primary ground path for the engine and its sensors. A corroded or broken strap can create floating grounds and unstable sensor readings, leading to various electrical fault codes.
"I Checked Everything" — The Actual Cause
- P1451 is an electrical circuit code, not a leak code, so a smoke test is not the standard diagnostic procedure and is expected to be 'clean' (show no leaks). The diagnostic challenge arises when visual inspection and multimeter tests at the solenoid connector show good readings. In these cases, the actual cause is often an intermittent open or short in a section of wiring far from the solenoid, such as the harness chafing on a bracket under the air filter box, a failure that standard procedures would miss.
OEM Part Supersession History
F57Z-9F945-A→Motorcraft CX1553— CX1553 is the service part number from Motorcraft for the original Ford part.
Model Year Variations Within This Range
- 1998-2001: Later models in this generation feature an 'Enhanced Evaporative Emission System' which uses a Fuel Tank Pressure (FTP) sensor for more precise monitoring. While the P1451 code still points to the vent solenoid circuit, the diagnostic strategy in the PCM is more complex. However, the physical causes (wiring, solenoid failure) remain largely the same across the generation.
Diagnostic Flowchart
Used vs. New Parts: Buying Guide for This Vehicle
When a used part is the smart pick: A used connector pigtail from a junkyard is a smart choice if the plastic isn't brittle and the wires are in good condition. A used solenoid is a low-cost gamble; given that it's an electromechanical part exposed to the elements, its remaining lifespan is uncertain, but it can be a cheap way to test if the solenoid is the issue.
Donor-vehicle mileage cap: roughly under 120000 miles for the part to have meaningful remaining life.
What to inspect on the donor part:
- For a solenoid, check for excessive rust on the metal body.
- For a connector pigtail, ensure the locking tab is intact and the plastic is not cracked or brittle.
- Bend the wires on a pigtail to ensure the insulation is not cracking and the copper inside is not stiff/corroded.
- If possible, bring a multimeter and test the resistance of a used solenoid before buying. It should be within the 48-65 Ohm range.
OEM-only on this vehicle (don't cheap out):
- Powertrain Control Module (PCM) - but this is almost never the cause of P1451.
Aftermarket brands forum-validated for this vehicle:
- Dorman (911-128)
- Standard Motor Products (CVS24)
Real Owner Stories
Aggregated from forums and TSBs cited above. Mileages and costs reflect what owners reported in those sources.
2000 Ford Explorer 5.0L
Symptoms: The owner reported a P1451 code. After testing, the solenoid itself was found to be good with a resistance of 56 ohms.
What fixed it: The owner found both wires to the vent solenoid were broken off about 1/4 inch from the connector. The fix involved de-pinning the connector, crimping new ends on the wires, and reinstalling them.
Source hint: Ford Truck Enthusiasts Forums (ford-trucks.com): Thread 'P1451 on 2000 Explorer 5.0'
Ford Explorer (year/engine not specified)
Symptoms: The owner was being driven crazy by a persistent P1451 code after replacing parts with no success.
What fixed it: The fault was a wire in the EVAP harness that had rubbed through on a metal bracket underneath the air filter box, causing an intermittent short to ground.
Source hint: Ford Truck Enthusiasts Forums (ford-trucks.com): Thread 'p1451 driving me crazy'
Ford Ranger (platform mate)
Symptoms: A P1451 code was present, but the issue was not at the vent solenoid itself.
What fixed it: The problem was traced to a large, multi-wire harness connector on the frame rail near the fuel filter. Pins inside this connector had corroded and broken, creating an open circuit to the vent solenoid.
Source hint: Ranger-Forums.com: Thread 'P1451/Purge Valve Solenoid Issue'
Related OBD-II Codes
Frequently Asked Questions
Where is the EVAP canister vent solenoid located on my 1995-2001 Explorer?
What is the correct resistance for the vent solenoid when I test it with a multimeter?
The wiring seems to be the most common problem. Where exactly do the wires typically break?
How can I test the wiring harness at the solenoid connector?
I have a Ford Ranger or Mercury Mountaineer with a P1451 code. Does this article apply?
My mechanic replaced the solenoid but the code came back. What should I check next?
Helpful Videos

Used OEM Parts in Stock
New Aftermarket Parts Available

The information in this article is provided for general reference and educational purposes only. Vehicle specifications, procedures, and part compatibility can vary by production date, trim level, and region. Always consult your vehicle's factory service manual and verify part numbers before purchasing or performing repairs. Safety-critical components such as airbags, seat belts, and braking systems should be installed by a qualified professional.
- Ford Explorer:
- 🧭 Diagnostic Flowchart
- 🎬 Helpful Videos
- 🛍️ Shop This Part
- What's Unique About the 1995-2001 Ford Explorer
- Symptoms You May Notice
- Most Likely Causes
- Rare But Worth Checking
- Diagnosis Steps
- Parts You'll Likely Need
- Platform-Specific Known Issues
- Mechanic-Grade Diagnostic Values
- Scan Tool Commands That Help
- Wiring & Ground Locations
- "I Checked Everything" — The Actual Cause
- OEM Part Supersession History
- Model Year Variations Within This Range
- Used vs. New Parts: Buying Guide for This Vehicle
- Real Owner Stories
- 2000 Ford Explorer 5.0L
- Ford Explorer (year/engine not specified)
- Ford Ranger (platform mate)
- Related OBD-II Codes
- Frequently Asked Questions
- 🎟️ Get 5% Off