
P1451 on 1995-2001 Ford Explorer: EVAP Vent Solenoid Circuit Causes and Fixes
On a 1995-2001 Explorer, P1451 is almost always an electrical issue with the EVAP Canister Vent Solenoid at the rear of the truck. The most likely fix is repairing a broken or corroded wire near the spare tire, checking the large frame harness connector, or replacing a blown 15A fuse. A new solenoid costs about $25-$75 and is a less frequent cause than the wiring itself.
- P1451 is an electrical circuit code, not a leak
What's Unique About the 1995-2001 Ford Explorer
On the second-generation Ford Explorer, the P1451 code is most frequently caused by the wiring that runs to the canister vent solenoid at the rear of the vehicle. This harness is exposed to road salt, water, and debris, making it highly prone to corrosion and breakage, often right at the solenoid's connector. A significant number of owners mistakenly replace the incorrect part (the purge solenoid in the engine bay) before realizing the fault is with the vent solenoid's circuit at the back of the truck. Another key failure point on these trucks is the large C309/C340 harness connector on the driver's side frame rail near the fuel filter, which is known to corrode and cause an open circuit.
Symptoms You May Notice
- Check Engine Light is on
- Failing an emissions inspection
- In rare cases, a 'whoosh' of pressure or vacuum when removing the gas cap.
- Rarely, a faint fuel odor may be noticeable.
- In some instances, associated with engine stalling or hesitation, often due to a shared blown fuse.
- Replacing the EVAP Purge Solenoid: The purge solenoid is in the engine bay, but P1451 refers to the vent solenoid circuit at the rear of the truck. This is a very common mistake.
- Replacing the Gas Cap: A bad gas cap causes EVAP leak codes (like P0455), not an electrical circuit code like P1451.
- Performing a Smoke Test First: This code indicates an electrical fault, not a system leak, so a smoke test is not the correct initial diagnostic step.
Most Likely Causes
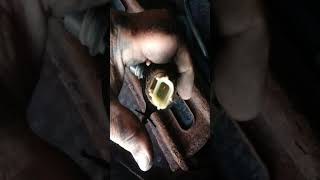
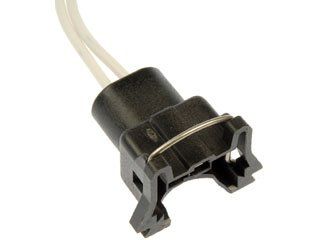
- Damaged or Corroded Wiring to Vent Solenoid 🔴 High Probability The wiring harness to the vent solenoid is located near the spare tire, where it is exposed to road debris, moisture, and salt, leading to corrosion and breaks in the wires. Wires often break right at the connector pigtail.
How to confirm: Visually inspect the wiring harness leading to the EVAP canister vent solenoid at the rear of the vehicle. Check for green or white corrosion, frayed wires, or complete breaks. A forum user reported both wires had broken off completely from rust. Also inspect the large harness connector (C309) on the frame rail near the fuel filter for corrosion, as this is a known failure point on the platform.
Typical fix: Repair the broken or corroded section of wire using butt connectors with heat shrink tubing or by soldering and sealing the connection. If the connector itself is damaged, it will need to be replaced. In one documented case, an owner de-pinned the connector to re-crimp the broken wires.
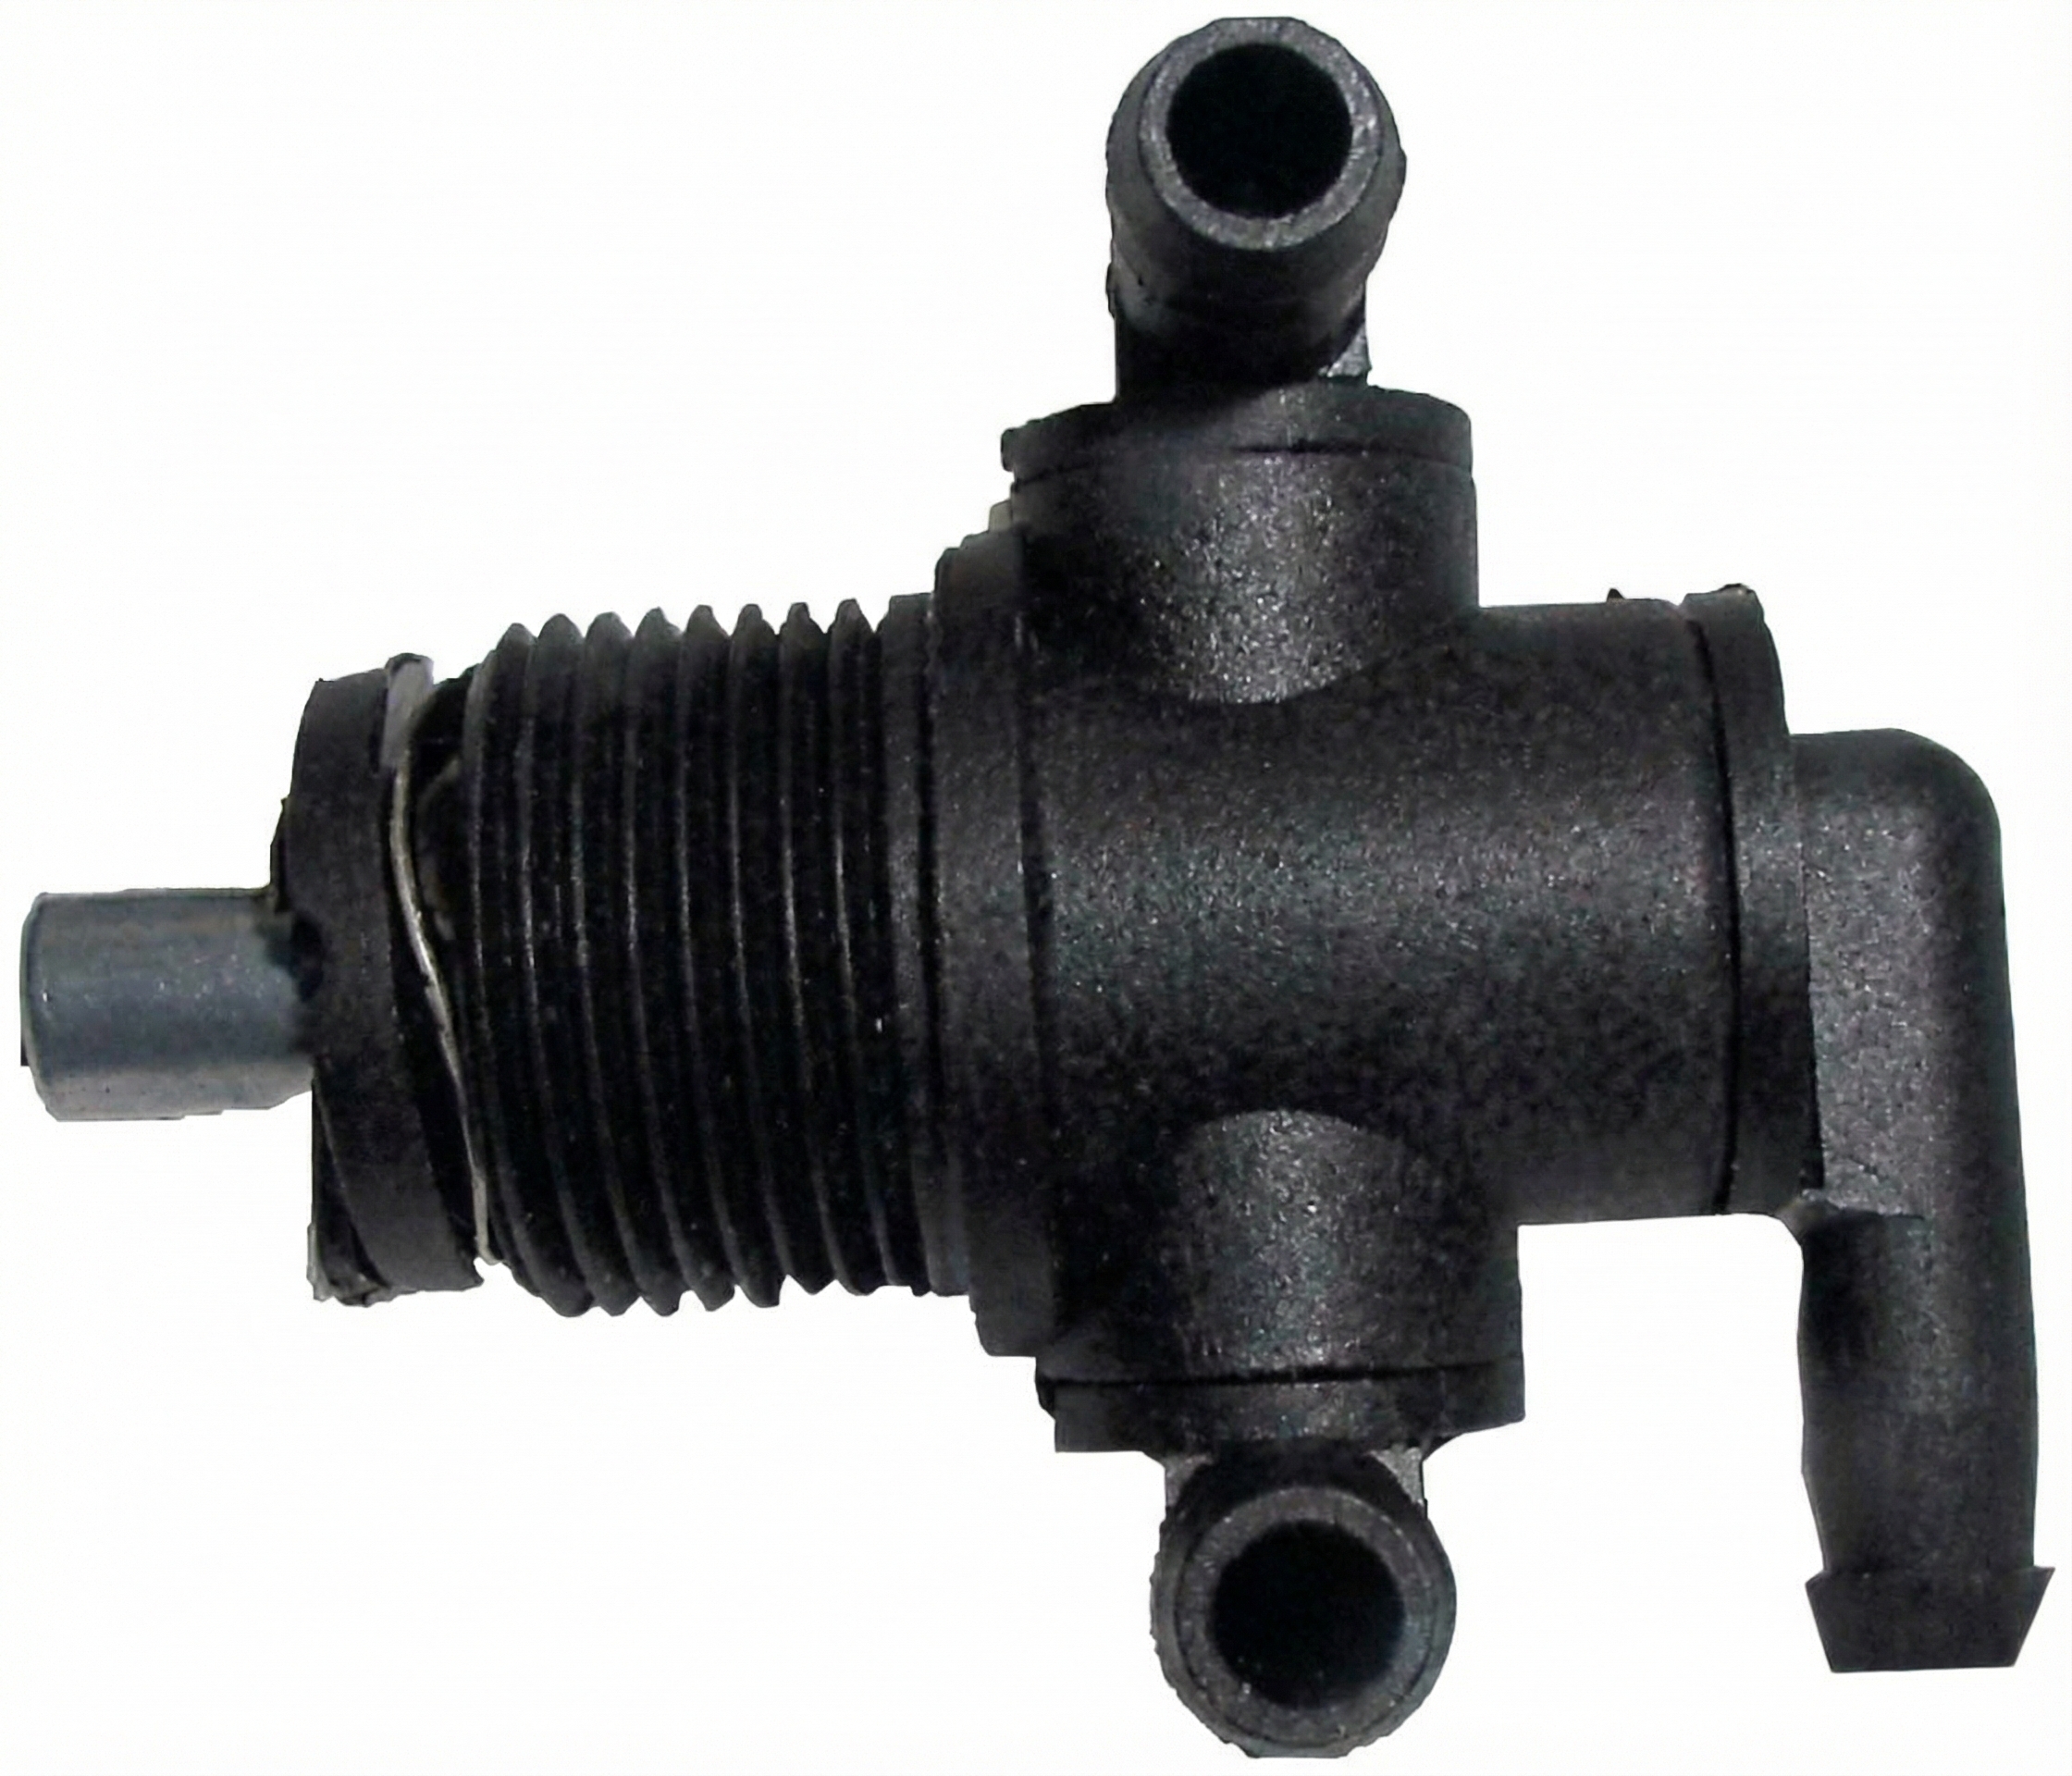
Est. part cost: $1-$20 - Failed EVAP Canister Vent Solenoid 🟡 Medium Probability → Shop Vapor Canister The solenoid is a mechanical valve with an electrical coil that can fail over time due to age, heat cycles, and exposure to the elements, particularly road salt.
How to confirm: If the wiring is confirmed to be good, test the solenoid's coil with a multimeter. Disconnect the solenoid and measure the resistance between its two electrical pins. A functional solenoid should have a resistance between 48 and 65 ohms. Forum users have confirmed testing functional solenoids at 55-56 ohms. A reading of infinity (OL) indicates an open circuit, and a reading near zero indicates a short.
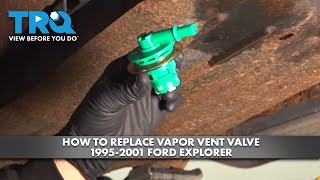
Typical fix: Replace the EVAP canister vent solenoid. 🎬 Watch: Step-by-step guide to replacing the vent valve It is typically located on or near the charcoal canister at the rear of the vehicle, near the spare tire.
Est. part cost: $25-$75 - Blown Fuse ⚪ Low Probability A short in the vent solenoid circuit or another circuit sharing the same fuse can cause the fuse to blow.
How to confirm: Check the fuse box (Battery Junction Box) located under the hood. On many Explorers, Fuse #13 (15A) provides power to the EVAP vent solenoid and O2 sensor heaters. A forum user with a 1999 Explorer fixed their P1451 and stalling issues by replacing a single blown 15A mini-fuse.
Typical fix: Replace the blown fuse. If the fuse blows again immediately, it indicates a persistent short circuit in the wiring that must be located and repaired.
Est. part cost: $1-$5
Rare But Worth Checking
- Faulty Powertrain Control Module (PCM): → Shop Engine Control Module (ECM) This is extremely rare. The PCM should only be considered after all other possibilities, including all sections of wiring and the solenoid itself, have been exhaustively tested and ruled out.
Diagnosis Steps
- Verify the code with an OBD-II scanner.
- Visually inspect the wiring harness and connector for the EVAP canister vent solenoid, located near the spare tire. Look for any signs of corrosion, damage, or breaks. Pay close attention to the wires right at the connector.
- Inspect the larger wiring harness connector (C309) on the driver's side frame rail near the fuel filter for corrosion or damaged pins.
- Check Fuse #13 (15A) in the under-hood fuse box to see if it is blown.
- If the wiring and fuse are good, disconnect the vent solenoid and test its resistance with a multimeter. The reading should be between 48 and 65 ohms.
- If resistance is out of range, replace the vent solenoid.
- If resistance is within range, the problem is likely in the wiring. Check for battery voltage (approx. 12V) on the power wire (typically Red or Red/Yellow) at the solenoid connector with the key on, engine off. Check for continuity and for shorts to ground on the control wire (often Violet/White or Green/Black).
- After repairs, clear the code and perform a Ford EVAP drive cycle. This typically involves driving with the fuel tank between 1/2 and 3/4 full at a steady speed of 45-65 mph for about 10 minutes to allow the EVAP monitor to run and confirm the fix.
Parts You'll Likely Need
- EVAP Canister Vent Solenoid
(OEM #F7DZ-9F945-CA (Motorcraft CX-1637 is a common service part))— This solenoid is the most common part to fail internally, after wiring issues are ruled out.
Trusted brands: Motorcraft, Dorman (911-218), Standard Motor Products (CVS28)
OEM price range: $50-$90
Aftermarket price range: $25-$75
Related Codes That Often Appear With This One
- P0135, P0155, P0161 — These O2 Sensor Heater Circuit codes can appear if a shared fuse that provides power to both the O2 sensor heaters and the EVAP vent solenoid is blown, such as fuse #13 in the under-hood fuse box.
- P0455 — If the P1451 fault causes the vent solenoid to be stuck open, the PCM may interpret this condition as a large EVAP system leak during a self-test, triggering a P0455 code.
- P0443 — This code for the EVAP Purge Control Valve Circuit can appear if there are multiple wiring issues or if a previous repair attempt on the P1451 circuit inadvertently caused a problem with the purge circuit, which is routed nearby in some areas.
Platform-Specific Known Issues
- The wiring harness for the vent solenoid is particularly vulnerable to damage from road debris and corrosion where it is routed near the spare tire and along the frame rail.
- Corrosion at the main harness connector (C309) located on the driver's side frame rail near the fuel filter is another common failure point for this circuit, affecting Explorers and Rangers alike.
- Forum users report that even squirrels chewing on the wires near the canister have caused this code.
Mechanic-Grade Diagnostic Values
- EVAP Canister Vent Solenoid Coil Resistance — expected: 48 to 65 Ohms. Failure: A reading of infinity (OL) indicates an open coil; a reading near 0 Ohms indicates a shorted coil.
- Voltage at Solenoid Connector Power Wire (Key On, Engine Off) — expected: >10.5 Volts (Battery Voltage). Failure: 0V or significantly low voltage indicates an open circuit or blown fuse in the power feed wire (typically Red or Red/Yellow).
- Voltage at Solenoid Connector Control Wire (Key On, Engine Off, Solenoid Commanded OFF) — expected: Should read close to battery voltage (if back-probing with solenoid connected) or a low reference voltage from the PCM (if disconnected).. Failure: A reading of 0V when it should be high indicates a short to ground on the control wire.
- Voltage at Solenoid Connector Control Wire (Solenoid Commanded ON via Scan Tool) — expected: Near 0 Volts. Failure: A reading that stays high indicates the PCM is not grounding the circuit or there is an open in the control wire (typically Violet/White or Green/Black).
Scan Tool Commands That Help
- Ford IDS (Integrated Diagnostic System) or equivalent professional scanner: Output Test Mode / Active Command — After confirming power and ground are present but the cause is still unknown, use this to manually command the EVAP Canister Vent Solenoid ON and OFF. This directly tests the PCM's ability to control the circuit and the solenoid's mechanical function (an audible click should be heard).
- Ford IDS (Integrated Diagnostic System): EVAP System Test — This is a comprehensive, automated test to run after a repair has been completed. It cycles the entire EVAP system, including the vent solenoid, to verify the repair and ensure the readiness monitor can be set.
Wiring & Ground Locations
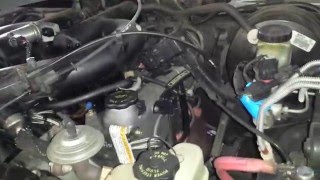
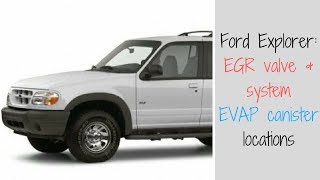
- EVAP Vent Solenoid Connector — At the EVAP canister vent solenoid, located near the spare tire at the rear of the vehicle. 🎬 Watch: How to locate the EGR valve and EVAP canister. This is the single most common failure point. Wires (Power: Red or Red/Yellow; Control: Violet/White or Green/Black) break or corrode directly at the connector body.
- C309 / C340 — Large multi-pin harness connector on the driver's side frame rail, near the fuel filter.. This is a known secondary failure point. It carries the vent solenoid circuit to the rear. Water intrusion causes corrosion and open circuits for the pins related to the vent solenoid.
- G302 / G303 — General ground points located at the rear of the vehicle.. While not directly for the solenoid (which is PCM-grounded), a poor chassis ground in the rear of the vehicle can cause floating voltages and erratic behavior in nearby circuits, potentially confusing the PCM's monitoring.
- Wiring Harness Chafe Point — Under the air filter housing in the engine bay.. In a rare but documented failure mode, the harness containing the EVAP circuit wires can rub against a metal bracket in the engine bay, causing a short or open circuit far from the component itself.
Real Owner Repair Stories
- Ford Truck Enthusiasts forum user 'jsmorris' (2000 Ford Explorer 5.0L) — Check Engine Light with P1451.
❌ Tried (didn't work) Initially misdiagnosed and looked at the purge solenoid in the engine bay., Clearing the code, which would return after two drive cycles.
✅ What actually fixed it Found both wires (Red and Green/Black) had completely broken off the vent solenoid connector due to rust. The final fix was replacing the connector pigtail and the solenoid itself. The user confirmed the old solenoid still tested good at 56 ohms, proving the wiring was the primary fault. - YouTube video by 'Gabriel's Auto Tech' (2001 Lincoln Town Car (similar Ford platform/EVAP design)) — Check Engine Light with P1451.
❌ Tried (didn't work) Initial visual inspection did not reveal the fault.
✅ What actually fixed it The wire had broken off *inside* the connector terminal at the vent solenoid. The fix required removing the terminal from the plastic connector housing and soldering the wire back onto it for a solid connection.
"I Checked Everything" — The Actual Cause
- This pattern is not applicable. P1451 is an electrical circuit malfunction code, not a system leak code. A smoke test is the incorrect initial diagnostic procedure. If a smoke test is performed and passes, it provides no useful information for diagnosing a P1451 and simply confirms that the diagnostic path should have started with electrical checks.
OEM Part Supersession History
F7DZ-9F945-AA→F7DZ-9F945-AB— Standard part revision and improvement by the manufacturer.F7DZ-9F945-AB→F7DZ-9F945-CA (current service part)— Standard part revision and improvement by the manufacturer.
Diagnostic Flowchart
Other Known Issues on This Vehicle
Issues unrelated to this code that are worth knowing about as an owner of this generation:
- Cracked Plastic Thermostat Housing 🔴 High — Very common failure item. The plastic warps and cracks from heat cycles, causing significant coolant leaks. Often fails after 80k-120k miles.
- Lower Intake Manifold Gasket Leaks 🟠 Medium — Common on the 4.0L OHV engine, leading to coolant leaks (external or internal) and vacuum leaks. Caused by gasket degradation over time.
- 5R55E Automatic Transmission Problems 🔴 High — Widespread issues include harsh/delayed shifts, loss of gears (especially reverse), or a flashing O/D light. Causes range from worn servo bores in the case to failed solenoid packs. (Ref: Multiple TSBs exist for various drivability concerns.)
- Heater Blend Door Actuator Failure 🟡 Low — A very common interior problem where the plastic blend door or its actuator fails, causing the climate control to be stuck on full heat. Repair requires extensive dashboard disassembly.
Used vs. New Parts: Buying Guide for This Vehicle
When a used part is the smart pick: For this repair, sourcing a used wiring connector pigtail from a junkyard is an excellent, cost-effective strategy. It provides OEM-grade terminals and correct wire colors for a durable repair. A used solenoid is a viable option if it can be tested with a multimeter on-site before purchase.
Donor-vehicle mileage cap: roughly under 150000 miles for the part to have meaningful remaining life.
What to inspect on the donor part:
- For a wiring pigtail: Prioritize a donor vehicle from a dry, non-salt-belt climate. Inspect for zero green/white corrosion on the pins and ensure the wire insulation is still flexible, not brittle or cracked.
- For a solenoid: Look for minimal rust on the metal housing. Use a portable multimeter to confirm resistance is between 48-65 Ohms before buying.
Aftermarket brands forum-validated for this vehicle:
- Dorman (Part: 911-218)
- Standard Motor Products (SMP) (Part: CVS28)
Real Owner Stories
Aggregated from forums and TSBs cited above. Mileages and costs reflect what owners reported in those sources.
2000 Ford Explorer 5.0L
Symptoms: Check Engine Light with code P1451. Upon inspection, both wires had broken off the vent solenoid connector completely due to rust.
What fixed it: The owner de-pinned the connector to re-crimp the broken wires and confirmed the solenoid was still good with a resistance reading of 56 ohms.
Source hint: Ford Truck Enthusiasts: 'P1451 on 2000 Explorer 5.0'
1999 Ford Explorer 4.0L SOHC
Symptoms: The vehicle was stuttering and stalling during acceleration. Normal gas pedal pressure caused immediate stuttering.
What fixed it: Replacing a single blown 15A mini-fuse (Fuse #13) in the under-hood Battery Junction Box.
Source hint: Ford Truck Enthusiasts: '1999 Explorer - Code P1451...'
1995-2001 Ford Ranger (Platform Mate)
Symptoms: P1451 code that would not go away despite standard troubleshooting.
What fixed it: Repaired a corroded wire loom located right after the rear harness plug by the fuel filter (C309 connector area).
Source hint: Ranger-Forums.com: 'P1451 wont go away'
1995-2001 Ford Explorer
Symptoms: Check Engine Light (P1451).
What fixed it: Repairing wires near the canister that had been chewed by squirrels.
Source hint: vehicle_specific_issues
Related OBD-II Codes
Frequently Asked Questions
Where is the EVAP canister vent solenoid located on my 1995-2001 Ford Explorer?
My Explorer is stalling and hesitating along with the P1451 code; could these be related?
What resistance should I see when testing the vent solenoid on my 4.0L OHV V6?
Is there a specific wiring connector I should check besides the one at the solenoid?
Why is the wiring on my Explorer so prone to causing this P1451 code?
How do I clear the P1451 code and ensure the EVAP system is ready for emissions testing?
Helpful Videos
Used OEM Parts in Stock
New Aftermarket Parts Available

The information in this article is provided for general reference and educational purposes only. Vehicle specifications, procedures, and part compatibility can vary by production date, trim level, and region. Always consult your vehicle's factory service manual and verify part numbers before purchasing or performing repairs. Safety-critical components such as airbags, seat belts, and braking systems should be installed by a qualified professional.
- Ford Explorer:
- 🧭 Diagnostic Flowchart
- 🎬 Helpful Videos
- 🛍️ Shop This Part
- What's Unique About the 1995-2001 Ford Explorer
- Symptoms You May Notice
- Most Likely Causes
- Rare But Worth Checking
- Diagnosis Steps
- Parts You'll Likely Need
- Related Codes That Often Appear With This One
- Platform-Specific Known Issues
- Mechanic-Grade Diagnostic Values
- Scan Tool Commands That Help
- Wiring & Ground Locations
- Real Owner Repair Stories
- "I Checked Everything" — The Actual Cause
- OEM Part Supersession History
- Other Known Issues on This Vehicle
- Used vs. New Parts: Buying Guide for This Vehicle
- Real Owner Stories
- 2000 Ford Explorer 5.0L
- 1999 Ford Explorer 4.0L SOHC
- 1995-2001 Ford Ranger (Platform Mate)
- 1995-2001 Ford Explorer
- Related OBD-II Codes
- Frequently Asked Questions
- 🎟️ Get 5% Off