
P1451 on 2009-2019 Ford Flex 3.5L: EVAP Vent Solenoid Circuit Fault Causes and Fixes
P1451 on a Ford Flex indicates an electrical problem with the EVAP canister vent solenoid or its wiring, located near the fuel tank. The most likely fix is replacing the vent solenoid itself, which costs about $40-$80 for the part and is a straightforward DIY repair. This is an electrical circuit code, not a leak code, so a smoke machine is not the correct starting point.
- P1451 is an electrical fault with the EVAP vent solenoid circuit, not a system leak.
- The most likely cause is a failed vent solenoid located near the fuel tank. Test its resistance; it should be 48-65 ohms.
- Before replacing the solenoid, always inspect its electrical connector and nearby wiring for corrosion or damage.
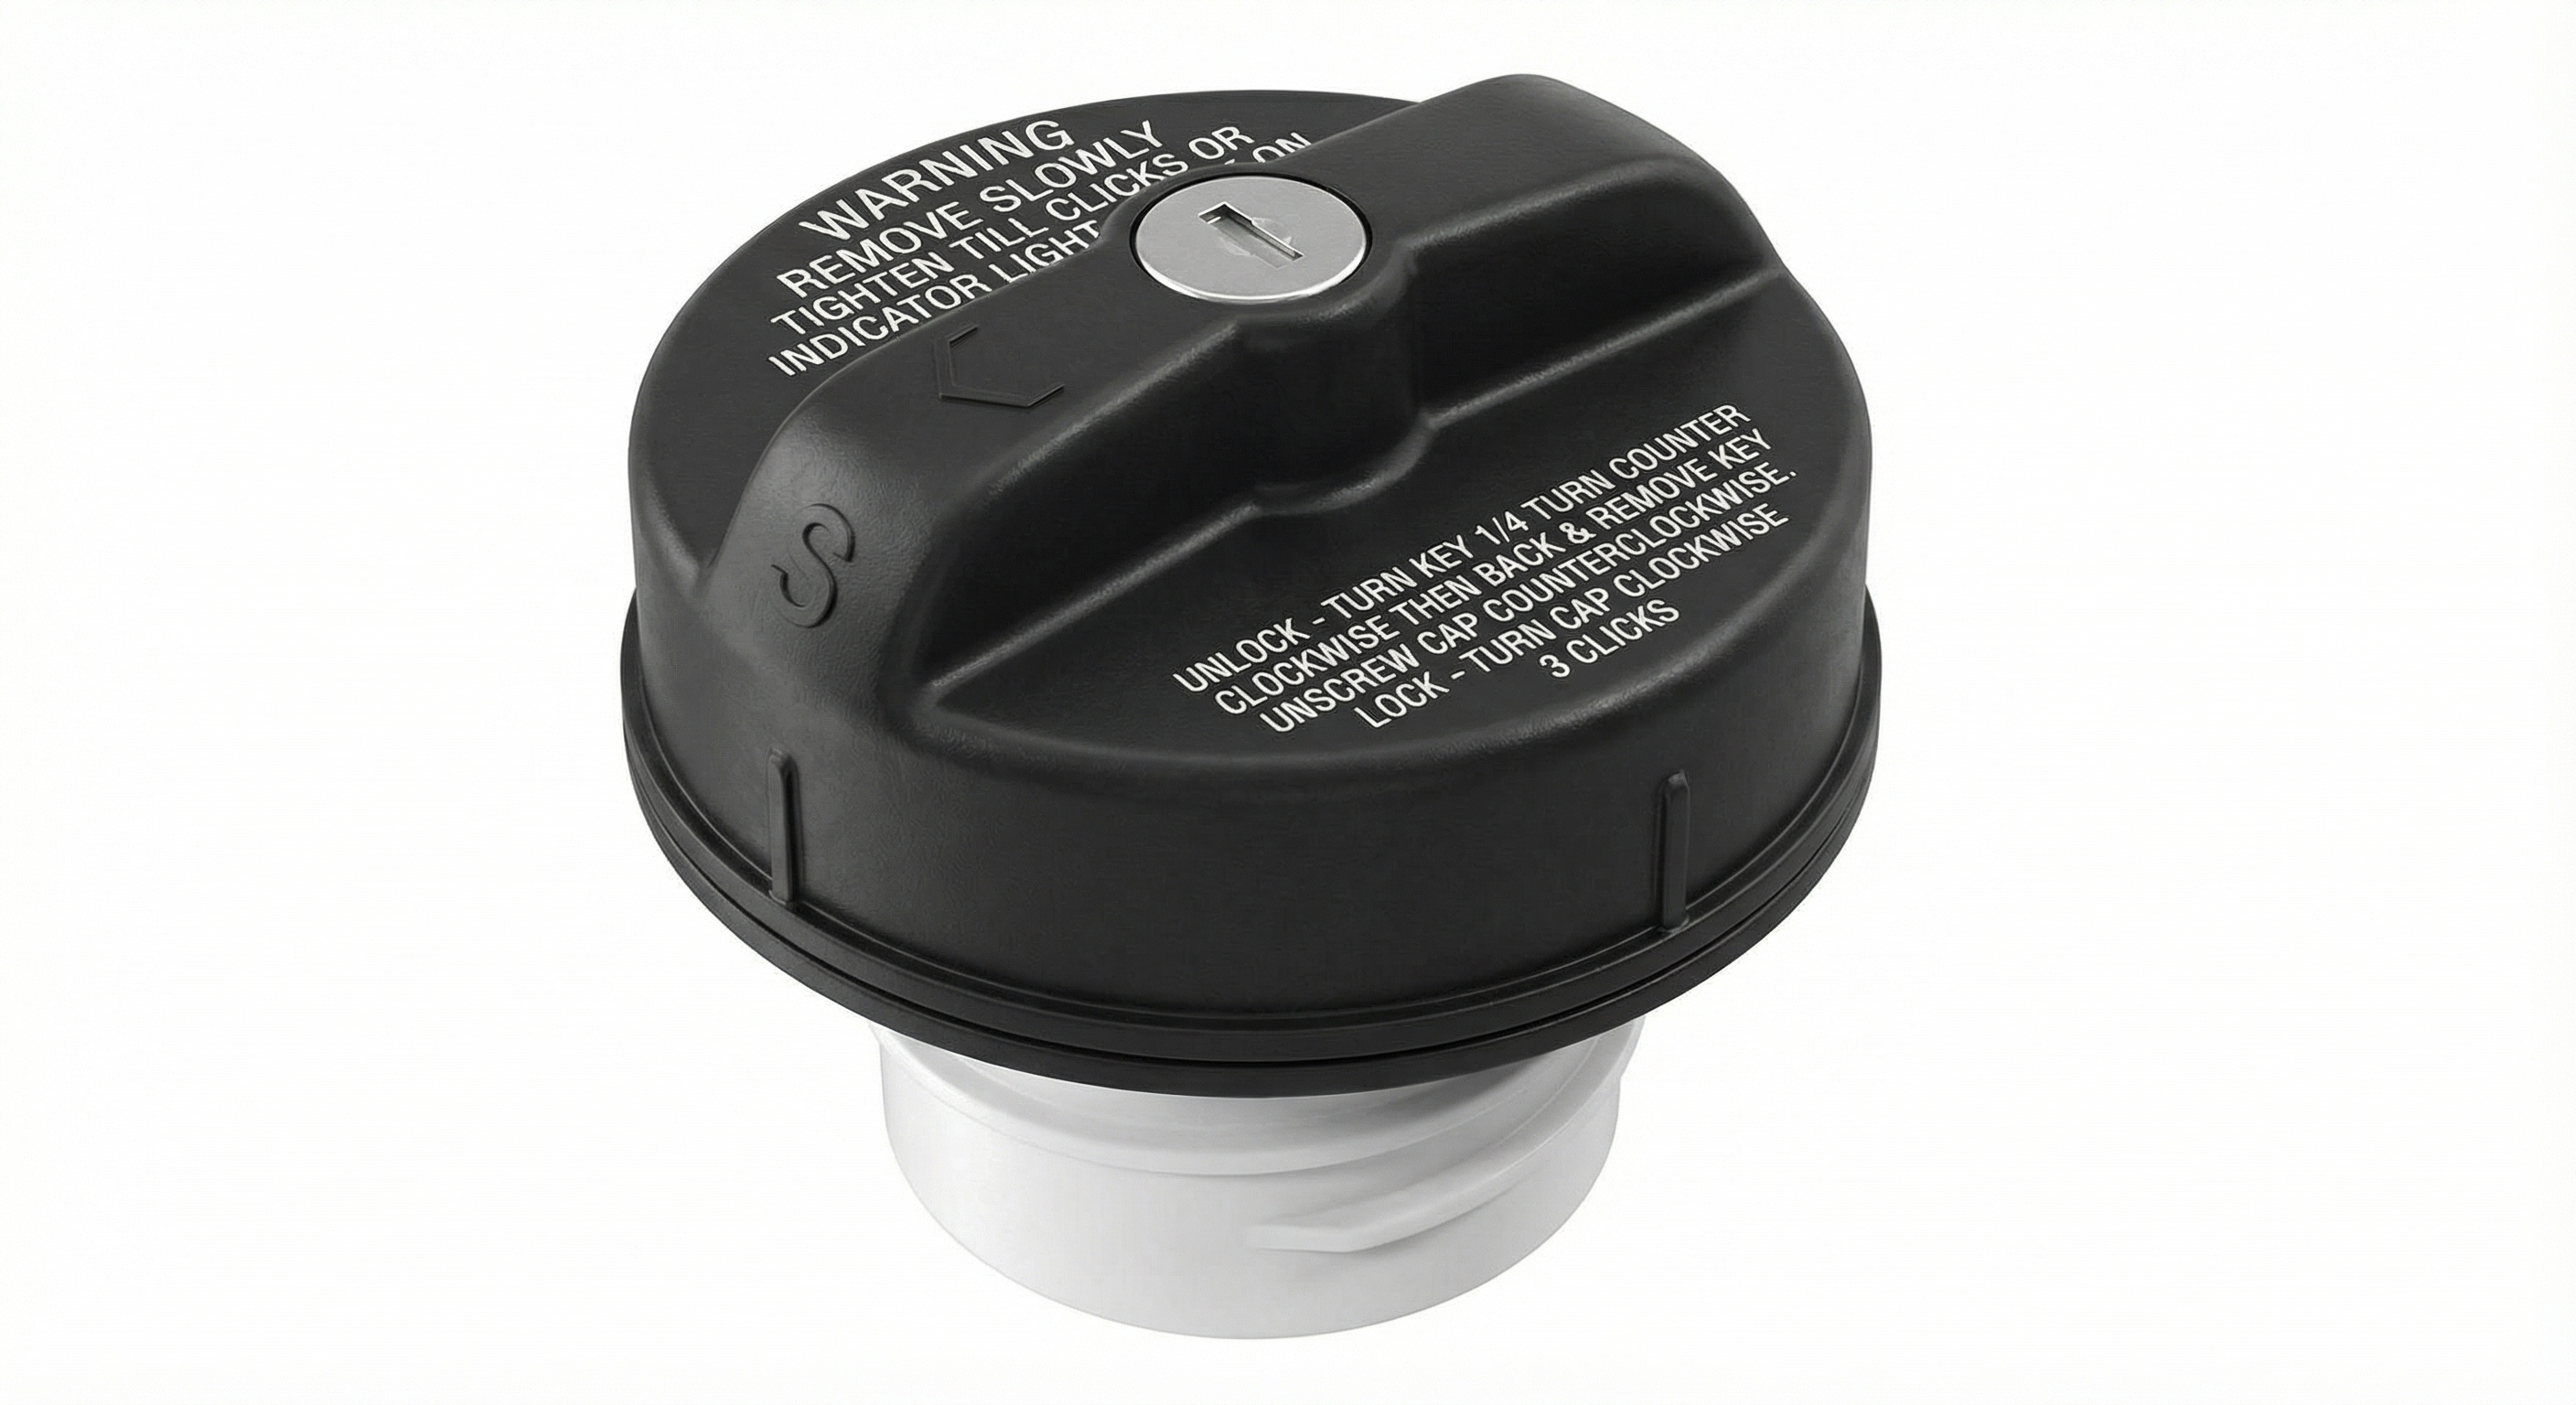
- Do not waste money replacing the gas cap or the purge valve in the engine bay, as they are not related to this specific code.
- This is a DIY-friendly repair that typically costs under $100 and does not affect the vehicle's drivability.
What's Unique About the 2009-2019 Ford Flex
On the Ford Flex, like other Ford vehicles, the P1451 code points specifically to the vent solenoid circuit near the fuel tank, not the purge valve in the engine bay. While many older Ford trucks with this code suffer from wiring chafing on the frame, the unibody Flex is more prone to the solenoid failing outright or having corroded electrical connectors due to its location under the vehicle, exposed to road salt and moisture. The repair is consistent across the entire 2009-2019 model run and is also shared with its platform mates, the Lincoln MKT, Ford Taurus, and Ford Explorer.
Generation note: The Ford Flex was produced in one generation from 2009 to 2019, with a major facelift in 2013. However, the 3.5L Cyclone V6 engine and the EVAP system components related to code P1451 are consistent across this entire year range.
Symptoms You May Notice
- Check Engine Light is on.
- Vehicle will fail an emissions test.
- Difficulty filling the fuel tank (fuel nozzle clicks off prematurely).
- Possible faint fuel odor near the rear of the vehicle.
- A 'whoosh' sound of pressure or vacuum when opening the gas cap.
- Replacing the gas cap. A bad gas cap causes EVAP leak codes (like P0455 or P0456), not an electrical circuit code like P1451.
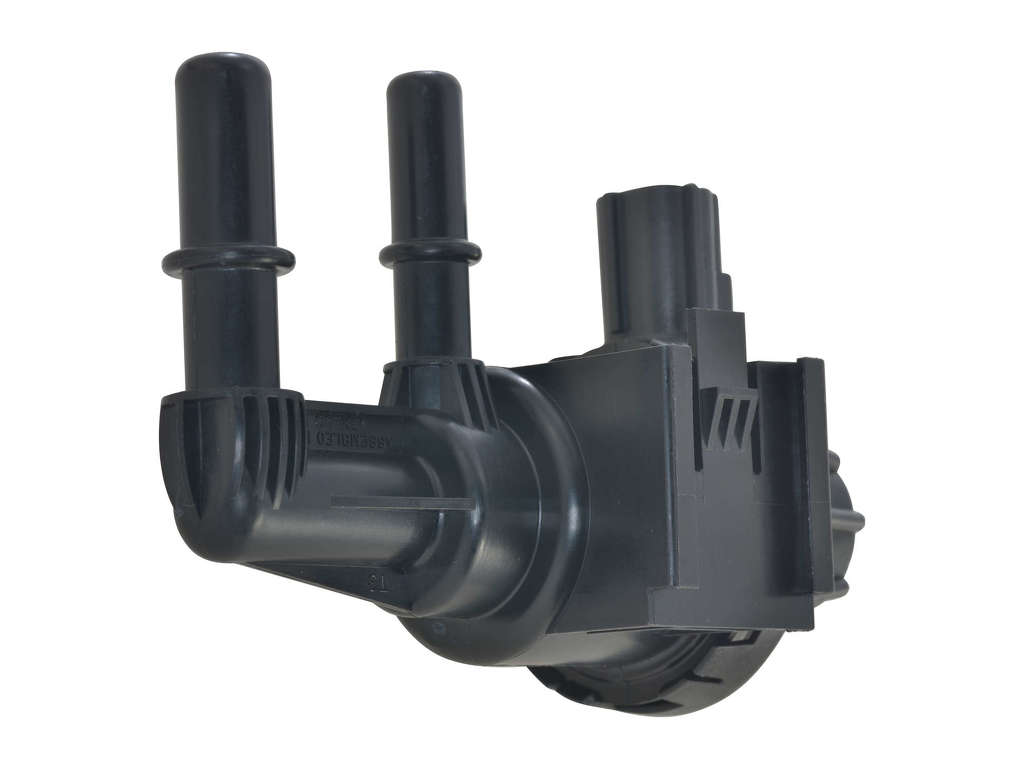
- Replacing the EVAP Purge Valve. The purge valve is located in the engine bay and has its own set of diagnostic codes (like P0443). P1451 refers specifically to the vent solenoid circuit near the fuel tank.
Most Likely Causes
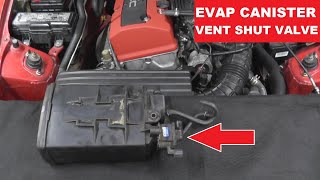
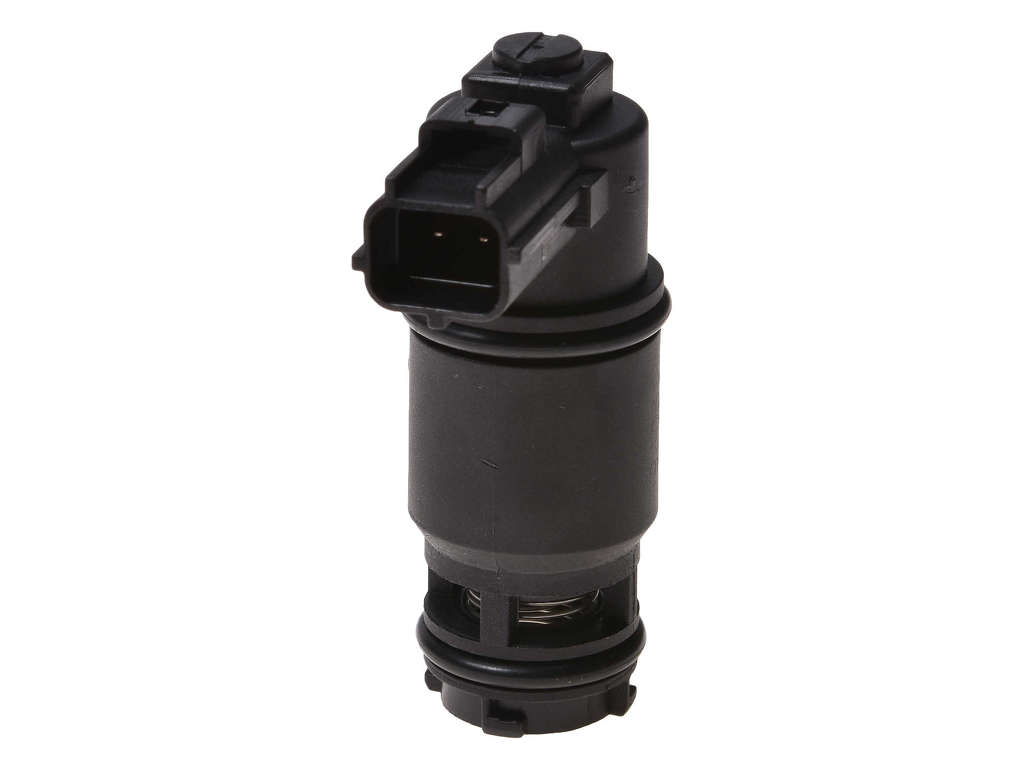
- Faulty EVAP Canister Vent Solenoid 🔴 High Probability → Shop Vapor Canister The solenoid is mounted under the vehicle near the charcoal canister, where it is exposed to moisture and road debris, leading to internal corrosion and coil failure over time.
How to confirm: Disconnect the solenoid and measure the resistance across its two pins with a multimeter. A functional Ford solenoid should measure between 48 and 65 ohms. A reading of infinity (open) or near zero (short) indicates a failed solenoid. You can also apply 12V directly to the solenoid's pins and listen for an audible 'click' to confirm mechanical operation.
Typical fix: Replace the canister vent solenoid. This part is typically mounted directly on or next to the charcoal canister under the rear of the vehicle.
Est. part cost: $40-$80 - Damaged Wiring or Corroded Connector 🟡 Medium Probability The wiring harness and connector for the vent solenoid are also exposed to the elements, leading to corrosion, especially in regions that use road salt. Wires can break internally right at the connector where they flex. Wires can also be damaged during unrelated rear suspension or exhaust work.
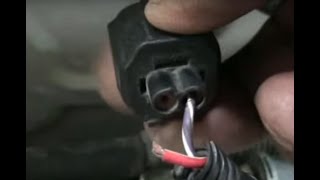
How to confirm: Visually inspect the wiring and connector for any signs of green corrosion, frayed wires, or physical damage. With the key on and engine off, use a multimeter to check for battery voltage (approx. 12V) at the power wire in the connector (often a Violet/Orange wire on this platform). A low reading, like 2.6V, indicates high resistance in the circuit. 🎬 Watch: Diagnosing and fixing a Ford P1451 circuit fault If power is good, check the ground-side control wire (often White/Brown) for continuity back to the PCM. If you read 12V on both wires, it indicates an open in the ground-side control wire or a faulty PCM driver.
Typical fix: Clean the connector terminals or, if the damage is severe, replace the connector pigtail. Repair any broken or frayed sections of the wire. Soldering the repaired wire is a common, effective fix.
Est. part cost: $15-$30
Rare But Worth Checking
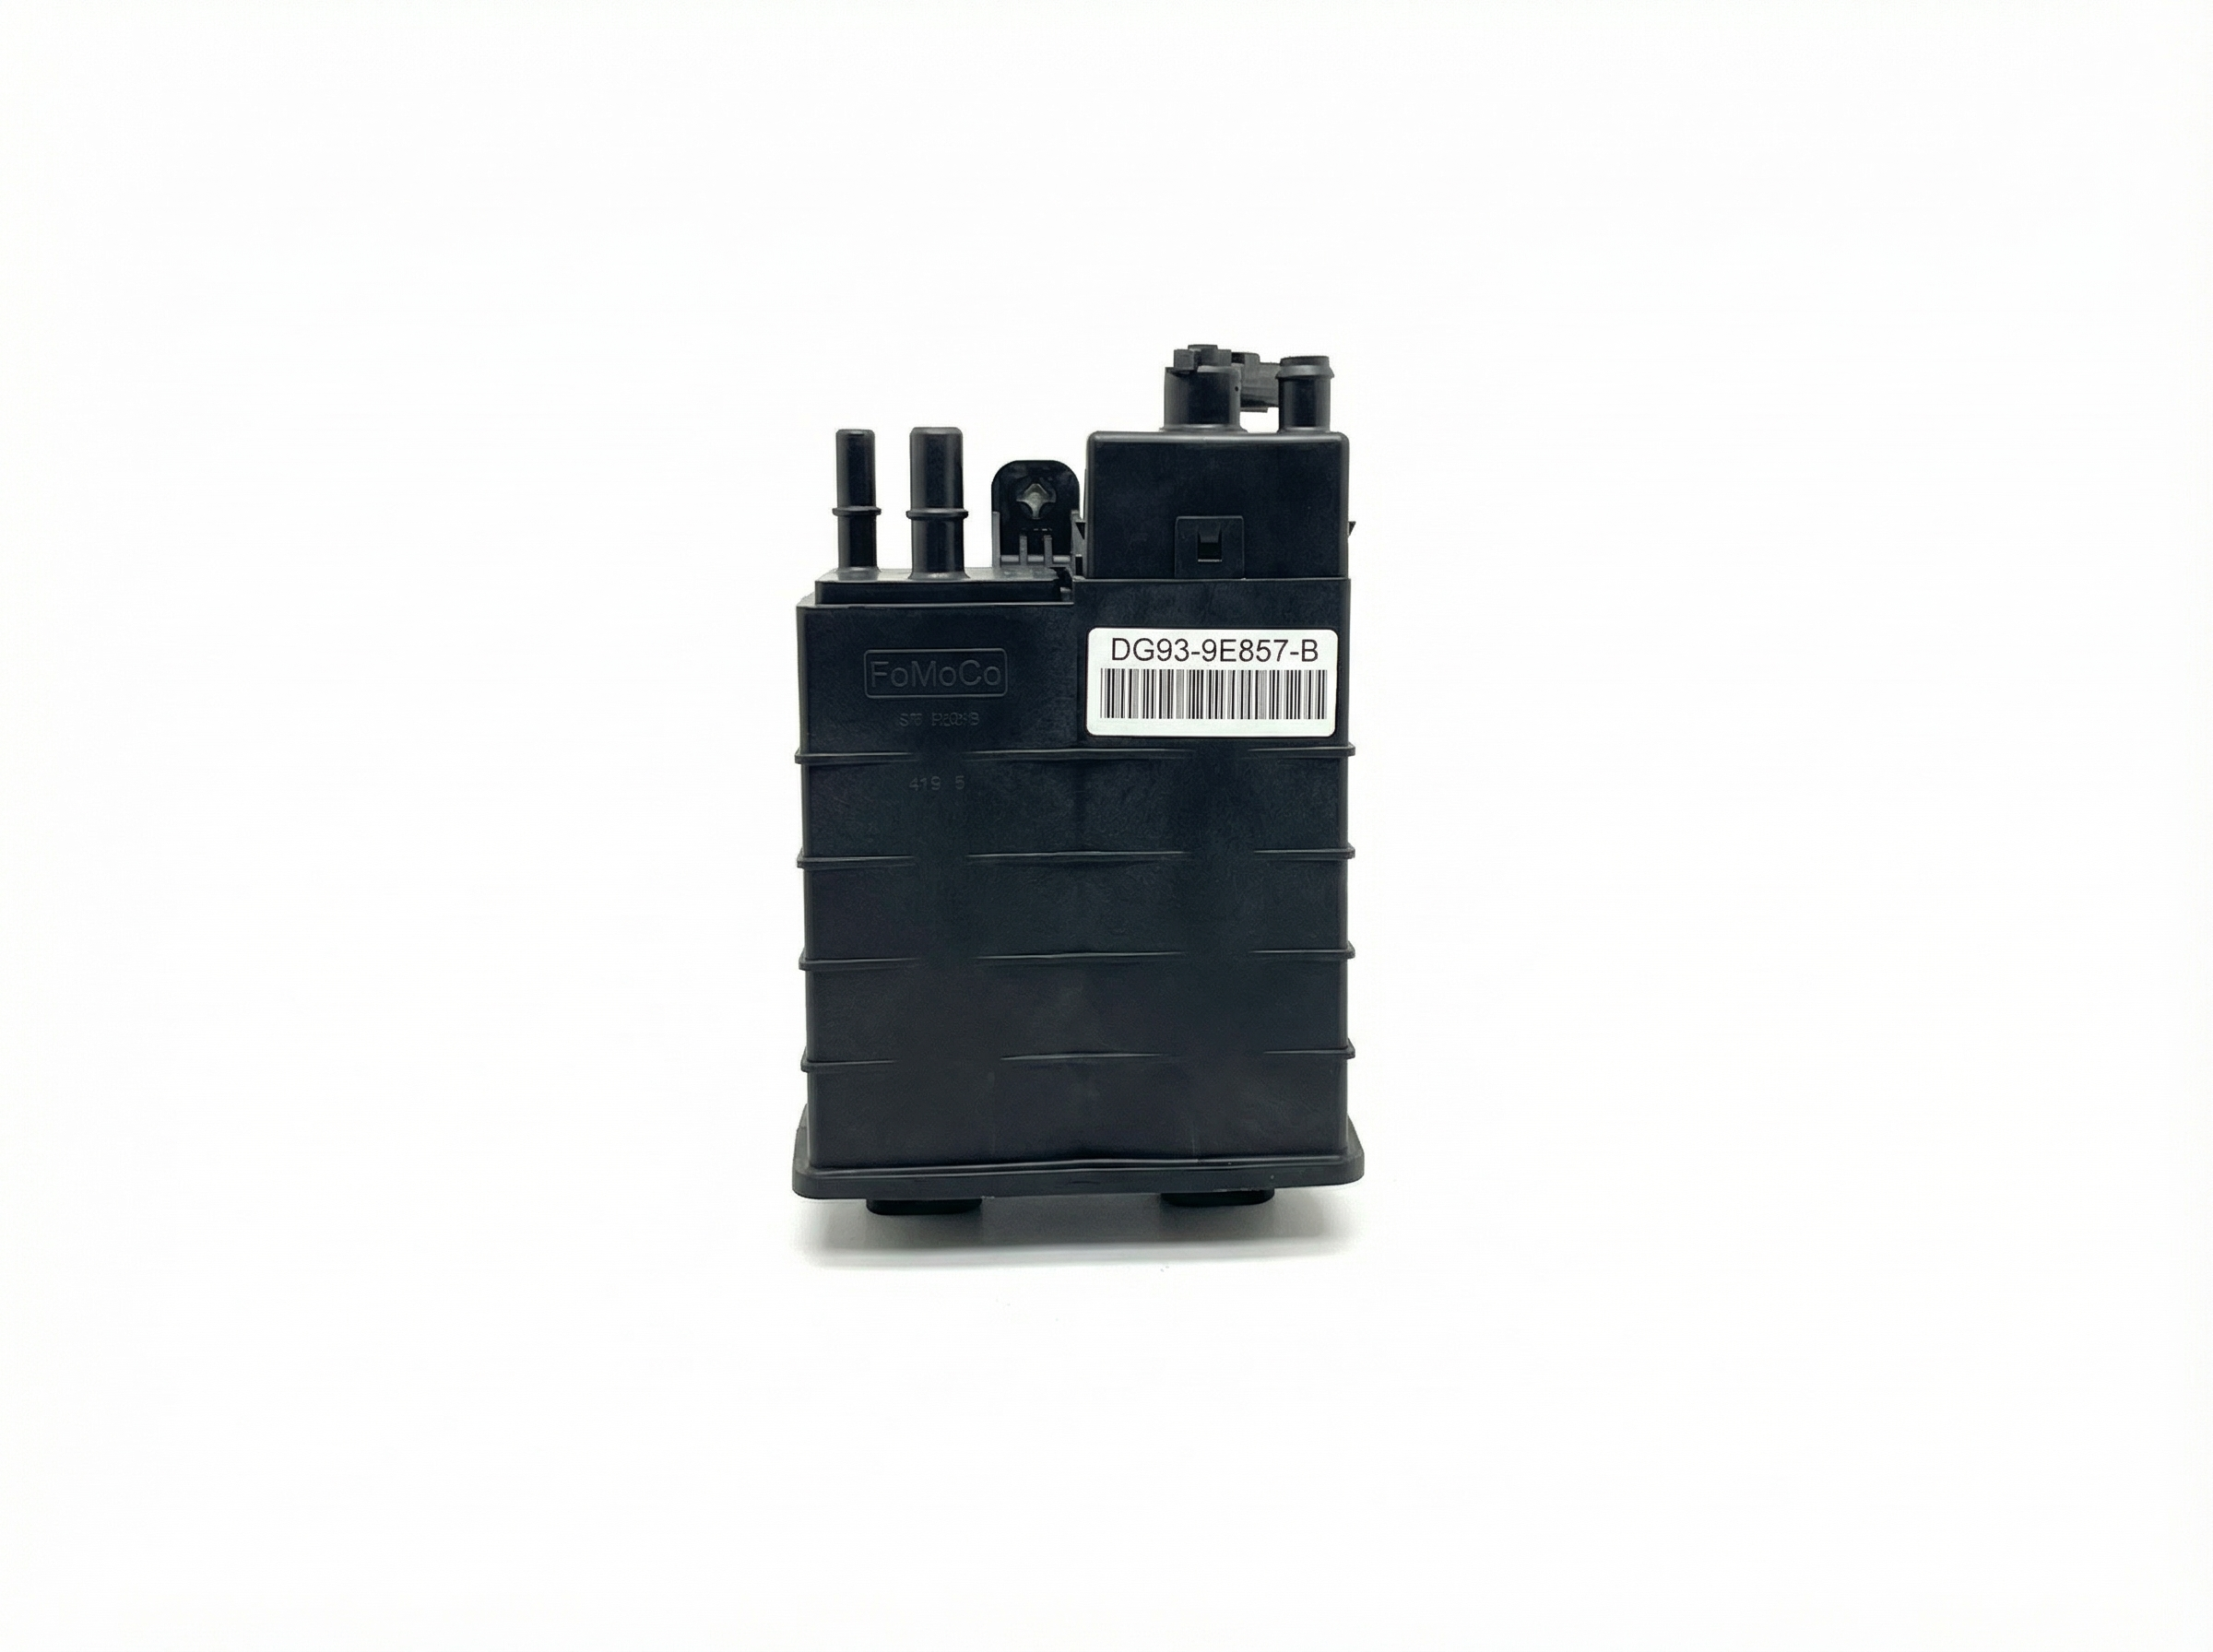
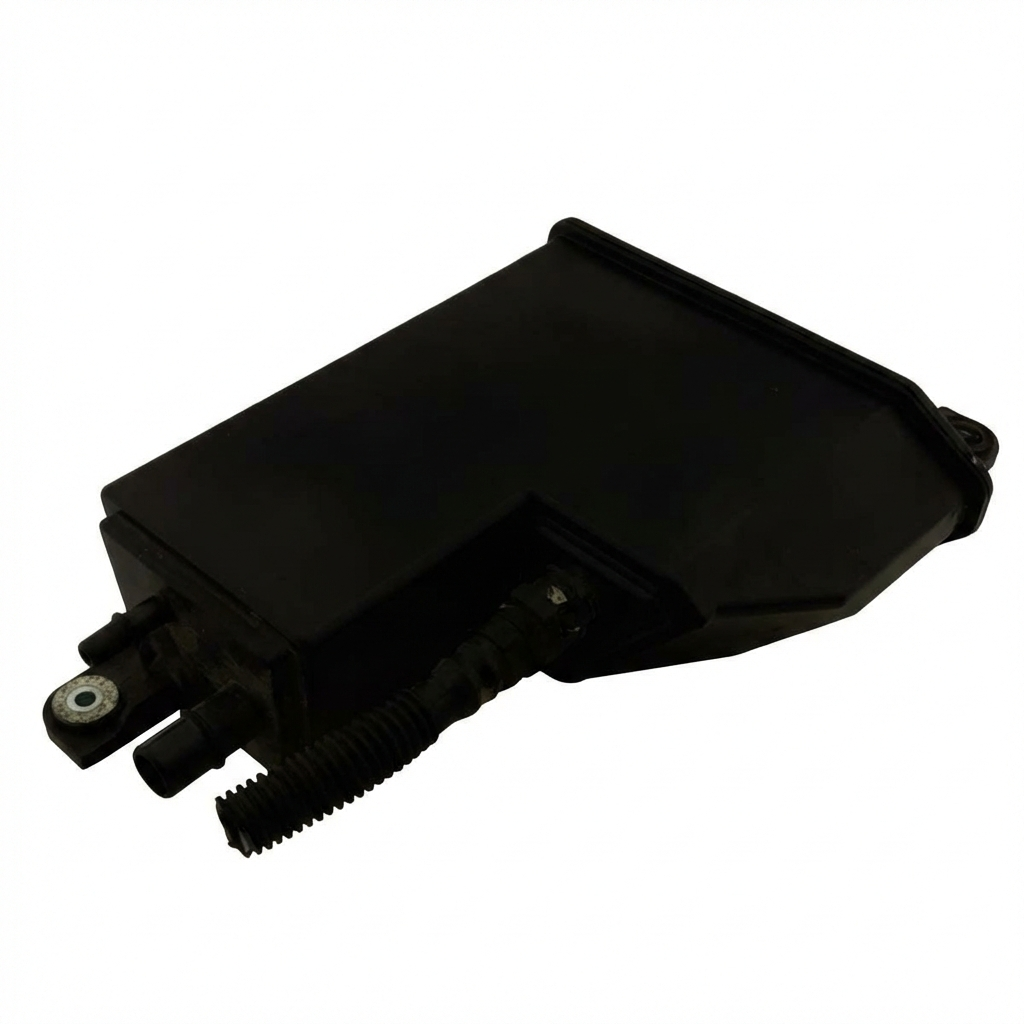
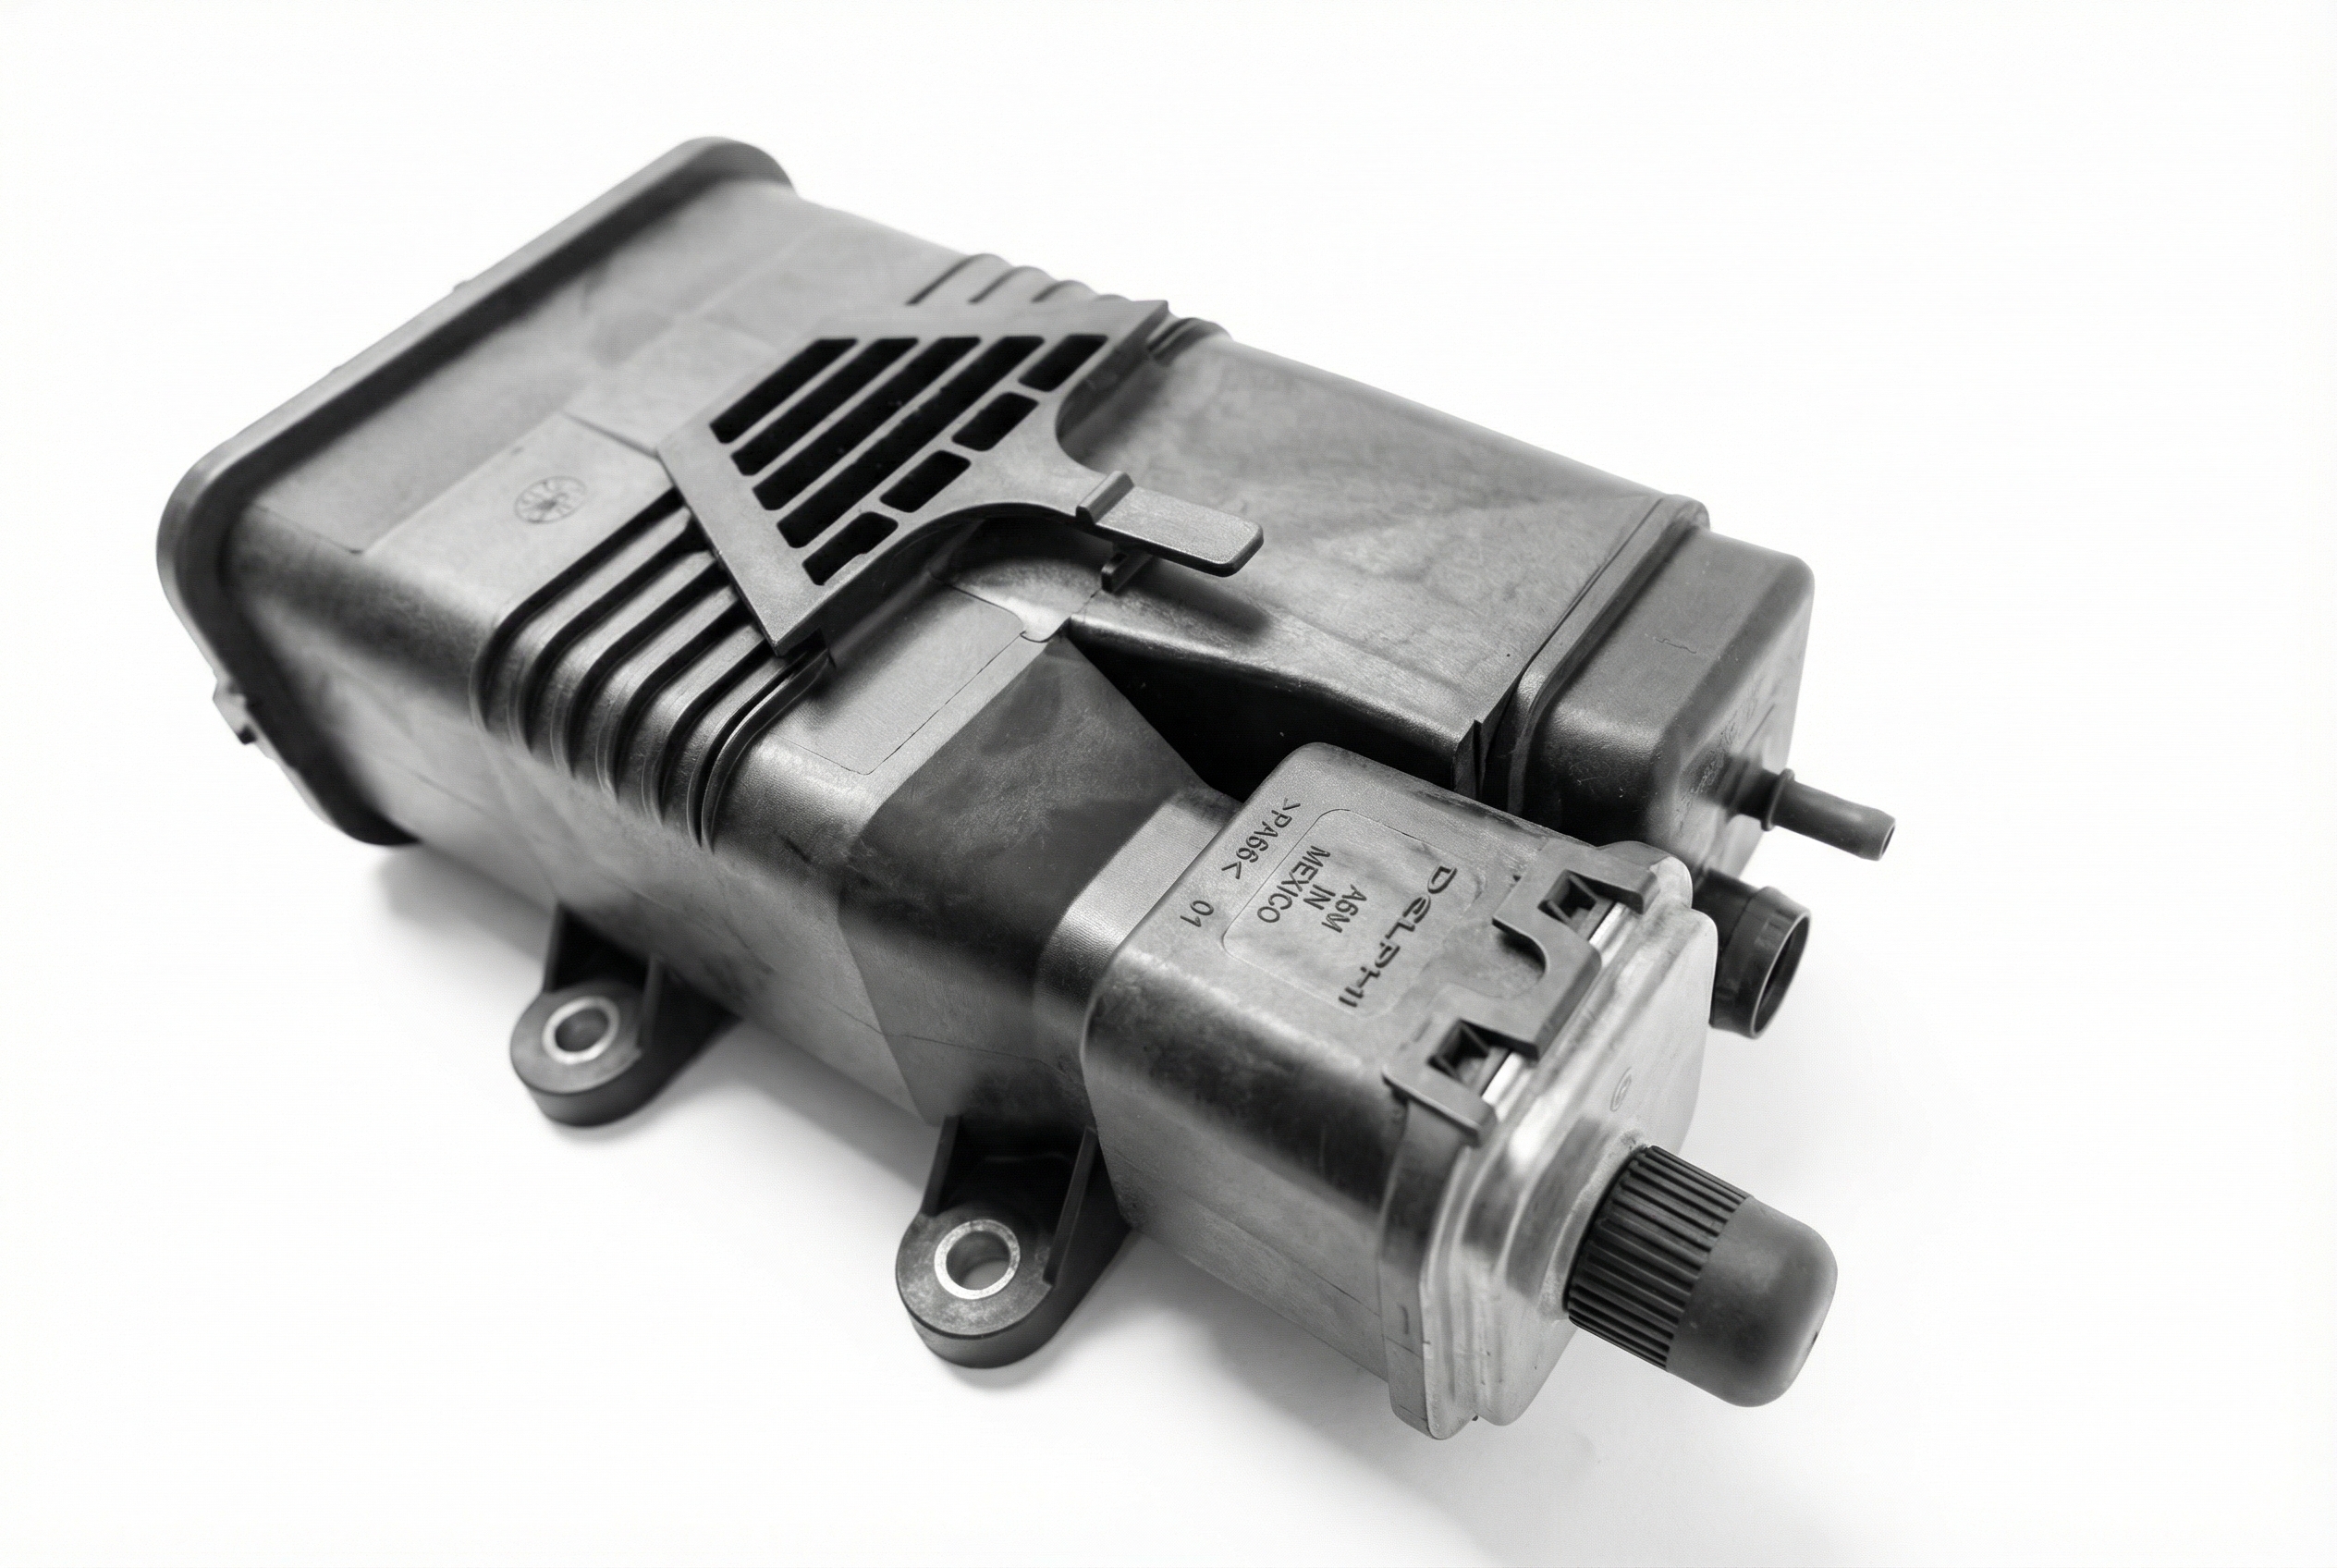
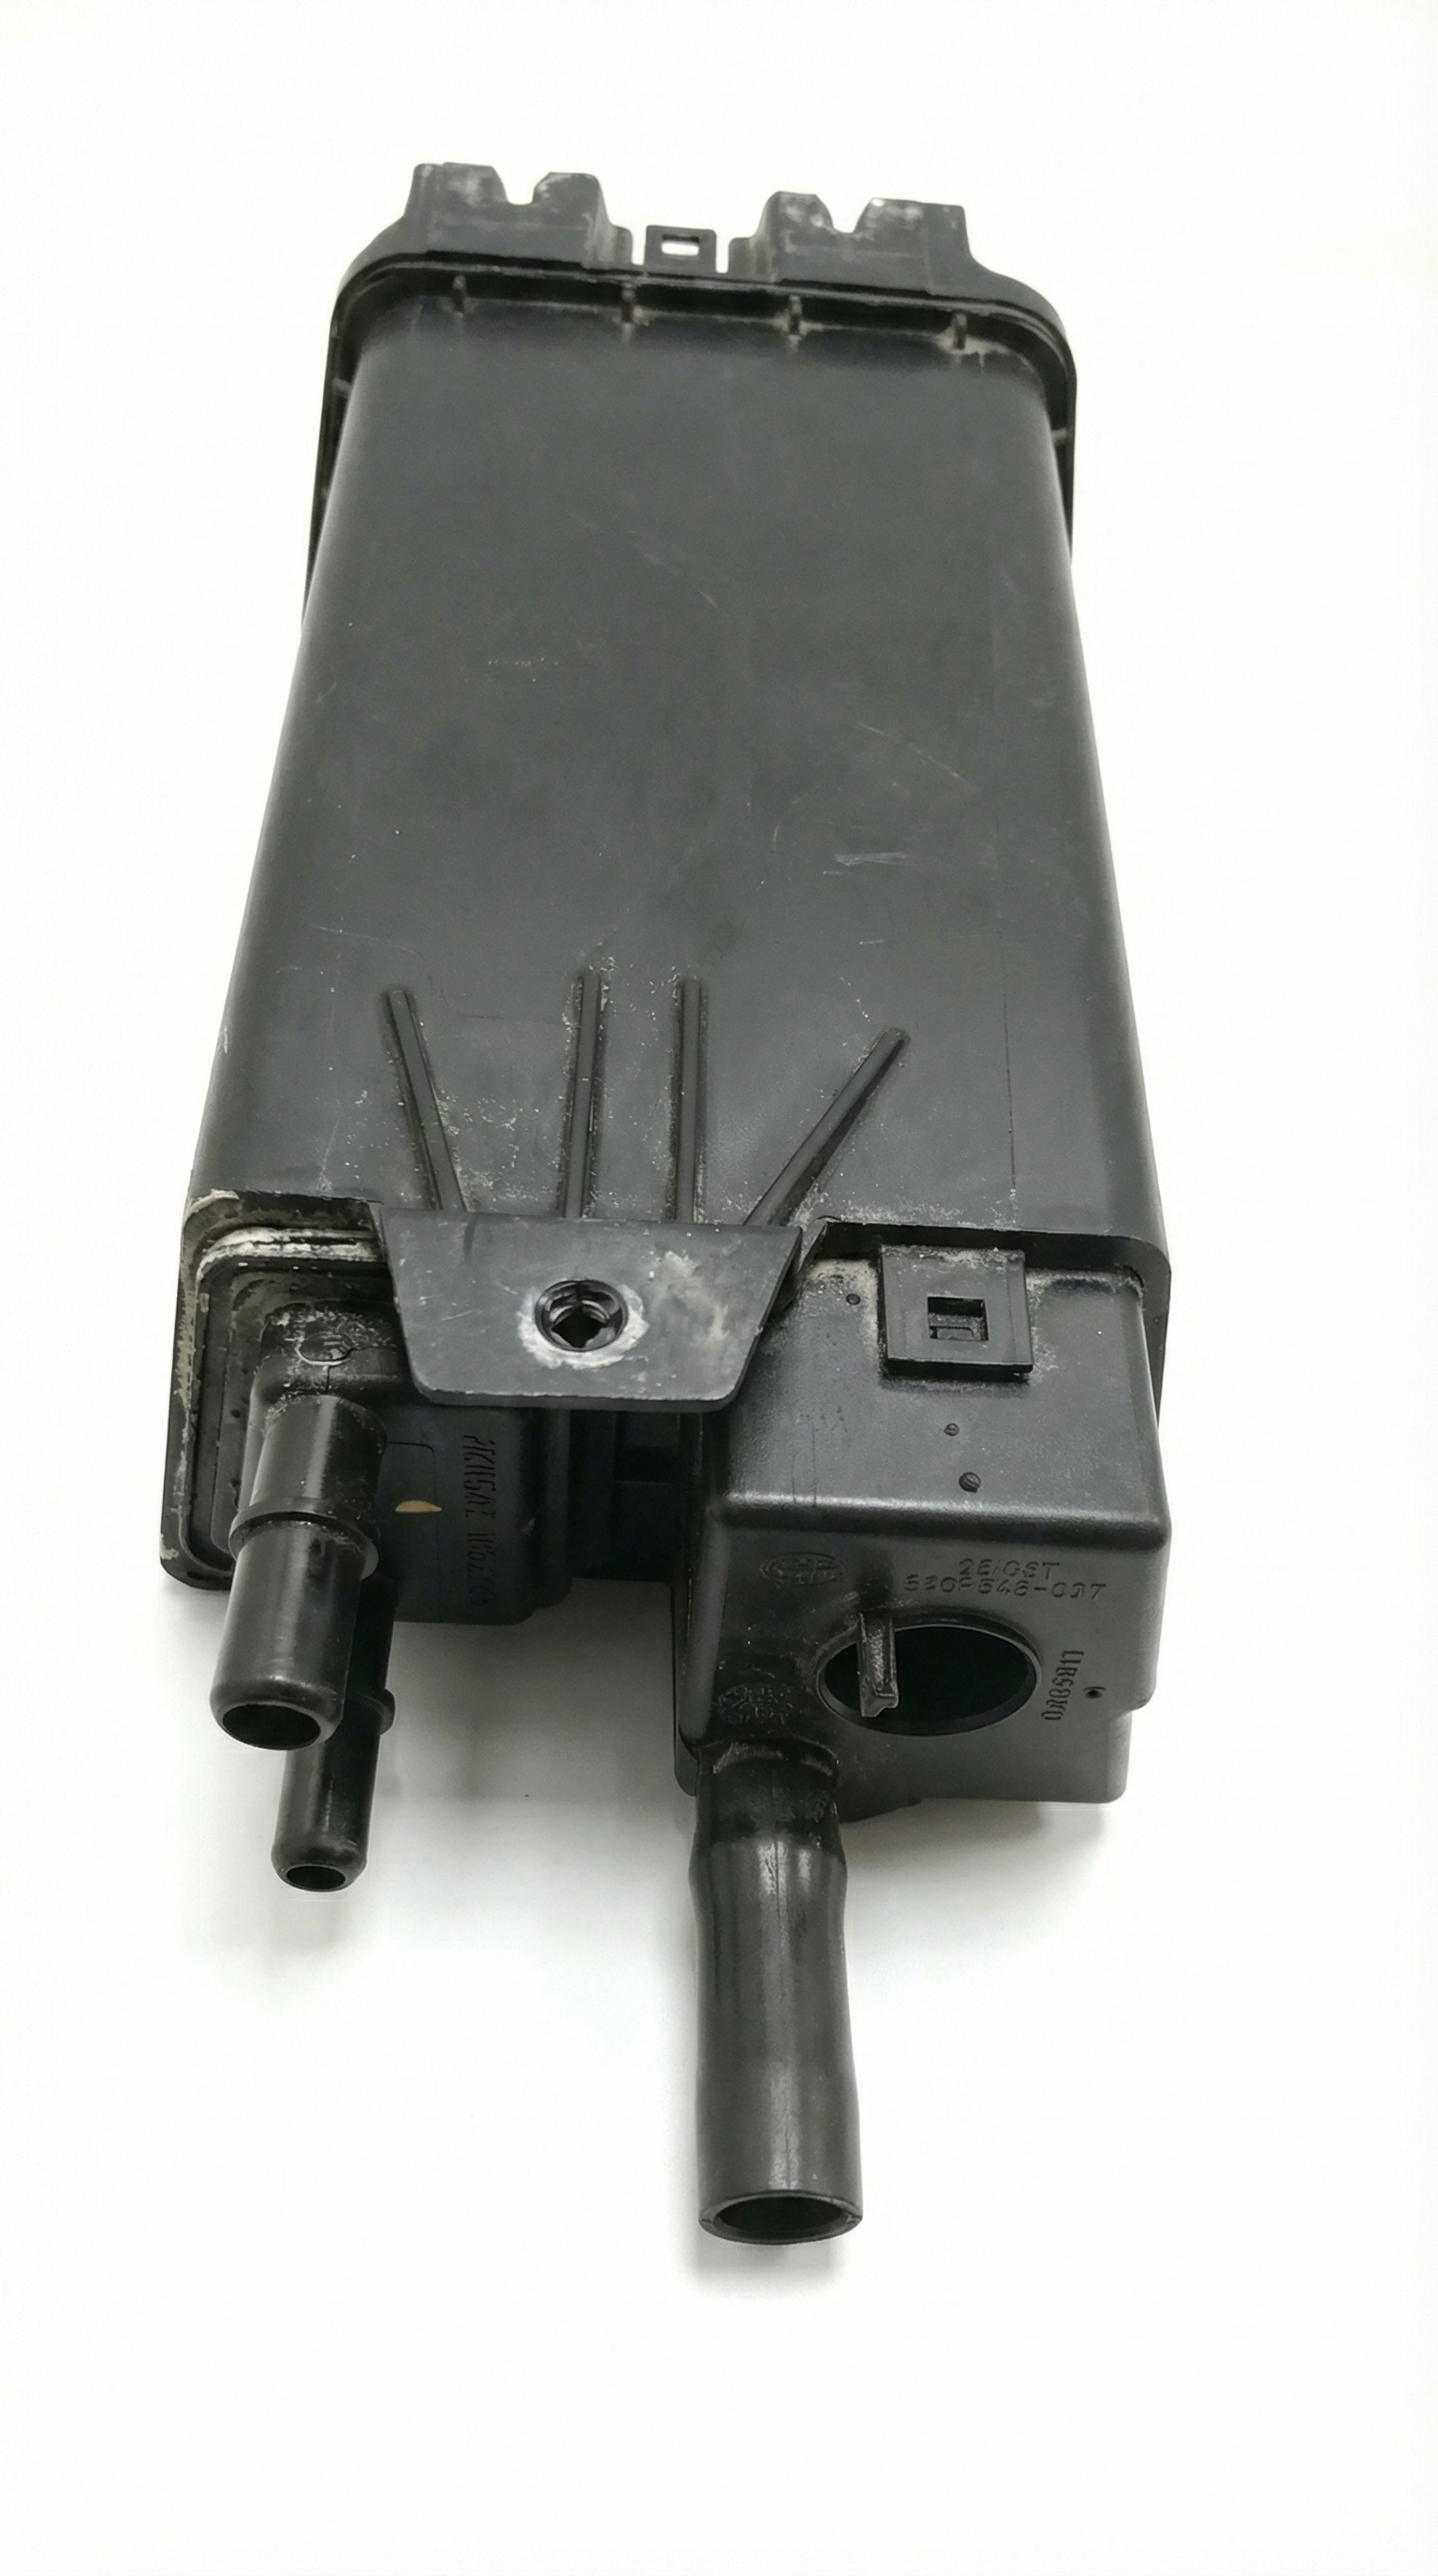
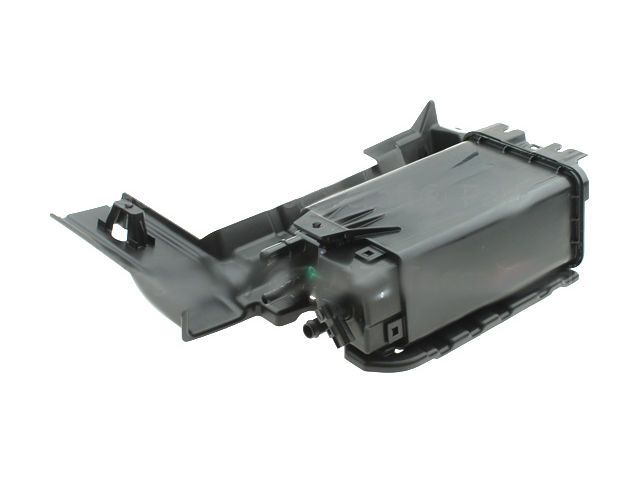
- Clogged EVAP Canister or Vent Tube: → Shop Vapor Canister While P1451 is an electrical code, a severe physical blockage from dirt, debris, or insects in the vent tube or canister can sometimes prevent the system from operating as expected, leading the PCM to flag a circuit fault. This should be checked if a new solenoid and confirmed good wiring do not solve the code.
- Faulty Powertrain Control Module (PCM): → Shop Engine Control Module (ECM) This is extremely rare. The PCM should only be considered a potential cause after all other possibilities, including the solenoid, wiring, and canister, have been thoroughly tested and ruled out.
Diagnosis Steps
- Retrieve the P1451 code using an OBD-II scanner.
- Locate the EVAP charcoal canister and the attached vent solenoid under the rear of the vehicle, near the fuel tank and spare tire.
- Visually inspect the electrical connector and wiring going to the vent solenoid for obvious signs of corrosion, damage, or loose connections. Pay close attention to the area where the wires enter the connector.
- If the wiring looks good, disconnect the solenoid. Use a multimeter set to Ohms (Ω) to measure the resistance between the two pins on the solenoid itself. The reading should be between 48-65 ohms. If it's out of this range (e.g., OL for open or 0 for short), the solenoid is bad and needs replacement.
- If the solenoid resistance is good, test the wiring. Turn the ignition to the 'On' position (engine off). Set your multimeter to DC Volts and check for battery voltage (around 12V) at the connector's power wire (typically Violet/Orange on this platform).
- If voltage is low or absent, there is a break or high resistance in the power wire (VPWR circuit) leading to the solenoid. Trace the harness to look for damage.
- If power is present, the issue may be in the ground control wire running back to the PCM, or a rare internal PCM fault. Check for continuity on the control wire (typically White/Brown).
- After repairing or replacing any components, clear the code with the scanner and perform a drive cycle to see if the Check Engine Light returns.
Parts You'll Likely Need
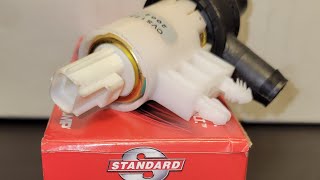
- Vapor Canister Vent Solenoid
(OEM #9U5Z-9C915-H (may be superseded by 9U5Z-9C915-J))— This solenoid is the most common failure point for a P1451 code due to its location and function. The internal coil fails, creating an open or short circuit.
Trusted brands: Motorcraft, Standard Motor Products, Dorman, SKP
OEM price range: $70-$100
Aftermarket price range: $40-$80
Related Codes That Often Appear With This One
- P1450 — P1450 (Unable to Bleed Up Fuel Tank Vacuum) is closely related. A vent solenoid that is electrically faulty (P1451) may also be physically stuck closed, preventing the tank from venting properly and causing P1450.
- P0446 — P0446 (EVAP Vent Control Circuit Malfunction) is a generic code for the same fault. On Fords, the manufacturer-specific P1451 is typically used instead, but they point to the same issue.
Platform-Specific Known Issues
- Owner Repair Experience: A user on Ford Truck Enthusiasts with a P1451 code confirmed they had 12V power at the red wire and the solenoid tested good at 60 ohms. This indicates the fault was in the ground control wire from the PCM or the PCM itself, highlighting the importance of testing both sides of the circuit before replacing parts.
Mechanic-Grade Diagnostic Values
- Canister Vent Solenoid Resistance — expected: 48 - 65 Ohms. Failure: A reading of infinity (OL) indicates an open coil; a reading near zero indicates a shorted coil.
- Scan Tool PID 'EVAPCV' (Key On, Engine Off, Solenoid De-energized) — expected: 0% duty cycle. Failure: A non-zero reading may indicate a short to ground on the control circuit.
- Voltage at PCM control side of CV solenoid circuit (Key On, Engine Off, Solenoid De-energized) — expected: Approximately equal to battery voltage (12V). Failure: A low voltage reading (e.g., 2.6V) suggests high resistance in the circuit; 0V suggests an open power feed or short to ground.
- Voltage drop across CV solenoid circuit when commanded closed (100% duty cycle) — expected: A minimum drop of 4 volts. Failure: Less than a 4-volt drop indicates high resistance in the solenoid or wiring.
Scan Tool Commands That Help
- Ford IDS (Integrated Diagnostic System): Output Test Mode / Active Command — Use this to manually command the Canister Vent (CV) solenoid on and off. This allows you to listen for an audible click from the solenoid and watch live voltage on the control circuit to confirm the PCM driver and wiring are capable of controlling the solenoid.
- Ford IDS (Integrated Diagnostic System): EVAP System Test — This is a comprehensive, automated test that runs the entire EVAP monitor sequence. It will command the vent solenoid closed and perform pressure/vacuum checks. Use this after a repair to verify the fix without waiting for a full drive cycle.
- Professional Bi-Directional Scan Tool: EVAP Vent Solenoid On/Off — Most professional scan tools have a function to toggle the vent solenoid. This is essential for confirming if the solenoid is mechanically stuck or if the electrical coil is functional without having to apply external voltage.
Wiring & Ground Locations
- Canister Vent Solenoid Connector (C435) — On the EVAP canister vent solenoid, located under the vehicle near the fuel tank and spare tire.. This is the primary test point. Pin 1 (typically Violet/Orange) is the 12V power feed. Pin 2 (typically White/Brown) is the control wire that the PCM grounds to activate the solenoid. Testing here confirms power delivery and control signal integrity.
- G105 — On similar Ford platforms, this ground is located at the right center rear of the engine compartment.. This is a primary powertrain ground. While not the direct ground for the solenoid (which is controlled by the PCM), a poor connection at this major ground point can cause erratic behavior and incorrect voltage readings across multiple PCM-controlled systems, including the EVAP circuits.
- G401 — Located at the left 'D' pillar (rear-most pillar).. This is a major body ground point in the rear of the vehicle. While the EVAP solenoid is controlled via a PCM driver, other related components in the rear harness may use this ground. A corroded G401 can cause strange, hard-to-diagnose electrical issues in the back of the Flex.
Real Owner Repair Stories
- Reddit user on r/MechanicAdvice (2009 Ford Flex, 200k miles) — Check Engine Light with code P0446 (EVAP Vent Control Circuit) immediately after performing heavy-duty rear passenger wheel bearing work involving an air hammer and heat.
❌ Tried (didn't work) Replacing the Canister Vent Valve Solenoid.
✅ What actually fixed it The owner confirmed there was no voltage at the solenoid plug, leading to the correct diagnosis of a broken wire. The extreme vibration from the air hammer likely broke an already-fatigued wire in the harness that runs over the fuel tank. - YouTube video by Gabriel Auto Technician (Lincoln Town Car (similar Ford EVAP system)) — Check Engine Light with code P1451.
❌ Tried (didn't work) Initial visual inspection did not reveal the fault.
✅ What actually fixed it The wire had corroded and broken off inside the electrical connector terminal for the vent solenoid. The final fix was to remove the pin from the connector and solder the wire directly back onto it, restoring the electrical connection.
OEM Part Supersession History
9U5Z-9C915-H→9U5Z-9C915-J— Standard part revision and improvement by the manufacturer.
Heads up: Crucially, this part number (and its predecessors like 9U5Z-9C915-D) is often mislabeled by online retailers as a 'Purge Valve' or 'Vapor Canister Purge Solenoid'. The P1451 code refers to the VENT solenoid at the rear of the car, NOT the PURGE valve/solenoid in the engine bay. Buyers must verify the part they are purchasing is for the vent location near the charcoal canister.
Diagnostic Flowchart
Other Known Issues on This Vehicle
Issues unrelated to this code that are worth knowing about as an owner of this generation:
- Internal Water Pump Failure 🔴 High — Common failure point, often between 80,000 and 150,000 miles. A weep hole may leak coolant near the A/C compressor as an early warning. If it fails internally, it can mix coolant with engine oil, leading to catastrophic engine failure. (Ref: A class-action lawsuit was filed regarding this design but was later dismissed.)
- Power Transfer Unit (PTU) Failure (AWD Models) 🔴 High — The PTU fluid can overheat and break down, as early models lacked a drain plug and were marketed with 'lifetime fluid'. This leads to wear and eventual failure, often preceded by a burning gear oil smell or grinding noises. Regular fluid changes (every 30k miles) are recommended for prevention.
- Timing Chain Wear / Cam Phaser Rattle 🟠 Medium — Less common than on EcoBoost models, but can still occur. Wear on the timing chain, guides, or tensioners can cause a rattling noise, especially on cold starts. Since the water pump is driven by the timing chain, these repairs are often done concurrently.
Used vs. New Parts: Buying Guide for This Vehicle
When a used part is the smart pick: A used vent solenoid is a risky but potentially cost-effective choice ONLY if the donor vehicle is from a dry, non-salt-belt region and has very low mileage. Given the part's exposure to road debris and moisture, failure is often due to environmental factors, making a used part from a similar climate likely to fail soon.
Donor-vehicle mileage cap: roughly under 50000 miles for the part to have meaningful remaining life.
What to inspect on the donor part:
- Check for zero rust or corrosion on the electrical pins and the solenoid body.
- Ensure the plastic housing is not brittle or cracked.
- If possible, test the resistance before purchase; it must be between 48-65 ohms.
- Ask for the VIN of the donor car to verify it came from a dry climate.
OEM-only on this vehicle (don't cheap out):
- While not strictly 'OEM-only', using a Motorcraft-branded solenoid is highly recommended. Aftermarket EVAP components, especially electronic ones, have a higher rate of out-of-box failure or incorrect calibration that can prevent the EVAP monitor from running successfully, even if the code is cleared.
Aftermarket brands forum-validated for this vehicle:
- Standard Motor Products (SMP)
- Dorman (often includes a new connector pigtail, which is a plus)
Brands owners have reported issues with on this vehicle:
- No-name, unbranded parts from online marketplaces should be avoided, as their internal coil resistance and valve actuation may not meet the PCM's strict monitoring parameters.
Real Owner Stories
Aggregated from forums and TSBs cited above. Mileages and costs reflect what owners reported in those sources.
Ford Flex (Platform Mate: Ford Truck/SUV Platform) 3.5L
Symptoms: The owner confirmed they had 12V power at the red wire and the solenoid tested good at 60 ohms, yet the P1451 code persisted.
What fixed it: The issue was identified as a fault in the ground control wire from the PCM or the PCM itself, rather than the solenoid.
Source hint: Ford Truck Enthusiasts Forums - Multiple Threads
2002 Ford Taurus (Platform Predecessor)
Symptoms: Owner experienced a P1451 code and was initially unsure if it was a leak or electrical issue.
What fixed it: The vent solenoid under the car had failed due to exposure to road salt and the elements.
Source hint: AutomotiveForums.com - 2002 Taurus P1451
Related OBD-II Codes
Frequently Asked Questions
I'm having trouble filling my 2009-2019 Ford Flex with gas; the pump keeps clicking off. Is this related to P1451?
Is the P1451 code on my Flex caused by a loose gas cap?
Where is the vent solenoid located on the Ford Flex 3.5L?
What resistance should I look for when testing the vent solenoid on my Flex?
My Flex is showing 12V on both wires at the solenoid connector. Does this mean the solenoid is good?
Should I use an aftermarket part to fix the P1451 code on my Ford Flex?
Helpful Videos

Used OEM Parts in Stock
New Aftermarket Parts Available


The information in this article is provided for general reference and educational purposes only. Vehicle specifications, procedures, and part compatibility can vary by production date, trim level, and region. Always consult your vehicle's factory service manual and verify part numbers before purchasing or performing repairs. Safety-critical components such as airbags, seat belts, and braking systems should be installed by a qualified professional.
- Ford Flex:
- 🧭 Diagnostic Flowchart
- 🎬 Helpful Videos
- 🛍️ Shop This Part
- What's Unique About the 2009-2019 Ford Flex
- Symptoms You May Notice
- Most Likely Causes
- Rare But Worth Checking
- Diagnosis Steps
- Parts You'll Likely Need
- Related Codes That Often Appear With This One
- Platform-Specific Known Issues
- Mechanic-Grade Diagnostic Values
- Scan Tool Commands That Help
- Wiring & Ground Locations
- Real Owner Repair Stories
- OEM Part Supersession History
- Other Known Issues on This Vehicle
- Used vs. New Parts: Buying Guide for This Vehicle
- Real Owner Stories
- Ford Flex (Platform Mate: Ford Truck/SUV Platform) 3.5L
- 2002 Ford Taurus (Platform Predecessor)
- Related OBD-II Codes
- Frequently Asked Questions
- 🎟️ Get 5% Off