
P1451 on 1996-1999 Ford Taurus 3.0L V6: EVAP Vent Solenoid Circuit Fixes
This code indicates an electrical problem with the EVAP Canister Vent Solenoid, not a leak. The most common fix is replacing the solenoid itself (Motorcraft part often supersedes to 9U5Z-9F945-F) or repairing its wiring harness, which is located under the rear of the car near the charcoal canister. The exposed location makes wiring and the solenoid prone to corrosion. Expect the part to cost between $30 and $70.
- P1451 is an electrical circuit code, not a leak code. Do not replace the gas cap.
- The problem is with the Canister Vent Solenoid (or its wiring) located under the rear of the car, not the Purge Valve in the engine bay.
- Before buying parts, inspect the wiring and connector for corrosion or damage, as a simple wiring repair is a common fix. Pay close attention to the harness near the fuel filter and rear shock area.
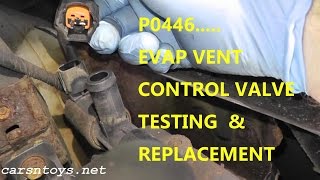
- Test the solenoid with a multimeter before replacing it. A good one will read between 48 and 65 ohms.
What's Unique About the 1996-1999 Ford Taurus
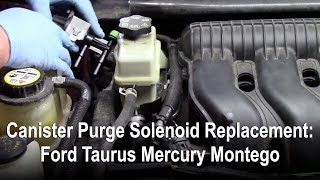
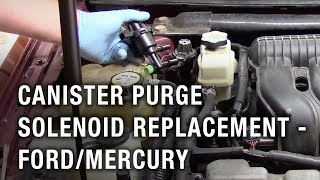
On the third-generation Taurus, the canister vent solenoid is located under the vehicle near the spare tire well, exposing it to road salt and moisture. This makes corrosion of the solenoid's electrical connector and wiring a frequent point of failure. Owners often mistakenly replace the more accessible purge valve in the engine bay, which will not resolve this specific code. 🎬 Watch: How to replace the canister purge solenoid Forum users on platforms like Ranger-Forums.com have documented finding wiring looms chafed through to the point of breaking wires near the rear harness plug by the fuel filter.
Symptoms You May Notice
- Check Engine Light is on.
- Vehicle will fail an emissions test.
- A faint fuel odor may be noticeable near the rear of the car in some cases.
- Hissing sound or a prominent 'whoosh' of trapped pressure or vacuum when removing the gas cap.
- Replacing the EVAP Purge Valve/Solenoid on the firewall in the engine bay. P1451 specifically refers to the vent solenoid circuit, which is located near the fuel tank.
- Replacing the gas cap. A bad gas cap causes EVAP leak codes (like P0442 or P0455), not an electrical circuit code like P1451.
Most Likely Causes
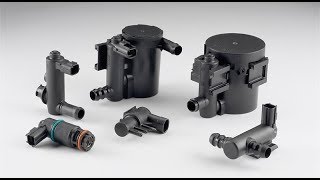
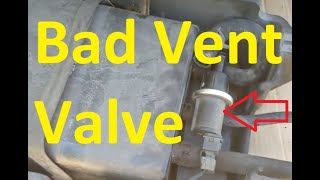
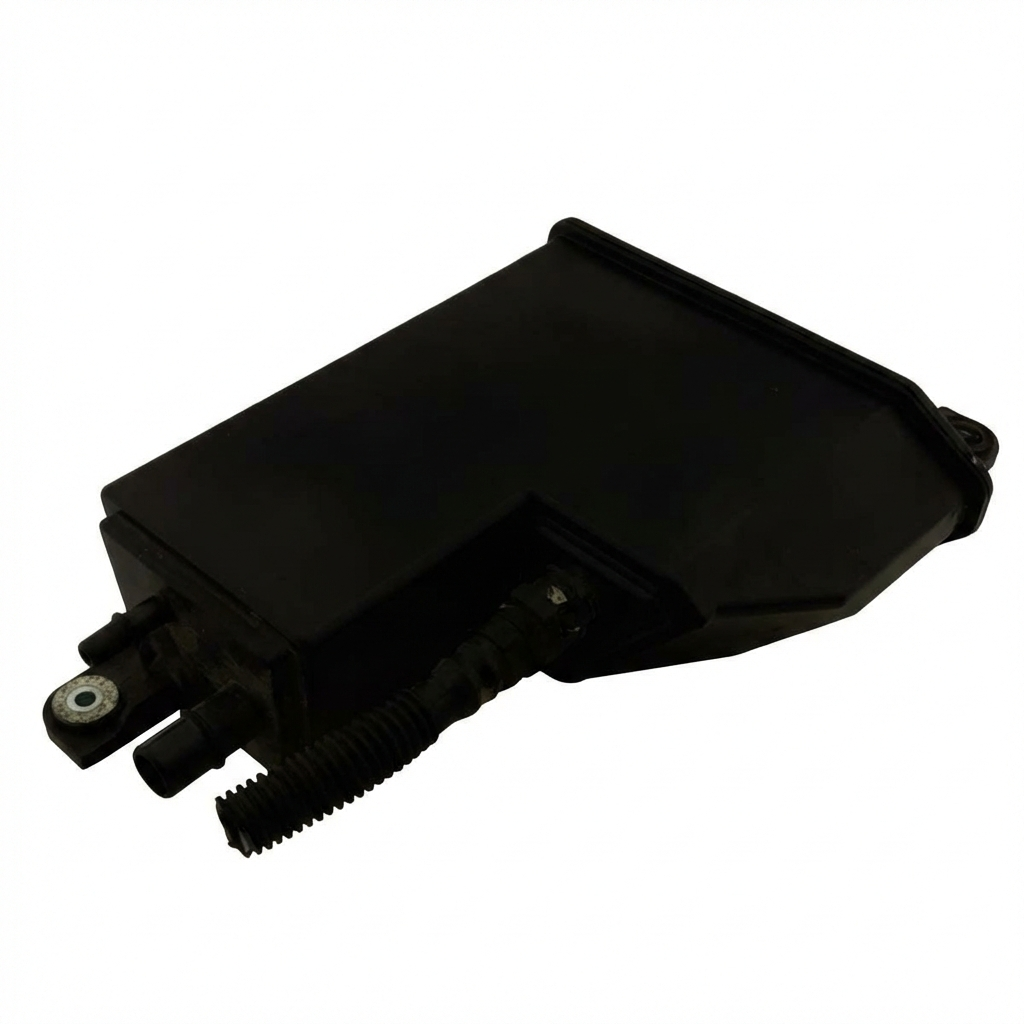
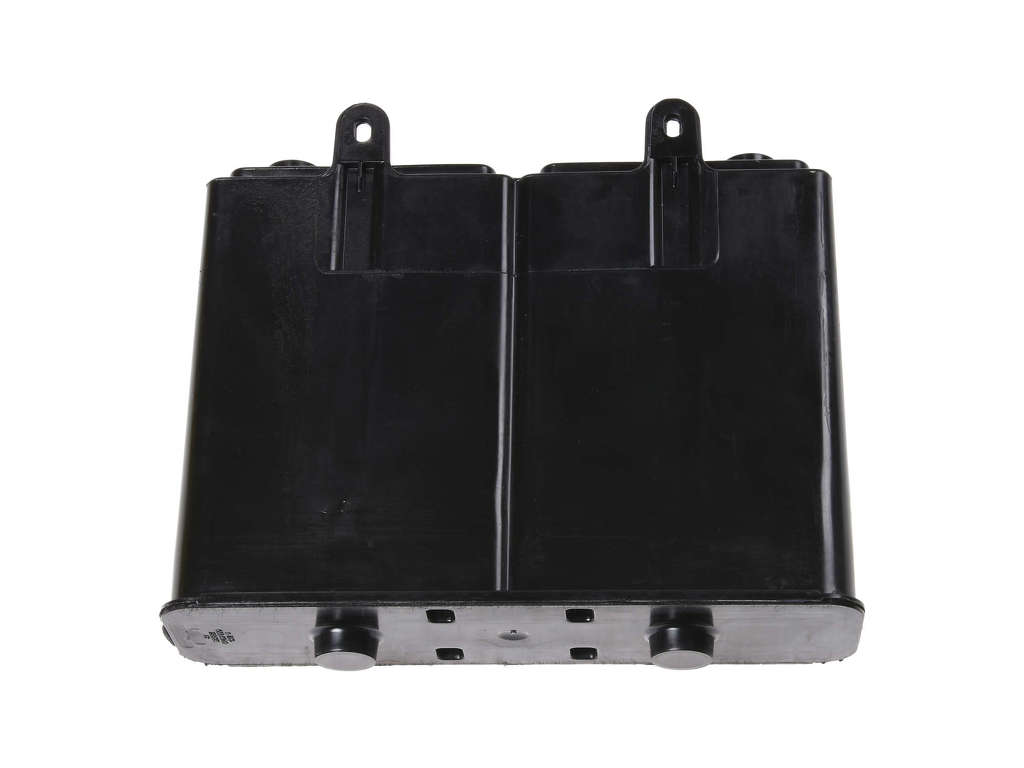
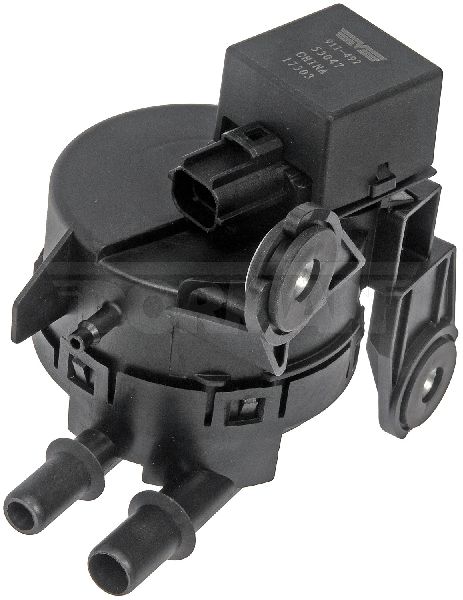
- Failed Canister Vent Solenoid 🔴 High Probability → Shop Vapor Canister The solenoid is mounted under the vehicle, making it susceptible to corrosion from road salt and moisture, which can cause the internal coil to fail or the connector pins to degrade.
How to confirm: Disconnect the solenoid and measure the resistance across its two pins with a multimeter. A healthy Ford solenoid should measure between 48 and 65 ohms. A reading of infinity (OL) or near zero indicates a failed solenoid. 🎬 See how to test if your vent valve has failed Several forum users have confirmed testing their solenoid and getting a reading around 60 ohms.
Typical fix: Replace the canister vent solenoid.
Est. part cost: $30-$70 - Damaged Wiring or Electrical Connector 🔴 High Probability The wiring harness leading to the vent solenoid runs along the frame rail and is exposed to the elements, road debris, and potential chafing, which can lead to broken or shorted wires. A common failure point is where the loom passes the rear driver's side shock area.
How to confirm: Visually inspect the entire length of the wiring harness from the solenoid for breaks, chafing, or corrosion. Check for 12 volts at the power wire (often red) on the connector with the key on. If power is present, check the ground/control wire for continuity back to the PCM. A user on a Ford forum found the loom had worn through, causing three wires to break from arcing and corrosion. 🎬 Watch: Diagnosing a Ford P1451 vent solenoid wiring fault
Typical fix: Repair the damaged section of wire or replace the connector pigtail.
Est. part cost: $5-$25 - Blown Fuse ⚪ Low Probability
How to confirm: Check the vehicle's fuse box for a blown fuse related to the emissions or EVAP system. A short in the circuit can cause the fuse to blow repeatedly.
Typical fix: Replace the blown fuse and investigate the cause of the short circuit.
Est. part cost: $1-$5
Rare But Worth Checking
- Faulty Powertrain Control Module (PCM): → Shop Engine Control Module (ECM) This is extremely rare. The PCM should only be considered after all other possibilities, including the wiring and the solenoid itself, have been thoroughly tested and ruled out. One owner on a Ranger forum replaced the PCM for a P1451, but the issue persisted and was later found to be a wiring problem.
Diagnosis Steps
- Retrieve the P1451 code using an OBD-II scanner and confirm no other codes are present.
- Locate the EVAP charcoal canister and the attached vent solenoid under the rear of the vehicle, near the spare tire well.
- Visually inspect the electrical connector and wiring harness going to the vent solenoid. Look for green corrosion, broken wires, or chafing against the frame, particularly near the rear harness plug by the fuel filter.
- If the wiring looks good, disconnect the connector. Turn the ignition key to the 'ON' position (engine off). Use a multimeter to check for battery voltage (approx. 12V) at the power wire in the connector (typically a red wire).
- If voltage is present, turn the key off. Set the multimeter to measure resistance (Ohms) and test the solenoid itself by placing the probes on its two electrical pins. The reading should be between 48 and 65 ohms.
- If the resistance is out of spec, the solenoid is bad and needs to be replaced.
- If the resistance is within spec, the solenoid is likely good. The problem is likely in the wiring (specifically the ground/control wire from the PCM) or, rarely, the PCM itself. Trace the control wire back towards the PCM, looking for breaks.
- Optional: Use a bi-directional scan tool or fused jumper wires to apply 12V power and ground directly to the solenoid. You should hear an audible 'click' as it activates. No click confirms a bad solenoid.
Parts You'll Likely Need
- Vapor Canister Vent Solenoid
(OEM #F75Z-9F945-BA (may be superseded by 9U5Z-9F945-F))— This solenoid is the component monitored by the P1451 code. Due to its location, it is prone to failure from corrosion and age.
Trusted brands: Motorcraft, Dorman, Standard Motor Products
OEM price range: $50-$90
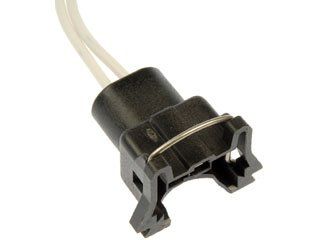
Aftermarket price range: $30-$70 - Vent Solenoid Connector Pigtail — The electrical connector itself can corrode and fail, requiring it to be cut off and a new pigtail spliced in.
Trusted brands: Motorcraft, Dorman
OEM price range: $20-$40
Aftermarket price range: $10-$25
Platform-Specific Known Issues
- Wiring Harness Chafe Point: Owners on Ford-specific forums have reported that the wiring loom for the vent solenoid can rub against the frame or other components near the rear axle and fuel filter area. This chafing eventually wears through the insulation and causes wires to break or short out, directly triggering the P1451 code. A thorough visual inspection of this harness section is a critical diagnostic step.
Mechanic-Grade Diagnostic Values
- Canister Vent Solenoid Control Wire Voltage (Key On, Engine Off, Solenoid Commanded OFF) — expected: ~12 Volts (Battery Voltage). Failure: A reading near 0 volts indicates a short to ground in the wiring or a faulty PCM driver. The PCM is not commanding the solenoid on, so it should not be providing a ground path.
- Canister Vent Solenoid Control Wire Voltage (Solenoid Commanded ON with Scan Tool) — expected: Near 0 Volts. Failure: A reading that stays at battery voltage indicates an open in the control wire, a faulty PCM that cannot provide ground, or a bad connection.
- Fuel Tank Pressure (FTP) Sensor Voltage (Key On, Engine Off, Gas Cap Off) — expected: Approximately 2.6V. Failure: While not a direct test for P1451, an out-of-range FTP reading can indicate other system issues. This provides a baseline for EVAP system health.
Scan Tool Commands That Help
- Ford IDS (or equivalent professional scanner): Output State Control / Manual EVAP Test — This is the definitive test for the entire circuit. It allows the technician to command the canister vent solenoid ON (closed) and OFF (open) manually. While monitoring the control wire voltage, this command confirms if the PCM driver is working, the wiring is intact, and the solenoid responds.
Wiring & Ground Locations
- Canister Vent Solenoid Connector — Under the vehicle near the rear axle, plugged into the vent solenoid which is attached to or near the charcoal canister.. This is the primary point of failure. The power wire is typically Red (RD) and should have battery voltage with the key on. The control wire is typically Violet/White (VT/WH) and is grounded by the PCM to activate the solenoid.
- PCM Supplied Ground — Internal to the Powertrain Control Module (PCM).. The vent solenoid is not grounded to the chassis directly. The PCM completes the circuit by providing a path to ground internally. This means checking for a chassis ground point near the solenoid is not a valid diagnostic step for the control side of the circuit. The focus must be on the continuity of the Violet/White wire back to the PCM.
Real Owner Repair Stories
- Ranger-Forums.com user (1998 Ford Ranger (similar EVAP system)) — Persistent P1451 code.
❌ Tried (didn't work) Replaced Purge Solenoid, Replaced Canister Vent Solenoid, Replaced PCM
✅ What actually fixed it Found that the wiring loom had chafed through near the rear harness plug by the fuel filter. Three wires were broken from arcing and corrosion. Repairing the broken wires finally resolved the code. - Ford-Trucks.com user (1999 F-150 (similar EVAP system)) — P1451 code.
❌ Tried (didn't work) Initially misdiagnosed as the purge solenoid on the firewall.
✅ What actually fixed it The user correctly diagnosed the issue by testing for 12V on the Red wire at the rear vent solenoid connector and then checking the resistance of the solenoid itself (found it was ~60 ohms). The problem was then traced to a break in the Violet/White (VT/WH) control wire between the solenoid and the PCM.
When the Usual Fixes Don't Work
- Multiple owner reports confirm that simply replacing the vent solenoid does not always fix a P1451 code. In a significant number of cases, particularly on older, high-mileage vehicles from rust-prone areas, the root cause is a wiring failure. A 1998 Ford owner on Ranger-Forums went as far as replacing the PCM, only to find later that the problem was a simple wire break in the harness near the fuel filter. This underscores the need to perform a full circuit diagnosis (checking for power, testing the control wire, and checking solenoid resistance) before purchasing parts.
OEM Part Supersession History
F75Z-9F945-BA→F75Z-9F945-CA, which may be further superseded by parts like 9U5Z-9F945-F (Motorcraft CX2139).— Standard part evolution and consolidation by the manufacturer.
Heads up: No known incompatibilities within the specified vehicle range. Always verify fitment with VIN.
Diagnostic Flowchart
Other Known Issues on This Vehicle
Issues unrelated to this code that are worth knowing about as an owner of this generation:
- AX4N / 4F50N Automatic Transmission Failure 🔴 High — Very common, especially over 100,000 miles. Often presents as a sudden loss of all forward and reverse gears due to stripped torque converter splines. (Ref: Multiple TSBs and a recall on the torque converter for some models exist.)
- Camshaft Synchronizer Failure (3.0L Vulcan OHV) 🔴 High — Common after 60,000-80,000 miles. A persistent 'chirp' or 'squeak' from the back of the engine is a tell-tale sign. Failure is critical as the synchronizer drives the oil pump; loss of oil pressure can cause catastrophic engine damage.
- Clogged EGR Passages (3.0L Vulcan OHV) 🟠 Medium — Extremely common, often leading to a P0401 code. The intake manifold passages behind the throttle body clog with carbon.
- Broken IMRC Linkage Clips (3.0L Duratec DOHC) 🟡 Low — A very common issue on the DOHC engine variant, causing codes like P1516. The small plastic clips for the Intake Manifold Runner Control become brittle and break, causing a loss of power and a rattling noise. (Ref: TSB 02-15-3 was issued for a related code (P1518).)
- PCV System Vacuum Leaks 🟡 Low — The rubber elbows and plastic tubes in the PCV system degrade with age and oil exposure, leading to vacuum leaks, high idle, and lean codes.
Used vs. New Parts: Buying Guide for This Vehicle
When a used part is the smart pick: A used connector pigtail from a junkyard is an excellent, cost-effective option if your original connector is corroded or broken. It's often better to get an OEM pigtail with a few inches of wire than a new, lower-quality aftermarket connector. Buying a used solenoid is generally not recommended due to the high failure rate of the part and the difficulty in assessing its remaining life.
Donor-vehicle mileage cap: roughly under 120000 miles for the part to have meaningful remaining life.
What to inspect on the donor part:
- For a pigtail, inspect the donor vehicle for signs of being from a dry, salt-free climate.
- Check the connector for any green or white corrosion on the pins.
- Ensure the plastic locking tab on the connector is intact and not brittle.
- Cut the pigtail with as much wire as possible to make splicing easier.
Aftermarket brands forum-validated for this vehicle:
- Motorcraft (OEM)
- Dorman (Often provides a cost-effective replacement with a lifetime warranty)
- Standard Motor Products (SMP)
Brands owners have reported issues with on this vehicle:
- No-name, unbranded parts from online marketplaces should be avoided as their coil resistance and durability may not meet OEM specifications.
Real Owner Stories
Aggregated from forums and TSBs cited above. Mileages and costs reflect what owners reported in those sources.
1998 Ford vehicle
Symptoms: P1451 code would not go away even after replacing parts and the PCM.
What fixed it: Found the wiring loom had worn through near the rear harness plug by the fuel filter, causing three wires to break from arcing and corrosion.
Source hint: Ranger-Forums.com: In a thread titled 'P1451 wont go away'
2002 Ford Taurus
Symptoms: Persistent P1451 code despite replacing both the purge and vent solenoids.
What fixed it: The owner's experience highlighted that the issue was electrical/diagnostic rather than just a failed part, though the specific wire repair was not detailed.
Source hint: Ford Forum (ford-forum.com)
1999 Ford F-150
Symptoms: Code 1451 present; owner performed electrical testing at the connector.
What fixed it: Confirmed the solenoid was the fault by testing for ~60 ohms resistance and checking for 12V at the connector.
Source hint: Ford-Trucks.com: A user with a 1999 F-150 posted in 'code 1451, finally got around to checking it'
Related OBD-II Codes
Frequently Asked Questions
Where is the vent solenoid located on my 1996-1999 Ford Taurus?
What should the resistance be when testing the vent solenoid on my Taurus?
Is there a specific wiring area I should check for my P1451 code?
Can I use a used part from a junkyard to fix this issue?
Does TSB 02-15-3 apply to my P1451 code?
What color wire should I test for power at the solenoid connector?
Helpful Videos
Used OEM Parts in Stock
New Aftermarket Parts Available


The information in this article is provided for general reference and educational purposes only. Vehicle specifications, procedures, and part compatibility can vary by production date, trim level, and region. Always consult your vehicle's factory service manual and verify part numbers before purchasing or performing repairs. Safety-critical components such as airbags, seat belts, and braking systems should be installed by a qualified professional.
- Ford Taurus:
- 🧭 Diagnostic Flowchart
- 🎬 Helpful Videos
- 🛍️ Shop This Part
- What's Unique About the 1996-1999 Ford Taurus
- Symptoms You May Notice
- Most Likely Causes
- Rare But Worth Checking
- Diagnosis Steps
- Parts You'll Likely Need
- Platform-Specific Known Issues
- Mechanic-Grade Diagnostic Values
- Scan Tool Commands That Help
- Wiring & Ground Locations
- Real Owner Repair Stories
- When the Usual Fixes Don't Work
- OEM Part Supersession History
- Other Known Issues on This Vehicle
- Used vs. New Parts: Buying Guide for This Vehicle
- Real Owner Stories
- 1998 Ford vehicle
- 2002 Ford Taurus
- 1999 Ford F-150
- Related OBD-II Codes
- Frequently Asked Questions
- 🎟️ Get 5% Off