
P1457 on 2001-2003 Acura CL: EVAP Canister Leak Causes and Fixes
On a 2001-2003 Acura CL, code P1457 is almost always caused by a faulty or rusted EVAP Canister Vent Solenoid located under the car. The metal body of the solenoid rusts, compromising the seal and creating a leak. Replacing the solenoid is the most common fix, costing around $40-$70 for an aftermarket part and is a DIY-friendly job, though rusted bolts can complicate the repair.
- P1457 on a 2001-2003 Acura CL means there is a leak in the EVAP system near the charcoal canister, not the gas cap.
- The most likely culprit is the EVAP Canister Vent Solenoid, which rusts due to its location under the car, causing its seal to fail.
- A visual inspection for rust on the solenoid is the first step. A smoke test is the best way to confirm the exact leak location.
- This is a manageable DIY repair for most home mechanics, with the main difficulty being the two rusted screws holding the solenoid.
- Do not replace the gas cap for this code; it will not solve the problem.
What's Unique About the 2001-2003 Acura CL
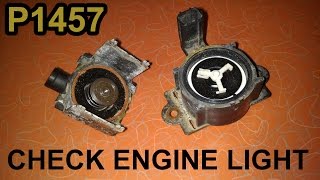
The second-generation Acura CL, like many Hondas and Acuras from this era, has its EVAP charcoal canister and associated valves mounted underneath the car, near the driver's side rear wheel. This location exposes the components to road salt, water, and debris, leading to a high rate of corrosion. The plain steel bracket and body of the Canister Vent Solenoid are particularly prone to rusting. As the metal corrodes and flakes, it creates an imperfect surface for the O-ring seal, allowing a small leak that the system detects and flags as P1457.
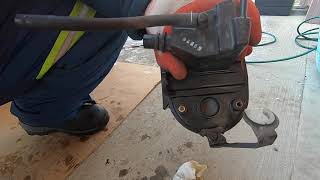
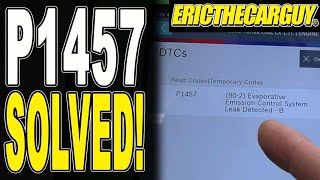
🎬 Watch: A complete walkthrough on diagnosing and fixing the P1457 code.Diagnostic Flowchart
Tap your situation to follow the diagnostic path that matches what you're seeing on this vehicle.
Symptoms You May Notice
- Check Engine Light is on
- Failure to pass an emissions inspection
- Possible faint fuel smell
- Rough idle in cases of a very large leak
- Replacing the gas cap. A faulty gas cap typically causes code P1456 (Fuel Tank System Leak), not P1457 (Canister System Leak). While a loose cap can occasionally trigger a P1457, it is not the root cause if the code consistently returns after tightening.
Most Likely Causes
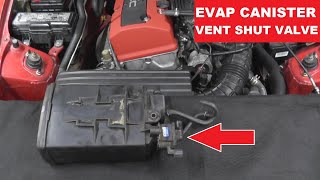
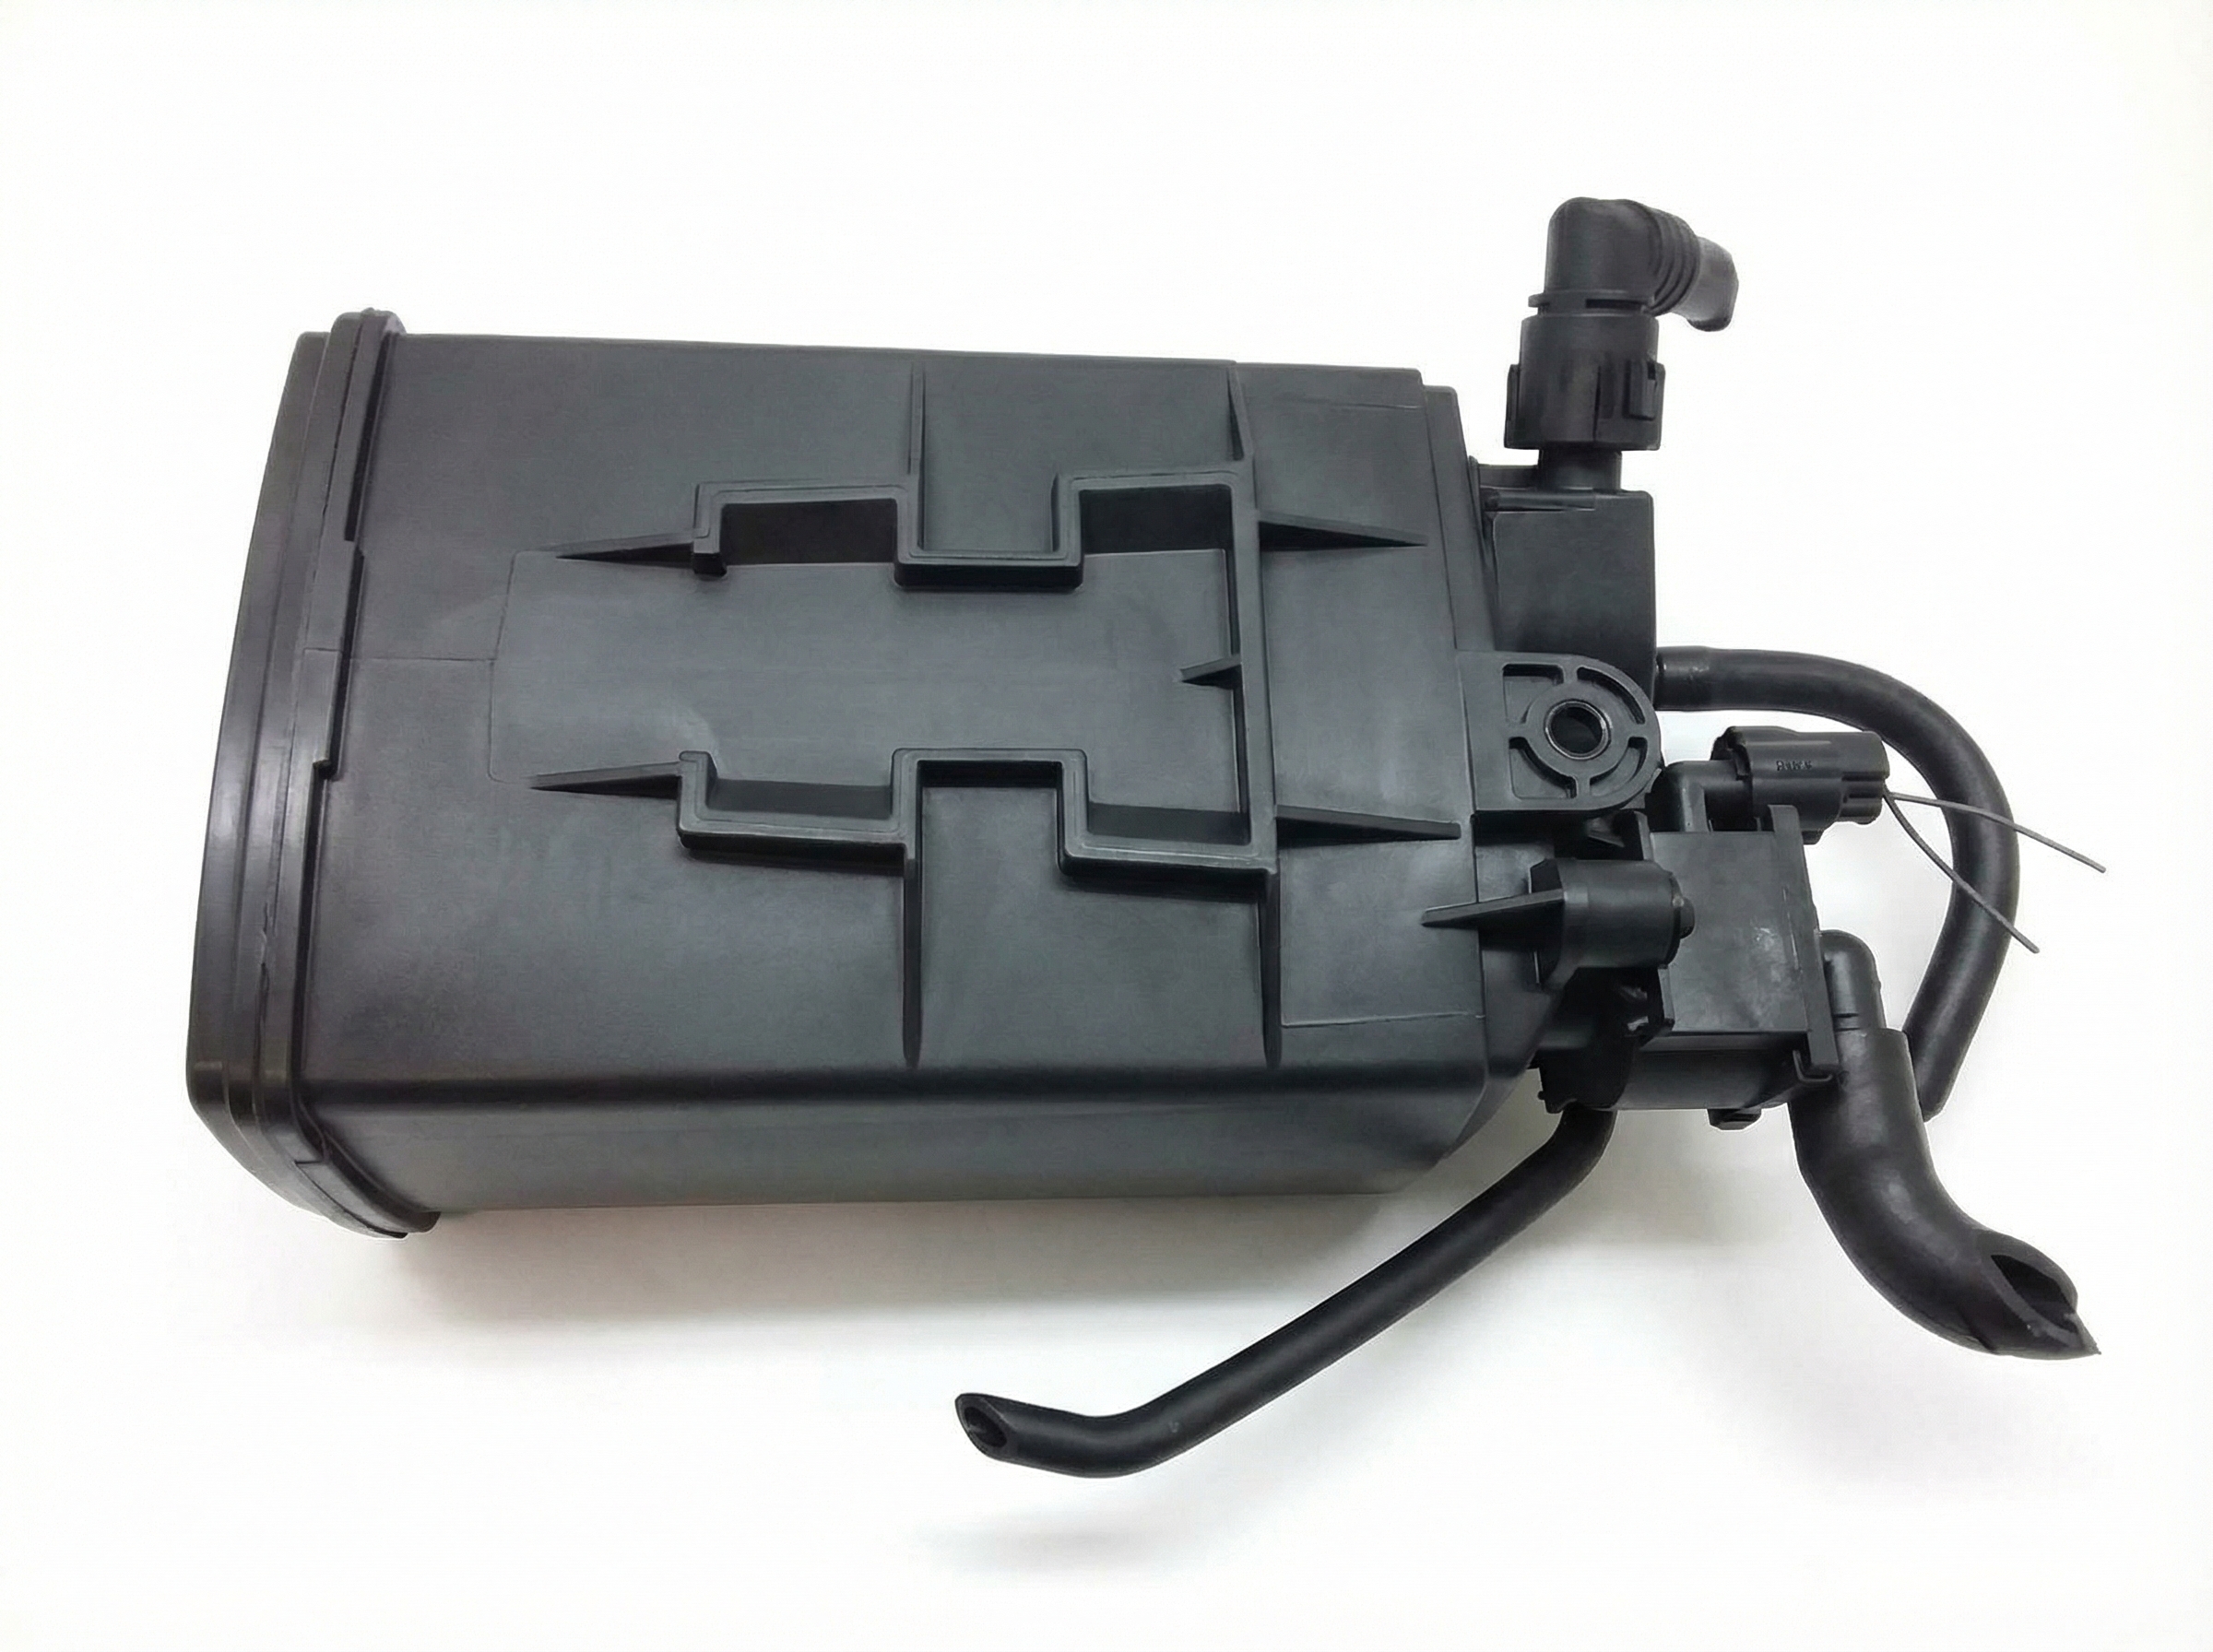
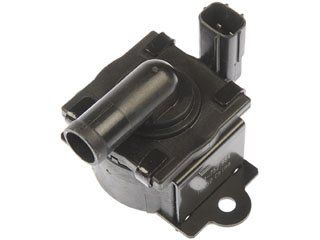
- Faulty EVAP Canister Vent Solenoid (CVS Valve) 🔴 High Probability → Shop Vapor Canister The solenoid is located under the car and is highly susceptible to rust. The metal housing corrodes and expands, breaking the plastic-to-metal seal and preventing the internal O-ring from sealing properly, which causes the leak.
How to confirm: Visually inspect the valve for heavy rust. A smoke test of the EVAP system will often show smoke escaping directly from the solenoid body. You can also test the valve's operation by applying 12V power; it should click. A bi-directional scanner can also command the valve to close, and you should hear an audible click. The solenoid coil should have a resistance between 20 and 30 ohms.
Typical fix: Replace the EVAP Canister Vent Solenoid. The mounting screws are often very rusted and may need to be drilled out or removed with locking pliers.
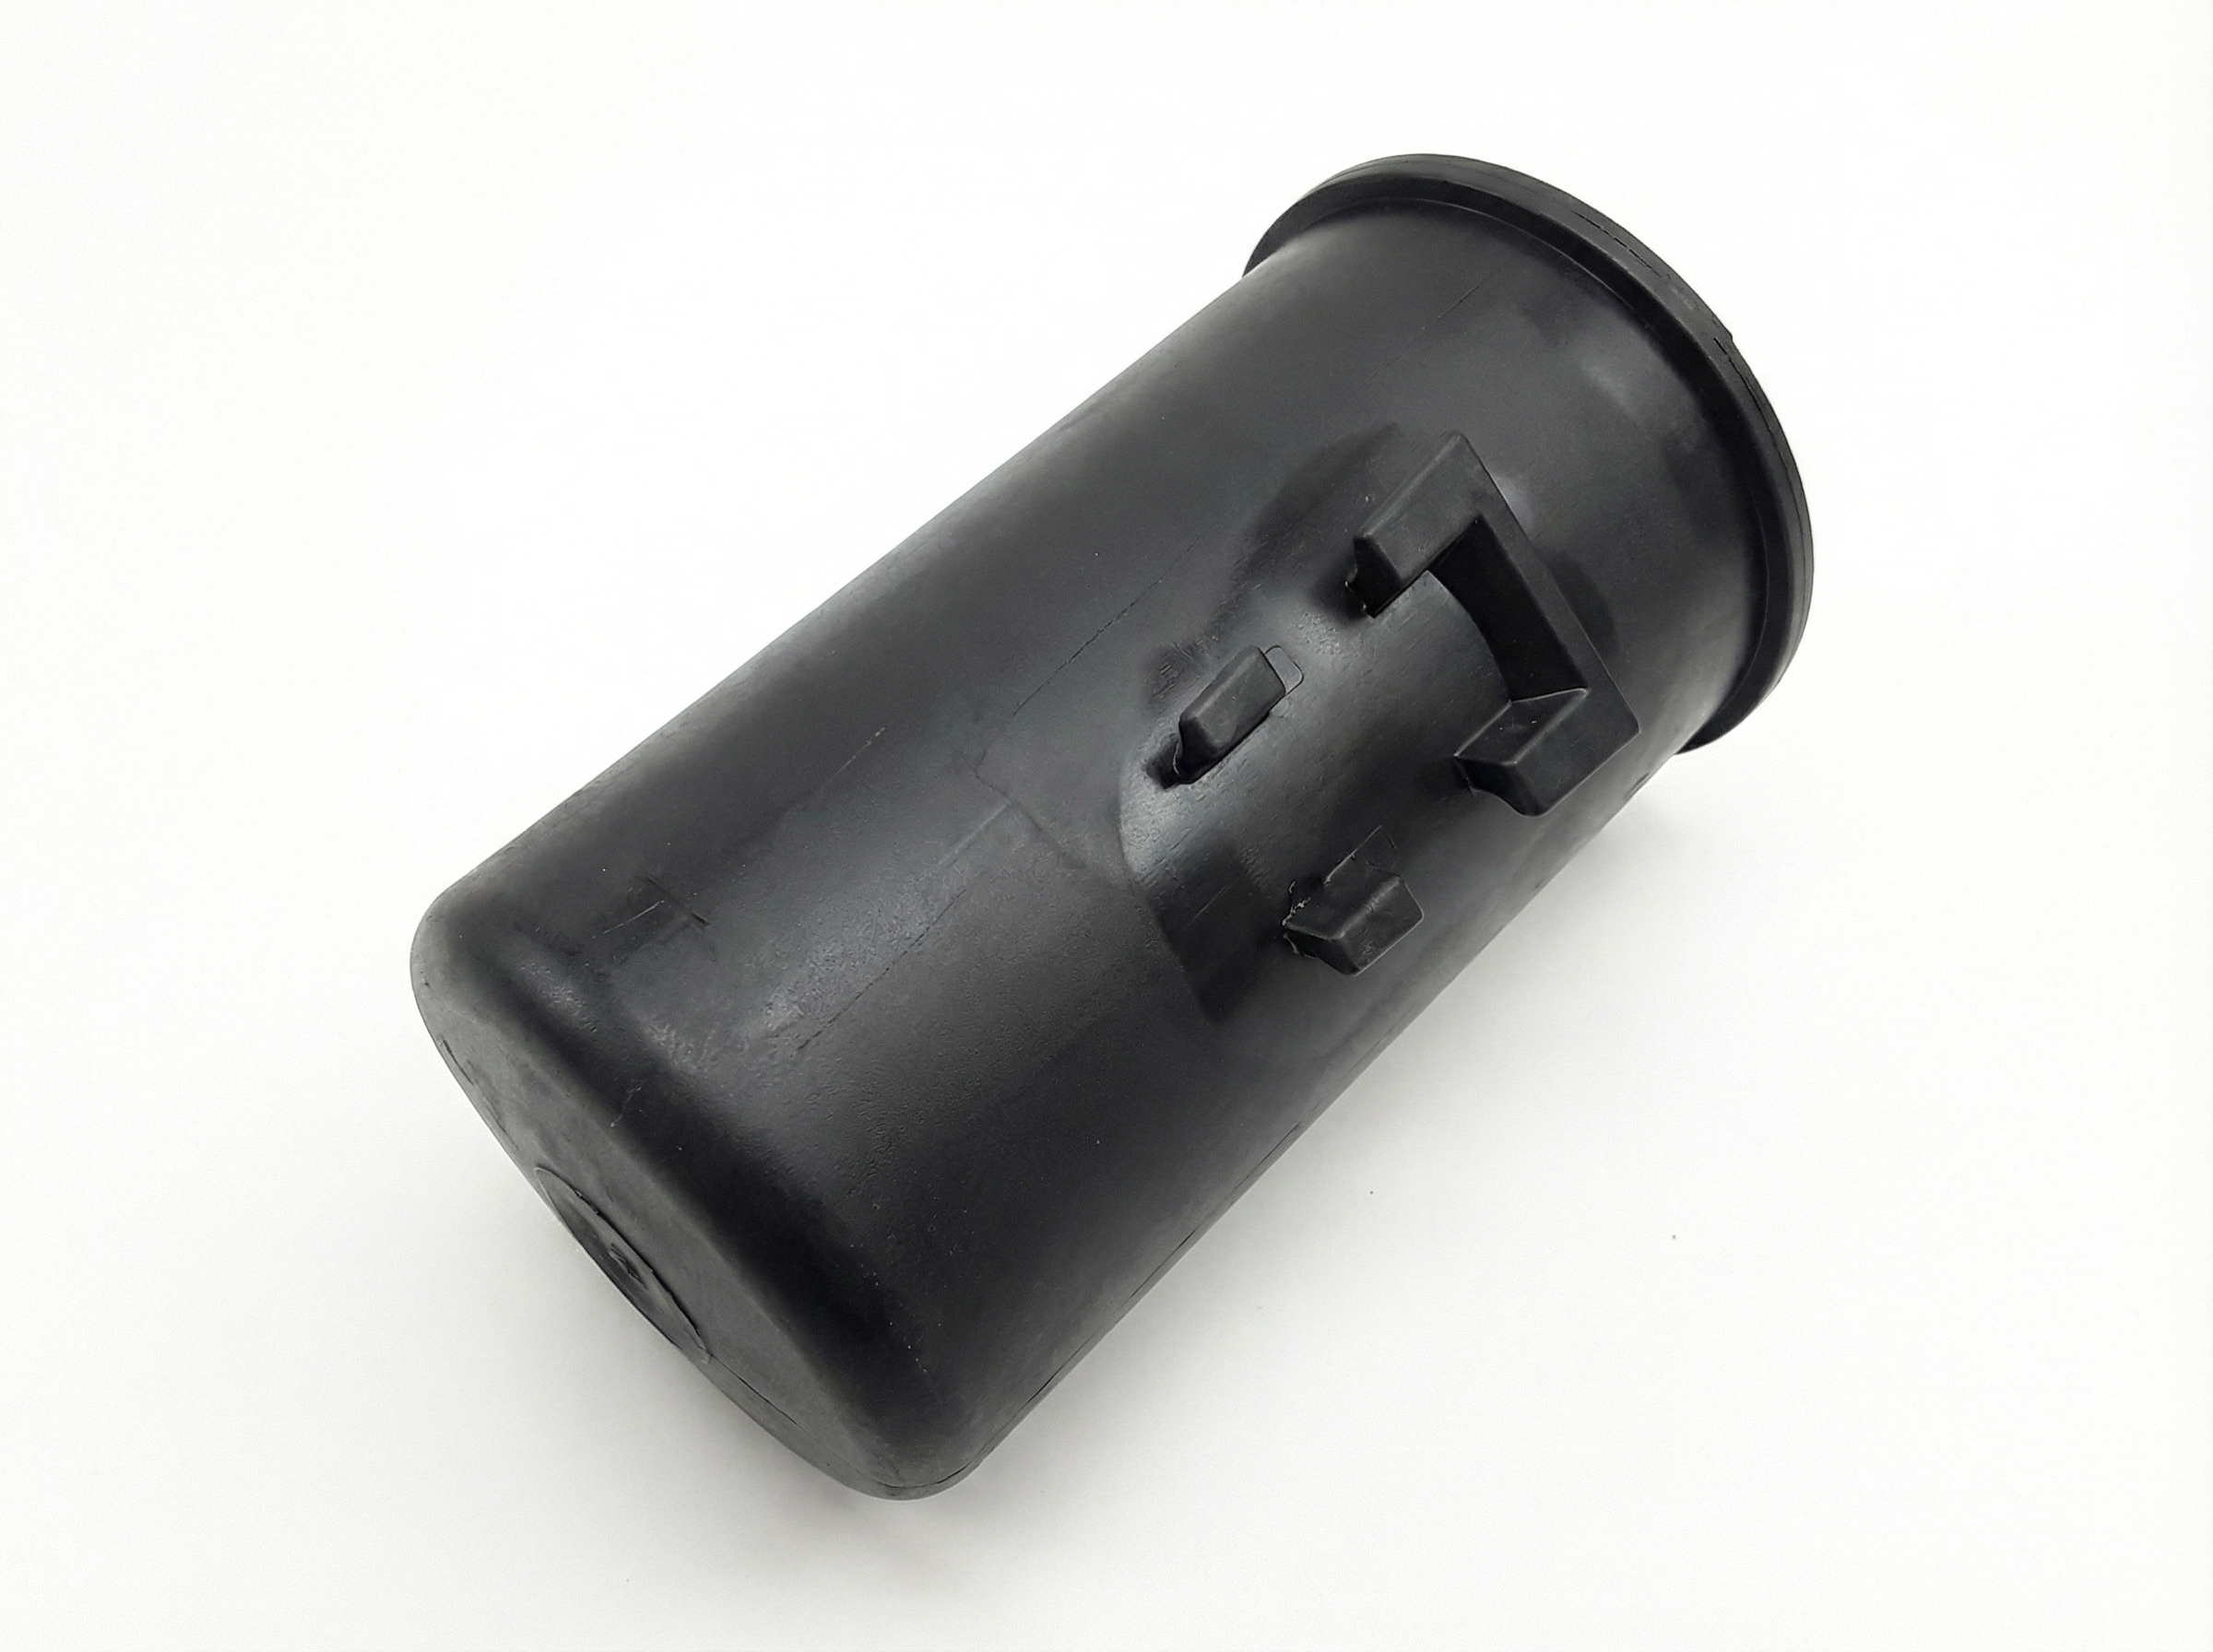
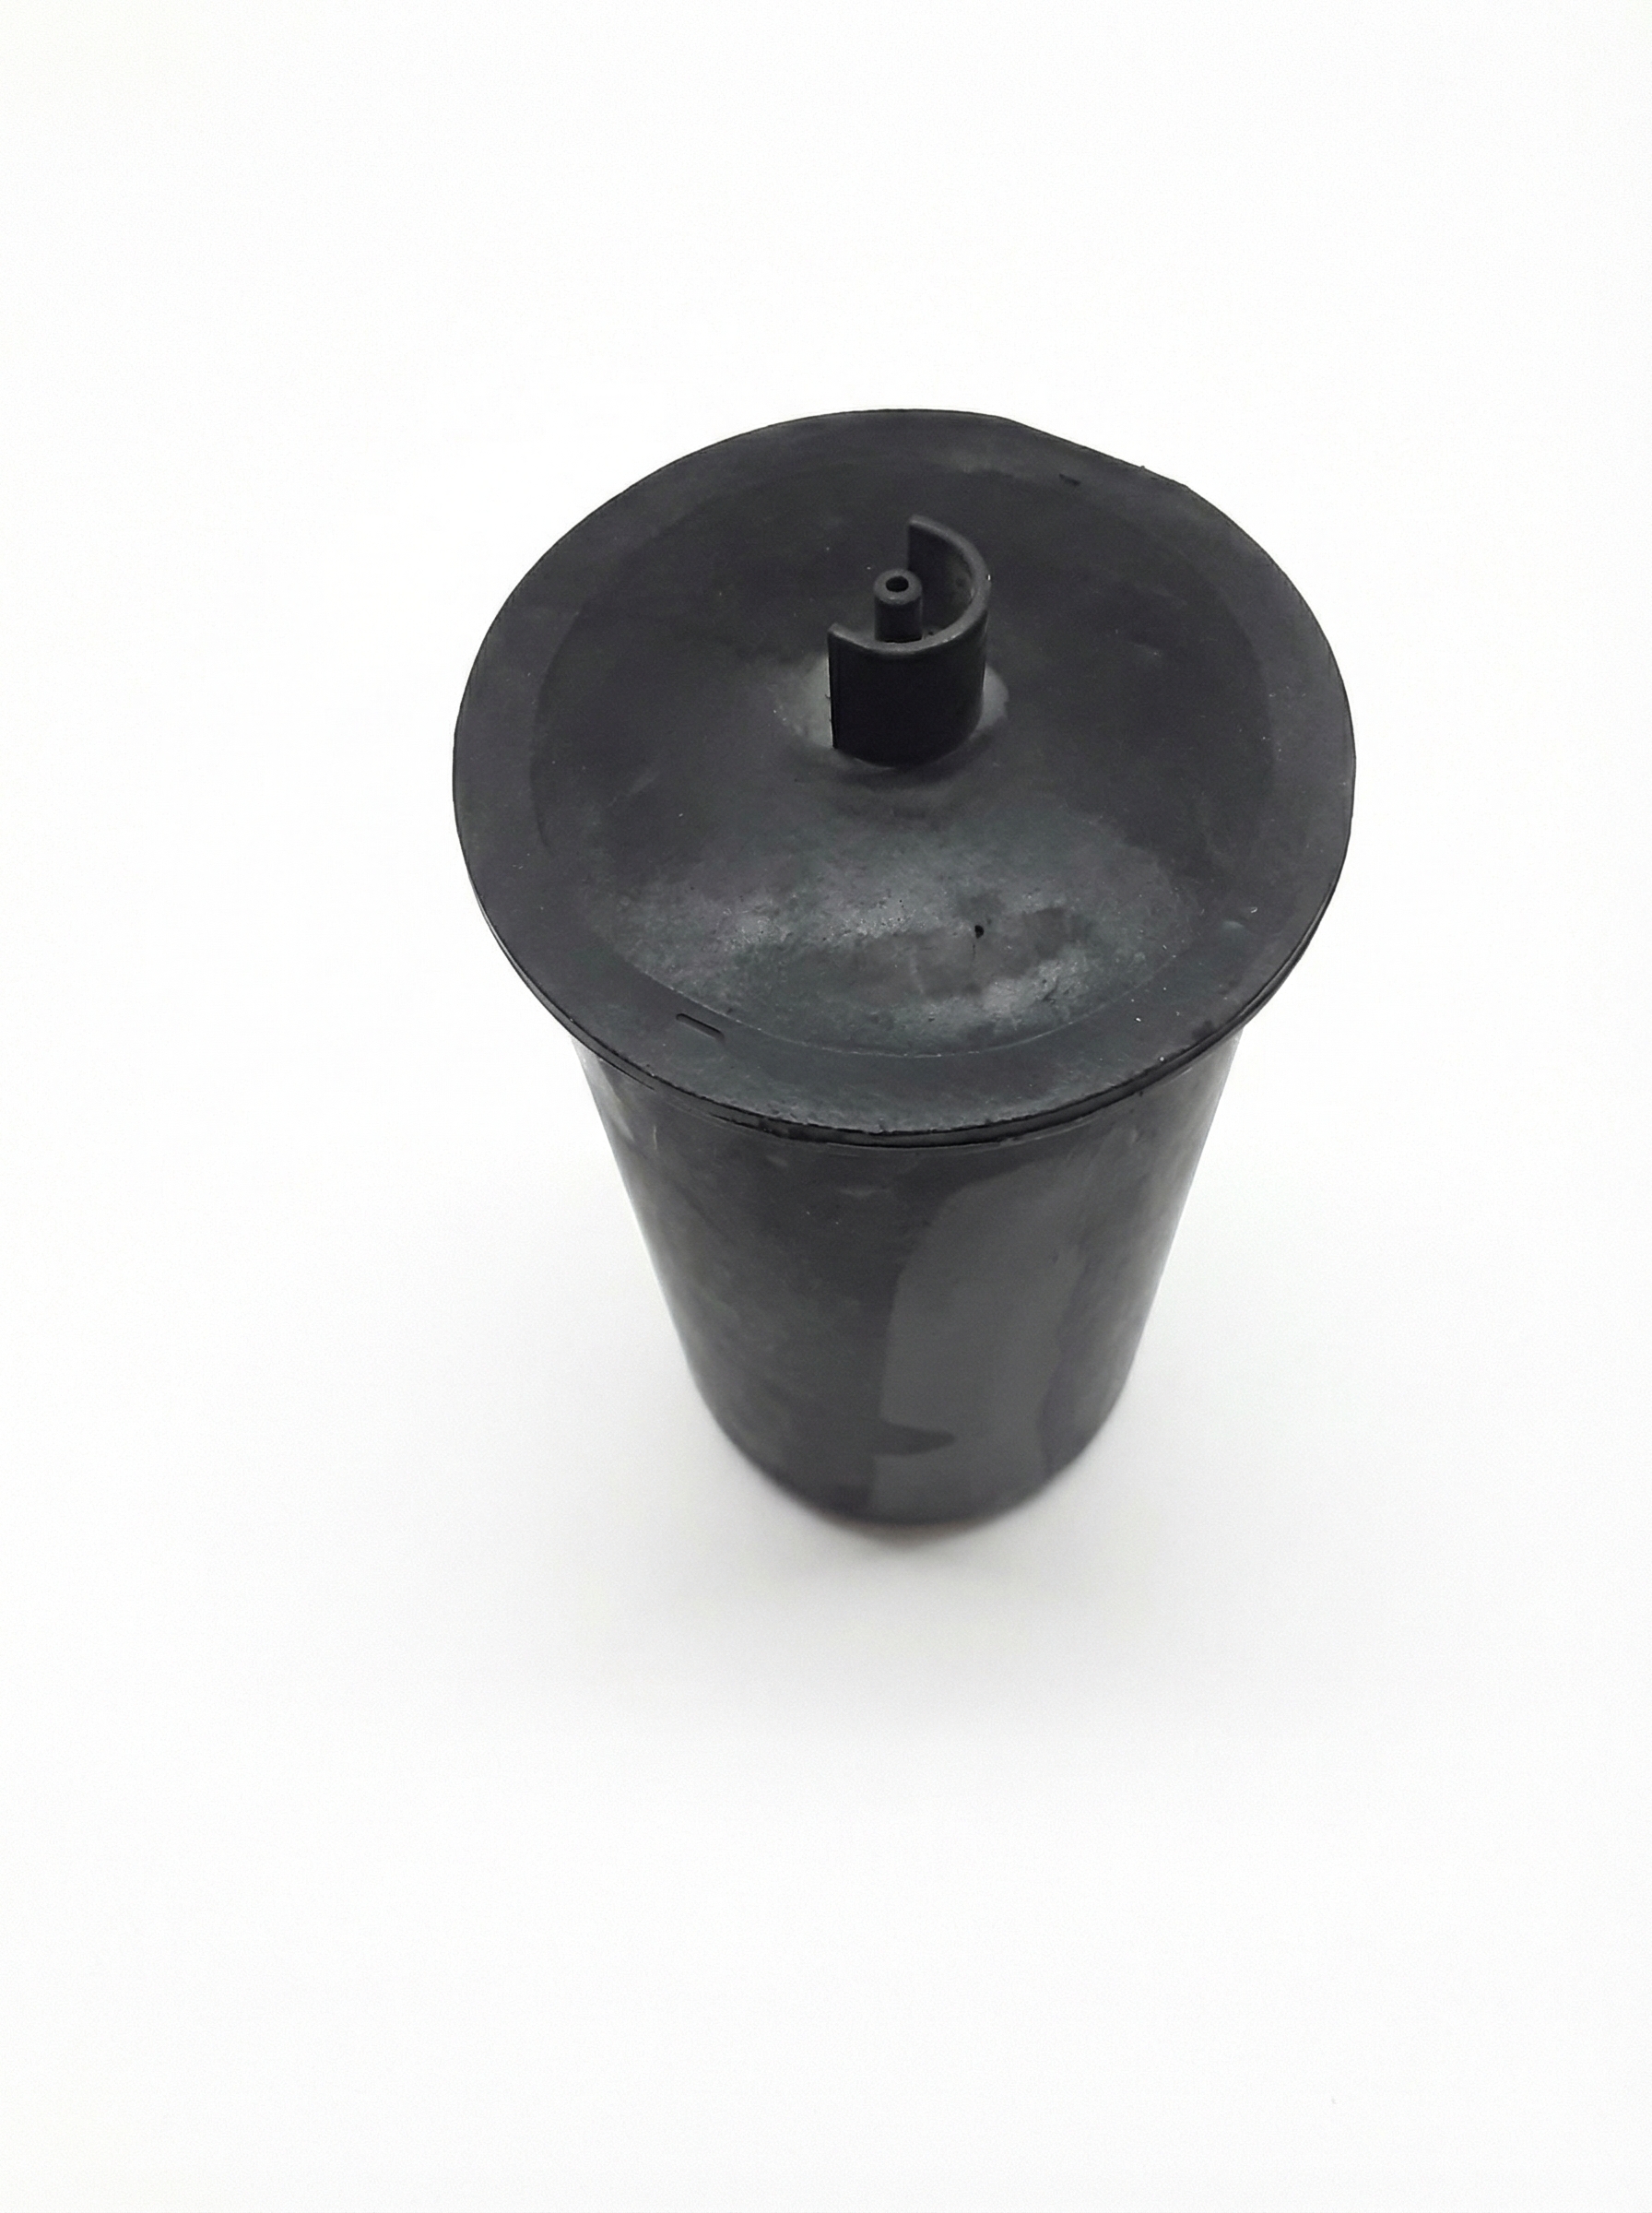
Est. part cost: $40 - $70 - Cracked or Rusted EVAP Charcoal Canister 🟡 Medium Probability → Shop Vapor Canister Like the vent solenoid, the canister is mounted under the car and can develop cracks from rust or impacts with road debris. The mounting tabs for the solenoid can also break off due to rust, necessitating a full canister replacement.
How to confirm: A smoke test is the most effective method. Smoke will be seen escaping from cracks in the canister body or from where the solenoid mounts.
Typical fix: Replace the entire charcoal canister assembly. The vent solenoid is often replaced at the same time as a preventative measure.
Est. part cost: $150 - $250 - Faulty EVAP Bypass Solenoid / Two-Way Valve ⚪ Low Probability This valve is also part of the canister assembly and subject to the same environmental conditions, though it fails less frequently than the vent solenoid. TSB 03-001 specifically addresses corrosion in this valve.
How to confirm: Requires testing with a hand-held vacuum pump to see if it holds vacuum when energized. A bi-directional scanner can also be used to command the valve on and off to listen for a click. A working valve should have a resistance of approximately 35 ohms.
Typical fix: Replace the two-way valve assembly. Some owners have replaced this part after the vent solenoid replacement did not fix the code.
Est. part cost: $50 - $90 - Cracked or Disconnected EVAP Hoses ⚪ Low Probability Rubber hoses become brittle with age and can crack or slip off their fittings, especially the hoses connected directly to the canister assembly which are exposed to the elements.
How to confirm: Visually inspect all rubber hoses connected to the charcoal canister and its valves. A smoke test will quickly reveal any leaks.
Typical fix: Replace the damaged section of hose.
Est. part cost: $5 - $20
Rare But Worth Checking
- Failed Powertrain Control Module (PCM) Driver: In rare cases, a shorted-out EVAP solenoid can damage the internal circuit in the PCM that controls it. One forum user diagnosed this after replacing all other components; the PCM was not providing ground to the bypass solenoid. The fix can be a full PCM replacement or, for those with soldering skills, replacing the 'STA415A' transistor array on the circuit board.
Diagnosis Steps
- Read the code with an OBD-II scanner to confirm P1457 is the only code present.
- Visually inspect the EVAP canister, vent solenoid, and all associated hoses under the car, near the driver's side rear wheel. Look for obvious signs of heavy rust, cracks, or loose connections.
- Focus on the EVAP Canister Vent Solenoid (CVS). Check for heavy corrosion on its metal housing, which is the most common failure point.
- If you have a bi-directional scanner, command the Canister Vent Solenoid and the EVAP Bypass/Two-Way Valve to close and open individually. Listen for an audible click from each valve. A lack of a click points to a failed solenoid.
- If visual inspection is inconclusive, perform a smoke test. Introduce low-pressure smoke (under 1 PSI) into the EVAP service port (green cap) and look for leaks around the canister, vent solenoid, and hoses. This is the most definitive way to find the source of the leak.
- If no leaks are found, test the electrical circuits. All solenoids receive a constant +12V from the main relay. The PCM provides the ground to activate the solenoid. Check for voltage at the connector and continuity to ground at the PCM pins (e.g., Pin A4 for the Vent Shut Valve).
Parts You'll Likely Need
- EVAP Canister Vent Solenoid
(OEM #17310-S84-L31 (replaces 17310-S84-L01, 17310-S84-L02))— This is the most frequent failure point for code P1457 on this vehicle due to its location under the car, which exposes it to rust and corrosion that breaks its seal.
Trusted brands: Dorman (P/N: 911-761), Standard Motor Products (P/N: CVS68), Wells (P/N: PV594)
OEM price range: $90-$120
Aftermarket price range: $40-$70 - EVAP Charcoal Canister
(OEM #17011-S84-A00)— The canister itself can crack from rust or impact, or the solenoid mounting points can break, causing a leak. It is often replaced if the vent solenoid is severely rusted and difficult to remove.
Trusted brands: Dorman, Standard Motor Products
OEM price range: $200-$250
Aftermarket price range: $150-$200 - Vent Solenoid Mounting Screws
(OEM #93893-05010-08)— The original screws are almost guaranteed to be seized and rusted. They often need to be drilled or broken off, requiring replacement. It is highly recommended to purchase new screws before starting the job.
Trusted brands: Honda/Acura (OEM)
OEM price range: $2-$5 per screw
Aftermarket price range: N/A
Technical Service Bulletins (TSBs) & Recalls
- B99-040: Updates troubleshooting procedures for DTC P1456 and P1457, specifically defining P1457 as an EVAP Canister System leak.
- 03-001: Addresses P1457 caused by a failed EVAP bypass solenoid valve due to internal corrosion from water intrusion. Though originally for other models, the failure mode is relevant.
Platform-Specific Known Issues
- The mounting screws for the vent solenoid are notorious for rusting and seizing, often requiring them to be drilled out or broken off during removal. It is recommended to purchase new screws (Part # 93893-05010-08) when replacing the solenoid.
Mechanic-Grade Diagnostic Values
- EVAP Canister Vent Solenoid (CVS) coil resistance — expected: 20 - 30 Ohms. Failure: A reading outside this range indicates a damaged solenoid winding.
- EVAP Bypass Solenoid / Two-Way Valve coil resistance — expected: Approximately 35 Ohms. Failure: A significantly different reading or an open circuit (infinite resistance) indicates a faulty solenoid.
- EVAP System Leak Test (via FTP Sensor) — expected: Pump system vacuum down to 1.5V and it should hold for at least 20 seconds.. Failure: If the voltage rises, it indicates a leak in the system.
Scan Tool Commands That Help
- Bi-directional Scan Tool (e.g., Honda HDS): EVAP System Functional Test (includes individual solenoid activation) — Use this to command the EVAP Purge Valve, Canister Vent Solenoid, and Bypass Solenoid on and off. Listening for an audible 'click' from each component confirms the solenoid is mechanically responding to the electrical command. This helps isolate a stuck valve from a wiring or PCM issue.
Wiring & Ground Locations
- PCM Connector A, Pin A4 — At the Powertrain Control Module (PCM), located below the center of the dash.. This pin provides the ground signal to activate the EVAP Canister Vent Shut Valve. If the valve and wiring are good but it doesn't activate, testing for a ground signal here is critical. A lack of ground points to a faulty PCM driver.
- PCM Connector A, Pin A3 — At the Powertrain Control Module (PCM), below the center of the dash.. This pin provides the ground signal for the EVAP Bypass Solenoid Valve. A lack of ground signal from this pin when commanded indicates a faulty PCM driver.
- PCM Connector A, Pin A6 — At the Powertrain Control Module (PCM), below the center of the dash.. This pin provides the ground signal for the EVAP Purge Control Valve located in the engine bay.
- Ground G401 — Located behind the plastic trim, beneath the hood release lever in the driver's footwell.. This is a major chassis ground point for various computer and data lines. While not exclusive to the EVAP system, a poor connection here can cause erratic behavior in modules that control EVAP components.
Real Owner Repair Stories
- AcuraZine user 'ovcegon' (2003 Acura CL-S Automatic) — Persistent P1457 code for about a year.
❌ Tried (didn't work) Confirmed Canister Vent Valve works, Confirmed Purge Valve works, Replaced Bypass Solenoid valve, Confirmed Two-Way Valve works, Confirmed fuel tank and EVAP lines hold pressure/vacuum
✅ What actually fixed it The ECU/PCM was faulty and not providing ground to the vent valve (from pin A4) or the bypass solenoid (from pin A3). The final fix was to replace the 'STA415A' transistor array on the ECU circuit board, which restored function without replacing the entire computer.
"I Checked Everything" — The Actual Cause
- In cases where a smoke test reveals no leaks and all EVAP solenoids have been replaced, the root cause can be electrical. A known failure is a faulty driver transistor (specifically STA415A) within the Powertrain Control Module (PCM). The PCM fails to provide the ground signal to activate the EVAP solenoids (Vent Valve or Bypass Valve), preventing the system from sealing for its self-test, which triggers P1457 even with no physical leak.
When the Usual Fixes Don't Work
- While replacing the EVAP Canister Vent Solenoid is the most common fix, it is not a guaranteed solution. There are documented cases where owners of a 2003 Acura TL (a platform mate) replaced both the EVAP Canister (17011-S84-A00) and the Canister Vent Shut Valve (17310-S84-L31) only to have the P1457 code return. This indicates the fault can lie with other, less common components like the EVAP Bypass Solenoid / Two-Way Valve or the PCM itself, requiring further diagnosis even after the most likely parts are replaced.
OEM Part Supersession History
17310-S84-L01, 17310-S84-L02→17310-S84-L31— Updated part from manufacturer, likely for improved durability or material changes.
Helpful Videos


Used OEM Parts in Stock
New Aftermarket Parts Available


The information in this article is provided for general reference and educational purposes only. Vehicle specifications, procedures, and part compatibility can vary by production date, trim level, and region. Always consult your vehicle's factory service manual and verify part numbers before purchasing or performing repairs. Safety-critical components such as airbags, seat belts, and braking systems should be installed by a qualified professional.
- Acura CL:
- 🧭 Diagnostic Flowchart
- 🎬 Helpful Videos
- 🛍️ Shop This Part
- What's Unique About the 2001-2003 Acura CL
- Symptoms You May Notice
- Most Likely Causes
- Rare But Worth Checking
- Diagnosis Steps
- Parts You'll Likely Need
- Technical Service Bulletins (TSBs) & Recalls
- Platform-Specific Known Issues
- Mechanic-Grade Diagnostic Values
- Scan Tool Commands That Help
- Wiring & Ground Locations
- Real Owner Repair Stories
- "I Checked Everything" — The Actual Cause
- When the Usual Fixes Don't Work
- OEM Part Supersession History
- 🎟️ Get 5% Off