
P2099 on 2016-2020 Cadillac CT6: Post Catalyst Fuel Trim Too Rich (Bank 2) Causes and Fixes
On a 2016-2020 Cadillac CT6 with a V6 or V8 engine, code P2099 is most often caused by a leaking fuel injector on Bank 2 (driver's side). A GM Technical Service Bulletin (PIP4964F) advises testing the injectors before replacing any other parts like oxygen sensors. This issue is common across many GM vehicles using the same family of engines.
- P2099 on a 2016-2020 Cadillac CT6 indicates a rich fuel mixture on Bank 2 (driver's side).
- The most likely cause is a leaking fuel injector, as noted in GM Technical Service Bulletin PIP4964F.
- Do not replace the oxygen sensor without first testing the fuel injectors and checking for exhaust leaks.
- Driving with this code active can reduce fuel economy and eventually damage the catalytic converter, leading to a more expensive repair.
What's Unique About the 2016-2020 Cadillac CT6
For the direct-injection V6 and V8 engines used in the Cadillac CT6, this code is not just a simple sensor issue. General Motors has issued a specific Technical Service Bulletin (TSB #PIP4964F) that points directly to leaking fuel injectors as a highly common cause for P2099. This TSB was created because technicians and owners often mistakenly replace the oxygen sensor first, only to find the problem persists. On this platform, the diagnostic priority should be to test the fuel injectors for leaks or balance issues before assuming other components have failed. The TSB applies broadly to many GM engines, including the 3.6L LGX and 3.0L LGW found in the CT6.
Diagnostic Flowchart
Tap your situation to follow the diagnostic path that matches what you're seeing on this vehicle.
Symptoms You May Notice
- Check Engine Light is on
- Decreased fuel economy
- Rough or uneven idle
- Engine hesitation during acceleration
- Black smoke from the exhaust
- A smell of raw fuel from the exhaust, especially on startup
- Replacing the downstream oxygen sensor without first testing the fuel injectors or checking for exhaust leaks. The TSB for this platform makes it clear that injectors are a primary suspect.
- Replacing the catalytic converter. A P2099 code is an indicator of a fuel mixture problem, not a converter failure. However, ignoring the code will eventually damage the converter.
Most Likely Causes
- Leaking or Faulty Fuel Injector (Bank 2) 🔴 High Probability → Shop Fuel Injector This is a known issue highlighted by GM Technical Service Bulletin #PIP4964F, which specifically recommends an injector balance test for code P2099 on these direct-injection engines. The issue is common enough across the 3.6L engine family that many owners of platform-mate vehicles like the GMC Acadia and Chevy Traverse report this as the definitive fix.
How to confirm: Perform a fuel injector balance test using a professional scan tool (like a GM MDI with GDS2 software) or an Active Fuel Injector Tester (AFIT) 🎬 Watch: How to perform a fuel injector balance test as recommended by the TSB. A DIY proxy test is to remove the spark plugs on Bank 2 (cylinders 2, 4, 6) and inspect them. A plug that is black, sooty, or smells of fuel indicates a rich condition in that specific cylinder, pointing to a likely injector issue.
Typical fix: Replace the faulty fuel injector(s) on Bank 2. Bank 2 is the driver's side of the engine. It is highly recommended to replace all three injectors 🎬 See this walkthrough for replacing injectors on the LGX motor on the affected bank at the same time to ensure balanced fuel delivery.
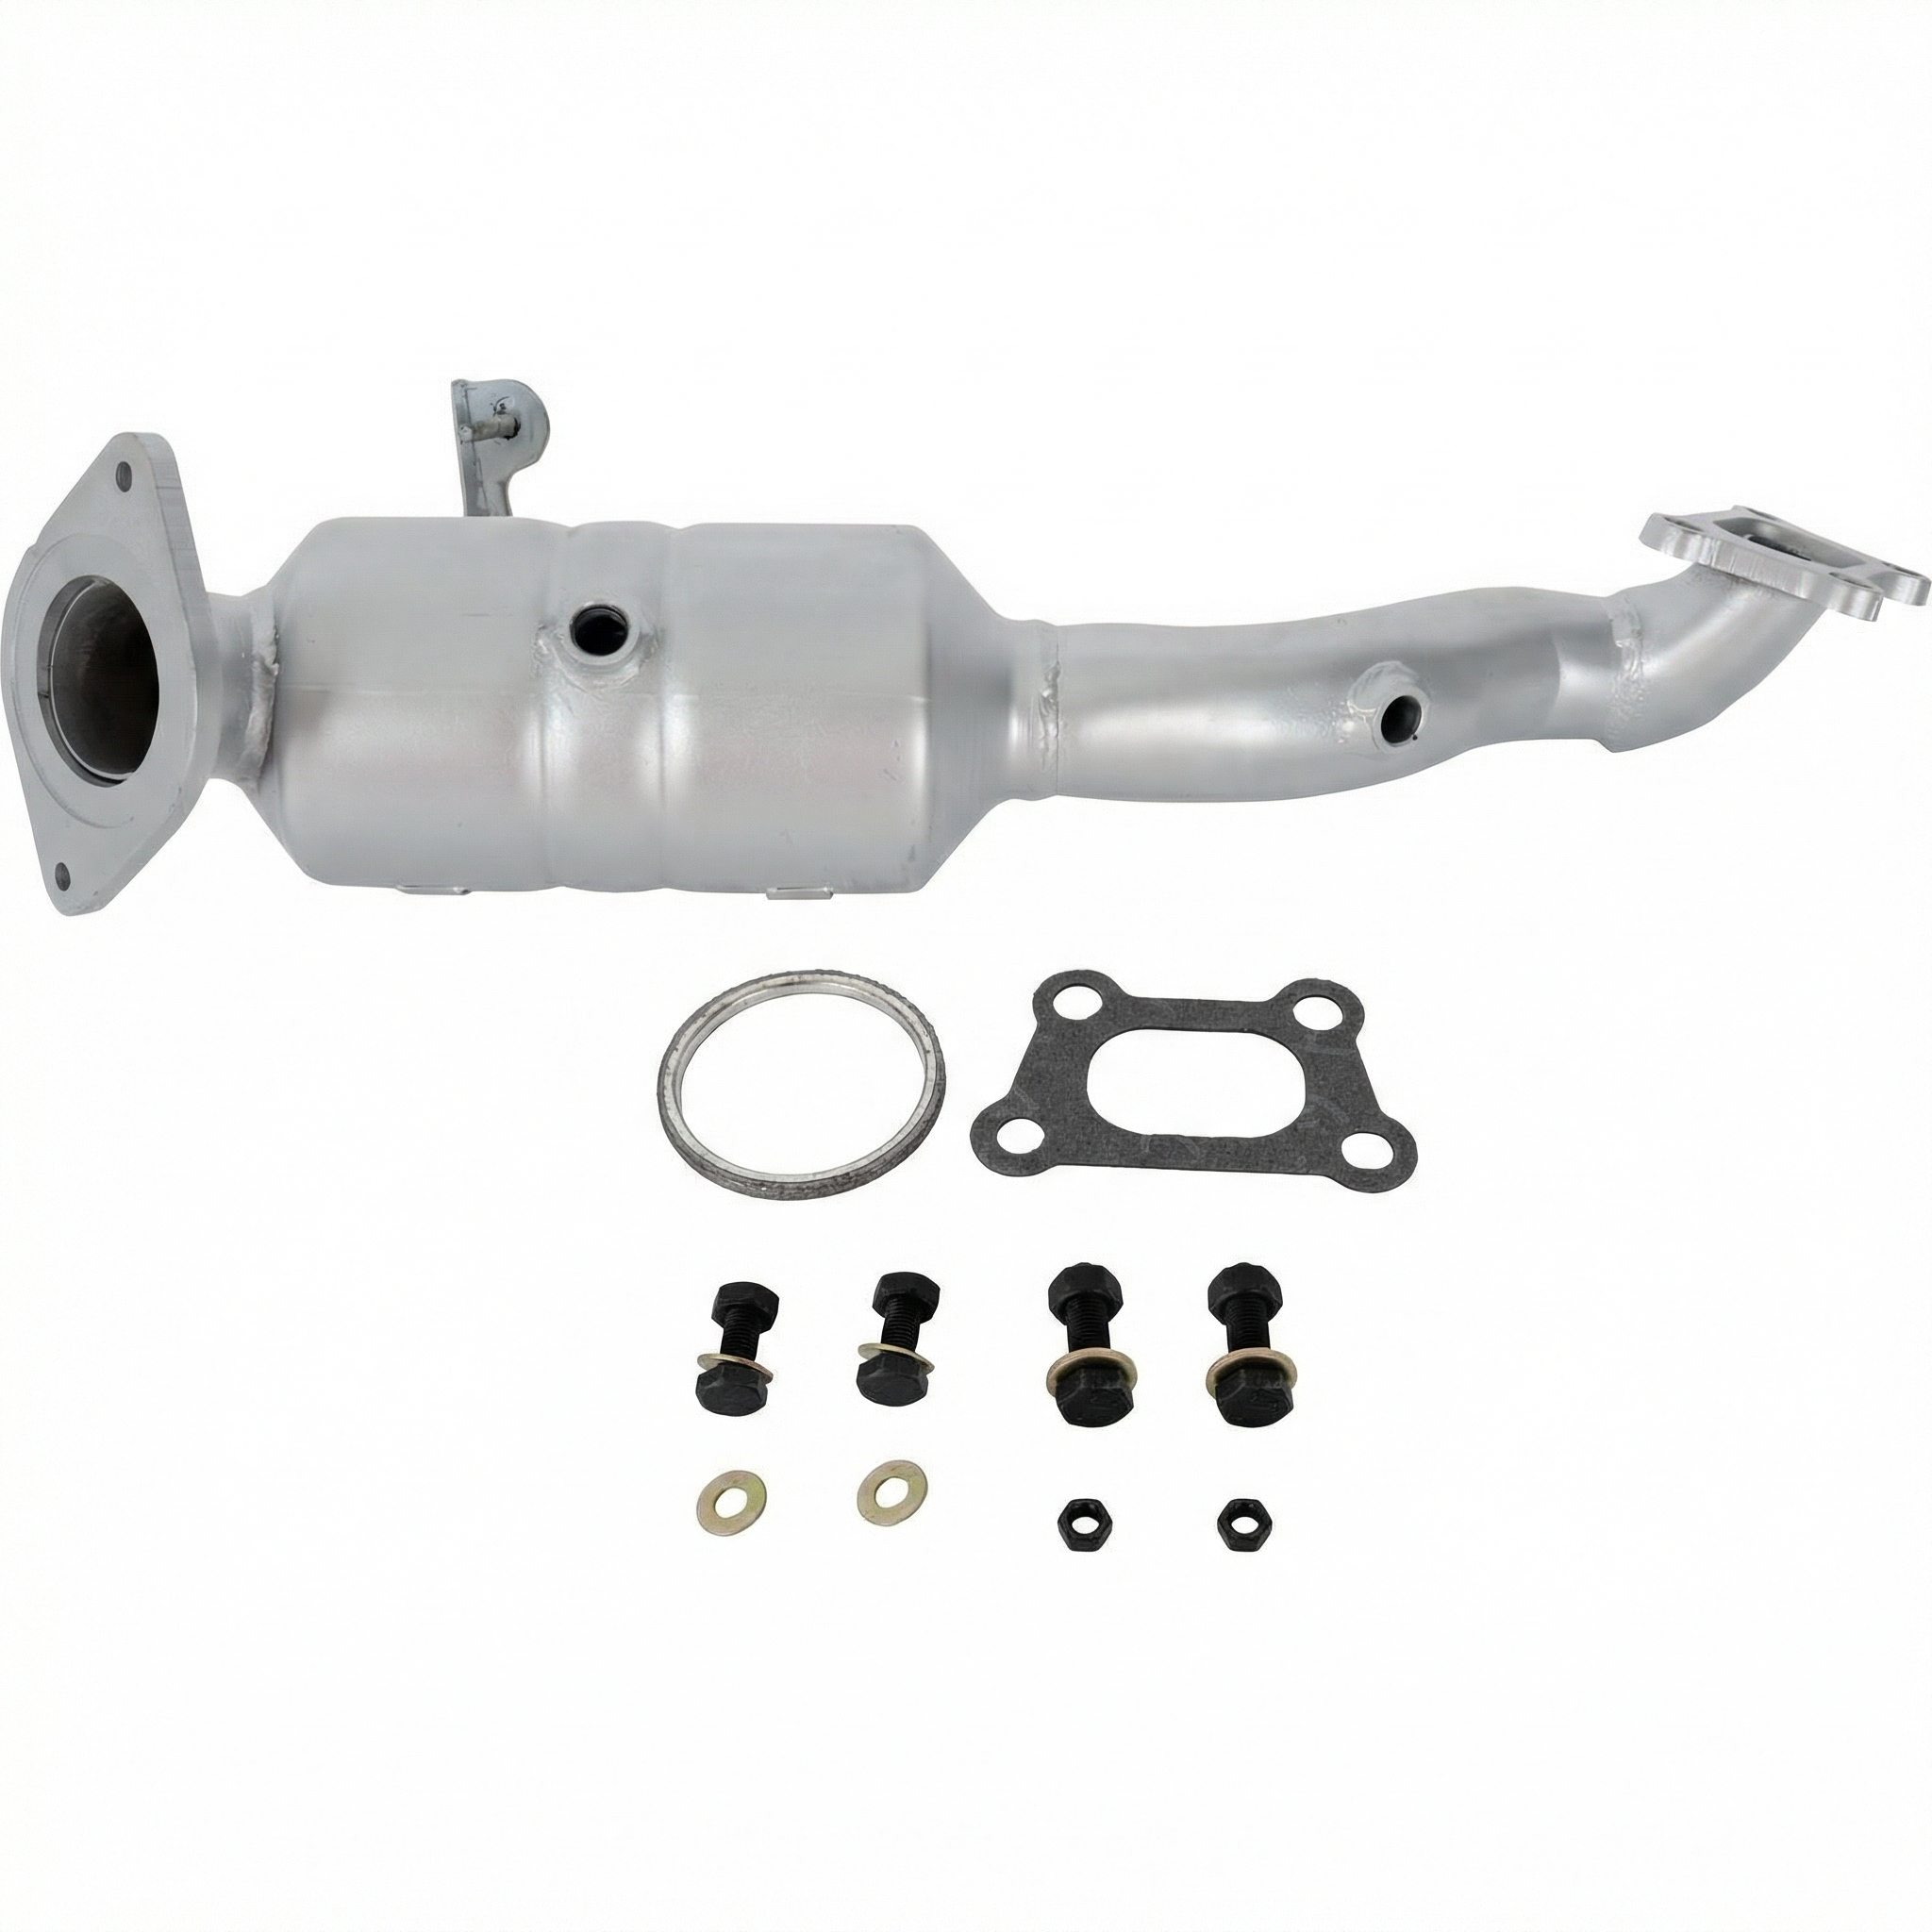
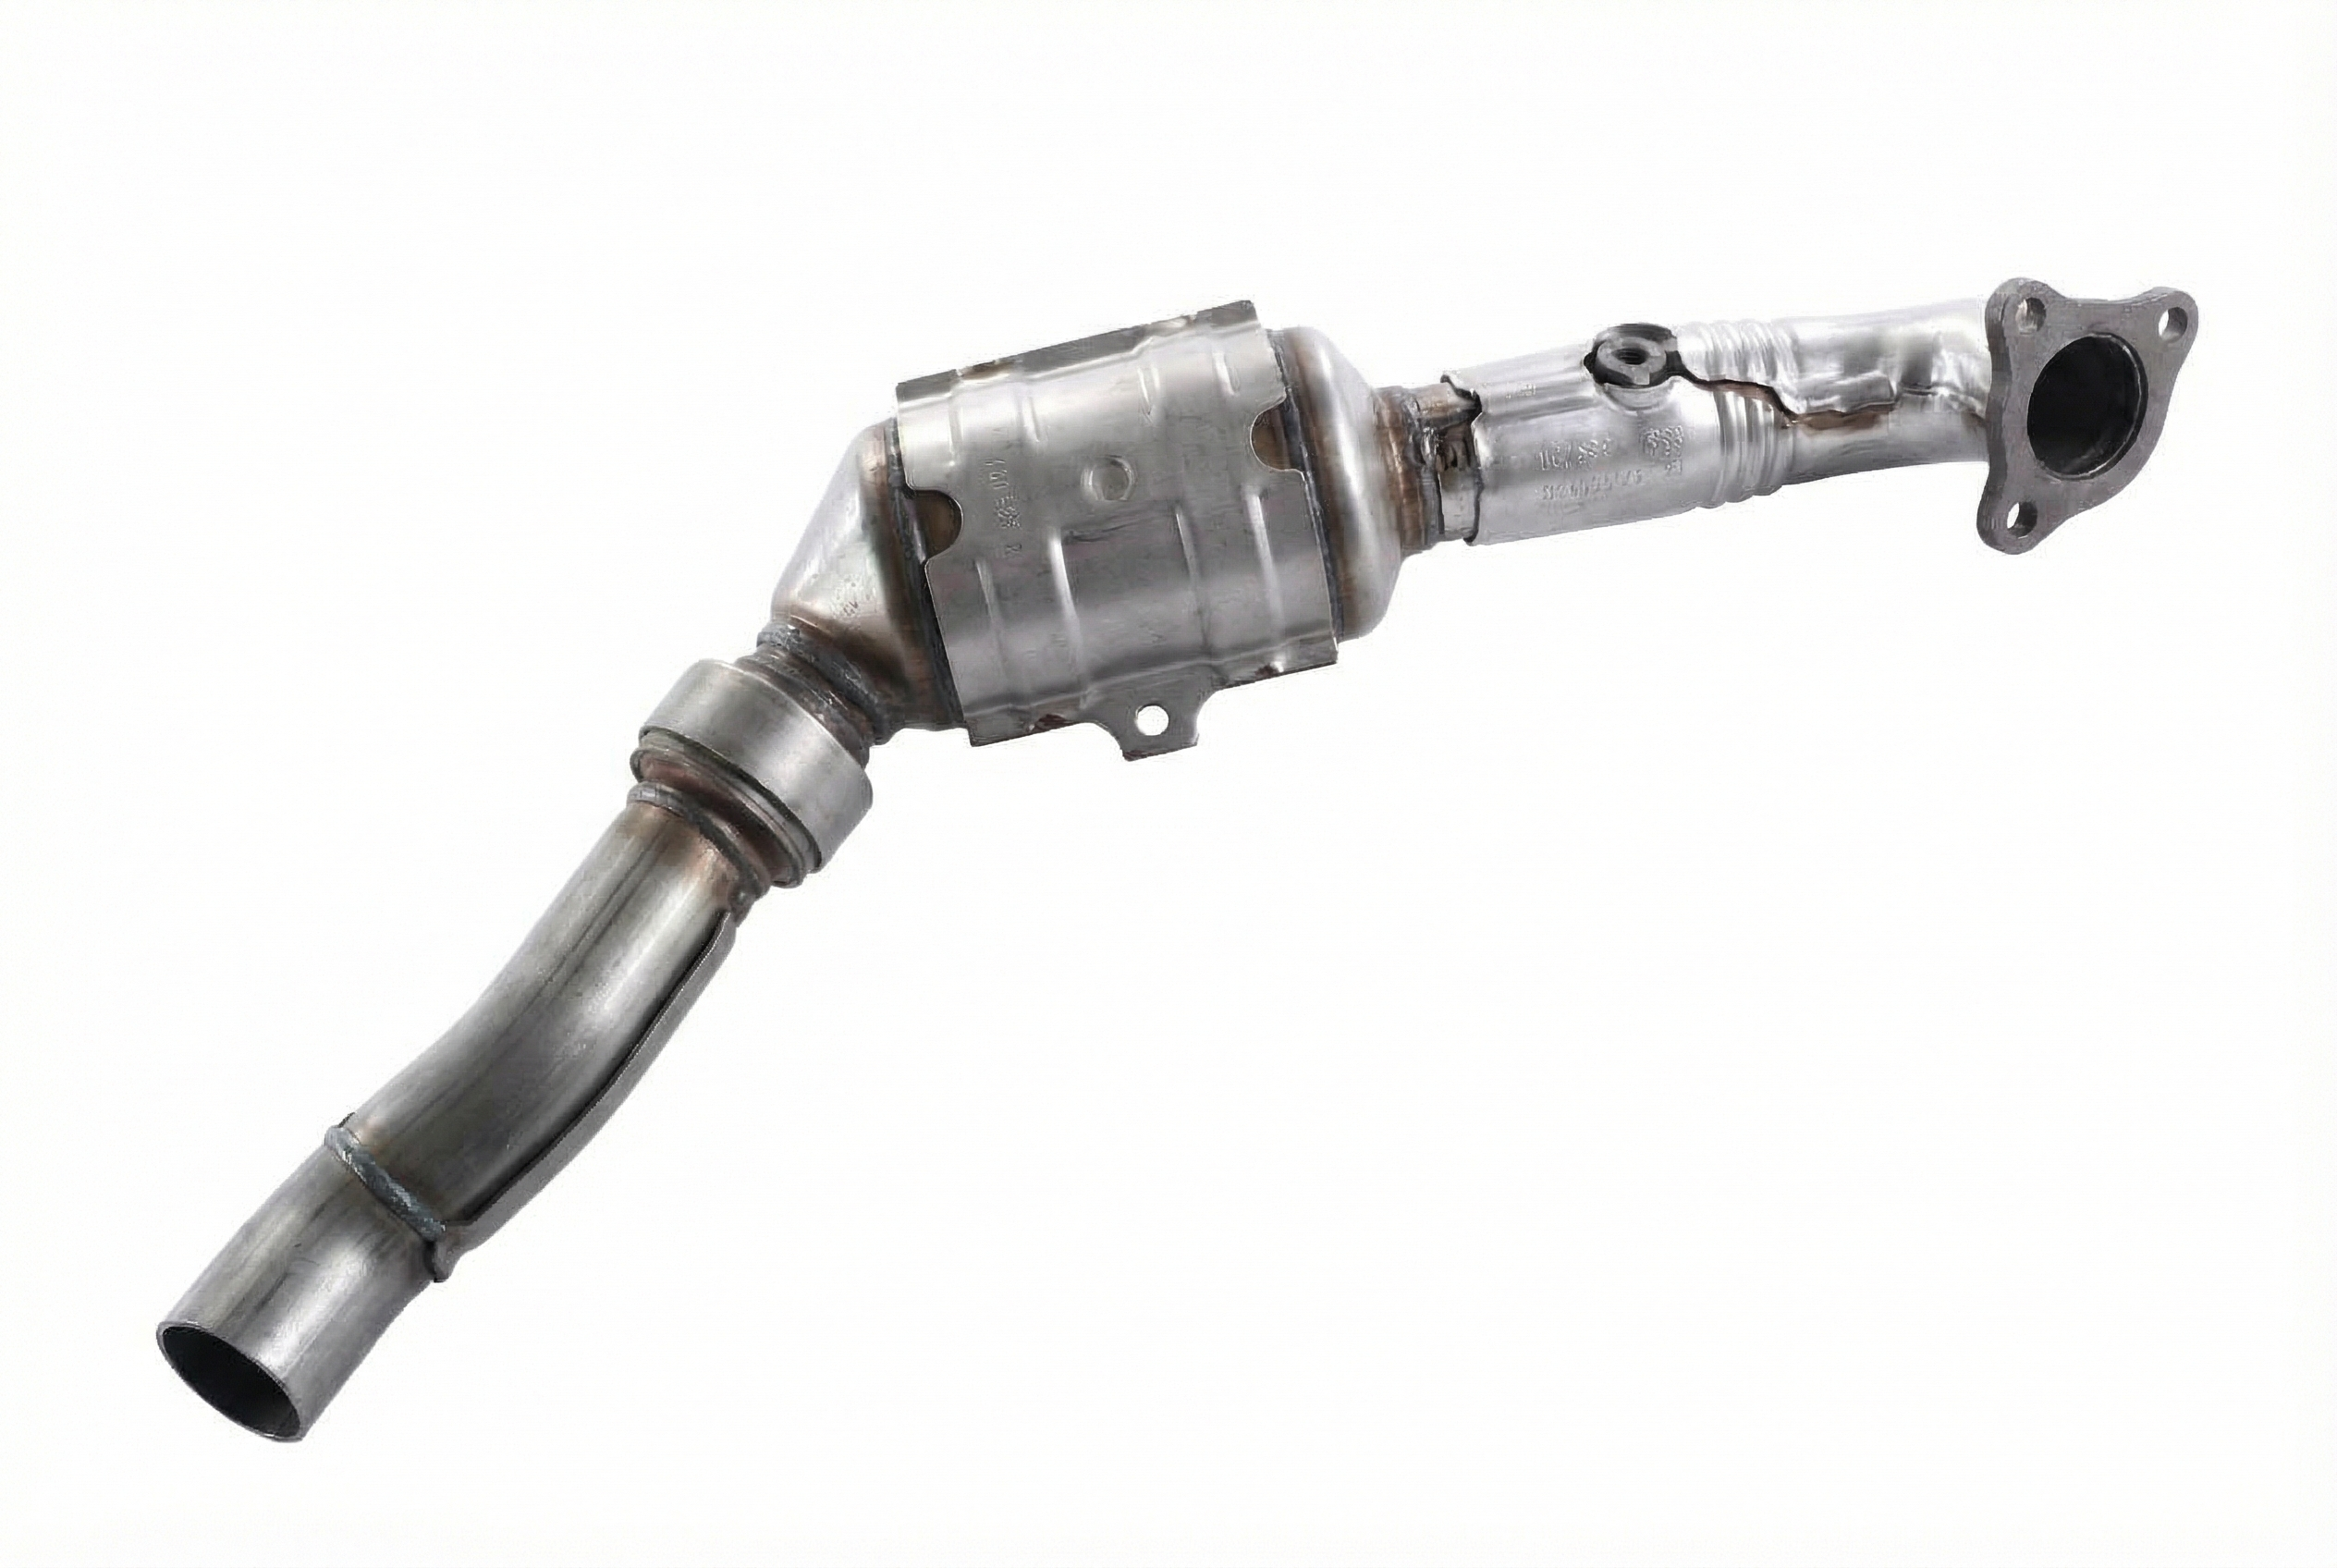
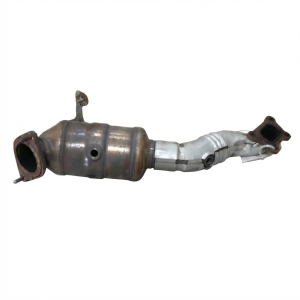
Est. part cost: $50-$180 per injector - Exhaust Leak (before or near the downstream O2 sensor) 🟡 Medium Probability Exhaust system gaskets and flange connections can degrade over time, causing leaks. TSB PIP4964F also notes that if injectors test good, the next step is to check for a small exhaust leak, usually at the outlet of the catalytic converter, which can pull in air and skew sensor readings.
How to confirm: Visually inspect the exhaust system from the engine to the rear O2 sensor for cracks or soot trails. A smoke test is the most effective way to find small leaks. The TSB recommends applying low pressure air to the tailpipe and spraying a soapy solution on gasket areas and the O2 sensor boss to look for bubbles.
Typical fix: Tighten loose bolts or replace the leaking gasket. Small cracks may be repaired by welding.
Est. part cost: $10-$50 for a gasket - Faulty Downstream Oxygen (O2) Sensor (Bank 2, Sensor 2) ⚪ Low Probability → Shop Oxygen Sensor While the sensor itself can fail, it is often replaced unnecessarily when the true cause is a leaking injector. It should be considered only after ruling out injectors and exhaust leaks as per the TSB's diagnostic flow.
How to confirm: Use a scan tool to monitor the live voltage data from the sensor. A healthy downstream sensor should show a relatively stable voltage. If it's stuck high (above 0.8V) or mimics the rapid switching of the upstream sensor, it may be faulty.
Typical fix: Replace the Bank 2, Sensor 2 oxygen sensor.
Est. part cost: $70-$180
Rare But Worth Checking
- High Fuel Pressure: A faulty fuel pressure regulator or high-pressure fuel pump can cause a rich condition across the entire engine, potentially triggering codes for both banks (P2097 and P2099).
- Faulty Mass Air Flow (MAF) Sensor: A dirty or failing MAF sensor can under-report the amount of air entering the engine, causing the ECM to inject too much fuel. This usually affects both banks, but can sometimes manifest on one bank first.
- Powertrain Control Module (PCM) Software Issue: → Shop Engine Control Module (ECM) In some rare cases, the PCM logic for setting the code can be too sensitive. A dealer can check for and apply any available software updates that might address this.
Diagnosis Steps
- Use an OBD-II scanner to confirm P2099 and check for any other stored codes. Analyze freeze frame data to see the conditions when the code was set.
- Following the guidance of TSB #PIP4964F, perform a fuel injector balance test to check for leaking injectors on Bank 2. This is the most critical first diagnostic step.
- If injectors test normal, perform an exhaust leak test. Visually inspect and/or use a smoke machine or soapy water with low-pressure air to check for leaks between the engine and the Bank 2 downstream O2 sensor.
- If no injector or leak issues are found, use a scan tool to observe the live data from the upstream and downstream O2 sensors on Bank 2 to check for abnormal readings or a biased sensor.
- Check fuel pressure (both low and high pressure systems) to ensure it is within the manufacturer's specifications.
- Inspect the air intake system for any blockages and check the MAF sensor for contamination or incorrect readings.
Parts You'll Likely Need
- Fuel Injector
(OEM #12669384 (For 3.6L LGX, supersedes 12638530, 12632255, 12611545))— Identified as the most common cause of P2099 on this platform by GM's own Technical Service Bulletin (PIP4964F).
Trusted brands: ACDelco, Bosch
OEM price range: $100-$180
Aftermarket price range: $50-$120 - Downstream Oxygen Sensor (Bank 2, Sensor 2)
(OEM #ACDelco 12675980 (example for 3.6L LGX))— This is the sensor that triggers the code. It is a common failure point for many vehicles, but on the CT6 it should only be replaced after ruling out fuel injector and exhaust leak issues.
Trusted brands: Denso, Bosch, ACDelco, NTK
OEM price range: $120-$180
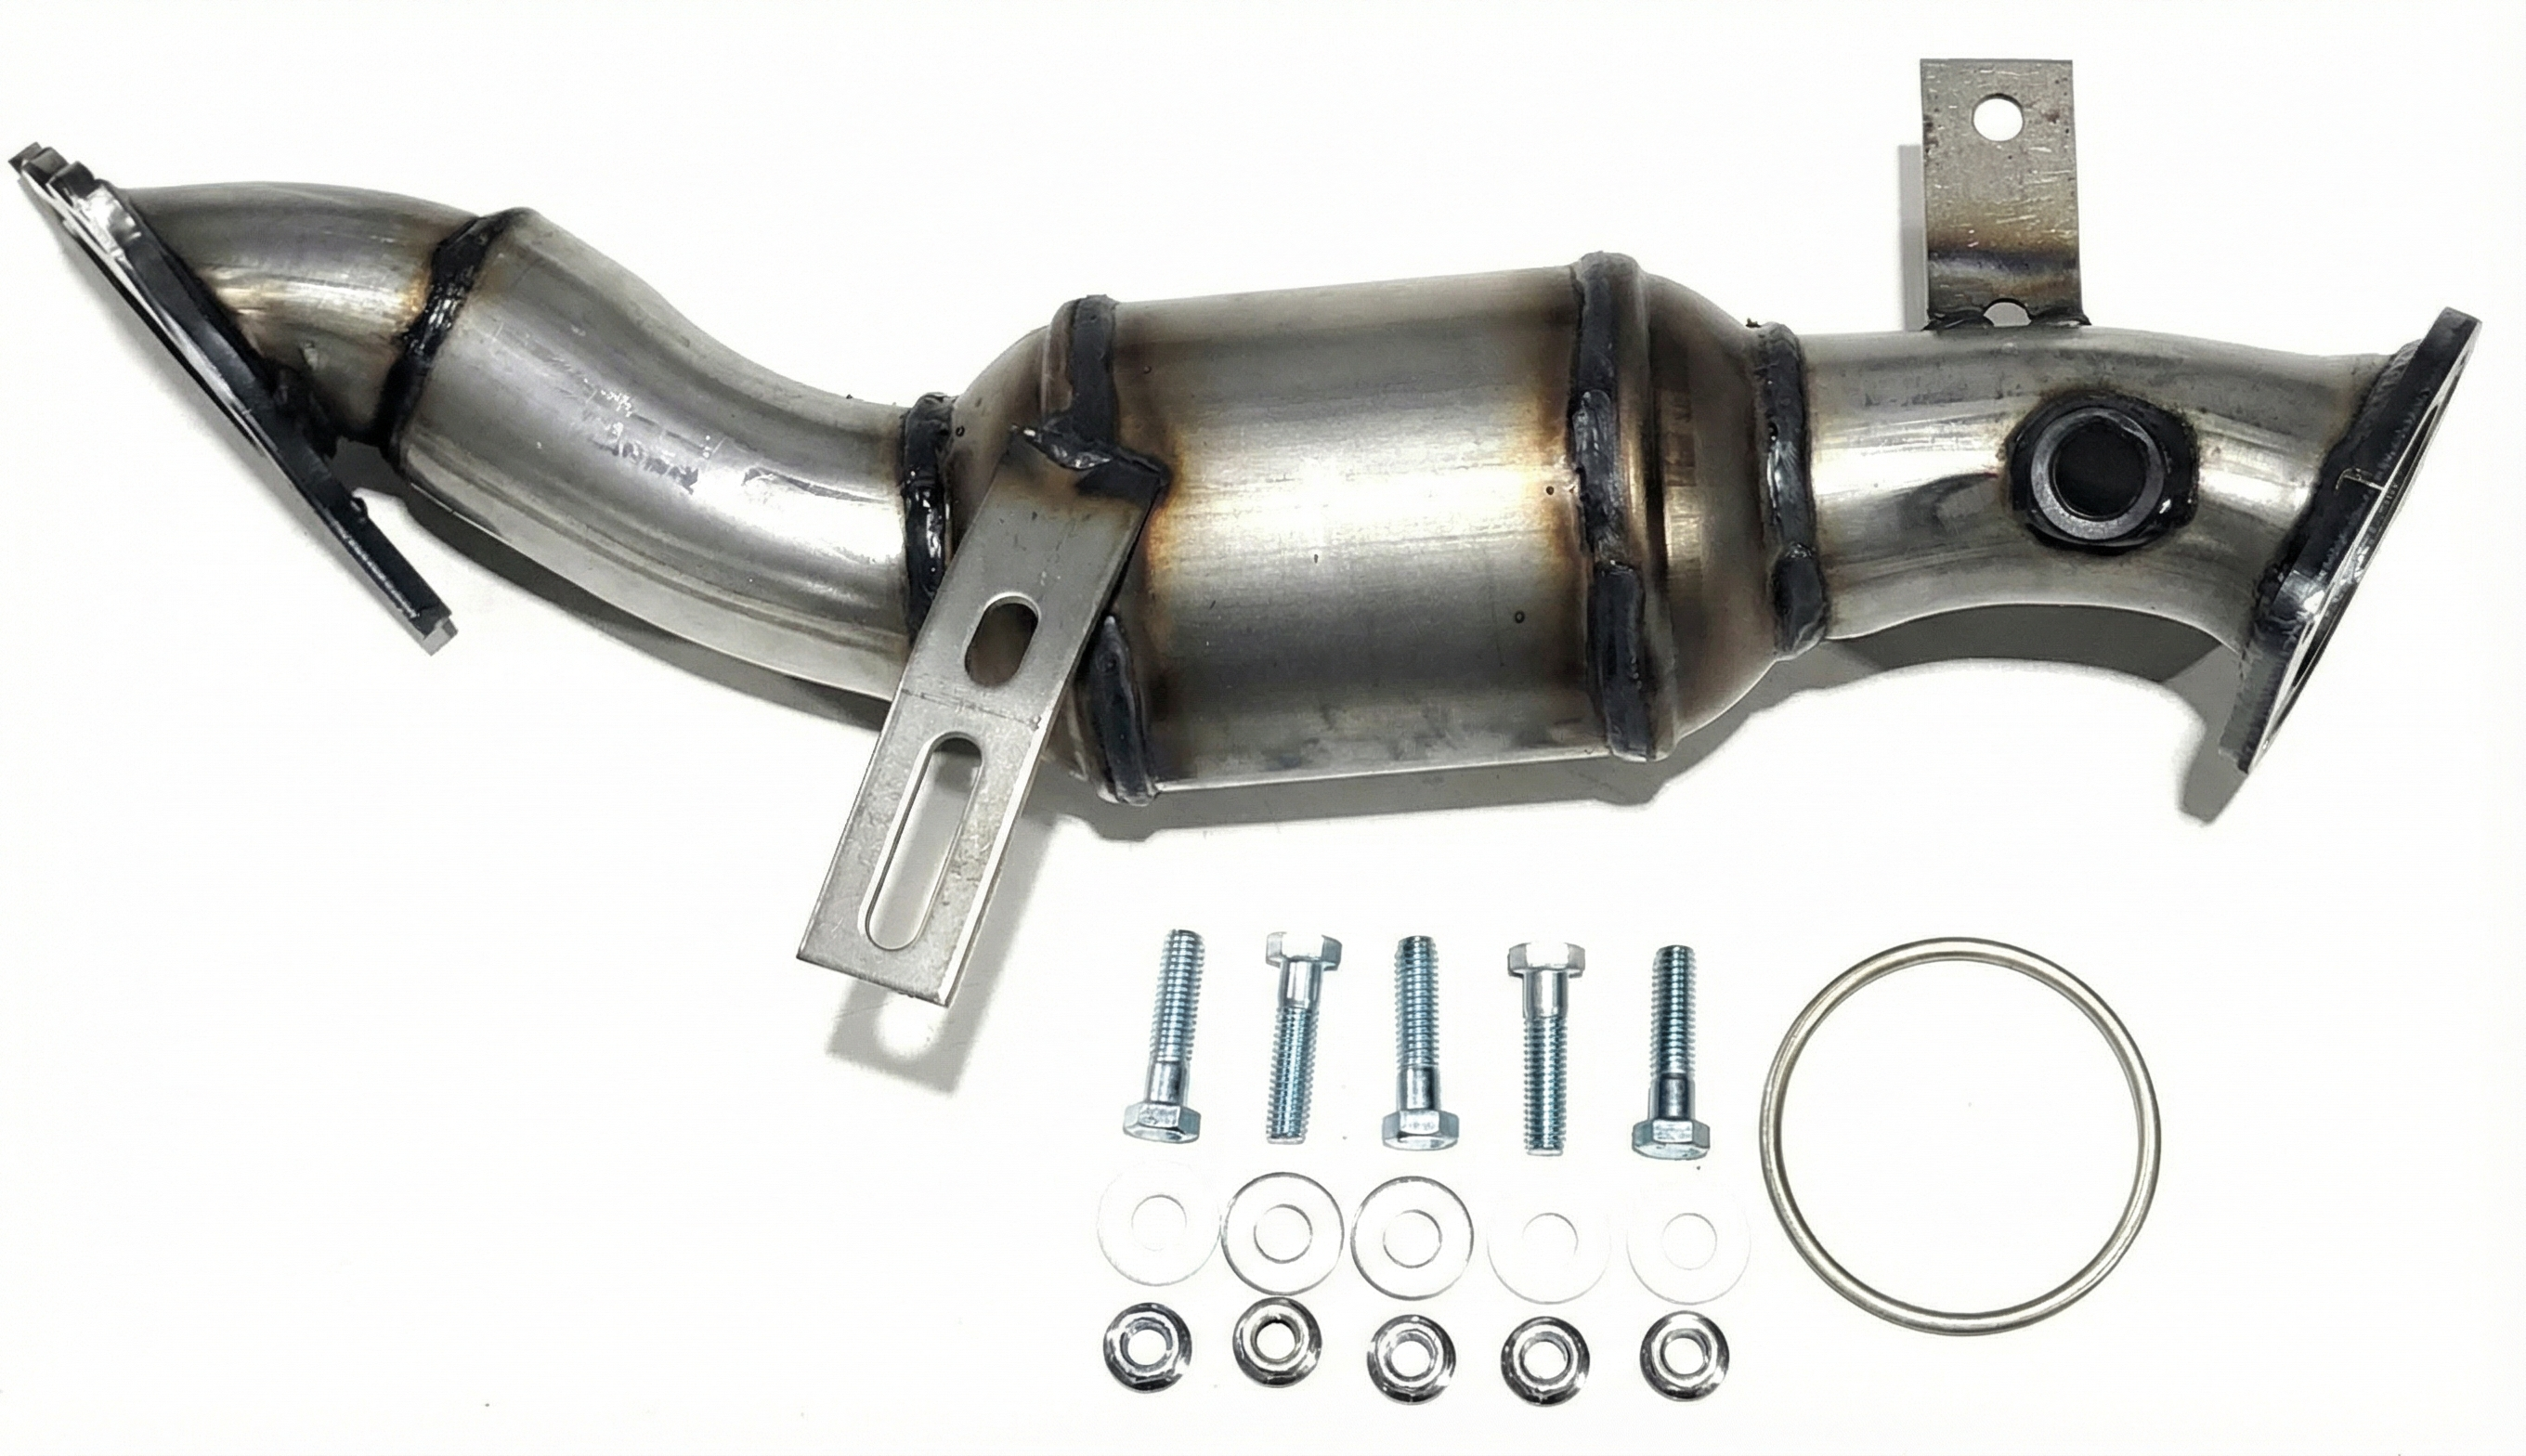
Aftermarket price range: $70-$110 - Exhaust Manifold or Catalytic Converter Gasket — An exhaust leak is a common cause for incorrect O2 sensor readings, leading to this code.
Trusted brands: Fel-Pro, Mahle
OEM price range: $20-$50
Aftermarket price range: $10-$30
Related Codes That Often Appear With This One
- P2097 — This is the identical code but for Bank 1 (passenger side). If both appear together, it strongly suggests a systemic problem affecting the whole engine, like a fuel pressure issue or a bad MAF sensor.
- P0175 — This code means "System Too Rich (Bank 2)" and is detected by the upstream O2 sensor. It often appears with P2099, indicating a severe rich condition that both sensors are detecting.
- P0300, P0302, P0304, P0306 — These are misfire codes. A severely leaking fuel injector can foul the spark plug in its cylinder, causing a misfire on Bank 2 (cylinders 2, 4, 6).
Technical Service Bulletins (TSBs) & Recalls
- PIP4964F: Advises technicians to perform an injector balance or Active Fuel Injector Tester prior to further diagnosis for DTC P2097 or P2099. Notes that if injectors are good, the next step is to check for small exhaust leaks.
- PIP5534A: A related TSB for general P2097/P2099 diagnosis that also suggests checking the EVAP purge system for being stuck open, which could contribute to a rich condition.
Platform-Specific Known Issues
- A General Motors Technical Service Bulletin (TSB #PIP4964F) has been issued for vehicles that set a P2097 or P2099 trouble code. The bulletin advises technicians to perform a fuel injector balance test before proceeding with further diagnostics, as a leaking injector is a very common cause.
- Owner Experience on Platform-Mate (GMC Acadia): An owner on an Acadia forum with a persistent P2099 code and poor fuel economy reported that replacing both the upstream and downstream O2 sensors did not fix the issue. The code only went away permanently after they replaced all three fuel injectors on Bank 2, confirming the TSB's guidance.
Mechanic-Grade Diagnostic Values
- Downstream O2 Sensor (Bank 2, Sensor 2) Voltage — expected: Relatively stable voltage between 0.4V and 0.8V on a warm, closed-loop engine at idle.. Failure: A voltage that is consistently stuck high (above 0.8V) indicates a rich condition or a failed sensor.
- Fuel Injector Coil Resistance — expected: 11-14 Ω when tested between the injector's terminals at a temperature of 10–32°C (50–90°F).. Failure: A resistance reading outside of the 11-14 Ω range indicates a faulty injector coil.
- Low-Side Fuel Pressure (at rail, pump commanded ON) — expected: 345–414 kPa (50–60 psi).. Failure: Pressure below specification can indicate a weak fuel pump; pressure that drops more than 34 kPa (5 psi) in one minute after the pump is off can indicate a leak in the system.
Scan Tool Commands That Help
- GM GDS2 / Professional Aftermarket Scan Tool: Fuel Injector Balance Test — This is the primary diagnostic step recommended by GM TSB #PIP4964F for a P2099 code. The test pulses each injector for a precise duration and measures the corresponding drop in fuel rail pressure. Comparing the pressure drop across all injectors on Bank 2 can identify a leaking or poorly flowing injector without removing them from the engine.
Wiring & Ground Locations
- Engine Compartment Fuse Block — For 2.0L, 3.0L, and 3.6L engines, the fuse block is located on the driver's side of the engine compartment. For the 4.2L V8 engine, there is a fuse block on each side of the engine compartment.. This is the primary location for fuses and relays related to the Engine Control Module (ECM) and its sensors, including the oxygen sensors. A technician would start here to check for power supply issues to the O2 sensor heater circuits.
- Instrument Panel Fuse Block — Located behind the storage compartment to the left of the steering wheel.. Contains fuses related to the powertrain and various control modules. It's a secondary check point for power distribution issues.
- Luggage Compartment Fuse Block — Located on the right side of the trunk, behind a cover.. While less likely to house primary engine control fuses, it can contain fuses for body control modules that communicate with the ECM, making it relevant in complex electrical diagnoses.
OEM Part Supersession History
12611545, 12632255, 12638530→12669384— Standard part evolution for improved performance, reliability, or manufacturing efficiency.
Heads up: The listed part numbers are for the indirect fuel injectors. The CT6 uses direct injection; while the part number 12669384 is cited for the LGX engine family, it's crucial to verify the correct direct injector part number for the specific CT6 engine, as these numbers are for port/indirect injectors on other GM applications.
Model Year Variations Within This Range
- 2019-2020: For the 2019 model year, the original 2.0L LTG turbo engine was replaced by a new 2.0L LSY, and a 10-speed automatic transmission was introduced on most models.
- 2020: For the final model year, Cadillac discontinued the 2.0L Turbo and 3.0L Twin-Turbo V6 engines. Only the 3.6L V6 (LGX) and 4.2L Twin-Turbo V8 (LTA) were available, simplifying diagnosis for this year.
- 2016-2020: Models with the 4.2L Twin-Turbo V8 (LTA) have two underhood fuse blocks, one on each side of the engine, whereas the V6 and 2.0L models have a single fuse block on the driver's side.
Helpful Videos
Used OEM Parts in Stock
New Aftermarket Parts Available


The information in this article is provided for general reference and educational purposes only. Vehicle specifications, procedures, and part compatibility can vary by production date, trim level, and region. Always consult your vehicle's factory service manual and verify part numbers before purchasing or performing repairs. Safety-critical components such as airbags, seat belts, and braking systems should be installed by a qualified professional.
- Cadillac CT6:
- 🧭 Diagnostic Flowchart
- 🎬 Helpful Videos
- 🛍️ Shop This Part
- What's Unique About the 2016-2020 Cadillac CT6
- Symptoms You May Notice
- Most Likely Causes
- Rare But Worth Checking
- Diagnosis Steps
- Parts You'll Likely Need
- Related Codes That Often Appear With This One
- Technical Service Bulletins (TSBs) & Recalls
- Platform-Specific Known Issues
- Mechanic-Grade Diagnostic Values
- Scan Tool Commands That Help
- Wiring & Ground Locations
- OEM Part Supersession History
- Model Year Variations Within This Range
- 🎟️ Get 5% Off