
U0140 on 2011-2015 Dodge Journey: Causes for Lost Communication with BCM
On a 2011-2015 Dodge Journey, code U0140 almost always points to a software glitch in the Powertrain Control Module (PCM). The most common and manufacturer-recommended fix is a PCM software update from a Dodge dealer, which is often covered by a Technical Service Bulletin (TSB). Before suspecting hardware, ensure the battery is healthy, grounds are clean, and the PCM software is current.
- For the 2011-2015 Dodge Journey, U0140 is most often a software problem, not a hardware failure.
- The first step in diagnosis should be to check if the vehicle's PCM software has been updated per the relevant TSBs.
- Do not replace the Body Control Module (BCM) or other expensive parts before the software update has been performed.
- A weak battery can cause this and many other electronic issues, so it should be tested early in the diagnostic process.
- Symptoms are not just a check engine light; this code can cause noticeable drivability problems like harsh shifting.
What's Unique About the 2011-2015 Dodge JOURNEY
For this specific generation of the Dodge Journey and its platform mates (Chrysler 200, Dodge Avenger), the U0140 code is very frequently caused by a software issue, not a physical part failure. Dodge acknowledged this by releasing several Technical Service Bulletins (TSBs) for the 2011 through 2015 model years. These TSBs instruct technicians to reprogram the Powertrain Control Module (PCM) with updated software as the primary fix. This is a crucial distinction, as on many other vehicles, a U0140 code would more likely point to a bad wiring harness or a failed BCM.
Diagnostic Flowchart
Tap your situation to follow the diagnostic path that matches what you're seeing on this vehicle.
Symptoms You May Notice
- Check Engine Light is on
- Harsh downshifting, specifically a '2-1 downshift clunk or bump'.
- Other harsh shifts, including 1-2, 3-4, 4-5, 5-6, 6-5, and 6-4 shifts, as noted in TSBs.
- Vehicle may stall when coming to a stop.
- Malfunctioning interior or exterior lights.
- Power windows or door locks not working correctly.
- Unsuccessful attempts to clear the Diagnostic Trouble Code (DTC).
- Bizarre electrical behavior, such as wipers and radio activating when a door is closed. 🎬 See a diagnostic walkthrough for malfunctioning headlights and wipers.
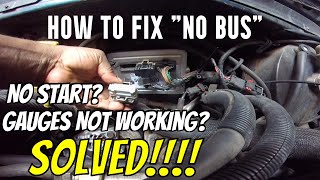
- 'no bus' message on the instrument cluster display.
- Water intrusion or signs of moisture in the passenger footwell or behind the glovebox, where the BCM is located.
- Replacing the Body Control Module (BCM) without first verifying the PCM software is up-to-date. The TSBs clearly indicate the problem is most often a software issue in the PCM, making a premature BCM replacement a costly and ineffective repair.
- Replacing the battery without also checking and cleaning the main ground connections. A poor ground can mimic the symptoms of a weak battery and continue to cause issues even with a new battery installed.
Most Likely Causes
- Outdated Powertrain Control Module (PCM) Software 🔴 High Probability → Shop Engine Control Module (ECM) Dodge released multiple Technical Service Bulletins (TSBs) specifically to address this code with a software update, indicating a known issue with the original factory software logic.
How to confirm: A Dodge dealer or a well-equipped independent shop can use a scan tool (like wiTECH) to check the current software calibration ID in the PCM and compare it to the latest version available in the TSBs.
Typical fix: Reprogramming the Powertrain Control Module (PCM) with the updated software provided by the manufacturer. This procedure requires a stable power supply, with TSBs specifying that battery voltage must be maintained between 13.2 and 13.5 volts during the flash.
Est. part cost: $0 - Weak Battery or Poor Ground Connections 🟡 Medium Probability → Shop Vehicle Battery All modern vehicles are sensitive to voltage, but the Journey is noted by owners for having a weak factory ground system. A weak battery or corroded/loose ground connections can cause voltage drops that lead to temporary communication dropouts between modules, triggering U-codes.
How to confirm: Test the battery with a digital multimeter or an electronic battery tester. A healthy, resting battery should be at approximately 12.6 volts. With the engine running, the alternator should be charging it at 13.7 to 14.7 volts. Visually inspect the main battery ground connection on the driver's side strut tower and the engine-to-chassis ground straps for corrosion or looseness.
Typical fix: Replace the vehicle's battery or clean/upgrade the main ground wires.
Est. part cost: $150-$250 - Wiring Harness or Connection Issues ⚪ Low Probability While less common than the software issue, wiring can still be a factor. The CAN bus wires can chafe, corrode, or break, and connector pins at the PCM or BCM can become loose or corroded, interrupting communication. The BCM is located behind the glove box, making it susceptible to water damage from a clogged sunroof drain or bad windshield seal.
How to confirm: Visually inspect the wiring harness between the PCM and the BCM for any signs of damage, chafing, or corrosion. Disconnect and inspect the connectors for the PCM and BCM, looking for bent, loose, or corroded pins. Check for signs of water intrusion behind the glove box.
Typical fix: Repair the damaged section of wire or clean/tighten the affected connector. Applying dielectric grease can help prevent future corrosion.
Est. part cost: $10-$500
Rare But Worth Checking
- Failed Body Control Module (BCM): → Shop Body Control Module While possible, the TSBs strongly suggest this is not a common failure point for this specific code on this vehicle. The BCM should only be suspected after software has been updated and all wiring and grounds have been confirmed to be intact. Water intrusion is a known killer of BCMs.
- Failed Powertrain Control Module (PCM): → Shop Engine Control Module (ECM) This refers to a hardware failure of the PCM itself, not a software issue. This is a last-resort diagnosis and is very uncommon compared to the software glitch. Replacement is costly.
- Faulty Totally Integrated Power Module (TIPM): → Shop Fuse Box The TIPM (the main fuse/relay box) can cause a wide range of electrical issues. While not the most common cause for a single U0140 code, a failing TIPM can disrupt power to modules and trigger communication faults. This is often accompanied by other seemingly unrelated electrical problems.
Diagnosis Steps
- Check for Technical Service Bulletins (TSBs). Given the history with this vehicle, this is the most important first step. TSBs like 18-066-15 and 18-071-16 directly call for a PCM reprogram.
- Scan for all codes. Use a full-system scanner to see which modules are communicating and note any other codes present. The TSBs list several codes that often appear with U0140.
- Test the battery and charging system. Ensure the battery voltage is stable and above 12.4V with the engine off. A weak battery is a common cause of network communication codes.
- Inspect Grounds. Visually inspect and physically check the main ground points, especially the battery-to-chassis ground on the strut tower and the engine ground straps. Clean any corrosion and ensure they are tight.
- Verify PCM software version. This step requires a dealer or a shop with the appropriate scan tool (wiTECH) and software subscription. They must confirm if the PCM's software is the latest version. If not, perform the update as per the TSB, ensuring battery voltage is maintained between 13.2 and 13.5 volts during the process.
- Inspect BCM and Wiring. If the software is up-to-date, perform a thorough visual inspection of the BCM (located behind the glove box) and its connectors for signs of water damage, corrosion, or loose pins. Inspect the wiring harness between the PCM and BCM for any signs of physical damage.
- Test CAN Bus Network. If wiring appears intact, a technician can use a multimeter to test the resistance on the CAN bus (should be around 60 ohms between CAN High and CAN Low with the battery disconnected). An oscilloscope can be used to check for a clean signal.
- Test Modules. As a final step, if all other tests pass, the BCM and PCM may be tested individually, but this is rare.
Parts You'll Likely Need
- Powertrain Control Module (PCM) Reprogramming — This is not a physical part, but a service. It is the most common and manufacturer-recommended fix to resolve the software glitch that causes the U0140 code on this vehicle.
OEM price range: $150-$250
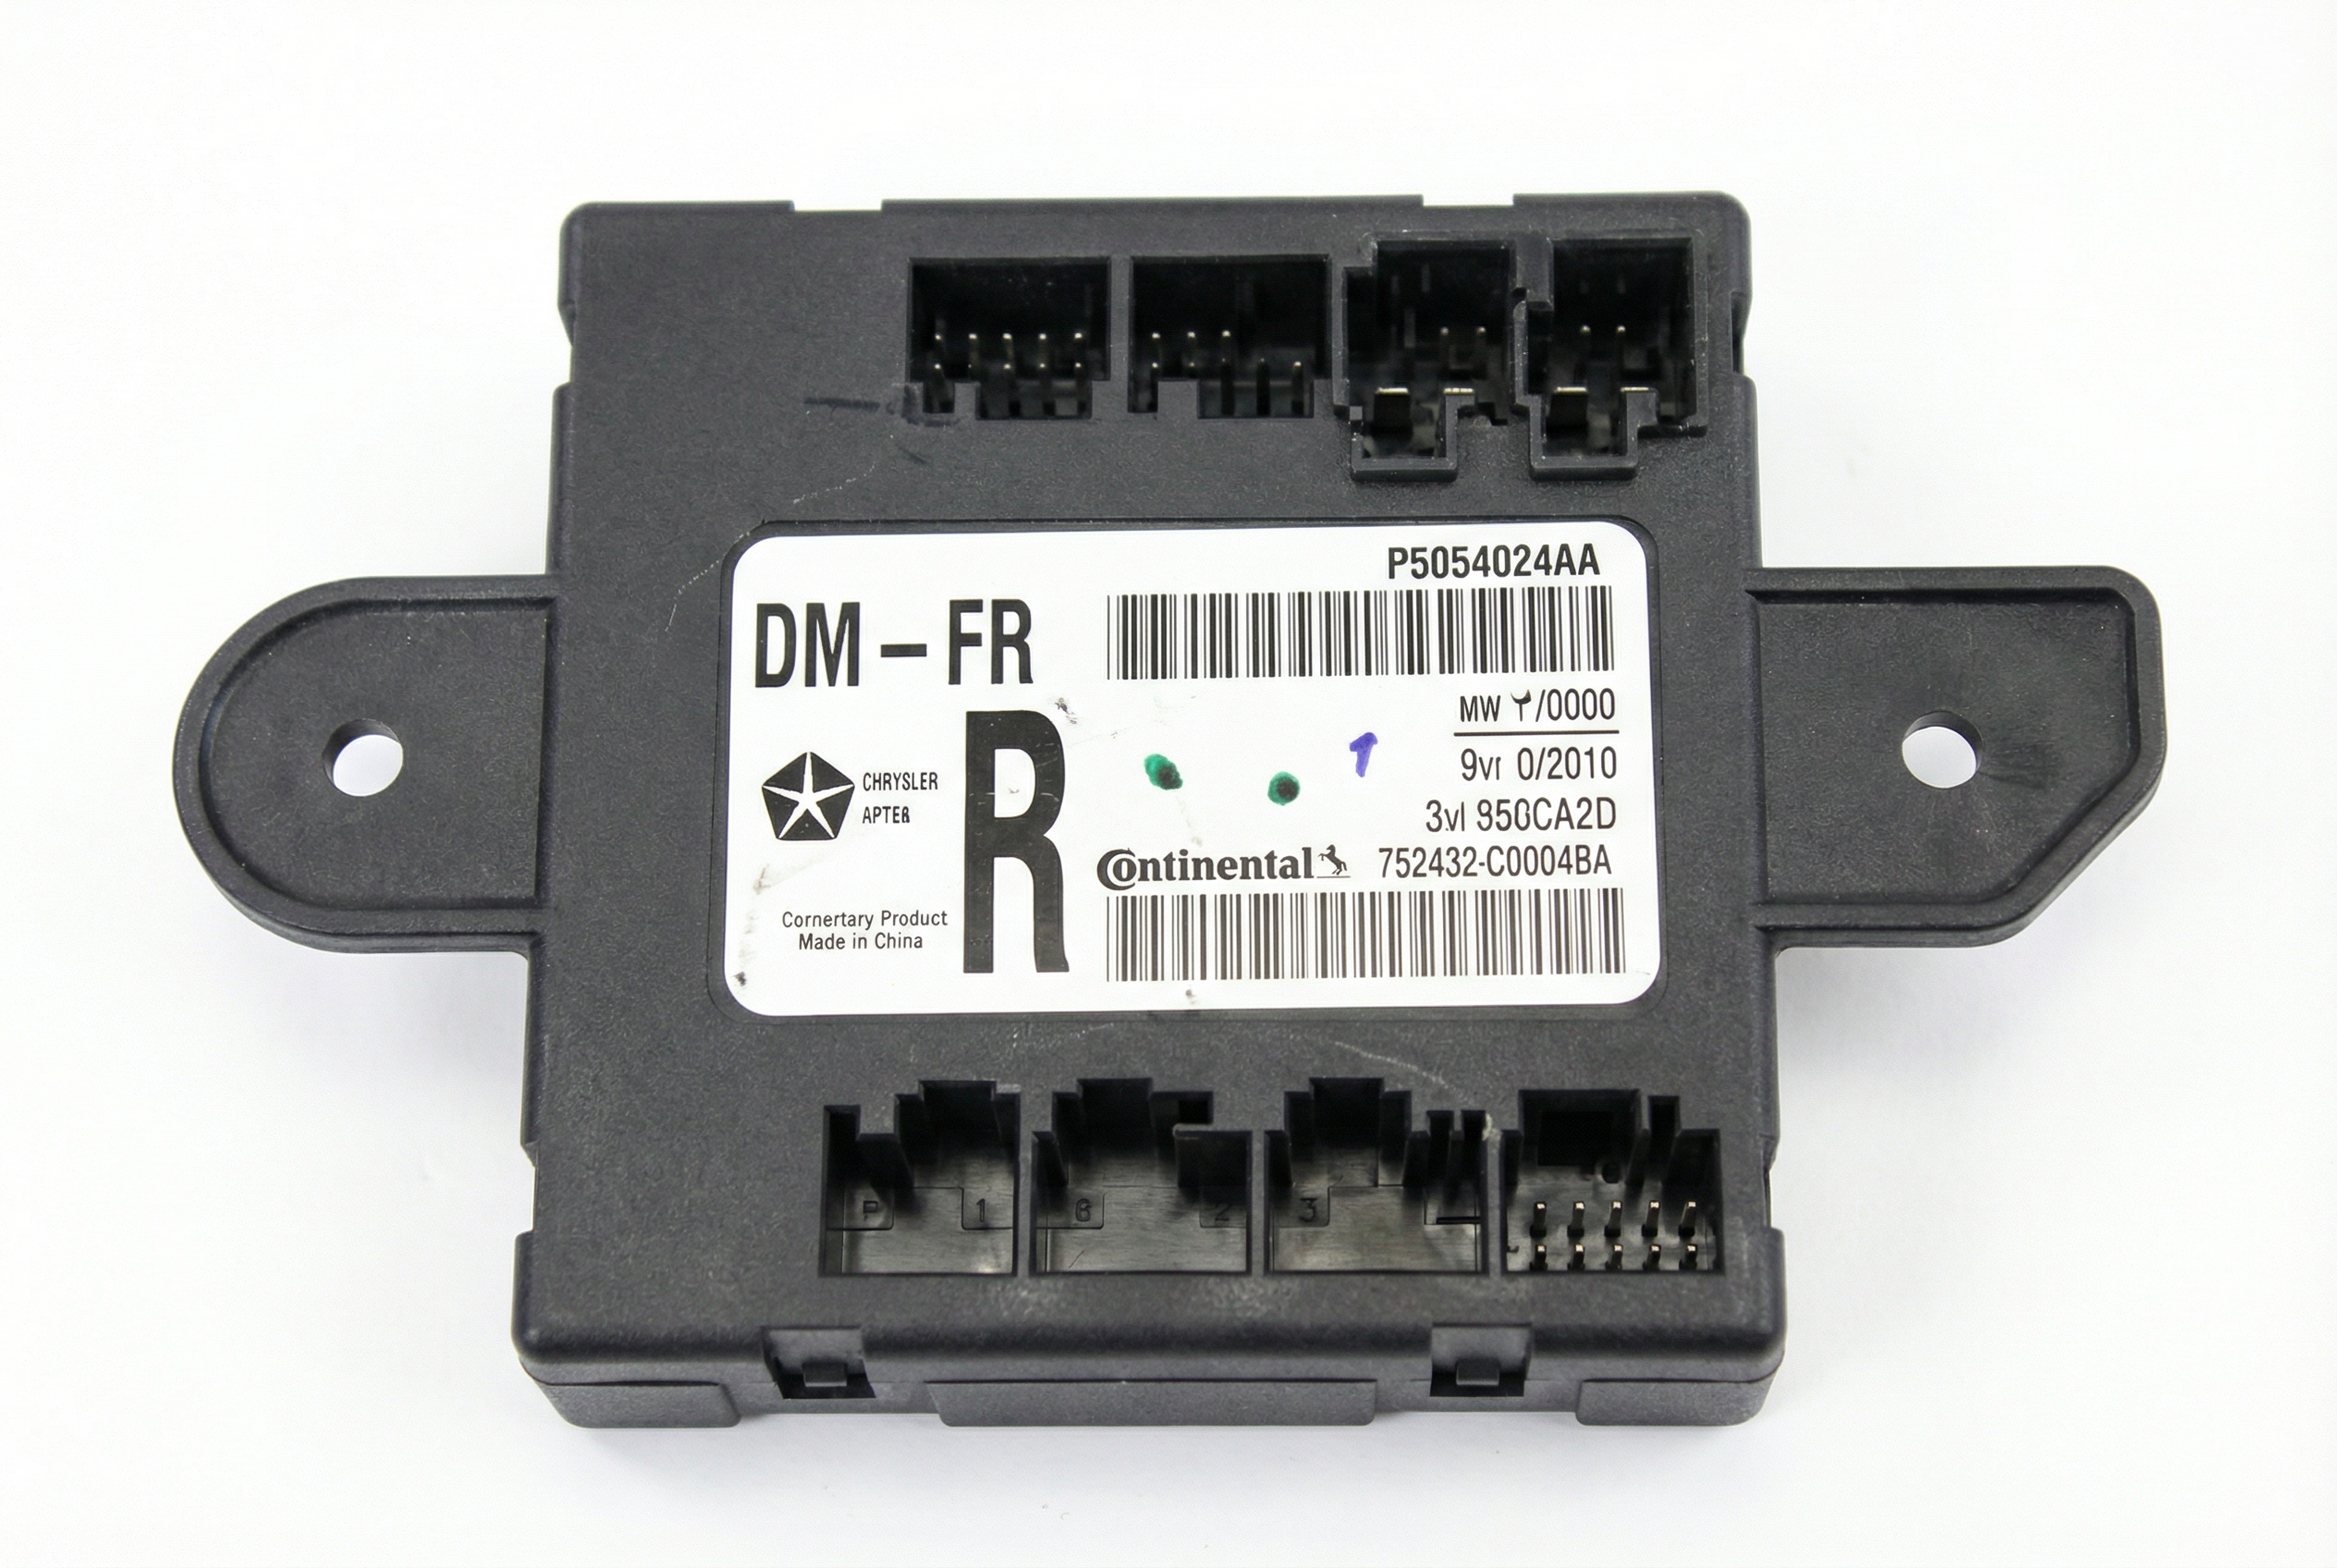
Aftermarket price range: N/A - Body Control Module (BCM)
(OEM #68226576AB, 68170747AB (example part numbers, must verify by VIN))— This is a potential but unlikely cause. It should only be replaced after confirming the PCM software is current and all wiring is intact. Water damage is a common reason for BCM failure.
Trusted brands: Mopar
OEM price range: $300-$500
Aftermarket price range: $200-$400
Related Codes That Often Appear With This One
- P0456 — This EVAP system small leak code is mentioned alongside U0140 in multiple TSBs for the Journey, suggesting they can be triggered by the same PCM software glitch.
- P2299 — Brake Pedal / Accelerator Pedal Incompatible code is listed with U0140 in TSB #18-086-16, indicating a related software logic issue.
- P0335 — Crankshaft Position Sensor Circuit code is noted with U0140 in TSB #18-050-16 REV. A, likely as part of a group of codes that can be falsely set by the PCM software.
- P2610 — PCM Internal Engine Off Timer Performance code is also listed in TSB #18-050-16 REV. A, pointing to internal PCM logic and timing errors that are resolved by a software update.
Technical Service Bulletins (TSBs) & Recalls
- 18-081-17: Mentions U0140 in a list of codes that may appear on 2015 models, potentially related to stalling.
- 18-086-16: Lists U0140 for 2014 models and notes that clearing the code might fail.
- 18-050-16 REV. A: Identifies U0140 as a potential DTC on 2013 3.6L vehicles and includes platform mates like the Chrysler 200.
- SB-18-066-15: Specifically calls for a PCM reprogram to fix U0140 on 2012-2013 models and lists numerous other shift quality improvements the flash addresses.
- 18-071-16: Calls for a PCM software update for U0140 on 2011 models, specifically mentioning the '2-1 downshift clunk or bump' symptom.
Platform-Specific Known Issues
- Multiple Technical Service Bulletins (TSBs) exist for the 2011-2015 Journey specifically for code U0140. TSBs like SB-18-066-15 and 18-071-16 directly state that reprogramming the PCM with updated software is the correct repair.
- A common symptom directly linked to this software issue in the TSBs is a '2-1 downshift clunk or bump', which can be alarming to the driver. Other shift quality issues are also noted.
- TSB 18-086-16 notes that simply attempting to clear the U0140 code may be unsuccessful, reinforcing that a specific corrective action (the software update) is required.
- The BCM is located behind the glove box, a location that makes it vulnerable to water damage from clogged sunroof drains or leaking windshield seals, which can cause this code and other electrical failures.
Mechanic-Grade Diagnostic Values
- CAN Bus Network Resistance — expected: Approximately 60 Ohms between CAN_H and CAN_L pins (e.g., at the OBD-II port pins 6 and 14) with the battery disconnected.. Failure: A reading of 120 Ohms indicates a break in the circuit or a missing terminating resistor. A reading near 0 Ohms indicates a short between the CAN_H and CAN_L wires.
- BCM Power Supply Voltage — expected: 12.2 - 12.8 V at the BCM connector with the ignition on.. Failure: Significantly lower voltage indicates a power supply issue (fuse, wiring, TIPM) before the BCM.
- BCM Ground Resistance — expected: < 0.1 Ω between the BCM ground pin and a clean chassis ground point.. Failure: High resistance indicates a corroded or loose ground connection, a primary cause of intermittent module communication issues.
- Battery Voltage During PCM Flash — expected: Must be maintained between 13.2 and 13.5 volts.. Failure: Voltage dropping below 13.2V or rising above 13.5V can interrupt or corrupt the software update, potentially disabling the PCM.
Scan Tool Commands That Help
- wiTECH: View Network Topology — This is the first screen to check. It provides a color-coded overview of all modules on the network, instantly showing which ones are communicating (green), which have DTCs (yellow/red), and which are offline (gray). For a U0140, the BCM might appear gray or red.
- wiTECH: ECU View -> Flash — After confirming a TSB applies, this function is used to reprogram the PCM with updated software. The tool connects to Chrysler's servers to download the correct calibration file for the vehicle's VIN.
- wiTECH: Clear All DTCs — After a module reprogramming, the wiTECH application will automatically prompt to clear any codes that were set in other modules as a result of the flash process. This is a required final step.
Wiring & Ground Locations
- Body Control Module (BCM) — Located behind the glove box, mounted to the right side of the HVAC housing.. This is the module that the PCM has lost communication with. Its location makes it vulnerable to water damage from a clogged A/C evaporator drain or a leaking windshield seal.
- Star Connector / CAN Bus Hub — There are two primary locations. One is behind the headlight switch panel, accessible by prying the switch out. Another is located near the driver's side rear door sill, under the plastic trim. This is where the various CAN bus branches meet.. On the Journey, the CAN bus uses a star topology. A bad connection or corrosion at this central hub can disconnect the BCM from the rest of the network, causing a U0140.
- G905 / G906 — These are primary instrument panel ground points located at the base of the A-pillars on the left and right sides, behind the kick panels.. The BCM and other interior modules rely on these grounds. Corrosion or looseness at these points can cause intermittent communication faults and trigger U-codes.
- C200 Connector — A large, main inline connector located in the instrument panel area, typically behind the dash.. The CAN bus wires from the PCM to the BCM pass through this major connector. A loose pin or corrosion within the C200 connector can sever the communication link.
Real Owner Repair Stories
- Reddit user in r/dodgejourney (2011 Journey 3.5L) — No crank, no start condition, investigating COM bus issues.
❌ Tried (didn't work) Initial diagnosis was focused on the COM bus itself.
✅ What actually fixed it Found a loose ground wire just hanging near the passenger side engine mount. The wire connects the ground posts on the body to the engine mount, and the ABS module is looped into it. Reconnecting this ground wire resolved the electrical issue. - Dodge Journey Forum user (2009 Dodge Journey SXT) — Damp, mildew smell in the cabin. Found water in the rear floor storage bins.
❌ Tried (didn't work) Checking door seals.
✅ What actually fixed it The issue was traced to clogged sunroof drain tubes, which were allowing water to overflow and enter the cabin, leading to potential electrical issues over time. Cleaning the drain tubes resolved the water ingress.
Model Year Variations Within This Range
- 2011-2020: A major facelift occurred for the 2011 model year, which included a completely redesigned interior, a new soft-touch instrument panel, and the introduction of the 3.6L Pentastar V6 engine. This also brought updated electronics, including the Uconnect 3 system with an 8.4-inch touchscreen. The electrical architecture and software for 2011-2015 models are substantially different from the 2009-2010 models.
Helpful Videos

We Have This Part in Stock


The information in this article is provided for general reference and educational purposes only. Vehicle specifications, procedures, and part compatibility can vary by production date, trim level, and region. Always consult your vehicle's factory service manual and verify part numbers before purchasing or performing repairs. Safety-critical components such as airbags, seat belts, and braking systems should be installed by a qualified professional.
- Dodge JOURNEY:
- 🧭 Diagnostic Flowchart
- 🎬 Helpful Videos
- 🛍️ Shop This Part
- What's Unique About the 2011-2015 Dodge JOURNEY
- Symptoms You May Notice
- Most Likely Causes
- Rare But Worth Checking
- Diagnosis Steps
- Parts You'll Likely Need
- Related Codes That Often Appear With This One
- Technical Service Bulletins (TSBs) & Recalls
- Platform-Specific Known Issues
- Mechanic-Grade Diagnostic Values
- Scan Tool Commands That Help
- Wiring & Ground Locations
- Real Owner Repair Stories
- Model Year Variations Within This Range
- 🎟️ Get 5% Off