
U1000 on 2004-2012 GMC Canyon: Class 2 Communication Failure Causes and Fixes
Code U1000 on a 2004-2012 GMC Canyon almost always points to a communication failure caused by bad grounds. The most likely culprits are corroded ground splice packs under the hood, specifically SP105 and SP106. Cleaning or, more permanently, bypassing these grounds with a ring terminal is a common, low-cost fix (under $50) that resolves a wide array of bizarre electrical issues.
- Code U1000 on your Canyon means there's a communication problem between the truck's computers.
- Before suspecting expensive parts, ALWAYS check, clean, and secure the two main ground splice packs under the hood (SP105 and SP106). This is the most common fix.
- Symptoms are often bizarre and widespread, affecting everything from the blower fan and power locks to the gauges and even causing a no-start condition.
- If grounds are not the issue, the problem is likely a failed Body Control Module (BCM) or a chafed wiring harness.
- Replacing the BCM is not a simple plug-and-play job; it requires special tools to program it to your truck's VIN and features.
What's Unique About the 2004-2012 GMC Canyon
The first-generation GMC Canyon and its siblings, the Chevy Colorado and Hummer H3, are well-known for having a specific electrical weak point: under-hood ground splice packs (SP105 and SP106). These are small plastic boxes that bundle multiple ground wires together. They are not weather-sealed and are highly prone to internal corrosion from moisture and heat, which creates poor ground connections and triggers a cascade of electrical gremlins and communication codes like U1000. Many owners on forums like 355nation.net report fixing bizarre, seemingly unrelated issues by addressing these specific grounds.
Symptoms You May Notice
- Check Engine Light is on
- Multiple warning lights illuminated (ABS, Airbag, Security, 4WD Service)
- Erratic or non-functional gauges (speedometer, tachometer, fuel gauge)
- HVAC blower motor only works on high or not at all
- Power door locks or windows not working
- Radio or other interior electronics malfunctioning
- Security light stays on, potentially causing a no-start condition (Passlock issue)
- Vehicle may stall or fail to start
- Inability to shift out of Park
- No communication with scan tool
- Replacing individual components like the blower motor resistor or a window switch without checking grounds first. Often, the component is fine, but its ground path through the splice pack is faulty.
- Replacing the BCM without confirming it is the faulty component. A scan tool that can perform a module 'roll call' is needed to see which module is not responding.
Most Likely Causes
- Corroded or Failed Ground Splice Packs (SP105 & SP106) 🔴 High Probability These splice packs were a cost-saving measure by GM and are not weatherproof. Their location under the hood exposes them to moisture and heat, leading to internal corrosion and poor ground connections for multiple critical systems. The mounting bolt often had paint underneath from the factory, preventing a solid chassis ground from the start.
How to confirm: Locate SP105 on the driver's side fender well near the battery/ABS module and SP106 on the passenger side behind the air filter box. To access SP105, the battery and tray must be removed; for SP106, the airbox is removed. Open the plastic cover and inspect the terminals for green or white corrosion. Wiggling the splice pack while a specific electrical issue is happening may cause the function to return intermittently.
Typical fix: The best long-term fix is to cut the wires from the splice pack, strip them, and join them together in a multi-lug terminal ring, which is then bolted directly to a clean chassis ground point. Before bolting down, sand the paint off the fender to ensure a bare metal connection. Some owners clean the original terminals with a wire brush and apply dielectric grease as a temporary fix.
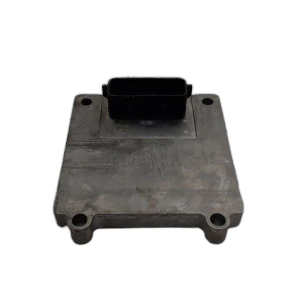
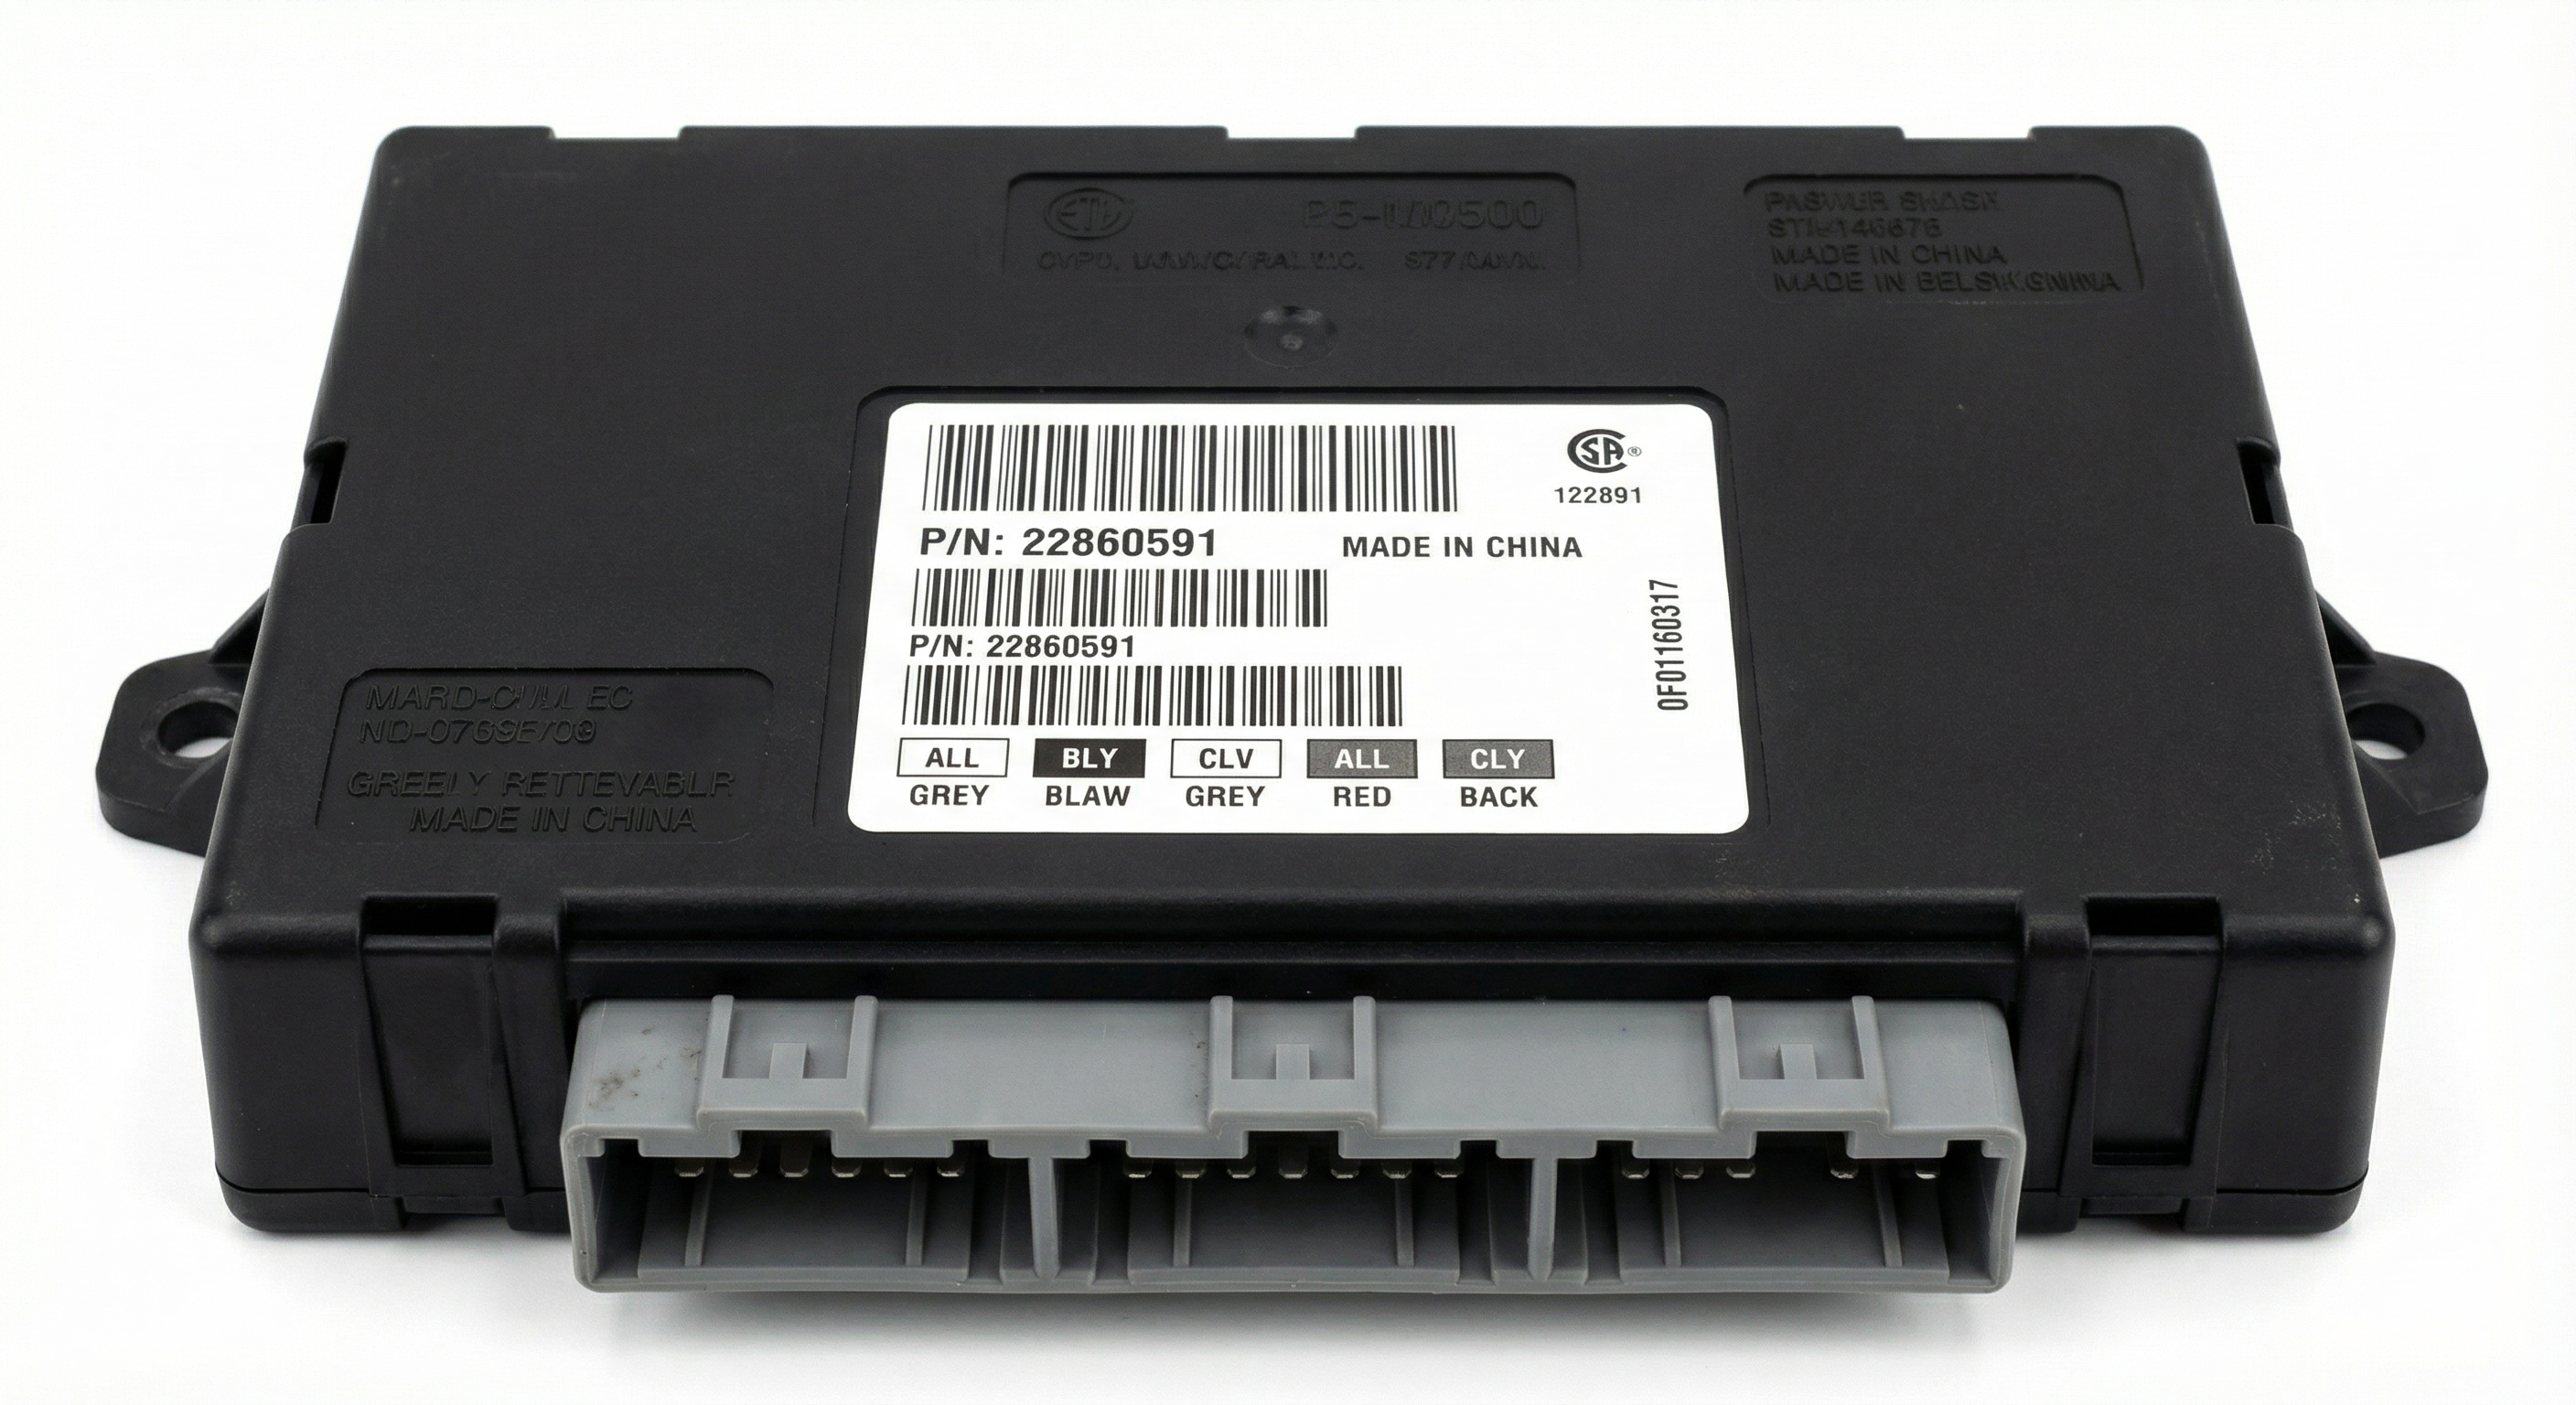
Est. part cost: $5-$20 - Faulty Body Control Module (BCM) 🟡 Medium Probability → Shop Body Control Module The BCM is a central hub for the Class 2 network and controls many body functions. It can fail from internal corrosion (often due to water leaks in the passenger footwell), vibration, or electrical stress.
How to confirm: If grounds are good, a professional scan tool is needed to see if the BCM is communicating. Symptoms are often widespread electrical issues (lights, locks, security). A visual inspection of the BCM (located under the passenger side dashboard) and its connectors for water damage or corrosion can also be a clue.
Typical fix: The BCM must be replaced. A new or used BCM will require programming to the vehicle's VIN and options using a GM-specific scan tool (Tech 2 or MDI with SPS software). A security relearn procedure (often a 30-minute process) is also necessary. Mileage is stored in the BCM, so installing a used one without cloning can permanently overwrite your odometer reading with a higher value.
Est. part cost: $75-$250 - Chafed or Damaged Wiring Harness 🟡 Medium Probability
How to confirm: Visually inspect wiring harnesses, especially where they run along the frame, near the engine, or pass through the firewall. Common chafe points on GM trucks include contact with the A/C compressor, power steering pump pulley, and brackets near the ECM. Look for areas where the plastic loom is worn through and wires may be rubbing against metal. A multimeter can be used to check for continuity or shorts to ground on the Class 2 data wire (typically a dark green wire).
Typical fix: Repair the damaged section of wire by soldering in a new piece and protecting it with heat shrink tubing. Secure the harness away from any sharp edges using zip ties or re-routing to prevent future damage.
Est. part cost: $1-$10 - Weak or Failing Battery ⚪ Low Probability → Shop Vehicle Battery
How to confirm: Test the battery voltage with a multimeter. A healthy battery should read approximately 12.6 volts with the engine off and over 13.7 volts with the engine running. Low voltage during startup can cause modules to drop off the network temporarily. A load test at an auto parts store is the most definitive way to confirm battery health.
Typical fix: Replace the vehicle's battery. Ensure the new battery terminals are clean and tight.
Est. part cost: $150-$250
Rare But Worth Checking
- Faulty Aftermarket Electronics: Poorly installed aftermarket stereos, remote starters, or alarm systems can tap into the Class 2 data wire incorrectly, causing interference that disrupts the entire network. If you have these, they are a primary suspect. The radio interface module used to retain chimes and steering wheel controls can also fail and pull down the network.
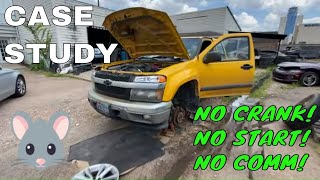
- Failed Instrument Cluster: → Shop Instrument Cluster The instrument cluster is also a module on the Class 2 network. While less common, an internal failure in the cluster can sometimes disrupt communication and set a U1000 code. One user on a forum found the Instrument Panel Cluster (IPC) was grounding out the data bus, and removing it from the network allowed other modules to communicate again. 🎬 Watch: Diagnosing a shorted data bus line causing no start
- Faulty Ignition Switch: → Shop Ignition Switch A worn or faulty ignition switch can cause intermittent power loss to various modules, leading to communication dropouts and U-codes. This is often linked to Passlock security system issues.
Diagnosis Steps
- Check Battery Health: Ensure the battery has a full charge (12.6V+) and that the terminals are clean and tight. A weak battery can cause numerous communication codes.
- Scan for All Codes: Use a scan tool capable of reading B, C, and U codes from all modules (BCM, ECM, TCM, ABS, etc.). Note which modules are reporting 'Loss of Communication' and which are not responding at all.
- Inspect Ground Splice Packs: This is the most critical step for this vehicle. Locate and inspect SP105 (driver side, requires battery removal) and SP106 (passenger side, requires airbox removal) under the hood for any signs of corrosion.
- Clean and Secure Grounds: Even if they look okay, disassemble the ground splice packs, clean all contacts with a wire brush, and reassemble with dielectric grease. For a permanent fix, bypass them with a ring terminal bolted to a sanded, bare-metal spot on the chassis. Also check the main engine-to-chassis and battery-to-chassis ground straps.
- Inspect Wiring Harnesses: Visually trace the main wiring harnesses, looking for any signs of chafing, melting, or rodent damage. Pay close attention to areas where the harness is close to sharp metal edges (like ECM brackets) or hot exhaust components.
- Isolate Modules (Advanced): If the problem persists, disconnect one module at a time from the Class 2 network (e.g., unplug the ABS module, then the instrument cluster, etc.) and rescan for codes. If communication is restored after unplugging a specific module, that module is likely the cause of the failure by shorting the data line.
- Test BCM: If all other steps fail, the BCM is a strong suspect. This step usually requires a professional to confirm with advanced diagnostic tools before ordering a replacement.
Parts You'll Likely Need
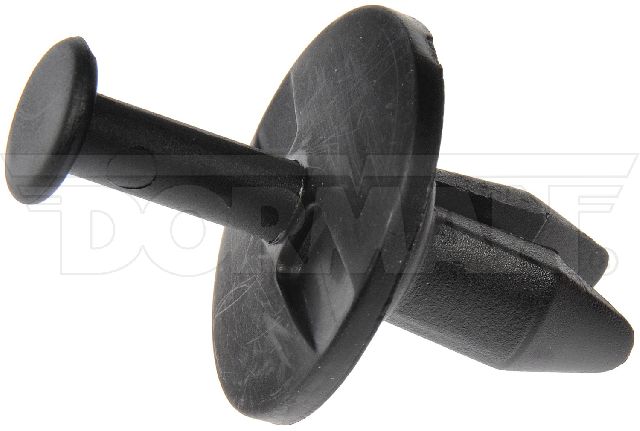
- Ground Lug/Ring Terminal — Used to bypass the failure-prone factory ground splice packs.
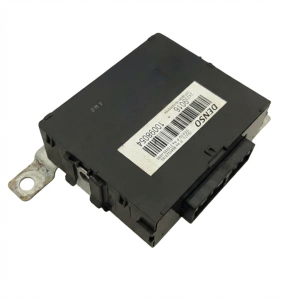
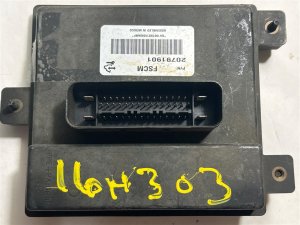
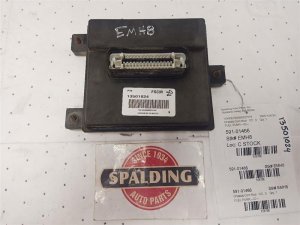
- Body Control Module (BCM)
(OEM #15802494 (2006 example), 10364634 (2005-2006 example))— The BCM is a common failure point that acts as a hub for the Class 2 network. Part number must be matched to the original.
Related Codes That Often Appear With This One
- U0140 — This is a more modern (CAN bus) code for 'Lost Communication With Body Control Module'. While U1000 is more common for the Class 2 system, some scan tools may interpret the fault this way or it may be present in newer modules on the same vehicle.
- B1000 — This code can indicate an internal ECU failure. If the BCM is the source of the U1000, it may also store a B1000 code internally, indicating it has failed its own self-test.
- P0300 — Random Misfire. This can be a symptom of the failing valve seat issue common to the Atlas engines in these trucks, but can also be triggered by the electrical chaos caused by a U1000 fault.
Technical Service Bulletins (TSBs) & Recalls
- PIP4013D: Addresses engine misfires at idle which can be related to the valve seat issue, a separate common problem on these trucks.
- GM Special Coverage Program 07-06-01-019: Extended warranty coverage for cylinder head replacement due to worn valve seats on LLR and LLV engines.
- PIP5416B: While for a later generation, it details common engine wiring harness chafe points that are conceptually similar to potential issues on the first generation.
- A manufacturer service bulletin notes that a code U1000 can indicate an electrical and ground wire problem, as described in NHTSA ODI #10169405.
Platform-Specific Known Issues
- Ground Splice Pack Locations: SP105 (driver side) grounds circuits including the ignition switch and BCM. SP106 (passenger side) grounds circuits for the HVAC blower motor resistor and other components. Problems with SP106 often manifest as blower fan issues, while SP105 issues can cause more severe no-start or communication problems.
- BCM Mileage Storage: The vehicle's odometer mileage is stored in the BCM. If you replace the BCM with a used unit from a higher-mileage vehicle, that higher mileage will be permanently written to your instrument cluster. It is critical to use a new BCM or have your original BCM's data cloned to the replacement unit to avoid this.
Mechanic-Grade Diagnostic Values
- Class 2 Serial Data Line Voltage — expected: The bus is active at approximately 7 volts and inactive at ground potential (0V). A multimeter will show a fluctuating average voltage. An oscilloscope is required to see the actual 0V to 7V square wave data packets.. Failure: A voltage stuck at 0V indicates a short to ground. A voltage stuck high (e.g., 12V) indicates a short to power. Either condition will stop all communication.
- Class 2 Serial Data Line Resistance to Ground — expected: High resistance (kOhms or MOhms). Each module on the bus has its own resistance, but a healthy, unpowered bus should not have a direct path to ground.. Failure: A reading of low ohms (e.g., 0-100 ohms) indicates a short to ground in the wiring harness or within a connected module.
- Voltage Drop Test on Ground Connections — expected: Less than 0.2 volts (200mV) between the ground point (e.g., SP105 bolt) and the negative battery terminal with the circuit under load.. Failure: A voltage reading higher than 0.2V indicates high resistance in the ground path, which is a common cause of U1000 on these trucks.
Scan Tool Commands That Help
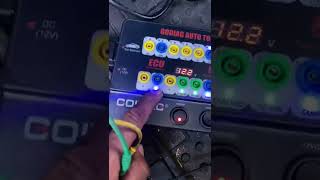
- GM Tech 2: Module 'Roll Call' or Network Test — This is a primary diagnostic step. The Tech 2 attempts to communicate with every module on the vehicle's network. It will provide a list of which modules are present and communicating and which are not responding. This is the fastest way to determine which module (or its wiring) is the source of the communication loss.
- GM Tech 2: Read DTCs from individual modules (ECM, BCM, TCM, ABS, etc.) — After identifying which modules are online, you can query each one for stored codes. A module that is still online (e.g., the ECM) might store the U1000 code, indicating it has lost communication with another module (e.g., the BCM). This helps pinpoint the origin of the fault.
- GM Tech 2 with SPS (Service Programming System): BCM Programming — This is required after replacing the Body Control Module. The new or used BCM must be programmed with the vehicle's correct VIN and option configuration to function correctly and communicate with other modules.
- GM Tech 2: Security Relearn / SDM Primary Key Reset — After programming a new BCM, a security relearn procedure is necessary to sync the Passlock anti-theft system. Additionally, an SDM (airbag module) key reset may be needed to get the airbag system back online.
Wiring & Ground Locations
- SP105 (Splice Pack) — Under the hood, on the driver's side inner fender, near the underhood fuse block and ABS module. The battery and battery tray must be removed for access.. This is a major ground junction for numerous components controlled by the BCM and other modules. Corrosion here is the number one cause of U1000 on this platform.
- SP106 (Splice Pack) — Under the hood, on the passenger's side inner fender, behind the air cleaner assembly.. This is the second major ground splice pack in the engine bay. While SP105 is more notorious, SP106 can also corrode and cause identical communication issues.
- BCM Connector C4, Pin A6 — On the Body Control Module (BCM) located under the passenger side of the dashboard.. This is the specific pin for the Class 2 Serial Data line (typically a Dark Green wire). This is the primary test point at the BCM to check for correct voltage, shorts, or opens on the data bus.
- DLC (Data Link Connector) Pin 2 — The OBD-II port under the driver's side dashboard.. This pin is the Class 2 Serial Data line. It is the most accessible point to test the entire network's health with a multimeter or oscilloscope. If there is no communication with a scan tool, this is the first place to check for proper data bus voltage.
- G100, G101, G102, G103, G104 — Various points on the engine block and driver's side of the engine compartment. G100 is next to the battery, while the others are on the lower left side of the engine.. These are primary engine and chassis grounds. While less specific to the U1000 issue than the splice packs, a loose or corroded main engine ground can cause voltage fluctuations that trigger communication faults.
Real Owner Repair Stories
- CorvetteForum user 'SpeedyZ' (GM Vehicle with Class 2 Data Bus (Corvette, but diagnostic principle is identical)) — No communication with most modules, 'Reduced Engine Power' message.
❌ Tried (didn't work) Initial scanning showed widespread communication loss.
✅ What actually fixed it The Instrument Panel Cluster (IPC) had failed internally and was shorting the Class 2 data bus to ground (measured at 10 ohms). Disconnecting the IPC from the data bus allowed all other modules to begin communicating again. The final fix was replacing the IPC. - GMTNation forum post citing an iATN case study (2006 Chevrolet Silverado (similar GMT800 platform electrical architecture)) — Total loss of communication with all modules on both a Snap-on and Tech 2 scanner, inoperative dash, multiple warning lights.
❌ Tried (didn't work) Attempting to scan any module failed.
✅ What actually fixed it After extensive testing, it was found that rodents had chewed through a wiring harness near the underhood fuse box, causing the Class 2 data line to be shorted directly to B+ (battery positive) voltage. Repairing the chewed wires restored all communication. - Owner Report (NHTSA ODI #10171770): An owner reported that when the vehicle stalled, it lost ignition input. Codes found during a scan check included U1000, U1016, U1152, B1372, and U1088; the ignition switch was subsequently replaced.
Model Year Variations Within This Range
- 2008-2012: The 2008 model year introduced a refresh and the optional 5.3L V8 engine. While the fundamental Class 2 architecture and ground pack issues remain the same, wiring harnesses were updated for the new powertrain and minor interior changes. A BCM from a 2004-2007 truck is likely not directly compatible with a 2008-2012 truck without significant programming or cloning, and vice-versa.
Diagnostic Flowchart
Other Known Issues on This Vehicle
Issues unrelated to this code that are worth knowing about as an owner of this generation:
- Soft Valve Seats in Atlas Engines (I4 & I5) 🔴 High — Common on 2004-2007 models. Can lead to misfires at idle (P0300) and eventual loss of compression. GM issued a special extended warranty (7yr/100,000 miles) for cylinder head replacement. (Ref: 07-06-01-019)
- Passlock Anti-Theft System Failure 🟠 Medium — Common across the generation. The system fails to recognize the key, causing a crank-no-start condition with a flashing security light. Often requires a 10-minute wait to reset or a permanent bypass.
- Blower Motor Resistor and Harness Failure 🟠 Medium — Extremely common. Results in fan speeds 1-3 not working, while high (speed 4) still functions. Often caused by a poor ground at splice pack SP106, which overheats the resistor and connector.
- Faulty Fuel Level Sensor 🟡 Low — Widespread issue where the fuel gauge reads inaccurately, typically showing 1/4 or 1/8 of a tank when it is actually empty. Requires replacing the sensor, which is part of the fuel pump module inside the tank.
- Frame Rust 🔴 High — Significant issue in regions that use road salt. The frame can rust severely, particularly around the rear leaf spring hangers, compromising structural integrity.
- Leaking Third Brake Light Gasket 🟡 Low — Very common. The gasket for the high-mount third brake light fails, allowing water to leak into the cab, which can stain the headliner and seats.
Used vs. New Parts: Buying Guide for This Vehicle
When a used part is the smart pick: A used Body Control Module (BCM) from a junkyard is a cost-effective option, but ONLY if you use a 'cloning' service. This service copies all data (VIN, mileage, options) from your original BCM to the used donor BCM, making it plug-and-play.
Donor-vehicle mileage cap: roughly under 150000 miles for the part to have meaningful remaining life.
What to inspect on the donor part:
- Check for any signs of water intrusion or corrosion on the BCM case and connector pins.
- Source the part from a vehicle in a dry climate if possible to minimize corrosion risk.
- Ensure the part number on the used BCM exactly matches your original BCM.
OEM-only on this vehicle (don't cheap out):
- Body Control Module (BCM) - While a used OEM part is viable with cloning, avoid non-branded, no-name aftermarket BCMs as they often have software and compatibility issues.
Aftermarket brands forum-validated for this vehicle:
- For BCM replacement, using a reputable mail-in cloning service with a used OEM part is the most validated path.
Brands owners have reported issues with on this vehicle:
- Unbranded, 'pre-programmed' BCMs from online marketplaces that do not involve cloning your original module. These often fail to work correctly because they lack the specific configuration data for your truck's options.
Documented NHTSA Reports
NHTSA ODI #10186630
Symptoms: An owner reported various instrument panel cluster intermittent issues, engine no crank/no start, and the shifter being locked in park. Diagnostic trouble codes U1000, U1016, B1422, B2957, and B2958 were set.
NHTSA ODI #10259771
Symptoms: A dealership check confirmed code U1000 Class 2 Data Link Malfunction after the instrument panel cluster stopped working.
NHTSA ODI #11244385
Symptoms: An owner reported the vehicle would lose engine power and the odometer, RPM gauge, and temperature gauge would malfunction while throwing codes P0700, U0073, and U1000.
Real Owner Stories
Aggregated from forums and TSBs cited above. Mileages and costs reflect what owners reported in those sources.
2004-2012 GMC Canyon
Symptoms: Multiple warning lights (ABS, Airbag, Security, 4WD Service) illuminated, erratic gauges, and the vehicle would sometimes stall or fail to start.
What fixed it: Cut the wires from the corroded splice packs (SP105 and SP106) and joined them together in a multi-lug terminal ring bolted to a clean chassis ground after sanding off the factory paint.
Source hint: 355nation.net - 'The Ground Problem and 355 Splice Packs'
2004-2012 GMC Canyon
Symptoms: Security light stays on and the vehicle experiences a no-start condition due to Passlock issues.
What fixed it: Performed a permanent bypass of the Passlock II system to resolve the security-related no-start condition.
Source hint: Coloradofans.com - 'HOW TO: Permanently disable the Passlock II system'
2004-2012 GMC Canyon
Symptoms: Electrical short and communication issues traced back to the factory splice packs.
What fixed it: Cleaned the original terminals with a wire brush and applied dielectric grease as a temporary measure to restore the ground connection.
Source hint: Reddit r/chevycolorado - 'Fix for electrical short from splice packs'
Related OBD-II Codes
Frequently Asked Questions
Where are the ground splice packs located on my 2004-2012 GMC Canyon?
Why is my GMC Canyon showing a Security light and failing to start along with the U1000 code?
Can I use a used BCM from a salvage yard to fix the U1000 code on my Canyon?
Does GM have a TSB or special coverage for engine issues that might appear with these electrical codes?
My HVAC blower motor only works on high; is this related to the U1000 communication code?
Is there a permanent fix for the 'Ground Problem' mentioned in the 355nation forums?
Helpful Videos
Used OEM Parts in Stock
New Aftermarket Parts Available


The information in this article is provided for general reference and educational purposes only. Vehicle specifications, procedures, and part compatibility can vary by production date, trim level, and region. Always consult your vehicle's factory service manual and verify part numbers before purchasing or performing repairs. Safety-critical components such as airbags, seat belts, and braking systems should be installed by a qualified professional.
- GMC Canyon:
- 🧭 Diagnostic Flowchart
- 🎬 Helpful Videos
- 🛍️ Shop This Part
- What's Unique About the 2004-2012 GMC Canyon
- Symptoms You May Notice
- Most Likely Causes
- Rare But Worth Checking
- Diagnosis Steps
- Parts You'll Likely Need
- Related Codes That Often Appear With This One
- Technical Service Bulletins (TSBs) & Recalls
- Platform-Specific Known Issues
- Mechanic-Grade Diagnostic Values
- Scan Tool Commands That Help
- Wiring & Ground Locations
- Real Owner Repair Stories
- Model Year Variations Within This Range
- Other Known Issues on This Vehicle
- Used vs. New Parts: Buying Guide for This Vehicle
- Documented NHTSA Reports
- NHTSA ODI #10186630
- NHTSA ODI #10259771
- NHTSA ODI #11244385
- Real Owner Stories
- 2004-2012 GMC Canyon
- 2004-2012 GMC Canyon
- 2004-2012 GMC Canyon
- Related OBD-II Codes
- Frequently Asked Questions
- 🎟️ Get 5% Off