
U1001 on 2005-2012 Nissan Armada: Causes and Fixes for CAN Communication Failure
On a 2005-2012 Nissan Armada, code U1001 means there's a CAN communication failure between control modules. The most common causes are poor ground connections, especially near the battery and engine block, a weak battery, or a faulty Intelligent Power Distribution Module (IPDM). Start by cleaning all major ground points and checking the battery terminals before suspecting a faulty module.
- U1001 is a network communication code, not a specific part failure.
- Always start diagnostics by checking the battery, terminals, and all major ground connections. This is the most common and cheapest fix.
- Do not replace expensive modules like the ECM or ABS controller without first ruling out all wiring and ground issues.
- Diagnosing this code can be complex and may require professional tools and expertise.
- The issue is common across the entire 2005-2012 Nissan Armada generation.
What's Unique About the 2005-2012 Nissan ARMADA
The first-generation Nissan Armada and its platform-mates (Titan, QX56) are notoriously sensitive to voltage and ground issues. The U1001 code is frequently a symptom of a simple electrical problem, such as a corroded ground strap, a weak battery, or a failing relay in the IPDM, rather than a catastrophic module failure. Owners often find that addressing these basic electrical integrity points resolves the communication code without needing to replace expensive computers.
Diagnostic Flowchart
Tap your situation to follow the diagnostic path that matches what you're seeing on this vehicle.
Symptoms You May Notice
- Multiple warning lights on the dashboard (Check Engine, ABS, VDC, SLIP, 4WD)
- Engine cranks but will not start
- Engine stalls while driving
- Erratic or non-functional gauges, like the tachometer staying at zero while the engine is running
- Transmission shifting issues or being stuck in one gear
- Security light staying on or blinking
- Cooling fan running constantly at high speed
- Inability to communicate with the ECM or other modules using a scan tool
- Replacing the ECM or ABS module without first thoroughly checking all grounds, battery connections, and the CAN wiring harness. The NHTSA complaint ODI #10915486 mentions a dealer suggesting replacing the ECM and ABS assembly for U1001, which is a very expensive first step.
- Replacing the starter motor for a no-crank condition when the actual fault is a failing ECM relay 🎬 Watch: How to replace the ECM relay to fix a no-start. inside the IPDM.
Most Likely Causes
- Poor or Corroded Ground Connections 🔴 High Probability Nissans of this era are known to be sensitive to ground issues. Corrosion on main battery grounds, engine block grounds, or chassis grounds is a very common failure point. The main negative battery cable has a crimp that often fails, causing a significant voltage drop and internal wire corrosion.
How to confirm: Visually inspect all major ground straps for corrosion, looseness, or damage. Key spots include the negative battery terminal to the body, and the strap from the body to the cylinder head. Use a multimeter to perform a voltage drop test while cranking; a drop of more than 0.5V indicates a bad connection.
Typical fix: Disconnect, thoroughly clean the ground wire terminal and the mating surface with a wire brush, and re-secure it. Apply dielectric grease to prevent future corrosion. Replace the entire ground cable if the wire or its factory crimp is corroded or damaged.
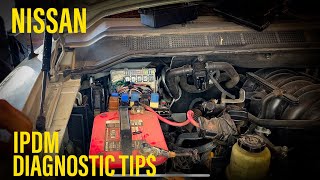
Est. part cost: $10-$125 - Faulty Intelligent Power Distribution Module (IPDM-ER) 🔴 High Probability → Shop Fuse Box The IPDM, which is a smart fuse and relay box, is a known weak point. Internal corrosion or failure of the integrated ECM relay can cause a no-start and trigger U1001 codes. The original factory IPDMs were white and known to fail; the updated replacement part is black. 🎬 See these expert tips for diagnosing IPDM and relay issues.
How to confirm: During a no-start condition, swap the ECM relay with an identical relay from a non-essential system (like the fog lamps) within the IPDM. If the vehicle starts, the relay is bad. If symptoms are intermittent and widespread, the IPDM itself may be failing. Visual inspection may reveal water intrusion or corrosion.
Typical fix: If a single relay is the cause, replace it. If the problem persists or is internal to the IPDM board, the entire IPDM module must be replaced. This is a plug-and-play part that does not typically require programming.
Est. part cost: $15-$300 - Damaged or Shorted CAN Harness Wiring 🟡 Medium Probability Wiring can become brittle over time or get damaged from vibrations, improper repairs, or rodent intrusion. A short to ground or power in one of the two CAN wires will bring down the entire network.
How to confirm: Visually inspect the wiring harness for any signs of physical damage, chafing, or melting, especially around the engine and behind the dashboard. Use a multimeter to check for continuity and resistance between the CAN-High and CAN-Low wires at the OBD-II port. A healthy network should have about 60 ohms of resistance with the battery disconnected.
Typical fix: Repair the damaged section of wire, ensuring a solid, insulated connection. In severe cases, a section of the harness may need to be replaced.
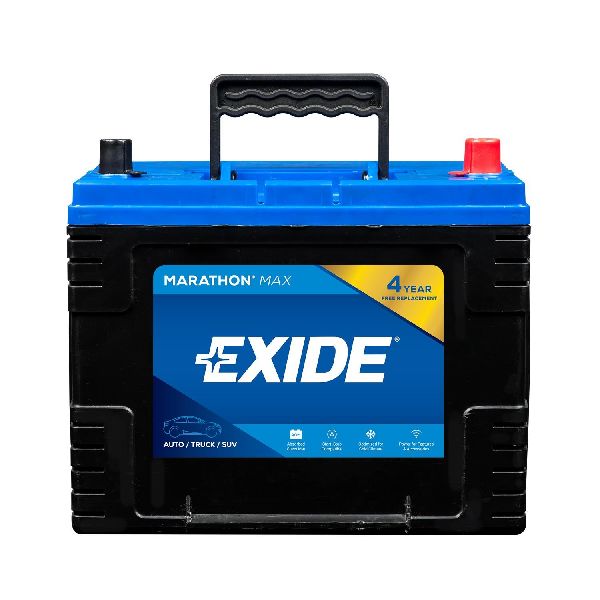
Est. part cost: $5-$200 - Low Battery Voltage or Faulty Battery Terminals 🟡 Medium Probability → Shop Vehicle Battery A weak or dying battery can provide insufficient or unstable voltage (below 10V), causing control modules to glitch and lose communication.
How to confirm: Test the battery voltage with a multimeter. A healthy battery should read around 12.6V with the engine off and 13.7-14.7V with the engine running. Check the battery terminals for corrosion or looseness.
Typical fix: Clean or replace the battery terminals. Charge or replace the battery if it fails a load test.
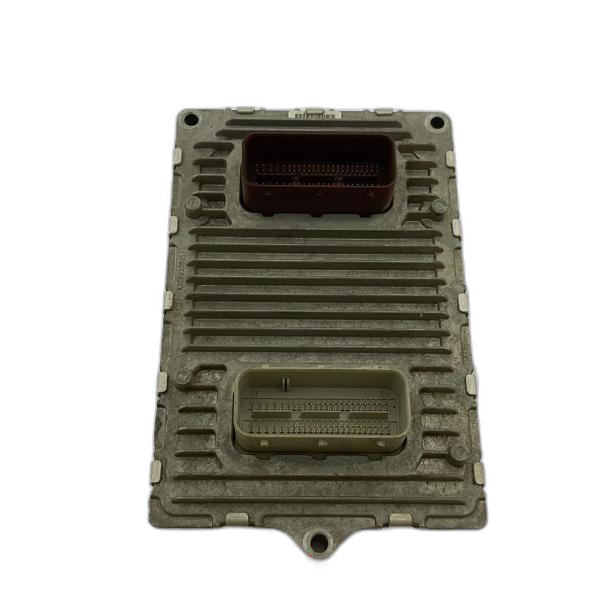
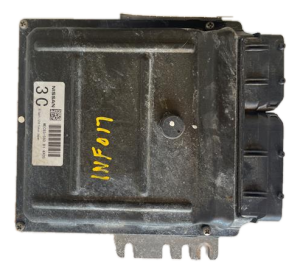
Est. part cost: $15-$250 - Faulty Control Module (ECM, BCM, ABS) ⚪ Low Probability While less common than wiring or ground issues, a control module can fail internally, causing it to either stop communicating or flood the network with bad data.
How to confirm: This is a diagnosis of exclusion. A professional would use a scan tool to see which module(s) are not responding. They may then try to isolate modules by unplugging them one by one to see if communication is restored. Resistance at the module's CAN pins can also be checked.
Typical fix: Replace the faulty module and program the new one to the vehicle.
Est. part cost: $200-$1500+
Diagnosis Steps
- Read all codes from all modules using a professional-grade scan tool. Note which modules are reporting the U1001 code and which modules are not communicating at all.
- Check battery health. Ensure voltage is above 12.4V and that terminals are clean and tight. A battery voltage below 10V during cranking can cause modules to drop off the network.
- Inspect and Clean All Major Ground Connections. Disconnect the battery. Unbolt, clean with a wire brush, and re-tighten the main battery-to-chassis ground, the chassis-to-engine ground (often on the cylinder head), and any other visible ground points on the body. The negative battery cable itself is a common failure point.
- Inspect the IPDM-ER (Intelligent Power Distribution Module Engine Room). This is the fuse/relay box in the engine bay. Check for any signs of water intrusion or corrosion. For a no-start symptom, try swapping the ECM relay with the fog lamp relay to see if the vehicle starts.
- Check relevant fuses. Inspect fuses for the ECM, TCM, and BCM in the IPDM and interior fuse panels.
- With the battery disconnected, measure the resistance between Pin 6 (CAN-H) and Pin 14 (CAN-L) at the OBD-II port. A healthy network should read approximately 60 ohms. A reading of 120 ohms suggests a break in the circuit or a faulty terminating module. A reading near 0 ohms indicates a short between the wires.
- Visually inspect the main wiring harnesses for any signs of damage, chafing, or corrosion, paying close attention to areas where the harness may rub against the engine or chassis.
- If the steps above do not reveal the issue, the problem likely requires advanced diagnostics, such as using an oscilloscope to analyze the CAN signal or isolating individual modules by unplugging them one by one to find the source of the network disruption.
Parts You'll Likely Need
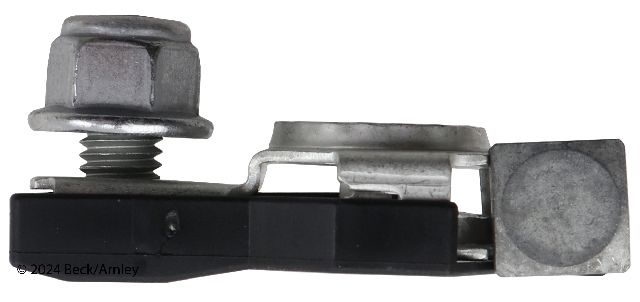
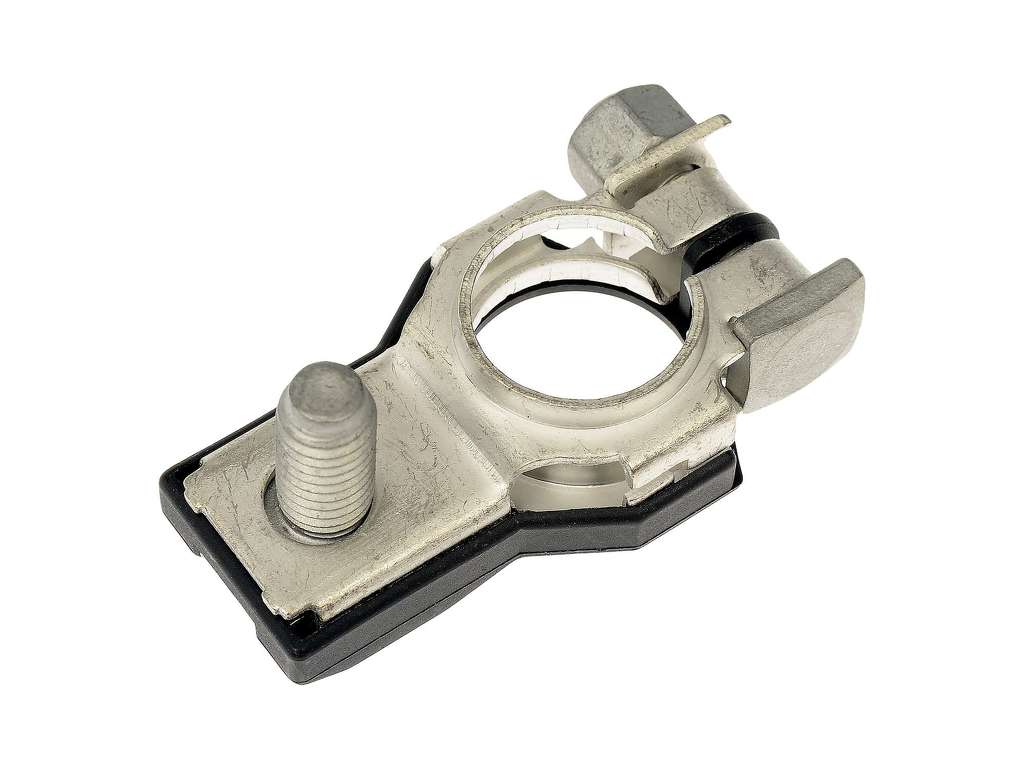
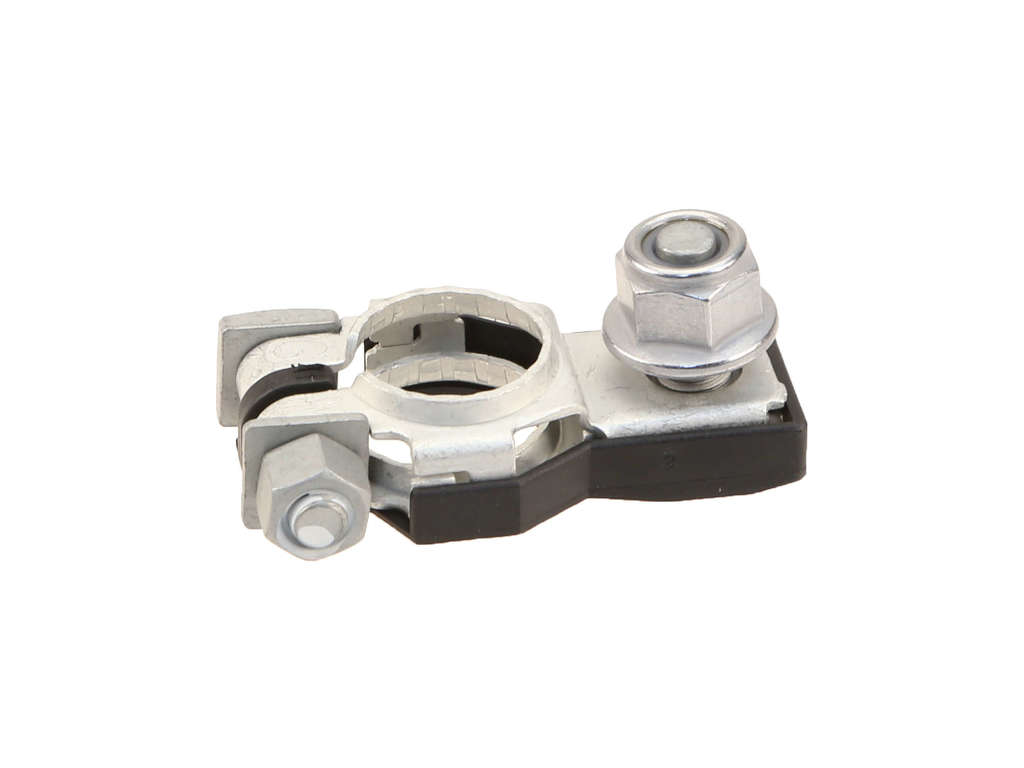
- Battery Ground Cable
(OEM #24080-7S200 (for models up to 08/2006), 24080-ZR00A (for models from 08/2006))— The main ground cable is a frequent point of corrosion and failure, especially at the factory crimp, leading to a host of electrical and communication problems.
Trusted brands: Nissan OE
OEM price range: $60-$125
Aftermarket price range: $20-$50 - Intelligent Power Distribution Module (IPDM-ER)
(OEM #284B7-ZE03A (example, verify by VIN))— A common failure point on this platform. An internal relay failure can cause no-start and CAN communication codes. Water intrusion can also damage the module.
Trusted brands: Nissan OE
OEM price range: $250-$400
Aftermarket price range: $150-$250 (Remanufactured) - Engine Control Module (ECM) — In rare cases where all wiring and grounds are confirmed good, the ECM itself may have failed. This is an expensive last resort.
Trusted brands: Nissan OE
OEM price range: $800-$1500
Aftermarket price range: $400-$800 (Remanufactured)
Related Codes That Often Appear With This One
- U1000 — U1000 is a general CAN Communication Malfunction code. U1001 is often a more specific version indicating the ECM is involved in the communication loss, and they frequently appear together.
Technical Service Bulletins (TSBs) & Recalls
- NTB10-066A - CAN Communication Codes - Diagnostic Tips & Guidelines.
- NTB13-027C - CAN Diagnostic Flow Chart. This TSB provides a detailed troubleshooting flowchart for diagnosing CAN communication issues.
Platform-Specific Known Issues
- NHTSA Technical Service Bulletin NTB10-066A advises technicians to always diagnose communication codes like U1000 and U1001 first before replacing any parts.
- An owner complaint filed with the NHTSA (ODI #10915486) for a 2006 Armada noted that a dealer suggested replacing the ECM and ABS assembly after finding hard codes U1000 and U1001, highlighting the potential for expensive and possibly unnecessary repairs if not diagnosed correctly.
- The negative battery cable features a crimp that connects the body ground and engine ground sections. This crimp is a notorious failure point, causing high resistance and a significant voltage drop under load, which leads to CAN communication errors.
Mechanic-Grade Diagnostic Values
- CAN Bus Resistance at OBD-II Port (Battery Disconnected) — expected: ~60 Ω. Failure: 120 Ω indicates an open circuit or a problem with one of the two terminating resistors. ~0 Ω indicates a short between CAN High and CAN Low wires. ~40-45 Ω may indicate a third, unintended terminating resistor on the network or a failing module.
- CAN Bus Resistance at a Terminating Module (e.g., ECM, IPDM) — expected: ~120 Ω. Failure: A reading significantly different from 120 Ω at a known terminating module points to a fault within that module.
- CAN High Voltage (Oscilloscope) — expected: Idles at ~2.5V, rises to ~3.5V-3.75V during data transmission.. Failure: No voltage change indicates no data. Voltage not returning to 2.5V or not reaching 3.5V indicates a bus problem.
- CAN Low Voltage (Oscilloscope) — expected: Idles at ~2.5V, drops to ~1.5V-1.25V during data transmission.. Failure: No voltage change indicates no data. Voltage not returning to 2.5V or not dropping to 1.5V indicates a bus problem.
Scan Tool Commands That Help
- Nissan CONSULT-III plus: CAN Diag Support Monitor / V-CAN Diagram — This is the first step in dealer-level diagnostics. It polls all modules on the network and creates a visual map or list showing which modules are communicating and which are not, quickly identifying the source of the communication breakdown.
- Manual Procedure (No Scan Tool): IPDM Auto Active Test — To quickly verify if the IPDM is receiving power and is capable of operating various body components. If this test runs, it suggests the IPDM's core functions are likely okay. Procedure: Close all doors, turn ignition ON (engine off), then within 20 seconds, open and close the driver's door 10 times. Turn ignition OFF, then ON again. The test will begin, cycling wipers, lights, etc.
Wiring & Ground Locations
- ECM Relay — Inside the IPDM-ER (engine bay fuse/relay box). On many models, you must lift the IPDM assembly out of its holder to see the relays on the bottom. It is often the third relay from the connector.. This specific relay powers the Engine Control Module (ECM). Its failure is a very common cause of a no-start condition accompanied by U1000/U1001 codes, as the ECM completely drops off the network.
- Main Engine Ground — Typically a strap or cable running from the engine block (often the cylinder head) to the firewall or chassis.. A poor engine ground can cause a voltage differential between modules, disrupting the sensitive CAN communication signals and leading to U-codes.
- Main Battery Ground — The negative battery cable connection point on the vehicle's chassis/body, near the battery.. Corrosion at this primary ground point creates high resistance for the entire vehicle electrical system, causing low voltage and unstable power to all modules.
- OBD-II Port Pins — Pin 6 is CAN High, Pin 14 is CAN Low. These are the primary test points for measuring network-wide resistance and for connecting an oscilloscope.. Provides a central and standardized access point to the entire CAN bus for diagnostic measurements without having to access individual modules.
Real Owner Repair Stories
- Infiniti Scene forum user (2004 Infiniti FX35 (sister platform)) — While driving hard, the gear indicator went blank, transmission was stuck in gear, and the Service Engine Soon light came on.
❌ Tried (didn't work) Restarting the car temporarily restored function but the SES light remained.
✅ What actually fixed it The user was able to clear the U1000/U1001 codes with a scanner and the issue did not immediately return. Another user in the same thread suggested the root cause was likely slight corrosion or moisture in the ECM and TCM connectors, recommending disconnecting the battery and cleaning the connector contacts with electrical contact cleaner. - YouTube user Jaim Wolfe (2004 Nissan Titan (sister platform)) — Intermittent no-start. Turning the key would light up the dash, but the starter would not engage. Sometimes would start after waiting a few minutes.
❌ Tried (didn't work) Initially identified the wrong relay based on another popular video.
✅ What actually fixed it The problem was solved by replacing the correct ECM relay inside the IPDM. The video correctly identifies the relay as being on the bottom row of the IPDM, third from the end. The part number for the replacement relay was 284B7-CW29E.
OEM Part Supersession History
284B7-ZE03A→284B7-ZE03B— The original IPDM (often white in color) had a high failure rate for the internal ECM relay. The updated part (often black in color) is a more robust design.
Heads up: Part numbers 284B7-ZE03A and 284B7-ZE03B are generally interchangeable for many 2009-2015 models, but it is critical to verify the exact part number by VIN before ordering.
Model Year Variations Within This Range
- 2005-2009 (approx.): Vehicles in this earlier range are more likely to have the original-style white IPDM which is more prone to failure than the later black-cased IPDMs. While the diagnostic process is the same, the probability of the IPDM being the root cause is higher on these earlier models.
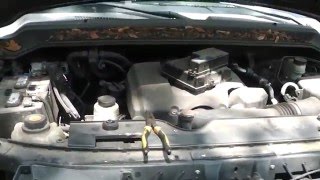
Helpful Videos


Used OEM Parts in Stock

New Aftermarket Parts Available


The information in this article is provided for general reference and educational purposes only. Vehicle specifications, procedures, and part compatibility can vary by production date, trim level, and region. Always consult your vehicle's factory service manual and verify part numbers before purchasing or performing repairs. Safety-critical components such as airbags, seat belts, and braking systems should be installed by a qualified professional.
- Nissan ARMADA:
- 🧭 Diagnostic Flowchart
- 🎬 Helpful Videos
- 🛍️ Shop This Part
- What's Unique About the 2005-2012 Nissan ARMADA
- Symptoms You May Notice
- Most Likely Causes
- Diagnosis Steps
- Parts You'll Likely Need
- Related Codes That Often Appear With This One
- Technical Service Bulletins (TSBs) & Recalls
- Platform-Specific Known Issues
- Mechanic-Grade Diagnostic Values
- Scan Tool Commands That Help
- Wiring & Ground Locations
- Real Owner Repair Stories
- OEM Part Supersession History
- Model Year Variations Within This Range
- 🎟️ Get 5% Off