
U1500 on 2011-2016 Hyundai Elantra (1.8L Nu): LIN Bus Communication Fault Causes and Fixes
On a 2011-2016 Elantra with the 1.8L engine, code U1500 signifies a communication failure on the LIN bus, which controls the charging system. The most common culprit is a faulty alternator with an integrated voltage regulator that has failed. A bad battery current sensor is the second most likely cause. Diagnosis involves isolating these two components. Expect to pay $250-$500 for a replacement alternator.
- U1500 on your Elantra means there's a communication problem in the charging system network (LIN bus).
- The most likely failed part is the alternator, followed by the battery current sensor on the negative battery terminal.
- Do not simply replace the battery; the new battery will also fail to charge and you will be stranded again.
- Diagnosis involves checking charging voltage and then disconnecting components one by one to see if the fault clears.
- This is a moderately difficult DIY repair; professional diagnosis is recommended if you are not comfortable with automotive electrical testing.
What's Unique About the 2011-2016 Hyundai Elantra
The fifth-generation Elantra (MD/UD) with the 1.8L Nu engine uses a 'smart' charging system to improve fuel efficiency. This system relies on a LIN bus for communication between the Engine Control Module (ECM), the alternator's voltage regulator, and the battery current sensor. Unlike older cars where the alternator worked independently, a communication failure here can disable charging control, leading to an undercharged or overcharged battery. Therefore, a U1500 code on this car points directly to a problem within this specific charging network.
Symptoms You May Notice
- Check Engine Light is on
- Battery warning light is on or flickering intermittently on the dashboard
- The battery may die unexpectedly or not hold a charge
- Erratic electrical system behavior, such as dimming or flickering headlights
- Vehicle may stall if battery voltage drops too low while driving
- Slower than normal power window operation
- In some cases, the system may overcharge, with voltage readings exceeding 15V.
- Replacing the battery without testing the charging system. A new battery will soon die if the alternator is not charging it due to the LIN bus fault.
- Replacing the Engine Control Module (ECM). The ECM is the master module that reports the fault, but it is very rarely the cause of the problem.
Most Likely Causes
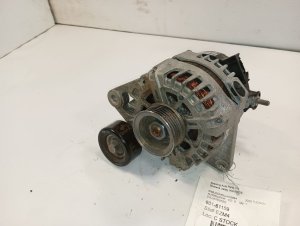
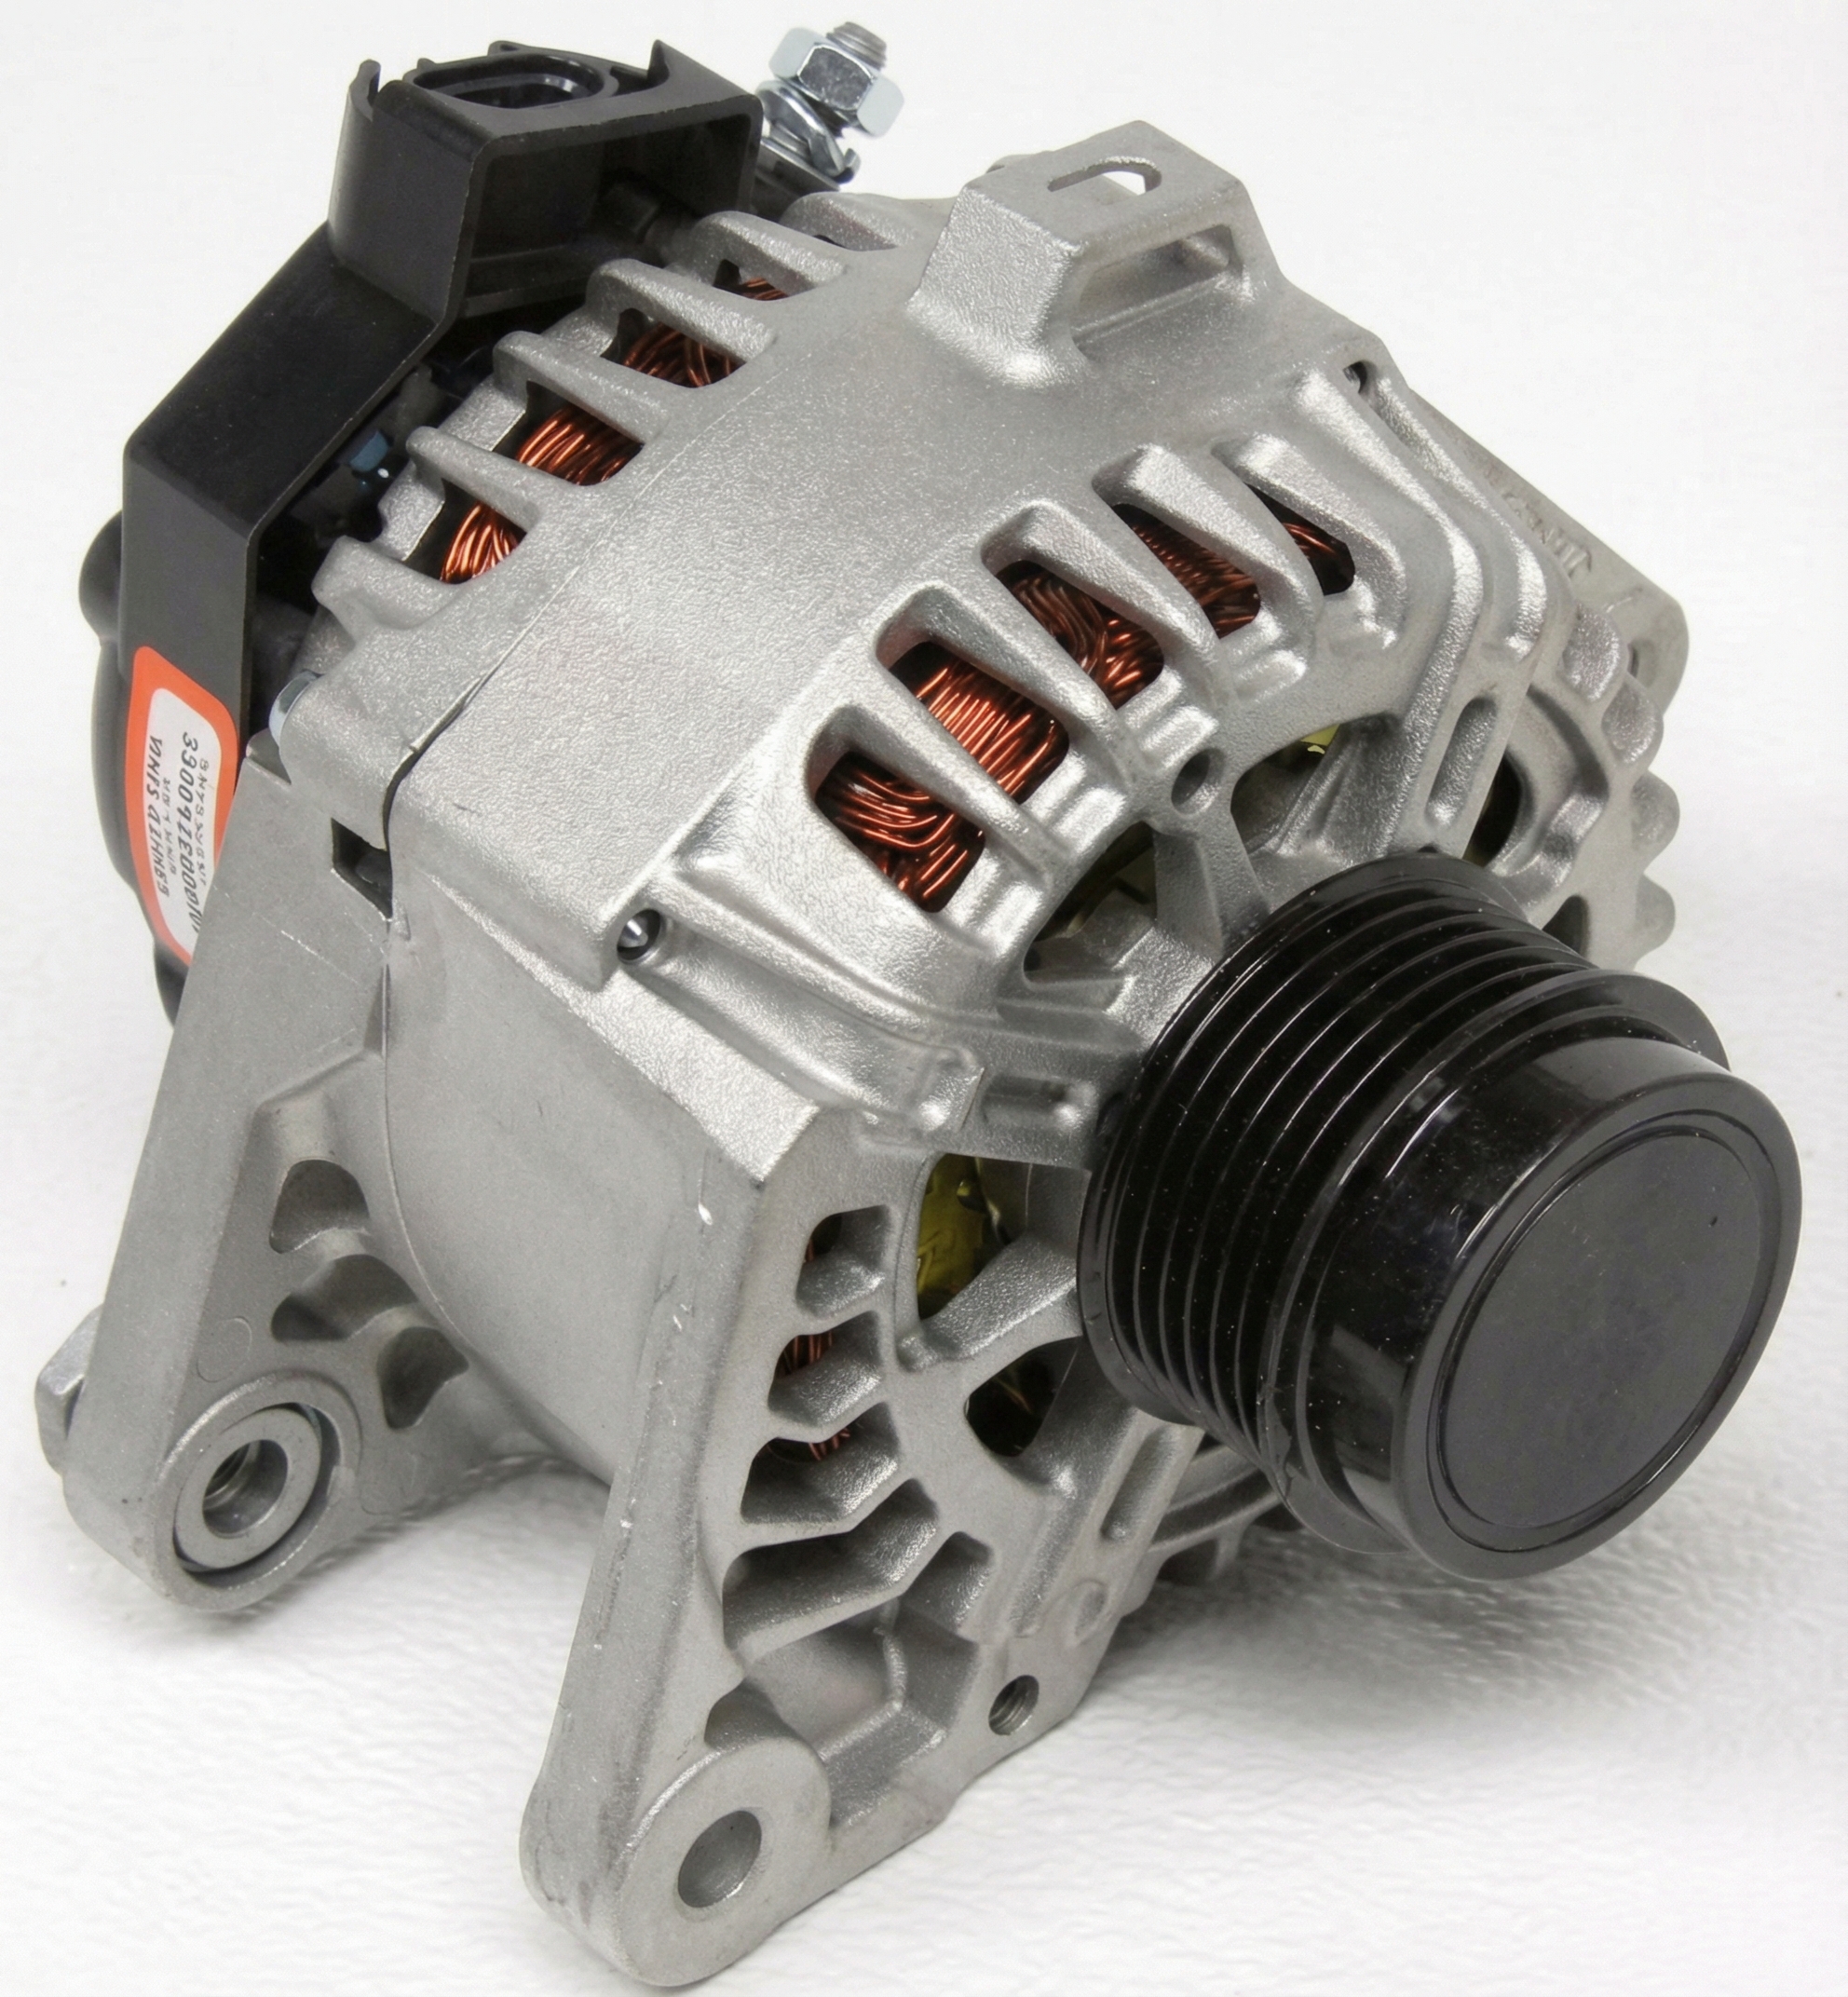
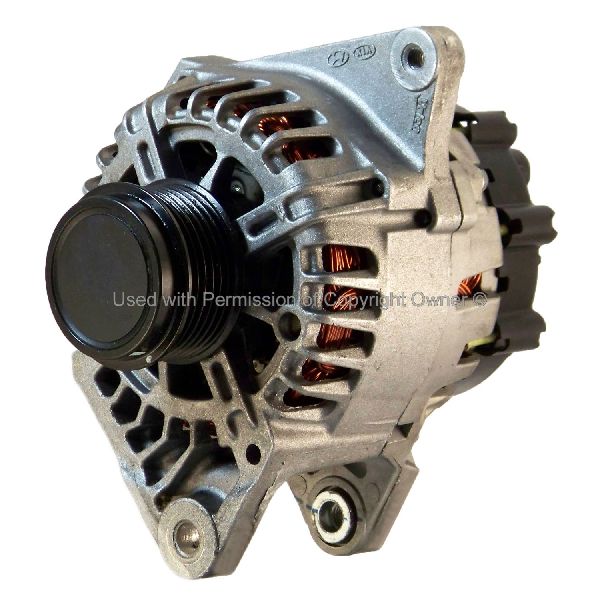
- Faulty Alternator (Internal Voltage Regulator) 🔴 High Probability → Shop Alternator The voltage regulator, which contains the LIN communication chip, is integrated into the alternator. This regulator is a very common failure point on this platform. When it fails, it can no longer communicate with the ECM, triggering the U1500 code and halting charging.
How to confirm: With the engine running, check for charging voltage at the battery (should be ~13.5-14.5V). If voltage is low (~12.6V or less), the alternator is likely not charging. A professional can also disconnect other LIN devices (like the battery sensor) to see if communication is restored; if not, the alternator is the prime suspect.
Typical fix: Replace the entire alternator assembly. The voltage regulator is typically not sold separately, though some specialists may attempt to replace just the regulator.
Est. part cost: $200-$450 - Faulty Battery Current Sensor 🟡 Medium Probability → Shop Vehicle Battery This sensor is mounted on the negative battery terminal and is exposed to the elements and potential corrosion. A failure in the sensor's electronics can cause it to stop communicating or send invalid data, bringing down the entire LIN bus.
How to confirm: Visually inspect the sensor and its connector for corrosion or damage. The most definitive test is to disconnect the sensor's electrical connector. If the U1500 code can then be cleared and does not immediately return (or if a different code appears), the battery sensor was the faulty component dragging down the network.
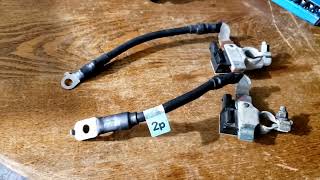
Typical fix: Replace the battery current sensor, which is often sold as part of the negative battery cable assembly. 🎬 Watch: How to replace the negative battery cable and sensor After replacement, the sensor may need to be calibrated.
Est. part cost: $50-$120 - Wiring or Connector Issue ⚪ Low Probability The single LIN bus wire runs between the ECM, alternator, and battery sensor. While less common, this wire can become chafed, broken, or corroded, especially near the alternator or battery where it's exposed to heat and moisture.
How to confirm: Perform a visual inspection of the harness. Use a multimeter to check for continuity on the LIN wire from the alternator connector to the ECM connector. Check for a short to ground or power on the same wire. A wiring diagram is essential for this step.
Typical fix: Repair the damaged section of the wire or replace the faulty connector.
Est. part cost: $5-$50
Rare But Worth Checking
- Poor ECM Ground:
Diagnosis Steps
- Read all codes from all modules using a capable OBD-II scanner.
- Check the battery's state of charge and overall health. A weak or failing battery can cause various electrical issues. Ensure terminals are clean and tight.
- Start the engine and check the charging system voltage at the battery terminals. It should be approximately 13.5V to 14.5V. If it's near battery voltage (12.6V or less), the alternator is not charging.
- Visually inspect the alternator's electrical connector and the battery current sensor's connector (on the negative terminal) for any signs of corrosion, damage, or loose pins.
- Inspect the single LIN bus wire between the alternator, battery sensor, and ECM for any visible damage, chafing, or corrosion.
- (Diagnostic Test) Disconnect the electrical connector from the battery current sensor. Clear the codes and see if U1500 returns. If it does not, the battery sensor is faulty.
- (Diagnostic Test) If the code returns with the battery sensor disconnected, reconnect it and then disconnect the electrical connector from the alternator. Clear codes and re-check. If the code is now gone, the alternator's internal regulator is faulty.
- If the code persists after isolating both components, a more thorough diagnosis of the wiring harness and ECM is required, which is best left to a professional.
- After replacing the battery sensor or disconnecting the battery for service, a recalibration procedure may be necessary. This may involve letting the vehicle sit for several hours and then cycling the ignition.
Parts You'll Likely Need
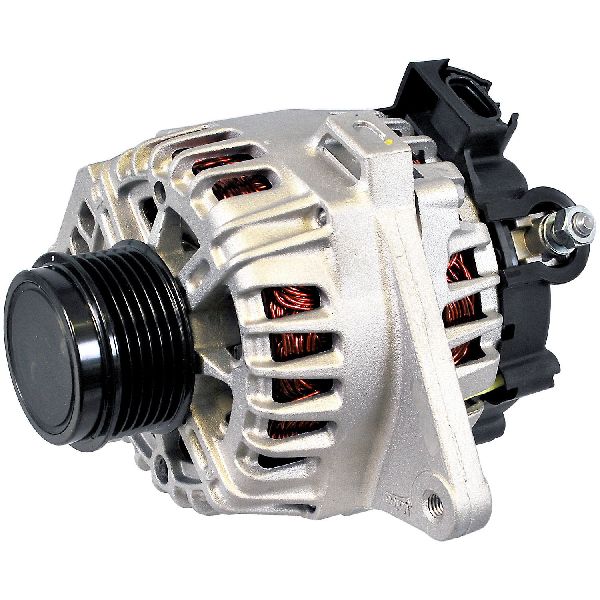
- Alternator
(OEM #37300-2E200)— This is the most common cause. The internal voltage regulator that communicates on the LIN bus fails, requiring replacement of the whole alternator assembly.
Trusted brands: Valeo (OEM supplier), Mando, Denso, Duralast
OEM price range: $350-$500
Aftermarket price range: $200-$350 - Battery Current Sensor
(OEM #37180-3X001)— This sensor on the negative battery terminal can fail and disrupt communication on the entire LIN bus, preventing the alternator from charging correctly.
Trusted brands: Hyundai (OEM)
OEM price range: $80-$120
Aftermarket price range: $50-$90
Related Codes That Often Appear With This One
- P0562 — System Voltage Low. This code often appears with U1500 because the underlying LIN bus fault has caused the alternator to stop charging the battery, resulting in low system voltage.
Technical Service Bulletins (TSBs) & Recalls
- TSB 17-ST-002: While not directly related to U1500, this TSB is highly relevant for owners of this platform. It addresses the extremely common failure of the MDPS steering coupler (part 56315-2K000-FFF) and extends the warranty, which is a key issue for this vehicle generation.
Platform-Specific Known Issues
- A user on Reddit with a platform-mate Kia Forte experienced intermittent charging and overcharging to 17.6V, pointing to a LIN bus control failure likely involving the alternator regulator or ECM.
- A YouTube video demonstrates replacing the negative battery cable assembly to fix an intermittent flashing battery light, confirming the battery sensor as a common failure point that doesn't always cause a hard, constant fault.
Mechanic-Grade Diagnostic Values
- LIN Bus Signal Voltage (with multimeter) — expected: Approximately 1V (communicating) to 1 volt less than battery voltage (at rest, approx. 11-12V).. Failure: A voltage that is stuck high (near battery voltage) or stuck low (near 0V) indicates a communication breakdown or a short on the line.
- LIN Bus Signal (with oscilloscope) — expected: A square wave toggling between approximately 1V and 11-12V.. Failure: A flat line at any voltage, or a distorted waveform, indicates a fault with a module or the wiring.
- Charging System Voltage (Engine Running) — expected: 13.5V - 14.5V at the battery terminals.. Failure: Voltage near 12.6V or below indicates the alternator is not charging. Voltage above 15V indicates a regulator failure causing an overcharge condition.
Scan Tool Commands That Help
- Hyundai GDS (Global Diagnostic System): Vehicle S/W Management - Resetting Adaptive Values — This function can be used to reset learned values in the ECM after replacing a component like the battery sensor. This may help the system re-learn the new part's characteristics.
- Hyundai GDS (Global Diagnostic System): DTC Guide / Fault Code Diagnosis Guide — The GDS software contains specific, step-by-step diagnostic procedures for each fault code, including U1500. This provides technician-level guidance beyond generic repair info.
- Hyundai GDS (Global Diagnostic System): Flight Logger / Data Logging — For intermittent faults, the Flight Logger can be activated to record LIN bus data during a drive cycle to capture transient dropouts or spikes that a standard multimeter would miss.
Wiring & Ground Locations
- Alternator Connector — On the back of the alternator, underneath the intake manifold runner.. This 3-pin connector contains the single LIN bus wire. A poor connection, corrosion, or wire damage at this plug will sever communication with the ECM and trigger U1500.
- ECM Connector (C133-2) — At the Engine Control Module (ECM), typically located in the engine bay near the battery.. The LIN bus wire from the alternator and battery sensor terminates at a specific pin on the ECM connector. A wiring diagram for the 1.8L engine is needed to identify the exact pin (e.g., Pin 79 on some schematics) for continuity and voltage testing.
- ECM Power Ground Pins — On the main ECM harness connector. For the 1.6L (similar architecture), pins 3 and 4 are listed as power grounds.. A poor ground connection at the ECM itself can cause a variety of communication errors, including LIN bus faults. A voltage drop test on these ground pins is a key diagnostic step for persistent, hard-to-trace U-codes.
Real Owner Repair Stories
- YouTube - Kevin's Mobile Repair (2012 Hyundai Elantra) — Customer stated the battery light was coming on while driving.
❌ Tried (didn't work) The video implies that simply replacing the battery is a common misdiagnosis to be avoided.
✅ What actually fixed it The alternator was replaced. After installation, a voltage test confirmed the new alternator was charging correctly at around 14.5V, resolving the battery light issue. - Reddit r/Cartalk (2011 Hyundai Elantra GLS) — Very intermittent charging system warning light (battery icon) that would flash once or twice, primarily when the engine was around 3000 RPM. Voltages at the battery tested normal (12.5V off, 14.5V running).
❌ Tried (didn't work) The owner tested battery and charging voltage with a voltmeter, which showed normal readings, causing confusion.
✅ What actually fixed it The owner did not post a final resolution, but a commenter noted that the light is often controlled by the alternator itself and that this symptom is a classic sign of the alternator beginning to fail, even if static voltage tests appear normal. This points to an intermittent internal fault in the alternator's regulator.
OEM Part Supersession History
37300-2E250→37300-2E200— Part number consolidation or revision by the manufacturer.
Heads up: According to OEM parts diagrams, 37300-2E200 replaces the earlier part number. When ordering, using the VIN is critical to ensure the correct amperage and fitment, especially for mid-generation model years.
Model Year Variations Within This Range
- 2011-2013 vs 2014-2016: The 2014 model year introduced a 2.0L engine option alongside the 1.8L. While the charging system architecture is similar, the specific alternator part number may differ. The OEM part 37300-2E200 is listed for the 1.8L in 2011-2013 models and some 2014-2015 models with a manual transmission, but also fits the 2.0L engine in later years, highlighting the need to verify by VIN.
Diagnostic Flowchart
Other Known Issues on This Vehicle
Issues unrelated to this code that are worth knowing about as an owner of this generation:
- Engine Ticking / Piston Slap 🔴 High — Widespread issue in the 1.8L Nu engine, often starting as a light tick around 80,000-100,000 miles and worsening over time. It is caused by excessive clearance between the piston and cylinder wall, leading to scuffing. (Ref: While no specific recall exists for all vehicles, Hyundai has addressed this under warranty for many customers, sometimes involving engine replacement.)
- MDPS Steering Coupler Failure 🟠 Medium — Extremely common across many Hyundai models of this era. The flexible rubber coupler in the Motor-Driven Power Steering (MDPS) disintegrates, causing a clicking or clunking noise in the steering wheel. (Ref: TSB 17-ST-002 extended the warranty for this part to 10 years/100,000 miles. The part number is 56315-2K000-FFF.)
- Timing Chain Guide Wear / Jumped Timing 🔴 High — Less common than piston slap but very serious. The plastic timing chain guides can crack and break, causing the chain to slap or even jump teeth, which can lead to a no-start condition or catastrophic engine damage.
- Suspension Coil Spring Corrosion 🟠 Medium — Primarily affects 2011 models in regions that use road salt. The front coil springs can rust and fracture. (Ref: Hyundai issued a recall in 2015 for this issue on certain 2011 Elantras.)
Used vs. New Parts: Buying Guide for This Vehicle
When a used part is the smart pick: For the alternator, a used OEM part (Valeo or Mando) from a low-mileage donor vehicle can be a cost-effective alternative to a new aftermarket part of questionable quality. For the battery current sensor, which is less expensive, buying new is generally recommended to avoid inheriting a part that is already aged and exposed to the elements.
Donor-vehicle mileage cap: roughly under 70000 miles for the part to have meaningful remaining life.
What to inspect on the donor part:
- Check the pulley for smooth, quiet rotation with no bearing roughness or play.
- Inspect the electrical connector for any signs of corrosion, melting, or broken pins.
- Look at the date code on the alternator housing if visible; prefer a part that is as new as possible.
- Ask for the VIN of the donor car to verify mileage and check for any reported electrical issues in its history if possible.
OEM-only on this vehicle (don't cheap out):
- Battery Current Sensor: While aftermarket versions exist, the OEM sensor is most likely to communicate correctly with the ECM and avoid persistent issues. Given the relatively low cost, OEM is the safer choice.
Aftermarket brands forum-validated for this vehicle:
- Valeo (often the original OEM supplier)
- Denso
- Bosch
Brands owners have reported issues with on this vehicle:
- Unbranded or 'white-box' alternators from online marketplaces have a high failure rate. One user in a 1A Auto video mentioned replacing four alternators on a family member's Hyundai, suggesting that lower-quality remanufactured or new aftermarket units can fail prematurely.
Real Owner Stories
Aggregated from forums and TSBs cited above. Mileages and costs reflect what owners reported in those sources.
2017 Kia Forte (Platform Mate)
Symptoms: Experienced intermittent charging that eventually progressed to a major overcharge condition where voltage reached 17.6V.
What fixed it: The owner replaced multiple alternators without success, indicating the root cause was a complex LIN bus fault involving the ECM or wiring harness.
Source hint: Reddit's r/MechanicAdvice thread titled 'Major electrical issue on Kia Forte'
2011-2016 Hyundai Elantra
Symptoms: Intermittent flashing battery light on the dashboard.
What fixed it: Replacement of the negative battery cable assembly (which includes the battery current sensor).
Source hint: YouTube video demonstrates replacing the negative battery cable assembly to fix an intermittent flashing battery light
Related OBD-II Codes
Frequently Asked Questions
My 2011-2016 Elantra has a clicking noise in the steering wheel; is this related to the U1500 code?
Can I just replace the voltage regulator on my Elantra's alternator to fix U1500?
Is there a recall for the front coil springs on my 2011 Elantra?
Why is my battery light flashing intermittently on my dashboard?
Does the 1.8L Nu engine in my Elantra have any known issues I should check while fixing the U1500?
Do I need to do anything special after replacing the battery sensor?
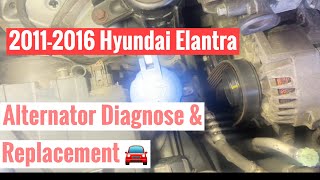
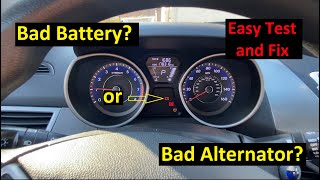
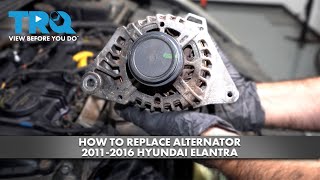
Helpful Videos
Used OEM Parts in Stock
New Aftermarket Parts Available


The information in this article is provided for general reference and educational purposes only. Vehicle specifications, procedures, and part compatibility can vary by production date, trim level, and region. Always consult your vehicle's factory service manual and verify part numbers before purchasing or performing repairs. Safety-critical components such as airbags, seat belts, and braking systems should be installed by a qualified professional.
- Hyundai Elantra:
- 🧭 Diagnostic Flowchart
- 🎬 Helpful Videos
- 🛍️ Shop This Part
- What's Unique About the 2011-2016 Hyundai Elantra
- Symptoms You May Notice
- Most Likely Causes
- Rare But Worth Checking
- Diagnosis Steps
- Parts You'll Likely Need
- Related Codes That Often Appear With This One
- Technical Service Bulletins (TSBs) & Recalls
- Platform-Specific Known Issues
- Mechanic-Grade Diagnostic Values
- Scan Tool Commands That Help
- Wiring & Ground Locations
- Real Owner Repair Stories
- OEM Part Supersession History
- Model Year Variations Within This Range
- Other Known Issues on This Vehicle
- Used vs. New Parts: Buying Guide for This Vehicle
- Real Owner Stories
- 2017 Kia Forte (Platform Mate)
- 2011-2016 Hyundai Elantra
- Related OBD-II Codes
- Frequently Asked Questions
- 🎟️ Get 5% Off