
U2106 on 2007-2009 Cadillac SRX: Lost Communication with TCM Causes and Fixes
On a 2007-2009 Cadillac SRX, code U2106 almost always points to a poor connection at the main transmission wiring harness connector (X1). This connector, located on the transmission housing, is subject to vibration and exposure that can cause terminals to loosen. Inspecting and securing the terminals in this connector, as detailed in GM Technical Service Bulletin PIC4740E, is the most common fix and often costs nothing in parts.
- U2106 on a 2007-2009 SRX means the Transmission Control Module (TCM) has stopped communicating with other vehicle computers.
- The most common cause by far is a poor connection at the main transmission wiring harness connector (X1), as documented in GM TSB PIC4740E.
- Symptoms can be severe, including harsh shifting, getting stuck in gear, and a no-start condition.
- Diagnosis should always start with a 'tug test' on the wires at the X1 connector before considering more expensive repairs like replacing the TCM.
- The fix is often as simple as cleaning and reseating the connector terminals, costing little to no money in parts.
What's Unique About the 2007-2009 Cadillac SRX
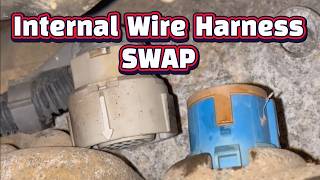
For this specific first-generation Cadillac SRX, the U2106 code is strongly linked to a known weakness in the main transmission electrical connector, designated as X1. 🎬 Watch: A detailed guide on handling the 6L80e connector. General Motors issued a Technical Service Bulletin (PIC4740E) highlighting that the female terminals within this connector can lose tension or corrode, causing intermittent communication loss with the TCM. 🎬 See how to troubleshoot lost communication with the TCM. This connector is located on the driver's side of the transmission housing, where it is exposed to vibration and the elements, making this specific connection failure far more common than an actual failure of the Transmission Control Module itself.
Diagnostic Flowchart
Tap your situation to follow the diagnostic path that matches what you're seeing on this vehicle.
Symptoms You May Notice
- Check Engine Light or 'Service Engine Soon' message
- Transmission stuck in one gear (often second gear, known as 'limp mode')
- Harsh, erratic, or delayed shifting
- Vehicle may not start or crank
- Warning lights for Stabilitrak or Traction Control may illuminate
- General decrease in power and acceleration
- Door locks cycle erratically while driving
- Replacing the Transmission Control Module (TCM) before thoroughly inspecting the X1 connector and wiring. The TSB clearly indicates the connector is the most frequent point of failure.
- Replacing the Engine Control Module (ECM) due to the no-start symptom without first verifying communication with the TCM.
Most Likely Causes
- Loose or Poorly Seated Terminals in Transmission Connector X1 🔴 High Probability → Shop Transmission Assembly As documented in TSB #PIC4740E, the female terminals in the X1 connector are known to lose tension over time due to vibration and heat cycles, causing a poor connection.
How to confirm: Disconnect the X1 connector on the driver's side of the transmission. Visually inspect for corrosion or backed-out pins. The TSB specifically instructs to perform a gentle 'tug test' on each individual wire going into the connector to ensure it is secure, as a side load can give a false impression that it is locked in.
Typical fix: Reseat any loose terminals. If terminals are loose, they may need to be slightly tensioned with a special tool or replaced. Clean any corrosion from the connector pins with electrical contact cleaner and apply dielectric grease to the seal before reconnecting.
Est. part cost: $0-$25 - Damaged Wiring Harness 🟡 Medium Probability The harness can be susceptible to chafing, heat damage, or corrosion, leading to an open or short in the CAN bus wires. On related platforms like the CTS, TSBs note a specific chafe point on a securing bracket near the transmission bell housing.
How to confirm: Visually inspect the wiring harness leading to the transmission for any signs of physical damage, melting, or corrosion. Check for continuity on the CAN bus wires (typically Pin 6 and Pin 14 at the DLC) between the TCM and other modules using a multimeter. A healthy high-speed CAN bus should have a resistance of approximately 60 Ohms.
Typical fix: Repair the damaged section of the wire. In severe cases, a harness section or 'pigtail' connector may need to be replaced.
Est. part cost: $15-$150 - Loss of Power or Ground to the TCM ⚪ Low Probability
How to confirm: Using a wiring diagram and a multimeter, verify that the TCM is receiving correct battery voltage and has a solid ground connection at its connector. Check the 'THEFT' fuse in the under-hood fuse box, which often protects the TCM circuit. Also, inspect the main engine block ground straps for corrosion or looseness, as a bad ground can cause voltage to appear on the computer case itself.
Typical fix: Repair the open or short in the power or ground circuit. This could be a broken wire, a corroded ground point, or a bad fuse.
Est. part cost: $0-$50 - Failed Transmission Control Module (TCM) ⚪ Low Probability → Shop Transmission Assembly
How to confirm: This should only be considered after all wiring, connector, power, and ground issues have been ruled out. A professional scan tool may be unable to communicate with the TCM, pointing to an internal failure.
Typical fix: Replace the Transmission Control Module. The new module will require programming by a dealer or qualified shop to work with the vehicle's VIN.
Est. part cost: $300-$800
Rare But Worth Checking
- Spread Terminals in the Diagnostic Link Connector (DLC):
Diagnosis Steps
- Scan all vehicle modules for stored trouble codes. Note all communication ('U') codes, especially U2106 and P0700.
- Prioritize diagnosis based on TSB #PIC4740E. Safely raise and support the vehicle to locate the transmission X1 connector on the driver's side of the transmission.
- Disconnect the battery.
- Disconnect the X1 connector and inspect the pins and terminals for any signs of corrosion, moisture, or physical damage.
- Carefully perform a 'tug test' on each wire at the back of the connector as described in the TSB. Gently pull on each wire to ensure the terminal is fully seated and has not backed out.
- If terminals are loose, they need to be repaired or replaced. If corroded, clean with an appropriate electrical contact cleaner and apply dielectric grease to the connector seal.
- Reconnect the connector, ensuring it clicks and is fully seated. Reconnect the battery.
- Clear all codes and perform a test drive to see if the code returns.
- If the code returns, use a wiring diagram to check for proper power and ground at the TCM connector. Check the 'THEFT' fuse in the under-hood fuse box.
- If power and ground are good, inspect the CAN bus wiring between the TCM and the ECM for shorts or opens. Resistance between Pin 6 and Pin 14 of the OBD-II port should be ~60 Ohms with the battery disconnected.
- If all wiring and connectors are confirmed to be good, the TCM itself may be faulty and require replacement and programming.
Parts You'll Likely Need
- Connector Terminals / Pins — The female terminals in the X1 connector are the most common point of failure, losing tension and causing a poor connection as per TSB PIC4740E.
Trusted brands: ACDelco
OEM price range: $5-$15 per terminal
Aftermarket price range: $2-$10 per terminal - Transmission Connector Pigtail
(OEM #13522378 (Verify))— If the entire X1 connector housing is damaged or corroded beyond repair, a replacement pigtail will need to be spliced into the harness.
Trusted brands: ACDelco, Dorman
OEM price range: $50-$90
Aftermarket price range: $30-$60 - Transmission Control Module (TCM)
(OEM #24239402, 24239534 (Verify by VIN))— This is a last resort. It is only replaced if all wiring and connector issues have been definitively ruled out.
Trusted brands: ACDelco
OEM price range: $500-$800
Aftermarket price range: $300-$600
Related Codes That Often Appear With This One
- P0700 — This code means the TCM has stored a fault and commanded the Check Engine Light on. It's a general flag that almost always accompanies codes like U2106 and is explicitly mentioned in TSB PIC4740E.
- U0100 — Lost Communication with ECM/PCM. This can be set by other modules when the TCM goes offline, indicating a broader network disruption.
- U0121 — Lost Communication with ABS Control Module. This often appears with other 'U' codes, pointing to a general CAN bus fault originating from the primary issue.
- U0073 — Control Module Communication Bus 'A' Off. This is a general code indicating a fault on the high-speed CAN bus, which is consistent with the TCM not communicating.
Technical Service Bulletins (TSBs) & Recalls
- PIC4740E: Addresses multiple communication codes, including U2106, and directs technicians to inspect the transmission X1 connector terminals for a poor fit. It specifically mentions the 'tug test' and warns that a side load on the wires can give a false positive lock.
- PIC4740F: Successor to PIC4740E, expands the model list to include CTS and ATS, and adds an instruction to check for harness chafing near the bell housing.
Platform-Specific Known Issues
- TSB PIC4740E Connector Failure: TSB PIC4740E documents a high likelihood of loose or poor-fitting terminals in the transmission X1 connector, causing a host of communication DTCs including U2106. The fix is to inspect and secure the terminals.
- Real-Wo
Mechanic-Grade Diagnostic Values
- High-Speed GMLAN Bus Resistance — expected: Approximately 60 Ohms (± 5 Ohms). Failure: A reading of ~120 Ohms indicates an open circuit or a module/terminating resistor is disconnected. A reading significantly less than 60 Ohms (e.g., near 0 Ohms) indicates the CAN High and CAN Low wires are shorted together.
- High-Speed GMLAN Bus Voltage (Key On, Engine Off) — expected: CAN High (Pin 6 at DLC) should be ~2.6V. CAN Low (Pin 14 at DLC) should be ~2.3V. These are average voltages and best measured with an oscilloscope.. Failure: Voltages that are stuck high (5V or 12V), stuck low (0V), or that do not mirror each other indicate a short to power, short to ground, or an open circuit.
Scan Tool Commands That Help
- Tech2/GDS2: Module Status / Communication Check — This is a primary step. Before checking for codes, a technician would use the GM factory scan tool to see a list of all expected modules on the network and which ones are actively communicating. If the TCM is missing from this list, it confirms the 'no communication' status of U2106.
Wiring & Ground Locations
- G106 (4.6L V8) — On the top right side of the engine manifold block.. This is a primary engine ground. A poor connection here can cause a host of electrical issues, including intermittent communication problems for modules grounded to the engine block.
- G100 (4.6L V8) — On the right rear of the engine, on the cylinder head.. Another critical engine ground point. A loose or corroded G100 can create unstable reference voltages for various sensors and modules, potentially disrupting CAN bus communication.
- ECM/TCM Fuse — In the under-hood fuse block.. This fuse provides ignition power to both the Engine Control Module and the Transmission Control Module. A failure of this single fuse will cause both modules to lose power, setting communication codes like U2106.
- Transmission Connector X1 — External connector on the driver's side of the transmission housing.. This is the main vehicle interface to the TCM. As per TSB PIC4740E, it is the single most common failure point for code U2106 on this vehicle due to loose or corroded terminals.
Real Owner Repair Stories
- CadillacForums user (2005 Cadillac SRX 4.6L) — Transmission overheating, followed by harsh shifting and erratic up/down shifting at low speeds after multiple fluid/filter changes and cooler replacement.
❌ Tried (didn't work) Adding a stop-leak to the cooling system (which led to overheating), Flushing cooling system, Replacing engine cooler, Changing transmission fluid and filter multiple times, Replacing transmission cooler and lines
✅ What actually fixed it The user's description strongly points towards either contaminated fluid causing solenoid issues or, more likely given the U2106 context, an electrical fault that developed concurrently. While the user did not post a final "it was part X" resolution, a forum response suggested checking the Mass Air Flow sensor connection, indicating the community suspected an electrical issue over a mechanical one after so many transmission parts were replaced. This aligns with the U2106 diagnostic path where electrical faults (connectors, grounds) are primary suspects before mechanical failure.
OEM Part Supersession History
24239402→24239785— This appears to be a generic number for the module type, with the specific part number being used for programming and vehicle application.
Heads up: Module must be programmed with the vehicle's VIN to function correctly. Ordering a part by the generic number without correct programming will not work.
Helpful Videos


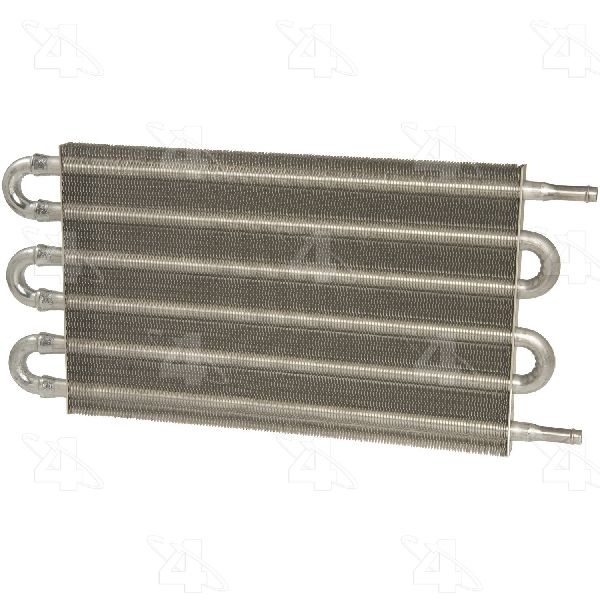
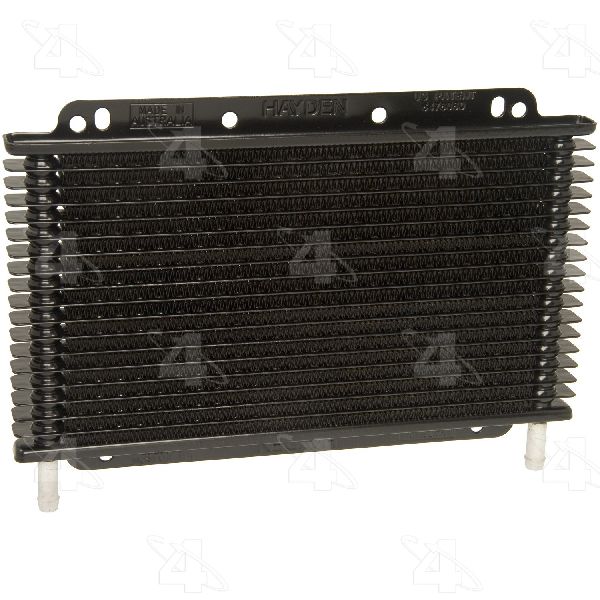
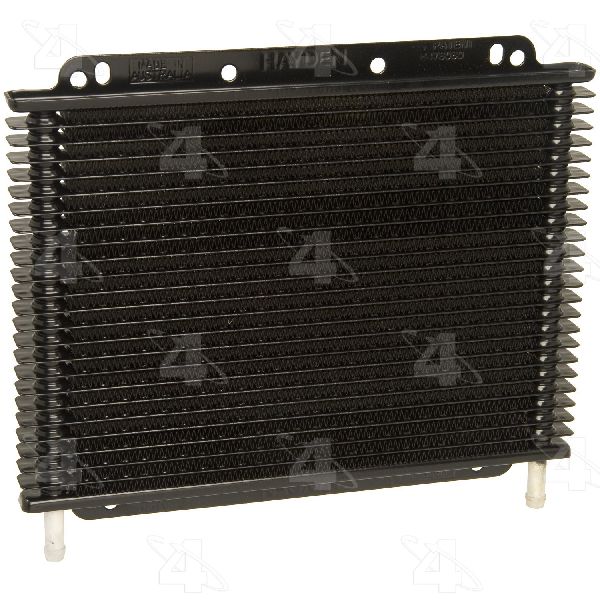
We Have This Part in Stock


The information in this article is provided for general reference and educational purposes only. Vehicle specifications, procedures, and part compatibility can vary by production date, trim level, and region. Always consult your vehicle's factory service manual and verify part numbers before purchasing or performing repairs. Safety-critical components such as airbags, seat belts, and braking systems should be installed by a qualified professional.
- Cadillac SRX:
- 🧭 Diagnostic Flowchart
- 🎬 Helpful Videos
- 🛍️ Shop This Part
- What's Unique About the 2007-2009 Cadillac SRX
- Symptoms You May Notice
- Most Likely Causes
- Rare But Worth Checking
- Diagnosis Steps
- Parts You'll Likely Need
- Related Codes That Often Appear With This One
- Technical Service Bulletins (TSBs) & Recalls
- Platform-Specific Known Issues
- Mechanic-Grade Diagnostic Values
- Scan Tool Commands That Help
- Wiring & Ground Locations
- Real Owner Repair Stories
- OEM Part Supersession History
- 🎟️ Get 5% Off