
Ford Galaxie Engine Mount Guide: 1959-1967
Stop excessive engine vibration and clunking noises in your classic Galaxie.
- Symptoms include heavy vibration, clunking noises, and visible engine lurching.
- Aftermarket brands like Anchor, DEA, and Westar are budget-friendly but may have inconsistent quality; inspect them carefully before installation.
- Always verify the correct part for your specific engine (e.g., 289 vs. 390) and side (left vs. right), as they are often different.
- Replacing mounts is a DIY-friendly job, but you must support the engine properly and work on one side at a time.
Is Your Galaxie's Engine Shaking or Clunking?
A worn-out engine mount is a common problem on classic cars like the 1959-1967 Ford Galaxie. Over decades, the rubber in the mounts gets hard, cracks, or gets soaked with oil, losing its ability to absorb vibration. When a mount fails, you'll feel it, hear it, and sometimes even see it. The most common signs are a rough vibration at idle, a loud clunk when you accelerate or shift gears, and seeing the engine physically lurch or rock in the engine bay.
Don't Ignore a Bad Mount
While you can technically drive with a bad motor mount, it's not a good idea. A completely failed mount can cause the engine to shift, potentially damaging radiator hoses, wiring, the fan shroud, or even the transmission linkage. It's best to replace them as soon as you notice symptoms.
Choosing the Right Aftermarket Mount for Your Galaxie
For a vehicle from this era, finding a "New OEM" Ford part is nearly impossible. Your realistic options are new aftermarket mounts or finding a used original part. Aftermarket mounts are affordable and widely available, but quality can vary.
The brands available are generally considered economy or value options. Forum discussions among classic car and Mustang owners often suggest that modern aftermarket rubber components may not last as long as the original factory parts did. However, they are a cost-effective way to get your Galaxie back on the road.
- Value Tier (Anchor, DEA, Westar): These brands are the most affordable. Reviews are mixed across the classic car community. Some mechanics and DIYers report using them without issue, while others have experienced premature failure or poor fitment. When buying from this tier, inspect the part carefully before installation. Look for solid rubber construction and check that the metal plates are sturdy.
- Standard Tier (Pioneer): Some users have reported that Pioneer brand mounts offer a quality and appearance closer to the original factory parts. They may be a slightly better option if available for your specific year and engine.
Pro Tip: Inspect Before You Install
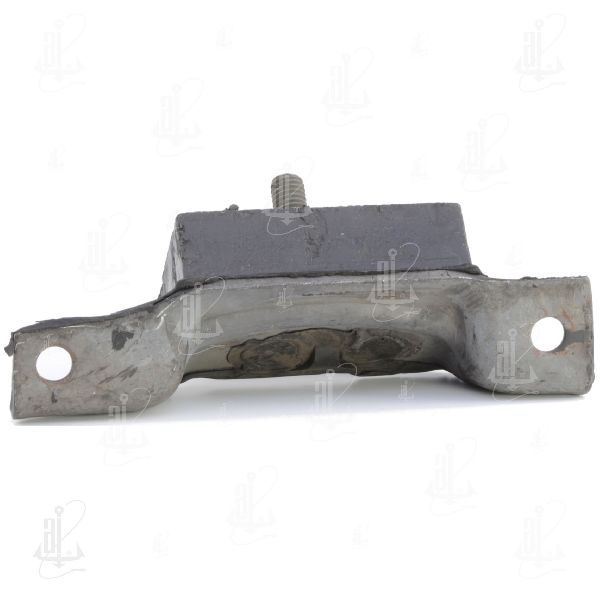
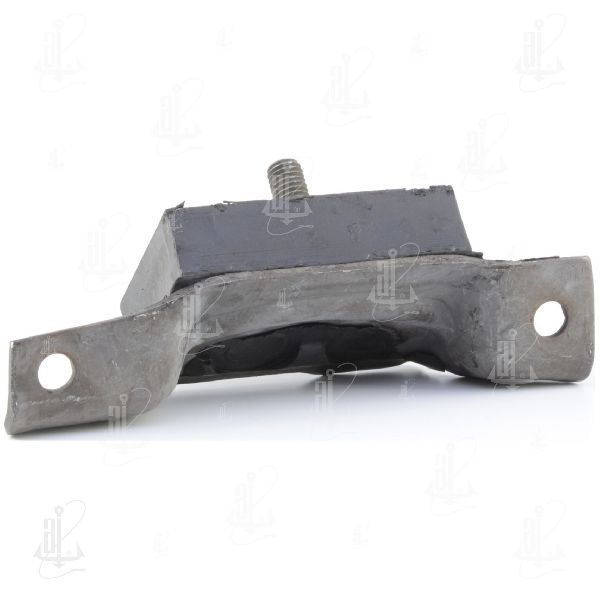
Regardless of the brand you choose, compare the new mount to the old one. Make sure the mounting holes line up and the height is the same. The rubber should feel firm, not soft or spongy. Some forum users have noted that cheaper mounts can be physically taller or have thinner metal than the originals.
Frequently Asked Questions
How many engine mounts does my 1959-1967 Galaxie have?
Most V8 Ford Galaxies from this period have two engine mounts (one on each side of the engine) and one transmission mount at the rear of the transmission. It's a good practice to inspect the transmission mount when you replace the engine mounts, as it is subjected to similar age and stress.
Is it hard to replace Galaxie engine mounts?
For a home mechanic with the right tools, this is a manageable job. It requires a floor jack to support the engine, jack stands for safety, and basic hand tools. The general process is to support the engine's weight with the jack, unbolt and remove the mount on one side, install the new one, and then repeat the process on the other side. Never unbolt both mounts at the same time.
What is the most common mistake when ordering?
The biggest mistake is ordering the wrong part for your engine. Ford used different mounts for its small-block engines (like the 289) and its FE series big-block engines (like the 352, 390, and 427). Furthermore, some years have different mounts for the left (driver) and right (passenger) sides. Always double-check that the part number fits your specific year, engine, and side.
Are there any recalls or TSBs for Galaxie engine mounts?
No, there are no active recalls or Technical Service Bulletins (TSBs) from the NHTSA for engine mounts on the 1959-1967 Ford Galaxie. Any recalls you may find are for modern Ford vehicles and do not apply to these classic models.
Technical Specifications
OEM Part Numbers: C5AZ-6038-C
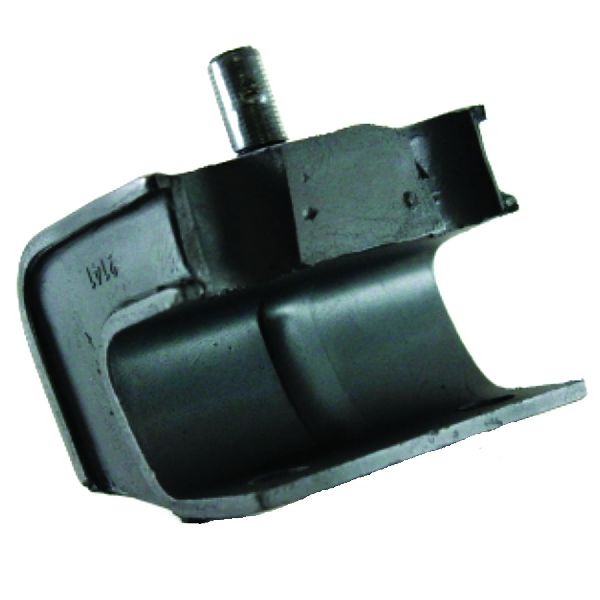
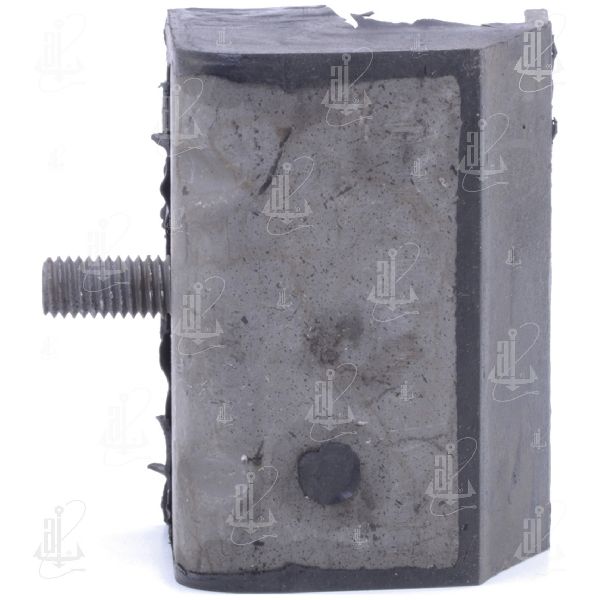
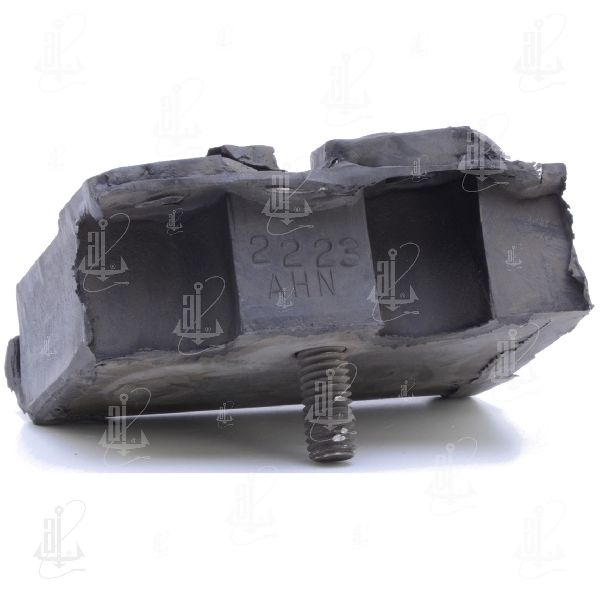
Construction: Steel plates bonded to a solid rubber insulator. Mounts are specific to engine size (Small Block vs. FE Big Block) and sometimes side-specific (Left Hand vs. Right Hand).
We Have This Part in Stock


The information in this article is provided for general reference and educational purposes only. Vehicle specifications, procedures, and part compatibility can vary by production date, trim level, and region. Always consult your vehicle's factory service manual and verify part numbers before purchasing or performing repairs. Safety-critical components such as airbags, seat belts, and braking systems should be installed by a qualified professional.