
Universal Joint Guide for the 1961-1969 Oldsmobile Cutlass
Address driveline clunks and vibrations by selecting the correct replacement U-joint for your classic Cutlass.
- Your 1961-69 Cutlass has two U-joints on the rear driveshaft; it's best to replace them as a pair.
- Symptoms include clunking when shifting, vibrations at speed, and squeaking when starting to move.
- Dana/Spicer is a top-tier brand for reliability; Moog, SKF, and GMB are also solid choices.
- Before ordering, you must verify the U-joint cap diameter and retainer style for your specific year and transmission.
Is Your Cutlass Making Strange Noises?
A worn-out universal joint will give you clear warning signs. Because they are a wear item, they will eventually need replacement. Ignoring these symptoms can lead to more severe vibrations and, in a worst-case scenario, a driveshaft failure that can cause significant damage. Listen and feel for these common symptoms.
Key Failure Symptoms:
- Clunking Noise: A distinct “clunk” or ringing sound when you shift from park into drive or reverse is a classic sign of a bad U-joint. This is caused by excessive play in the joint.
- Vibrations at Speed: A vibration that you can feel through the floor or seats and gets worse as you increase speed is another common symptom. This is often mistaken for an unbalanced tire, but if a tire balance doesn't fix it, the U-joints are a likely culprit.
- Squeaking Noise: A rhythmic squeaking that matches the rotation of the driveshaft at low speeds (usually under 10 mph) often points to a dry, failing U-joint that has lost its internal lubrication.
Choosing the Right Aftermarket U-Joint
Since new OEM parts for a classic like the Cutlass are generally unavailable, the aftermarket is your go-to source. The quality of aftermarket U-joints is excellent, with several reputable brands offering parts that meet or exceed original specifications. Your main choices will be between different brands and whether you want a greasable or non-greasable design.
Brand Quality Tiers
Based on owner feedback and industry reputation, aftermarket brands for your Cutlass can be grouped into the following tiers:
- Premium (High Quality & Durability): Dana/Spicer is widely regarded as a top-tier choice, often supplying original equipment to manufacturers. They are known for durability and quality control. Moog is also a well-known premium brand, famous for its "Problem Solver" parts, though some users note that quality can vary based on the country of manufacture.
- Standard (Reliable OE-Quality): SKF and GMB are respected brands that offer reliable, quality replacements suitable for most street-driven cars. They provide a great balance of performance and value.
- Performance: Lakewood specializes in high-performance and racing components. While very strong, these parts are typically overkill for a stock or mildly modified street car and are priced accordingly.
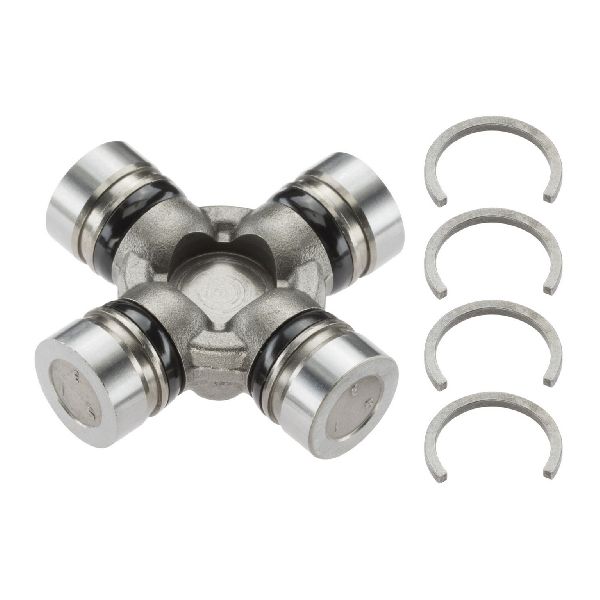
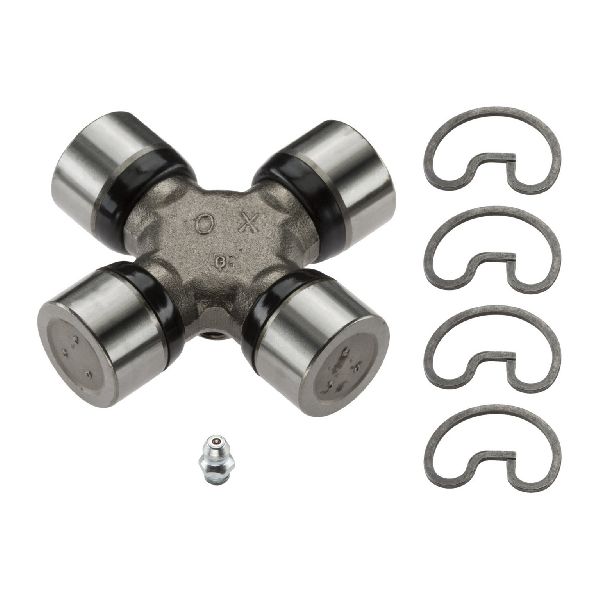
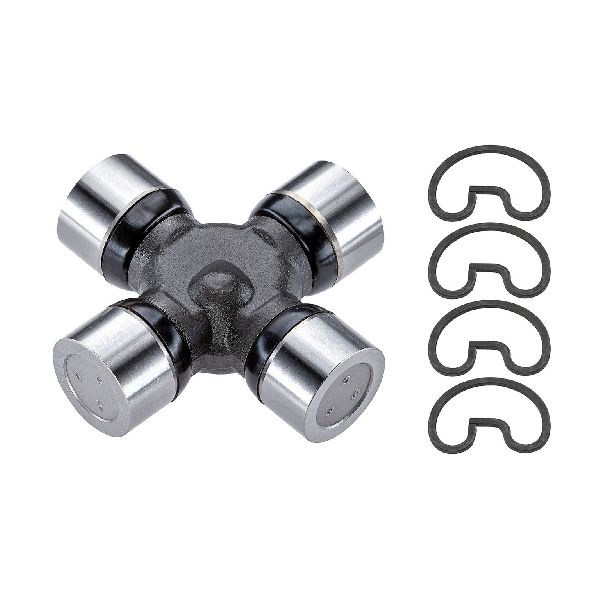
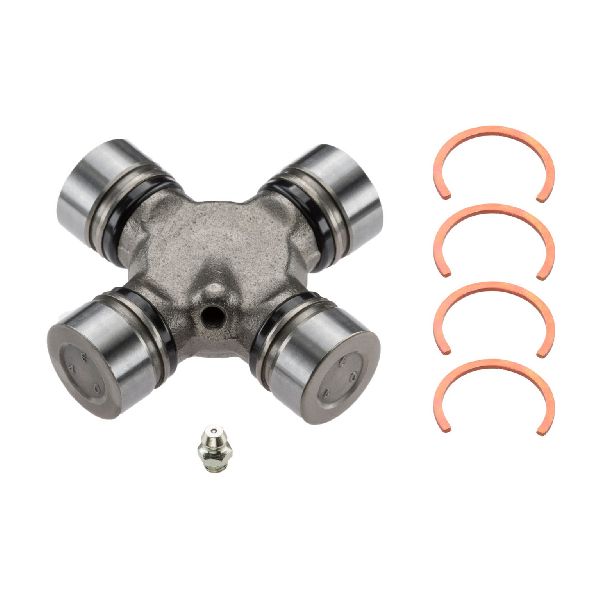
Greasable vs. Non-Greasable U-Joints
You will need to choose between two styles of U-joint: greasable or non-greasable (sealed).
Non-Greasable U-joints are sealed from the factory and require no maintenance. They are generally stronger because the main body (cross) is solid steel, without a channel drilled through it for grease. This is a great “fit-it-and-forget-it” option.
Greasable U-joints have a zerk fitting that allows you to add fresh grease periodically. This can extend the part's life by flushing out old grease and contaminants, but only if you stick to a regular maintenance schedule (e.g., with every oil change). Forgetting to grease them will lead to premature failure.
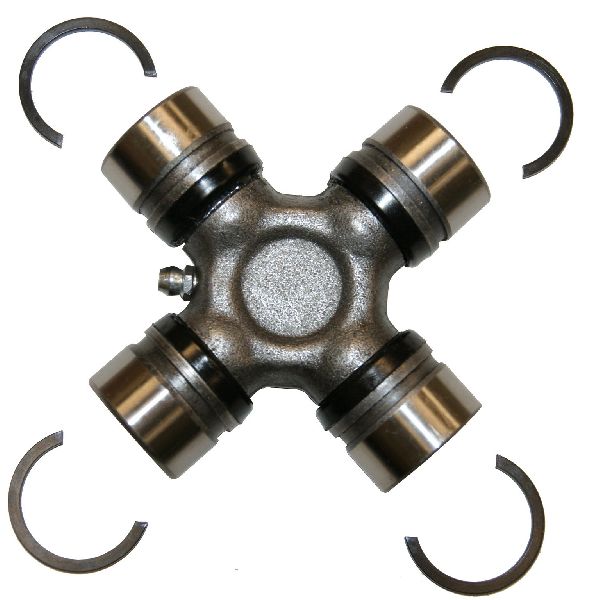
Confirm Your U-Joint Size!
The 1961-1969 Cutlass could be equipped with different U-joint sizes depending on the year, engine, and especially the type of transmission (e.g., Powerglide vs. Turbo-Hydramatic). Before ordering, it is critical to measure the cap diameter and the overall width of your old U-joints or consult a specific parts catalog for your exact configuration. A common size uses a 1 1/8-inch (1.125") bearing cap with inside clips.
Aftermarket Universal Joint Cost for 1961-1969 Oldsmobile Cutlass
| Part Type | Estimated Cost |
|---|---|
| New Aftermarket U-Joint (Single) | $20.60 - $60.00 |
| New Aftermarket U-Joint Kit (Pair) | $40.00 - $120.00 |
| Performance U-Joint (e.g., Lakewood) | $100.00 - $237.75+ |
| Shop Labor for Replacement (Both Joints) | $200 - $450 |
Frequently Asked Questions
How many U-joints does my 1961-1969 Cutlass have?
A standard rear-wheel-drive Cutlass from this period has two universal joints on the rear driveshaft: one at the transmission end and one at the differential end. It is recommended to replace them in pairs.
Can I replace a U-joint myself?
Yes, this is a feasible DIY job for someone with moderate mechanical skill. It requires safely lifting the vehicle, removing the driveshaft, and then using a bench vise and sockets or a specialized U-joint press to swap the joints. Care must be taken not to damage the delicate needle bearings inside the new U-joint caps during installation.
What tools do I need to replace a U-joint?
You will need a good socket set, wrenches, snap ring pliers, a jack and jack stands, and either a bench vise with large sockets or a ball joint/U-joint press tool. A hammer is also useful for seating and removing components.
Do I need to get my driveshaft balanced after replacing the U-joints?
If you mark the driveshaft's orientation to the yokes on the transmission and differential before removal and reinstall it in the same position, balancing is not usually necessary for a simple U-joint swap. However, if you experience new vibrations after the job is done, the driveshaft may be out of balance.
Technical Specifications
The most common U-joint size for this application features a 1.125-inch (1 1/8") bearing cap diameter and uses an 'inside clip' or snap ring design for retention. However, variations exist, so measurement is required.
We Have This Part in Stock

The information in this article is provided for general reference and educational purposes only. Vehicle specifications, procedures, and part compatibility can vary by production date, trim level, and region. Always consult your vehicle's factory service manual and verify part numbers before purchasing or performing repairs. Safety-critical components such as airbags, seat belts, and braking systems should be installed by a qualified professional.
- 🛍️ Shop This Part
- Is Your Cutlass Making Strange Noises?
- Key Failure Symptoms:
- Choosing the Right Aftermarket U-Joint
- Brand Quality Tiers
- Greasable vs. Non-Greasable U-Joints
- Confirm Your U-Joint Size!
- Aftermarket Universal Joint Cost for 1961-1969 Oldsmobile Cutlass
- Frequently Asked Questions
- 🎟️ Get 5% Off