
Automatic Transmission Mount Guide for the 1966-1973 Mercury Capri
Stop the clunks and vibrations by understanding how to choose the right replacement transmission mount for your classic Capri.
- The most common signs of failure are clunking noises when shifting and excessive vibration while driving.
- Aftermarket brands like Anchor and DEA are budget-friendly but may have fitment or longevity issues compared to original parts.
- This part is shared with the 1971-1973 Ford Pinto, which can help when searching for parts.
- Replacement is a simple DIY job for a rear-wheel-drive car, typically taking less than two hours with basic tools.
Understanding the Transmission Mount in Your Capri
The Mercury Capri, sold in North America from the 1971 to 1978 model years, is a classic rear-wheel-drive coupe. While the user-specified range is 1966-1973, the information here is most relevant for the 1971-1973 models available in the US, which often share parts with the Ford Pinto of the same era. The automatic transmission mount is a common wear item that, when it fails, can make your classic car feel rough and noisy.
Symptoms of a Bad Transmission Mount
A failing transmission mount will give you clear warning signs. Because the rubber insulator wears out over time, it can no longer hold the transmission steady or absorb vibrations. Look out for these common symptoms:
- Clunking Noises: The most common sign is a loud clunk or bang when you shift from Park into Drive or Reverse. You may also hear this noise when you accelerate or brake suddenly. This is the sound of the transmission moving and hitting the car's frame.
- Excessive Vibrations: You might feel a new or intense vibration through the floor, seat, or steering wheel. This shaking is often most noticeable when the car is idling in gear and can get worse as you accelerate.
- Rough Shifting: When the mount fails, the transmission can sag or sit at the wrong angle. This can throw off the shift linkage, making it feel difficult to change gears or causing shifts to feel jerky.
- Visible Movement: A quick way to check is to have a helper safely start the car and shift it between Drive and Reverse (with the brakes held firmly) while you watch the engine bay. If you see the engine and transmission lurching or moving excessively, the mount is likely bad.
Choosing Your Aftermarket Mount: Anchor vs. DEA
For a classic vehicle like the Capri, finding New Old Stock (NOS) OEM parts is difficult and often expensive. Most owners will turn to aftermarket replacements. The most common budget-friendly brands available are Anchor and DEA.
It is important to be realistic about quality. Forum discussions among car enthusiasts often describe both Anchor and DEA as economy-grade brands. While they are affordable, some users have reported issues with fitment, such as misaligned bolt holes, and premature failure compared to original parts. For a daily driver or a car that sees limited use, these mounts can be a perfectly acceptable and cost-effective solution. However, for a performance build or a meticulous restoration, you may want to seek out a higher-quality (and likely more expensive) option if one can be found.
Cost of Automatic Transmission Mounts (1966-1973 Mercury Capri)
| Part Type | Estimated Cost |
|---|---|
| New Aftermarket (Anchor, DEA) | $16.68 - $20.19 |
| New OEM (NOS) | Varies widely, often $75+ (if found) |
| Used OEM | $25 - $75 (Varies by condition) |
| Shop Labor for Installation | $100 - $200 |
DIY Replacement Overview
Replacing the transmission mount on a rear-wheel-drive car like the Capri is a straightforward job for a DIYer with the right tools. Access is generally good compared to modern front-wheel-drive cars.
- Lift the Vehicle: Safely raise the front of the car and secure it on jack stands.
- Support the Transmission: Place a floor jack with a block of wood under the transmission oil pan to support its weight. Do not lift, just support it.
- Remove Old Mount: The mount is typically bolted to a crossmember underneath the car. Unbolt the mount from the crossmember and then from the transmission housing.
- Install New Mount: You may need to gently raise the transmission with the floor jack just enough to slide the old mount out and the new one in. Loosely thread all bolts first to ensure alignment before tightening them to the manufacturer's specified torque.
Frequently Asked Questions
Are there any recalls for the 1966-1973 Capri transmission mount?
No. Searches of the National Highway Traffic Safety Administration (NHTSA) database show no recalls specifically for the automatic transmission mount on the 1966-1973 Mercury Capri. There was a recall for a manual transmission shift lever on some models, but this does not apply to the automatic transmission mount.
Is a budget aftermarket mount from Anchor or DEA good enough?
For many owners, yes. These mounts provide a low-cost way to fix common symptoms like clunking and vibration. However, be aware that car communities generally consider them to be lower quality than OEM parts, with some reports of poor fitment or a shorter lifespan.
How difficult is it to replace the transmission mount myself?
For a mechanically inclined person with a floor jack, jack stands, and a good socket set, this is a relatively easy job. On a rear-wheel-drive car like the Capri, access is typically straightforward. The entire process should take between one and two hours.
What happens if I don't replace a bad transmission mount?
Ignoring a failed mount is not recommended. The constant movement can put extra stress on your engine mounts, driveshaft joints, exhaust pipes, and coolant hoses. In severe cases, the misalignment can affect shifting and eventually cause more expensive damage to the transmission or other components.
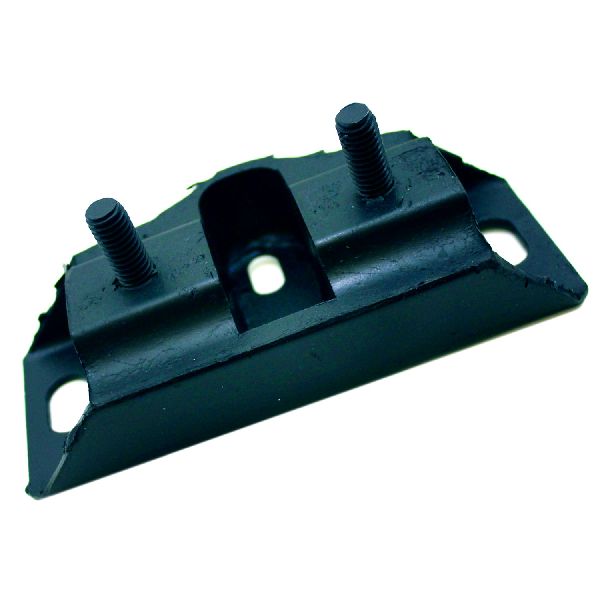
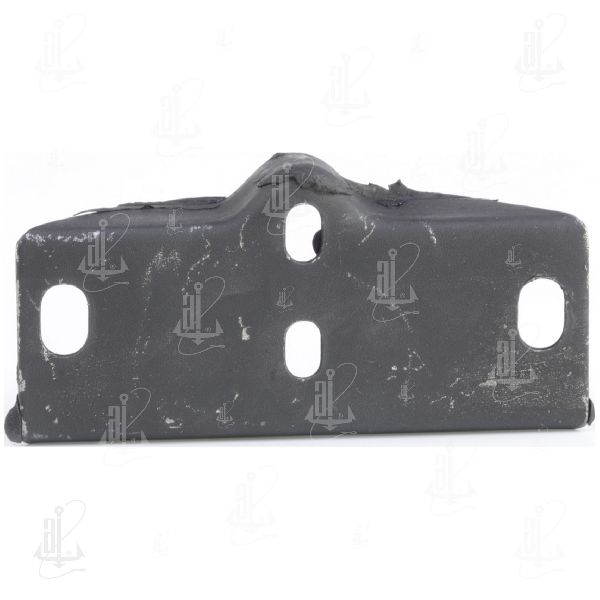
Technical Specifications
OEM Part Numbers: D1FZ-6068-A D1FZ-6068-B
Standard rubber and steel construction. Cross-references to aftermarket part number A2471. This part is also used on the 1971-1973 Ford Pinto with an automatic transmission.
We Have This Part in Stock

The information in this article is provided for general reference and educational purposes only. Vehicle specifications, procedures, and part compatibility can vary by production date, trim level, and region. Always consult your vehicle's factory service manual and verify part numbers before purchasing or performing repairs. Safety-critical components such as airbags, seat belts, and braking systems should be installed by a qualified professional.