
A Guide to Engine Mounts for the 1970-1975 Dodge Challenger
Stop excessive engine vibration and protect your classic Challenger by choosing the right motor mounts.
- Verify your Challenger's exact engine (Small-Block, Big-Block) and year before ordering, as mounts changed in 1973.
- Always replace engine mounts in pairs to ensure even support and prevent premature failure.
- For stock engines and normal driving, standard aftermarket brands like Anchor, DEA, and Westar are a cost-effective solution.
- If you have a big-block V8 or a modified engine, consider upgrading to heavy-duty mounts to handle the higher torque.
Taming the Beast: Understanding Your Challenger's Engine Mounts
Your 1970-1975 Dodge Challenger is a classic piece of American muscle. Whether it has a Slant-6 or a big-block V8, the engine mounts are critical for both performance and comfort. These are not just simple rubber blocks; they are engineered to hold the powertrain in place and absorb vibrations. Over 50 years, the original rubber has likely become brittle, oil-soaked, and cracked. A failed mount can lead to a rough ride, unsettling noises, and even damage to other parts of your car.
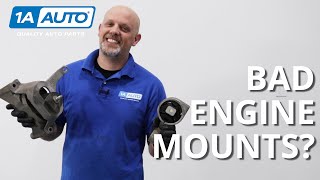
Symptoms of a Bad Engine Mount
Worn-out engine mounts will give you clear signs that they need replacement. Pay attention to these symptoms:
🎬 Watch: How to identify common engine mount thuds and vibrations.- Excessive Vibration: If you feel a new or worsening vibration through the steering wheel, floor, or seats, especially at idle, your mounts are a likely culprit.
- Clunking or Thumping Noises: A loud "clunk" or "thud" when you accelerate, decelerate, or shift gears often points to a broken mount allowing the engine to move too much.
- Visible Engine Movement: With the hood open and the car in park (with the parking brake on), have a friend briefly rev the engine. If you see the engine lift or twist excessively, a mount has failed.
- Interference Issues: In some cases, a failed mount can cause engine-driven components like the fan to hit the radiator shroud or shift linkages to bind.
A Critical Ordering Mistake to Avoid
The single biggest mistake when ordering mounts for a 1970-1975 Challenger is not matching them to your specific engine and year. Mopar used different mounts for different engines.
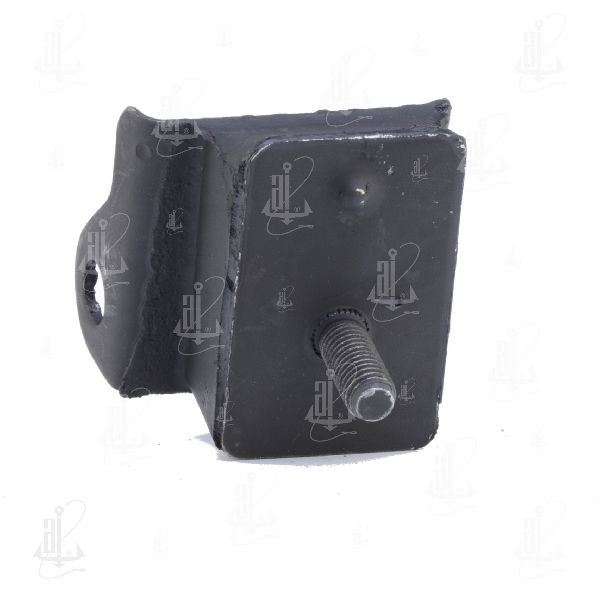
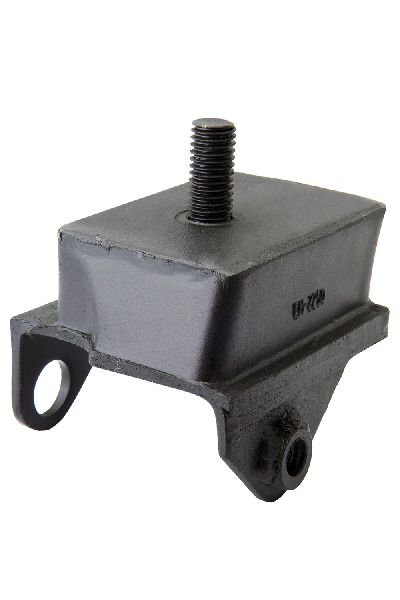
- Small-Block vs. Big-Block: Mounts for small-block V8s (318, 340, 360) are physically different from those for big-block V8s (383, 440). Big-block mounts are generally longer.
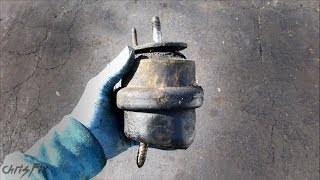
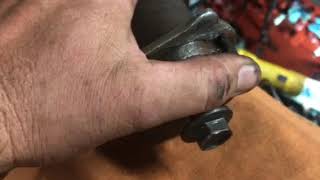
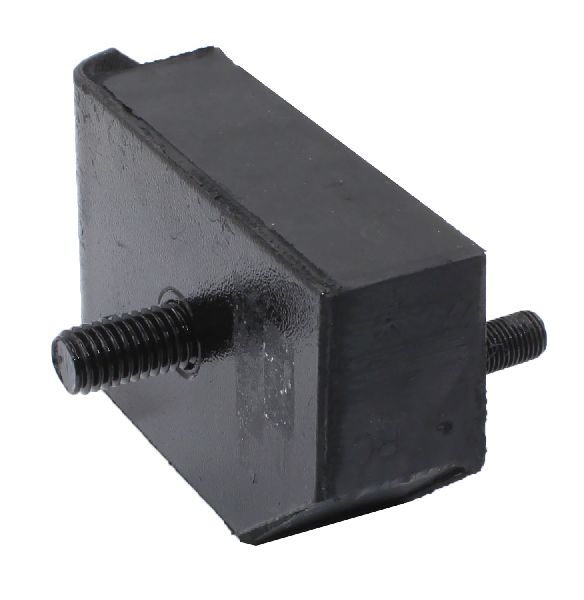
- The 1973 Change: Starting in 1973, Chrysler switched to a "spool" type mount design, which is completely different from the earlier "biscuit" style mounts. 🎬 See this tip for identifying Mopar big block spool mounts.
Always double-check that the part you are ordering is correct for your engine size AND your model year.
Choosing the Right Aftermarket Mount
For a vehicle of this age, new aftermarket parts are the most common and practical choice. "New Old Stock" (NOS) OEM parts are extremely rare and expensive. Aftermarket brands offer a range of options suitable for different needs.
Standard Replacement Mounts (Brands: Anchor, DEA, Westar, Pioneer)
These brands are widely available and provide an affordable way to restore your Challenger's ride quality. They are designed to be direct replacements for the original rubber mounts. Based on owner experiences, these are best suited for:
- Stock Slant-6 and small-block V8 engines.
- Daily driving and cruising where comfort is a priority.
Forum discussions show mixed reviews for these budget-friendly brands on high-torque applications. Some owners have experienced premature failures, particularly with Anchor mounts on big-block or modified engines. Others have used them for years on standard cars without any problems. They are a functional, cost-effective choice for a stock restoration.
A Note on High-Performance Use
If you have a big-block V8 (especially a 440 or 426 Hemi), or if you drive your Challenger aggressively, standard rubber mounts may not be enough. The driver's side mount is especially prone to failure from engine torque. Many owners recommend upgrading to heavy-duty or interlocking-style motor mounts for these applications. These provide extra strength to keep the engine locked down during hard acceleration.
| Item | Estimated Cost |
|---|---|
| New Aftermarket Engine Mount (per mount) | $7.12 - $26.75 |
| Shop Labor to Replace (pair) | $200 - $450 |
Frequently Asked Questions
How many engine mounts does my Challenger have?
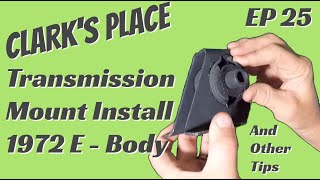
Your Challenger has two engine mounts (one on each side of the engine) and one transmission mount at the rear of the transmission. It is always a good idea to inspect the transmission mount when replacing the engine mounts, 🎬 Watch: How to install a new E-body transmission mount. as they wear out together.
Should I replace my engine mounts in pairs?
Yes. Always replace both engine mounts at the same time. A new mount on one side and an old, worn mount on the other will put uneven stress on the new part and the engine block, potentially causing the new mount to fail prematurely.
Can I replace the engine mounts myself?
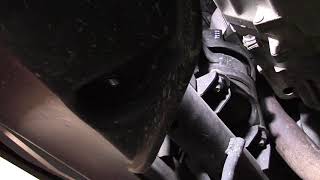
Yes, this is a job an experienced DIY mechanic can handle. It requires a strong floor jack, jack stands, and basic hand tools. The process involves supporting the engine's weight with the jack, unbolting the old mounts, raising the engine slightly, swapping the mounts, and then lowering the engine back into place. Leaving the mount-to-block bolts slightly loose until the mount is seated in the frame can make alignment easier.
Are there any recalls for 1970-1975 Challenger engine mounts?
No, there are no recalls or technical service bulletins (TSBs) from the NHTSA for engine mount failure on the 1970-1975 Dodge Challenger. Any failures are due to the age and wear of these 50-year-old components.
Helpful Videos


Technical Specifications
The key specifications are the design style and engine application. Pre-1973 models typically use a 'biscuit' style mount (e.g., Anchor 2250 / Westar EM-2250 for V8s). 1973 and later models use a 'spool' type mount. There are also distinct part numbers for Slant-6, Small-Block V8, and Big-Block V8 engines. The physical dimensions, particularly length, differ between small-block and big-block mounts.
We Have This Part in Stock


The information in this article is provided for general reference and educational purposes only. Vehicle specifications, procedures, and part compatibility can vary by production date, trim level, and region. Always consult your vehicle's factory service manual and verify part numbers before purchasing or performing repairs. Safety-critical components such as airbags, seat belts, and braking systems should be installed by a qualified professional.