
Choosing the Right Automatic Transmission Mount for Your 1975-1979 Chevrolet Caprice
Stop the clunking and shaking in your classic Caprice by understanding your transmission mount options.
- Choose between a quiet, comfortable ride (rubber) and durability/performance with more vibration (polyurethane).
- Budget rubber mounts (Anchor, DEA, Westar) are very affordable but have reports of inconsistent quality and short lifespans.
- Performance mounts (Prothane, Lakewood) are very strong but will make your car noticeably louder and increase vibrations inside the cabin.
- Replacing the transmission mount is a simple, one-hour job for a DIY mechanic with a floor jack and basic tools.
Is Your Caprice's Transmission Mount Failing?
A worn-out transmission mount on a classic body-on-frame car like your Caprice will make its presence known. The original rubber has likely become brittle, cracked, or oil-soaked over the decades. Look for these common symptoms:
- Clunking or Banging Noises: You might hear a distinct "clunk" when you shift from park into drive or reverse. This sound can also appear during hard acceleration or braking as the transmission shifts and hits against the frame.
- Excessive Vibration: A failing mount can no longer absorb drivetrain vibrations. You'll feel this as a new or worsening vibration in the floor, steering wheel, or seats, especially while idling in gear or accelerating.
- Visible Movement: With the vehicle safely parked and the parking brake on, have an assistant briefly rev the engine while you observe the transmission. If you see the transmission housing lift or rock excessively, the mount has failed.
A Bad Mount Can Cause Other Problems
Driving with a completely failed transmission mount is not recommended. The excessive movement can put stress on your engine mounts, driveshaft, U-joints, exhaust system, and even transmission seals, leading to more expensive repairs down the road.
Choosing the Right Aftermarket Mount: Rubber vs. Polyurethane
Since new original GM parts are generally unavailable for this model, your choice is between different types of aftermarket mounts. The main decision is between standard rubber and performance polyurethane.
Standard Replacement (Rubber)
Brands like: Anchor, DEA, Westar, Pioneer Cable
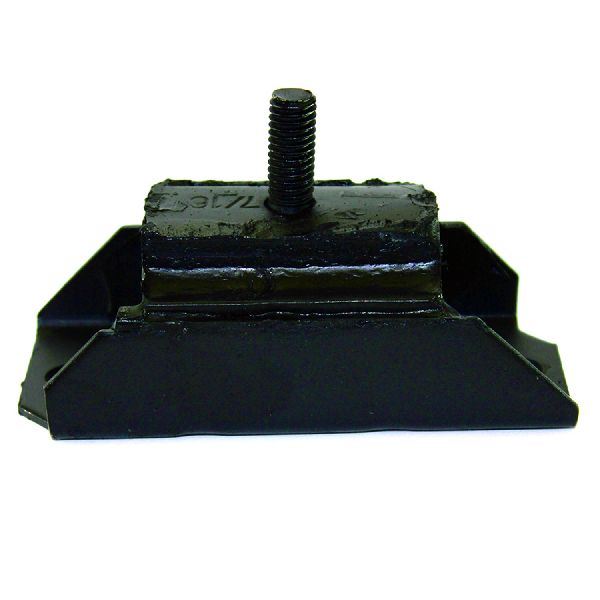
These mounts are designed to be direct, factory-style replacements using rubber to absorb vibrations. They are the most affordable option and aim to restore the original smooth ride of your Caprice.
- Pros: Low cost, quiet operation, and a comfortable ride similar to the original.
- Cons: Forum discussions and reviews frequently mention inconsistent quality with some budget brands. Issues can include poor fitment, thin metal, and rubber that fails much sooner than the original part. While some users have success with them, others report failures in as little as a year.
Pro Tip: While budget brands are very affordable, consider them a short-term solution. If you find a mount from Pioneer, some users have reported their quality to be closer to the original factory parts.
Performance & Heavy-Duty (Polyurethane)
Brands like: Prothane, Daystar, Lakewood
These mounts use polyurethane, a much stiffer and more durable material than rubber. They are designed for longevity and to handle higher horsepower and stress.
- Pros: Extremely durable and long-lasting. They significantly reduce drivetrain movement, which can improve throttle response. Brands like Lakewood often include safety interlocks for added strength, which is ideal for high-torque applications.
- Cons: The main drawback is a significant increase in Noise, Vibration, and Harshness (NVH). Because polyurethane is so stiff, it transmits much more drivetrain vibration and noise into the cabin, which can be unpleasant for a comfortable cruiser.
Cost to Replace Your Transmission Mount
| Item | Estimated Cost |
|---|---|
| Aftermarket Rubber Mount (e.g., Anchor, Westar, DEA) | $10 - $20 |
| Aftermarket Polyurethane Mount (e.g., Prothane, Lakewood) | $25 - $35 |
| Shop Labor | $100 - $180 |
| Total (DIY) | $10 - $35 |
| Total (Installed at Shop) | $110 - $215 |
Frequently Asked Questions
What's the real difference between a rubber and polyurethane mount?
Think of it as comfort vs. performance. A rubber mount is like a cushion, absorbing vibrations for a smooth, quiet ride but wearing out faster. A polyurethane mount is like a solid brace, locking the transmission down for better performance and durability but transferring nearly all vibrations and noise directly into the car's frame.
If I replace the transmission mount, should I replace the engine mounts too?
It is highly recommended. The engine and transmission mounts work together as a system. If the transmission mount has failed, the engine mounts have been under extra stress and are likely worn as well. Replacing all three mounts at the same time ensures the entire drivetrain is properly aligned and supported.
How can I be sure the mount is bad?
A visual inspection is a good start. Look for cracked, torn, or collapsed rubber. The best way is to safely get under the car, support the transmission with a floor jack just enough to take the weight off the crossmember, and use a pry bar to check for excessive movement in the mount. If the metal sleeve moves a lot inside the rubber, or the rubber is separated, it's time for a replacement.
Are the cheap aftermarket rubber mounts good enough?
It depends on your expectations. For a car that is driven infrequently, a budget mount may be acceptable. However, many owners and mechanics report that brands like Anchor and DEA can have quality control issues, leading to a short service life. If you want to do the job once and not worry about it, spending a little more on a higher-quality rubber or polyurethane mount is a wise investment.
Technical Specifications
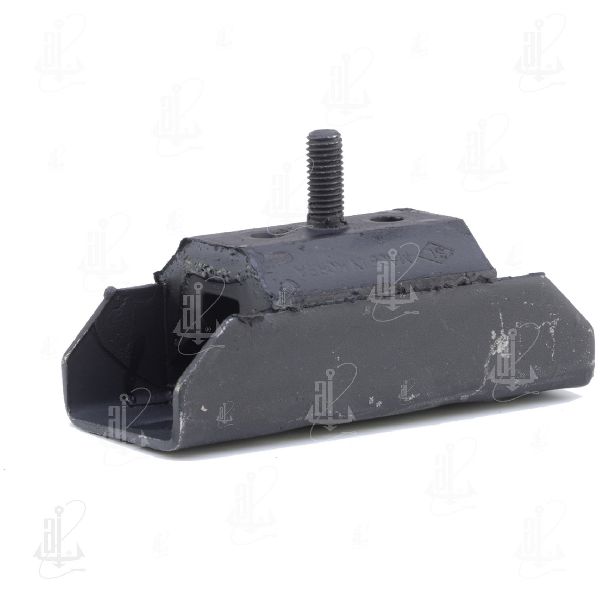
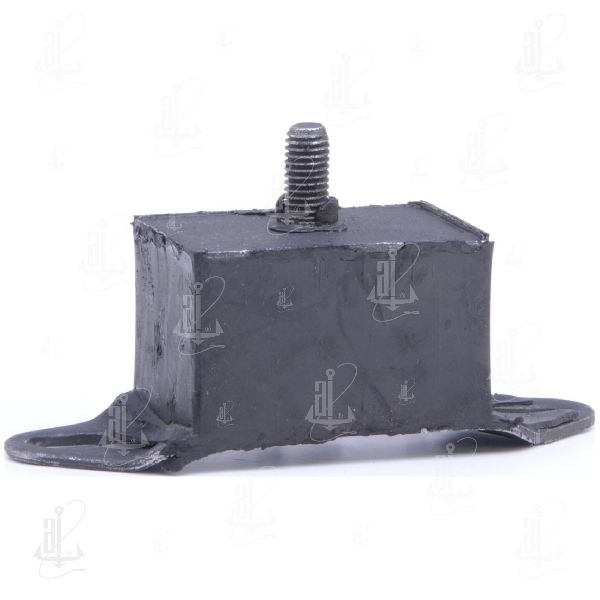
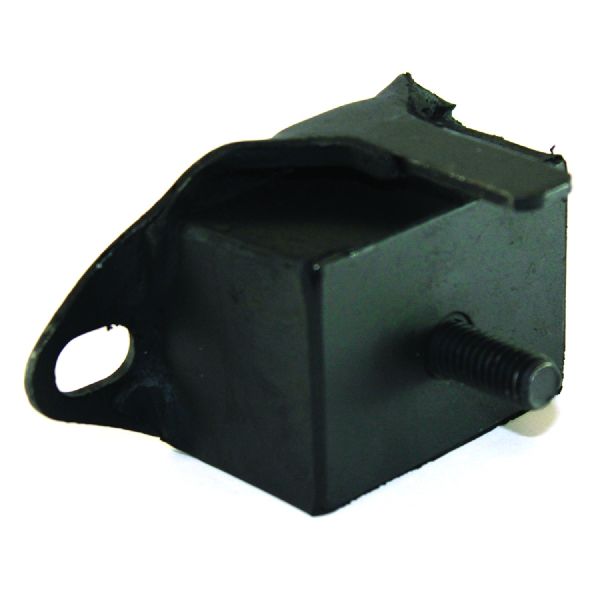
Standard mount height is approximately 1-15/16 inches. Mounts are typically a single-stud design that bolts to the transmission tail housing and a two-bolt design that attaches to the transmission crossmember.
We Have This Part in Stock


The information in this article is provided for general reference and educational purposes only. Vehicle specifications, procedures, and part compatibility can vary by production date, trim level, and region. Always consult your vehicle's factory service manual and verify part numbers before purchasing or performing repairs. Safety-critical components such as airbags, seat belts, and braking systems should be installed by a qualified professional.
- 🛍️ Shop This Part
- Is Your Caprice's Transmission Mount Failing?
- A Bad Mount Can Cause Other Problems
- Choosing the Right Aftermarket Mount: Rubber vs. Polyurethane
- Standard Replacement (Rubber)
- Performance & Heavy-Duty (Polyurethane)
- Cost to Replace Your Transmission Mount
- Frequently Asked Questions
- 🎟️ Get 5% Off