
A/C Compressor Replacement Guide for the 1981-1986 Cadillac DeVille
Keep your classic Cadillac's cabin cool by understanding how to choose the right new A/C compressor.
- You must convert the system from the old R-12 refrigerant to modern R-134a.
- Always replace the accumulator/drier and orifice tube with the compressor to prevent moisture damage and clogging.
- If the old compressor failed internally, the entire system must be professionally flushed to remove debris.
- This job requires special tools for refrigerant recovery and charging, making it difficult for most DIYers.
Is Your DeVille's A/C Compressor Failing?
A failing A/C compressor on your 1981-1986 Cadillac DeVille will give you clear warning signs. If you notice any of these symptoms, it's time to inspect the system.
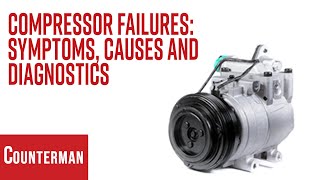
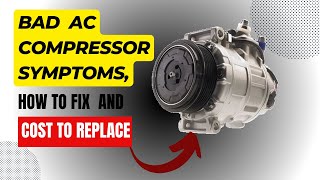
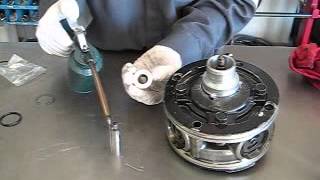
🎬 Watch: 5 common symptoms of a bad A/C compressor- Warm Air From Vents: The most obvious sign is a lack of cold air, even when the A/C is set to max cool. This happens when the compressor can no longer pressurize the refrigerant.
- Loud Noises: Grinding, squealing, or rattling sounds from the engine bay that start or change when you turn the A/C on point to failing internal components or a bad clutch. A seized compressor might cause a loud squeal from the serpentine belt.
- Compressor Clutch Doesn't Engage: The outer part of the compressor pulley, called the clutch, should click and start spinning when the A/C is turned on. If it remains stationary, the clutch or the compressor itself may have failed.
- Visible Leaks: The compressor contains seals that can fail over time, leading to leaks of refrigerant and lubricating oil. You might see a greasy residue on the compressor body.
Vehicle-Specific Known Issues
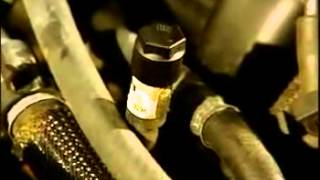
The R-12 to R-134a Conversion: Your DeVille was built to use R-12 refrigerant, which is no longer produced and is illegal to vent into the atmosphere. Any new compressor installation today requires converting the system to modern R-134a refrigerant. This is not optional. 🎬 See how to convert your A/C from R12 to R134a The conversion involves flushing the old mineral oil, installing new service port adapters, and adding a compatible oil (PAG or Ester) for the new compressor and refrigerant. Many new aftermarket compressors are designed for this conversion.
The HT4100 Engine (1982-1985): Many DeVilles in this era have the 4.1L HT4100 V8 engine, which has a known reputation for reliability issues, particularly overheating. An overheating engine puts additional stress on all its accessories, including the A/C compressor. Maintaining your engine's cooling system is critical to the longevity of your new compressor.
Choosing the Right Aftermarket A/C Compressor
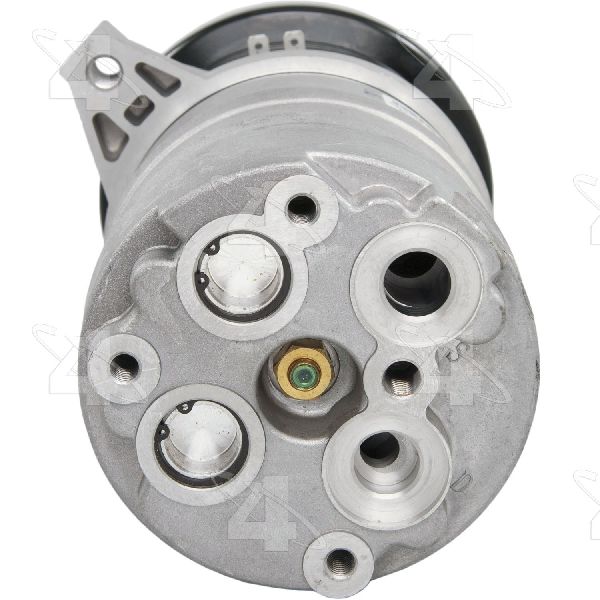
For a classic vehicle like the '81-'86 DeVille, new OEM parts are generally unavailable. The aftermarket offers several good options that provide modern reliability. When replacing the compressor, it is mandatory to also replace the A/C Accumulator/Drier and the Orifice Tube to ensure a clean, moisture-free system for your new part.
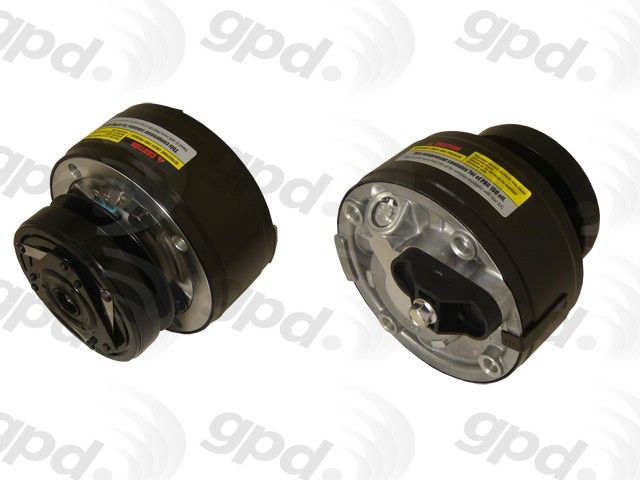
Good: Global Parts (GPD)
GPD is a budget-friendly brand offering new, not remanufactured, compressors. Forum discussions show mixed results; some owners report they work fine, while others have experienced premature failures. If cost is your primary concern, GPD is a viable option, but proper installation is absolutely critical to its lifespan.
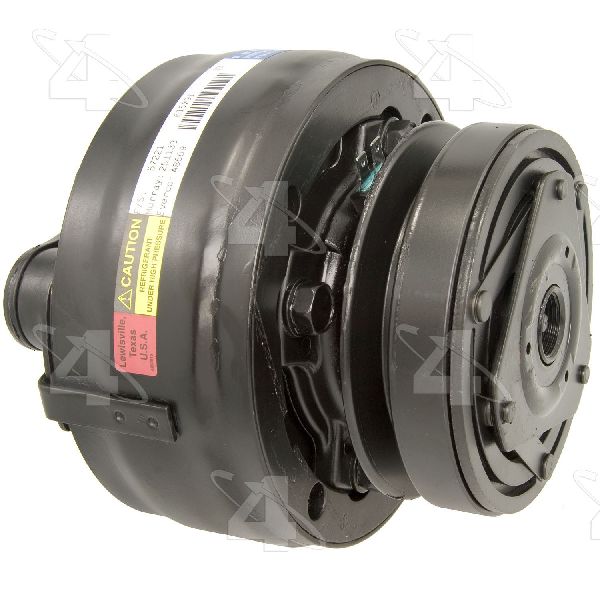
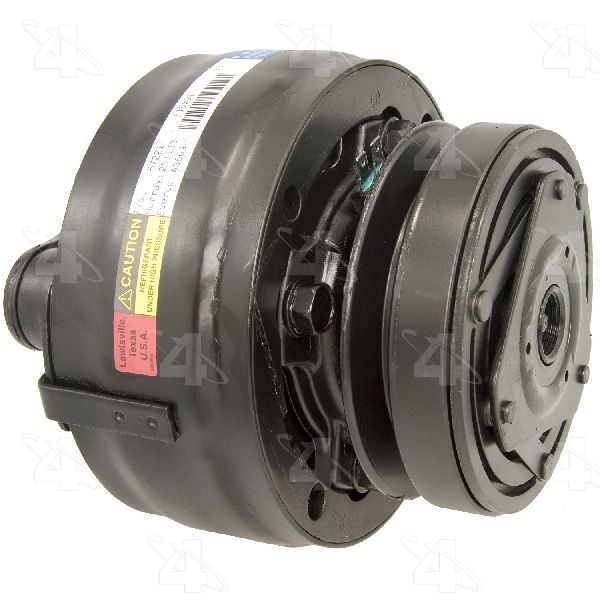
Better: Four Seasons
Four Seasons is one of the most well-known aftermarket A/C parts manufacturers. They are a popular choice and generally considered a reliable mid-range brand. While occasional issues are reported, the overall consensus is positive, especially when the system is properly flushed and all necessary components are replaced alongside the compressor.
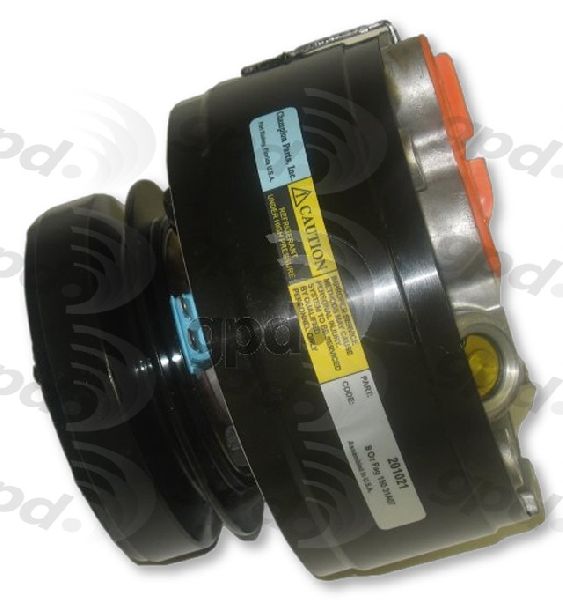
Best: ACDelco
ACDelco is GM's original parts brand and is often the top choice for quality and fit. For this vehicle, a new ACDelco compressor will be an aftermarket part, but it is expected to meet high-quality standards. While it is the most expensive of the aftermarket options, it is often seen as the best for ensuring long-term reliability.
Pro Tip: Flush The System or Fail Again
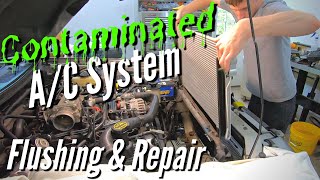
When a compressor fails, it often sends tiny metal particles throughout the entire A/C system. If you don't flush this debris out, it will circulate and quickly destroy your new compressor. This is the single most common cause of a repeat failure. The service requires special flushing chemicals and equipment.
🎬 Watch: How to properly flush and recharge a contaminated systemCost of Replacing Your A/C Compressor
The total cost depends on whether you do the work yourself or use a professional shop. A/C work requires special equipment, making it a difficult DIY for beginners.
| Item | Estimated Cost |
|---|---|
| New Aftermarket Compressor & Kit (Accumulator, Orifice Tube) | $165 - $492 |
| Professional Shop Labor | $220 - $560 |
| Total Professional Installation | $385 - $1,052+ |
Costs are estimates and will vary by location and the specific parts chosen. Total cost does not include refrigerant or fees for system evacuation.
Frequently Asked Questions
Do I have to replace other parts with the compressor?
Yes. At a minimum, you MUST replace the accumulator (also called a receiver-drier) and the orifice tube. The accumulator removes moisture from the system, and installing a new one is required for the part warranty. The orifice tube is a filter that often gets clogged with debris from the old compressor.
Can I replace just the A/C clutch?
While sometimes possible, it is often not practical. The cost of a clutch assembly plus the special tools required can be close to the cost of a complete new budget compressor assembly. If the compressor is old, replacing the entire unit is a more reliable long-term repair.
Is replacing the A/C compressor a DIY job?
This is an advanced DIY project. While the mechanical unbolting and re-bolting is straightforward, the job requires specialized A/C equipment. You need a machine to safely recover old refrigerant, a vacuum pump to remove all air and moisture from the system before charging, and manifold gauges to charge the system with the correct amount of new refrigerant. For most owners, professional installation is recommended.
How much R-134a refrigerant does my converted system need?
When converting from R-12 to R-134a, you typically use about 85-90% of the original R-12 charge amount. Overcharging the system will cause poor cooling performance and can damage the new compressor. The original system capacity should be on a sticker in the engine bay.
Helpful Videos

Technical Specifications
OEM Part Numbers: 12300274
Compressor Type: R4 Heavy Duty Clutch Belt Type: Single V-Groove Original Refrigerant: R-12 Replacement Refrigerant: R-134a
We Have This Part in Stock


The information in this article is provided for general reference and educational purposes only. Vehicle specifications, procedures, and part compatibility can vary by production date, trim level, and region. Always consult your vehicle's factory service manual and verify part numbers before purchasing or performing repairs. Safety-critical components such as airbags, seat belts, and braking systems should be installed by a qualified professional.
- Cadillac DeVille:
- 🎬 Helpful Videos
- 🛍️ Shop This Part
- Is Your DeVille's A/C Compressor Failing?
- Vehicle-Specific Known Issues
- Choosing the Right Aftermarket A/C Compressor
- Good: Global Parts (GPD)
- Better: Four Seasons
- Best: ACDelco
- Pro Tip: Flush The System or Fail Again
- Cost of Replacing Your A/C Compressor
- Frequently Asked Questions
- 🎟️ Get 5% Off