
A Practical Guide to Universal Joints for the 1984-1989 Toyota Van
That clunking noise or highway vibration is your van's driveshaft asking for attention.
- A clunk when shifting or a vibration at highway speed are the most common signs of a failing U-joint.
- For this van, GMB is an excellent OEM-quality aftermarket option, while Moog offers a serviceable alternative.
- DIY replacement is possible but requires a bench vise or a U-joint press tool to avoid damaging parts.
- Always mark the driveshaft components before disassembly to maintain balance and prevent new vibrations.
Is Your Toyota Van's U-Joint Failing?
U-joints are wear-and-tear parts. After decades of service, the small needle bearings inside the U-joint caps can wear out or lose their lubrication. Ignoring the symptoms of a bad U-joint is dangerous. A complete failure can cause the driveshaft to detach from the vehicle, leading to a loss of power, control, and significant damage to the underbody.
Listen and feel for these common symptoms:
- Clunking Noise: A loud "clunk" or "bang" when you shift from Park into Drive or Reverse is a classic sign. This sound is caused by excessive play in a worn-out joint.
- Vibration: A vibration that you can feel through the floor of the van, which often gets worse at highway speeds (above 50 mph), points to a failing U-joint that has thrown the driveshaft out of balance.
- Squeaking Noise: A rhythmic, cyclical squeak that matches the rotation of the driveshaft (not the wheels) is a tell-tale sign that a U-joint has lost its grease and is running dry. This sound is often more noticeable at lower speeds.
- Visible Signs: If you look under the van, you might see rust-colored dust around the U-joint's bearing caps, which indicates the needle bearings are disintegrating.
Pro Tip: How to Check for Play
Safely park the van on level ground, put it in neutral with the parking brake on, and chock the wheels. Get underneath and firmly try to twist the driveshaft back and forth by hand. If you feel any slop or see movement in the U-joint before the differential flange moves, the joint is worn and needs replacement.
Choosing the Right Aftermarket U-Joint
For a classic vehicle like the 1984-1989 Toyota Van, original OEM parts are often discontinued or very expensive. The aftermarket offers reliable and affordable solutions. Your choice will likely be between two well-regarded brands: GMB and Moog.
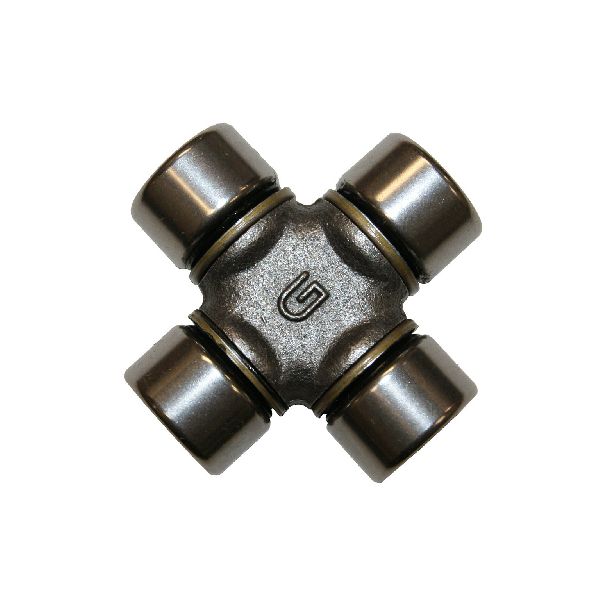
GMB: GMB is a Japanese manufacturer that is a major supplier of parts to automakers, including Toyota. Because of this, their aftermarket U-joints are often considered to be of OEM quality. For a direct, reliable replacement that matches original specifications, GMB is a solid choice.
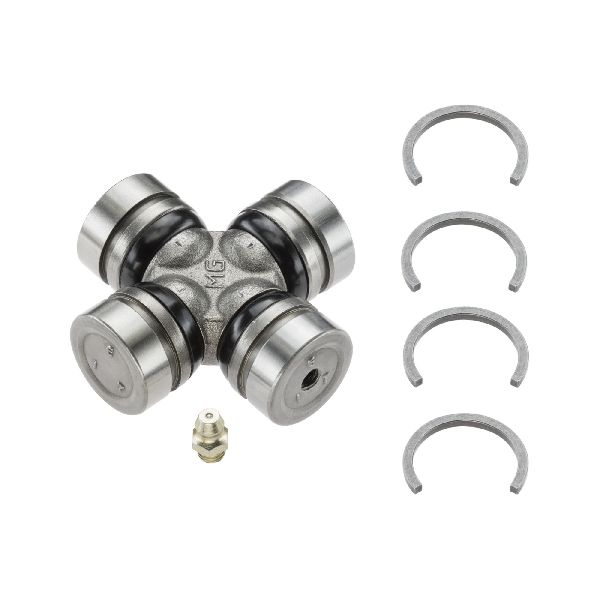
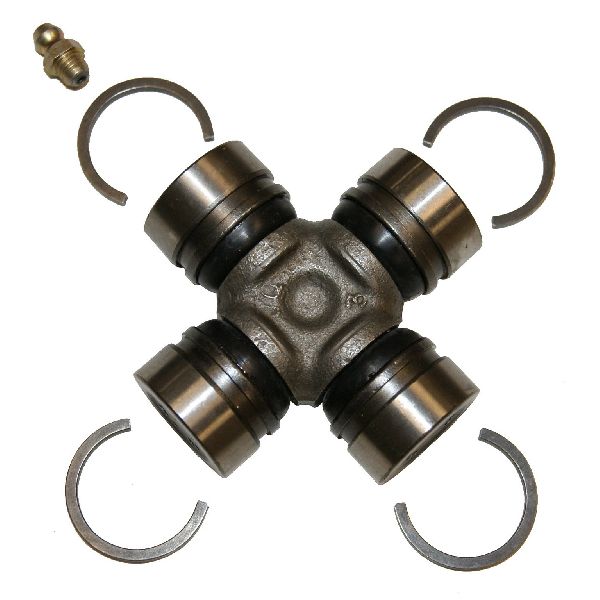
Moog: Moog is a well-known American aftermarket brand, often marketing its parts as "problem solvers" with heavy-duty construction. Many Moog U-joints include a grease fitting (zerk), which allows you to re-lubricate the joint periodically to extend its life, a feature not always present on original parts. While some online forums have mixed reviews on their recent quality, Moog remains a popular choice for those seeking a serviceable, heavy-duty option.
Known Issues, Recalls, or TSBs
Searches of the National Highway Traffic Safety Administration (NHTSA) database and other technical resources show no specific recalls or Technical Service Bulletins (TSBs) for universal joints on the 1984-1989 Toyota Van. Failures on these vehicles are typically due to normal age-related wear and lack of lubrication rather than a manufacturing defect.
| Part Type | Estimated Cost |
|---|---|
| New Aftermarket (GMB, Moog) | $18.06 - $39.62 (per joint) |
| Shop Labor | $150 - $350 |
| New OEM | $80+ (per joint, if available) |
Frequently Asked Questions (FAQ)
How many U-joints does my 1984-1989 Toyota Van have?
Most 1984-1989 Toyota Vans have a two-piece driveshaft with a total of three universal joints. There is one at the transmission, one on either side of the center support bearing, and one at the rear differential. It is always best to visually inspect your specific vehicle to confirm the configuration before ordering parts.
Can I replace just one bad U-joint?
Yes, but it's not recommended. The main labor involved is removing the driveshaft from the van. Since all the U-joints are the same age and have been subjected to the same wear, it's cost-effective to replace all of them at the same time to prevent having to do the job again in the near future.
Is replacing a U-joint a DIY job?
This is a moderately difficult job for a DIY mechanic. While removing the driveshaft is straightforward, pressing the old U-joint out and the new one in requires specific tools. A large bench vise is highly recommended, and a dedicated U-joint press tool is even better. Doing it incorrectly with just a hammer can damage the driveshaft yoke or the new joint's bearings.
Do I need to balance the driveshaft after replacing the U-joints?
If you carefully mark the driveshaft halves and flanges before taking them apart and reassemble everything in the exact same orientation, you often do not need to rebalance the shaft. If you experience a new vibration after the repair, the driveshaft may need to be taken to a specialty shop for professional balancing.
Technical Specifications
OEM Part Numbers: 04371-60070 04371-35031 04371-36030
The 1984-1989 Toyota Van typically uses a two-piece driveshaft with three universal joints.
We Have This Part in Stock

The information in this article is provided for general reference and educational purposes only. Vehicle specifications, procedures, and part compatibility can vary by production date, trim level, and region. Always consult your vehicle's factory service manual and verify part numbers before purchasing or performing repairs. Safety-critical components such as airbags, seat belts, and braking systems should be installed by a qualified professional.
- Toyota Van: