
A Guide to the 1985-1995 GMC G2500 Automatic Transmission Mount
Stop the clunking and shaking by choosing the right new transmission mount for your van.
- Clunking noises when shifting and new vibrations are the most common signs of a bad mount on your G2500.
- For a stock ride, choose a standard rubber mount (Anchor, DEA, Westar); for heavy-duty use, choose polyurethane (Prothane, Lakewood) but expect more vibration.
- Replacement is a simple, one-hour DIY job for most owners with a jack and basic hand tools.
- Do not ignore a failed mount, as it can lead to damage to other expensive drivetrain components.
Is Your G2500's Transmission Mount Failing?
After decades of service, the original rubber transmission mount on your van has likely worn out. The rubber can become soft, cracked, or saturated with leaking engine oil or transmission fluid, which speeds up its failure. When the mount can no longer support the transmission's weight and torque, you'll start to notice some clear warning signs.
Common Failure Symptoms
- Clunking or Banging Noises: This is the most common symptom. You might hear a loud clunk or bang when you shift from Park into Drive or Reverse. The noise can also happen during sudden acceleration or braking as the transmission shifts and hits the frame.
- Excessive Vibration: A bad mount can't absorb vibrations, so you'll feel them in the floor, seat, or steering wheel. This shaking is often worse when idling in gear or while accelerating.
- Visible Movement: If you have a helper, you can test the mount. With the parking brake on and the regular brakes held down firmly, have them shift from Drive to Reverse. If you look at the transmission, you may see it lift or rock excessively, which is a sure sign of a bad mount.
Can You Drive with a Bad Transmission Mount?
It is not recommended. While the van may still drive, a broken mount puts extra stress on your engine mounts, driveshaft, U-joints, and even exhaust components. In a worst-case scenario, complete failure could lead to severe drivetrain misalignment and costly damage. It's best to get it replaced as soon as possible.
Choosing the Right Aftermarket Mount
Since original OEM parts for this van are likely discontinued, you'll be choosing from aftermarket brands. They fall into two main categories: standard rubber replacements and performance polyurethane upgrades.
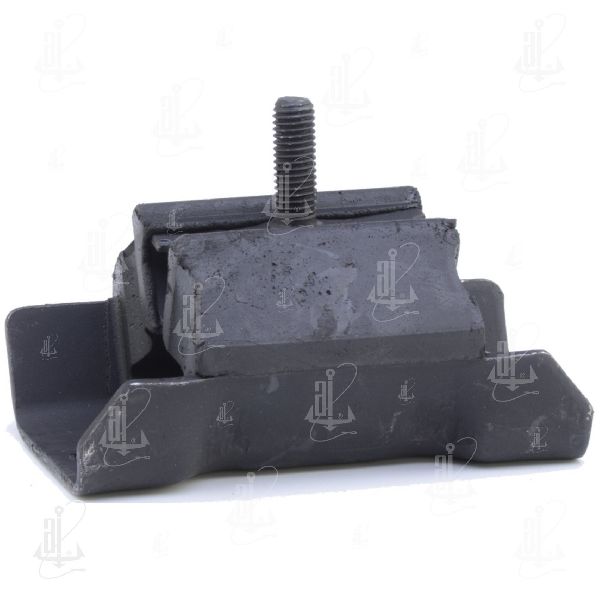
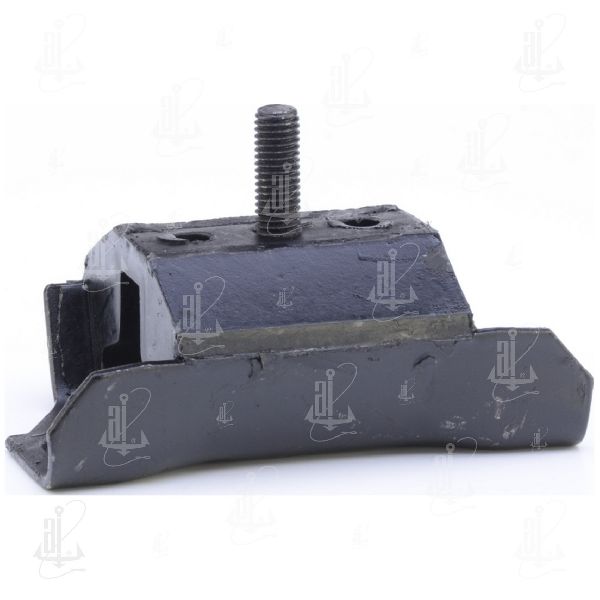
Tier 1: Standard Replacement (Rubber)
Brands: Anchor, DEA, Westar, Pioneer
These mounts are designed to be direct, factory-style replacements. They use rubber to provide a smooth, quiet ride just like the original. They are the most affordable option and are perfect for a daily driver or work van where comfort is a priority. However, quality among these budget brands can be inconsistent. Some owners report they work fine, while others have experienced fitment issues or premature failure. Pioneer is sometimes noted as having better quality, closer to the original factory part.
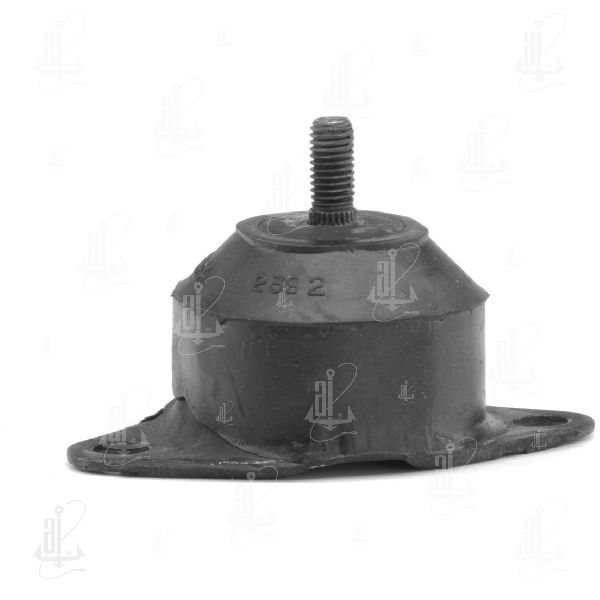
Tier 2: Performance Upgrade (Polyurethane)
Brands: Prothane, Lakewood
Polyurethane (or "poly") is a much stronger and more durable material than rubber. Mounts from Prothane and Lakewood are resistant to oil and fluids and can handle more power and abuse, making them a great choice for heavy-duty work vans or high-performance builds. They often feature safety interlocks to prevent separation under high torque. The major trade-off is a significant increase in noise, vibration, and harshness (NVH) inside the cabin. Because the material is so stiff, you will feel more of the drivetrain's vibrations. Choose this option only if durability is your top priority and you can tolerate a rougher ride.
Pro Tip: If you choose a polyurethane transmission mount, it's a good idea to also upgrade your engine mounts to polyurethane. Mixing poly and old rubber mounts can sometimes create new vibrations or stress points.
Estimated Replacement Costs
Replacing the transmission mount on a 1985-1995 G2500 is a straightforward job. The part itself is inexpensive, and labor time is minimal.
| Item | Estimated Cost |
|---|---|
| New Aftermarket Mount (Rubber) | $8 - $20 |
| New Aftermarket Mount (Polyurethane) | $25 - $35 |
| Shop Labor | $125 - $245 |
| Total Estimated Cost | $133 - $280 |
Frequently Asked Questions
How hard is it to replace the G2500 transmission mount myself?
For a DIY mechanic with basic tools, this is a relatively easy job. It typically takes about one hour. The process involves supporting the transmission with a floor jack and a block of wood, unbolting the crossmember and the old mount, and then bolting the new one in place.
What are the symptoms of a completely failed transmission mount?
A complete failure will result in very loud banging and clunking on shifts and acceleration. You may have difficulty shifting gears, and in extreme cases, the movement can damage the driveshaft, U-joints, or transmission seals, causing fluid leaks.
Should I choose a rubber or polyurethane mount?
For most owners, a standard rubber mount is the right choice for a quiet, comfortable ride. If you have a high-horsepower engine, tow heavy loads frequently, or have had rubber mounts fail repeatedly, a polyurethane mount is a more durable, long-term solution, but expect more cabin vibration.
Do I need any special tools for the replacement?
No special tools are required. You will need a floor jack, jack stands, a basic socket set (typically 15mm and 18mm or 19mm for these vans), a wrench, and possibly an extension.
Technical Specifications
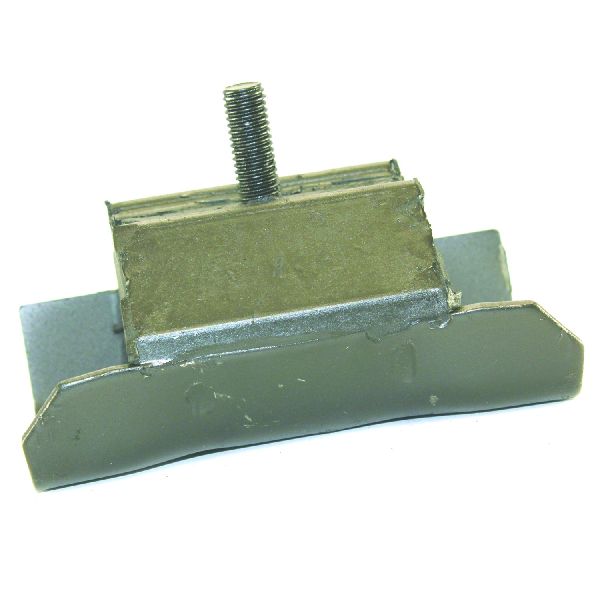
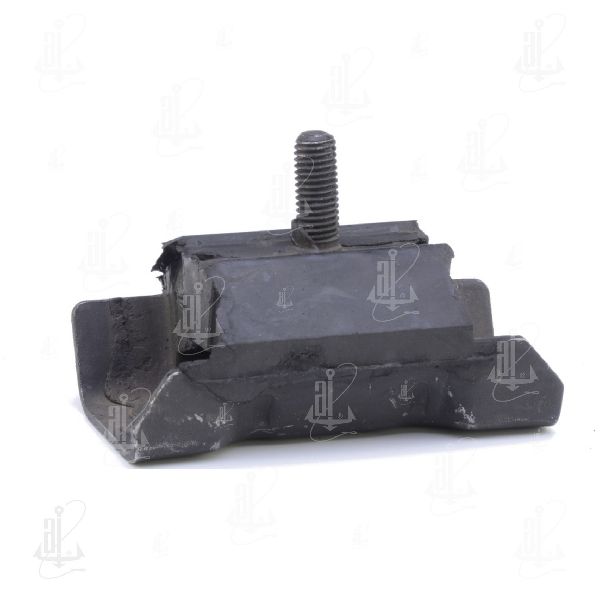
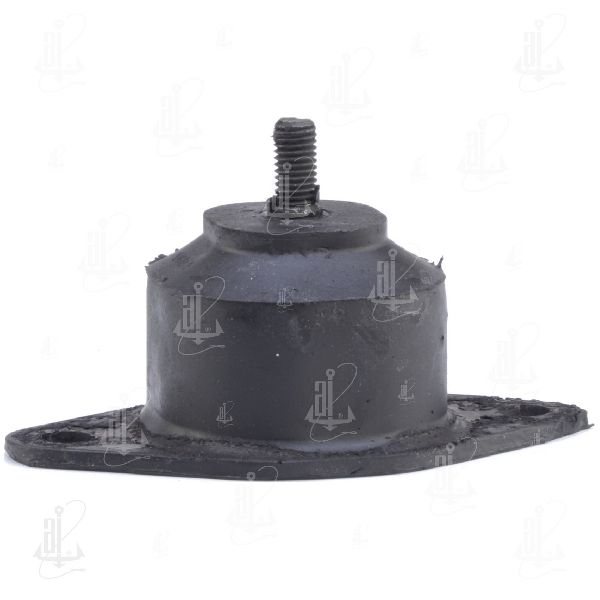
The standard mount for this vehicle is a single-stud design that bolts to the transmission tailhousing and the frame crossmember. Aftermarket options are available in both OEM-style rubber and upgraded polyurethane materials.
We Have This Part in Stock

The information in this article is provided for general reference and educational purposes only. Vehicle specifications, procedures, and part compatibility can vary by production date, trim level, and region. Always consult your vehicle's factory service manual and verify part numbers before purchasing or performing repairs. Safety-critical components such as airbags, seat belts, and braking systems should be installed by a qualified professional.
- GMC G2500:
- 🛍️ Shop This Part
- Is Your G2500's Transmission Mount Failing?
- Common Failure Symptoms
- Can You Drive with a Bad Transmission Mount?
- Choosing the Right Aftermarket Mount
- Tier 1: Standard Replacement (Rubber)
- Tier 2: Performance Upgrade (Polyurethane)
- Estimated Replacement Costs
- Frequently Asked Questions
- 🎟️ Get 5% Off