
Ford Explorer A/C Accumulator Guide: 1991-1997
If your first-gen Explorer's A/C is blowing warm, the accumulator is a likely suspect.
- The accumulator MUST be replaced whenever the A/C system is opened for any repair.
- If your A/C compressor failed, you must also replace the orifice tube and flush the system to prevent 'Black Death' contamination.
- Use new, lubricated O-rings on all connections to prevent leaks.
- Verify your Explorer uses R-134a refrigerant and PAG 46 oil, as early models were different.
Is Your Explorer's A/C Accumulator Failing?
When an accumulator wears out, the desiccant material inside becomes saturated and can no longer absorb moisture. This leads to poor A/C performance and can cause serious damage to the rest of your system. Here are the common signs of a bad accumulator:
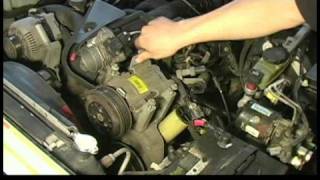
- Warm Air From Vents: The most common symptom is air that is cool, but not cold. 🎬 Watch a real-world fix for common Explorer A/C cooling issues. If the accumulator can't remove moisture, the system's efficiency drops significantly.
- Visible Refrigerant Oil Leaks: The accumulator body can rust or develop leaks around its seals. You might see a greasy, oily residue on the part itself or on components below it.
- Rattling or Hissing Noises: A rattling sound can mean the desiccant bag inside has broken apart, which can send debris through your A/C system. Hissing noises often point to a refrigerant leak.
- Moldy or Musty Smell: While this is often caused by the evaporator, an accumulator that allows moisture into the system can contribute to the growth of mold and mildew.
Critical Issue: Ford's "Black Death" Compressor Failure
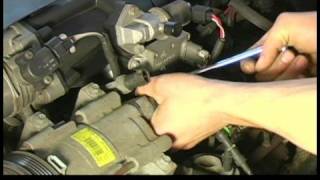
The FS10 compressor in these Explorers is known for a catastrophic failure called "Black Death," where it self-destructs and sends black sludge and metal shavings through the entire system. If your compressor fails, you MUST replace the accumulator and the orifice tube at the same time, and thoroughly flush all A/C lines. 🎬 See how to properly install new components after a failure. Failure to do so will cause the debris to destroy your new compressor almost immediately.
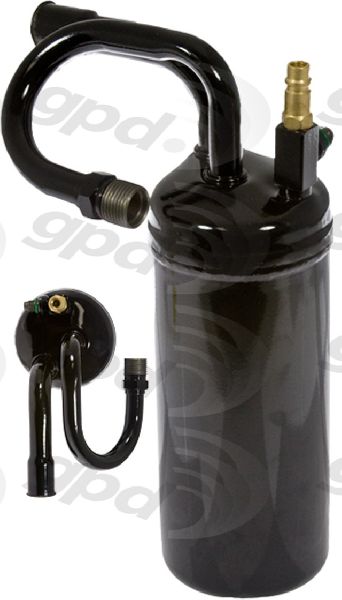
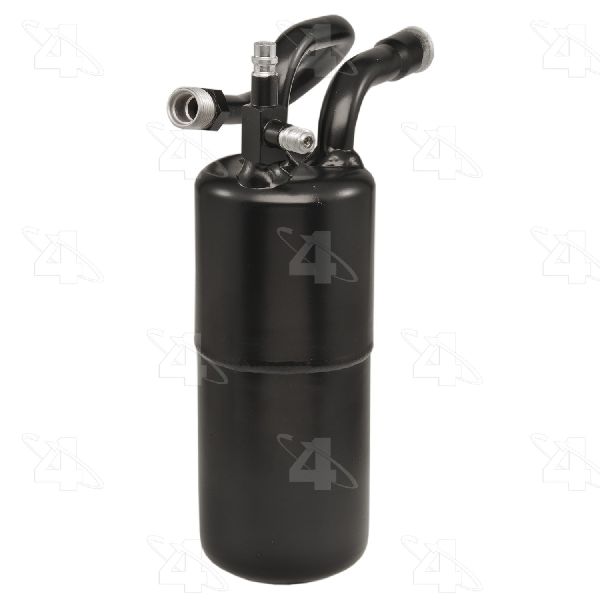
Choosing the Right Aftermarket Accumulator
For a 1991-1997 Explorer, a new aftermarket accumulator is the standard and most cost-effective repair. OEM parts are likely discontinued or prohibitively expensive. The quality of aftermarket brands is generally good for this component.
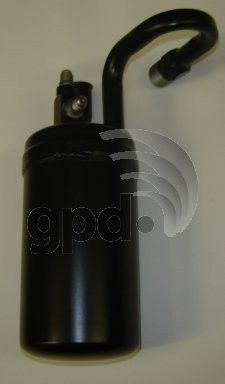
- Good - Store Brands, Global Parts: These are budget-friendly options that meet basic requirements. They are a viable choice if cost is the primary concern. Forum users have mixed experiences with some budget brands, but for a simple part like an accumulator, the risk is relatively low.
- Better - Spectra Premium: Spectra is a well-regarded aftermarket brand that offers a good balance of quality and price. They are known for good fitment and construction.
- Best - Four Seasons: Four Seasons is one of the most recognized and trusted brands in the aftermarket A/C world. They have a strong reputation for quality and reliability, making them a top choice for many mechanics and DIYers.
Pro Tip: Check Your Refrigerant Type
Early Explorers (1991-1993) originally used R-12 refrigerant. Models from 1994-1997 came from the factory with R-134a. By now, almost all R-12 systems have been converted to the modern R-134a standard. All new aftermarket parts are designed for R-134a. Check the service ports under the hood to confirm which type you have before buying parts or refrigerant.
Cost of Replacing the A/C Accumulator
| Part/Service | Estimated Cost |
|---|---|
| New Aftermarket Accumulator | $25 - $60 |
| Shop Labor & Recharge | $150 - $250 |
| Total Estimated Cost | $175 - $310 |
Costs are estimates and can vary based on your location, the specific part brand, and the repair shop's labor rates.
Frequently Asked Questions
Do I have to replace the accumulator if I'm replacing my A/C compressor?
Yes, absolutely. The accumulator must be replaced any time the A/C system is opened to the atmosphere. The desiccant inside absorbs moisture from the air and is ruined within minutes. Not replacing it will void the warranty on your new compressor and cause it to fail prematurely.
What is the desiccant inside the accumulator?
Desiccant is a material, usually a type of clay or silica gel, that is extremely good at absorbing and holding moisture. In your A/C system, it's held in a small bag inside the accumulator to keep the refrigerant dry.
Can I replace the accumulator myself?
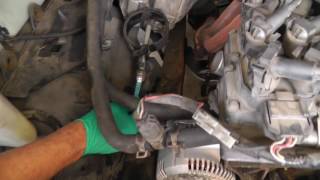
While the physical part is easy to access and replace 🎬 Watch this quick walkthrough of the accumulator replacement process., the overall job is rated as moderately difficult. It requires the A/C system to be professionally evacuated before you start and then vacuum-tested and recharged after you're done. This requires expensive, specialized tools like a vacuum pump and manifold gauge set. If you don't have this equipment, it's best to let a shop handle the final steps.
What kind of refrigerant and oil does my 1991-1997 Explorer need?
Assuming your system uses the modern standard, you will need R-134a refrigerant. The correct compressor oil for an R-134a system on these trucks is PAG 46. Always add the correct type and amount of oil as specified in your service manual when replacing components.
Helpful Videos


Technical Specifications
Refrigerant Type: R-134a (verify conversion from R-12 on 1991-1993 models). A/C System Oil: PAG 46.
We Have This Part in Stock

The information in this article is provided for general reference and educational purposes only. Vehicle specifications, procedures, and part compatibility can vary by production date, trim level, and region. Always consult your vehicle's factory service manual and verify part numbers before purchasing or performing repairs. Safety-critical components such as airbags, seat belts, and braking systems should be installed by a qualified professional.
- Ford Explorer: