
A Guide to the Ignition Knock Sensor for the 1992-1997 Toyota Previa
Is your Previa feeling sluggish or showing a check engine light? Your knock sensor might be the problem.
- Replacement is extremely difficult and labor-intensive due to the Previa's mid-engine design.
- A bad sensor will trigger a Check Engine Light and cause significant loss of power.
- Due to the high labor cost, using a high-quality aftermarket brand (like NGK/NTK) or an OEM part is strongly recommended to avoid repeat repairs.
- Toyota used two different sensor suppliers (Denso and Matsushita); check your original part if possible before ordering.
Understanding Knock Sensor Failure on Your Previa
The knock sensor is a critical part of your Toyota Previa's engine management system. When it fails, the engine's computer can no longer detect harmful detonation. As a safety measure, the computer will default to a 'safe' mode, which typically involves retarding the ignition timing. This protects the engine but results in noticeable performance problems. The most common failure code for this generation of Previa is OBD-I Code 52 or OBD-II code P0325 (Knock Sensor Circuit Malfunction).
A Note on Supercharged Models
On supercharged Previas, other issues like internal engine wear can sometimes create vibrations that the knock sensor mistakes for detonation. This can cause the ECU to retard timing and reduce power even if the sensor itself is working correctly. If you have a high-mileage supercharged model, this is something to consider.
Symptoms of a Bad Knock Sensor
A failing knock sensor will almost always trigger the Check Engine Light. Beyond that, you may experience one or more of the following issues:
- Poor Acceleration: The van may feel very sluggish or like it 'hits a wall' when you try to accelerate hard.
- Reduced Fuel Economy: With the engine running in a less efficient state, you'll likely see a drop in your MPG.
- Engine Pinging: You might hear a metallic rattling or pinging sound from the engine, especially under load (like going up a hill).
Choosing the Right Aftermarket Knock Sensor
Because replacing the knock sensor on a Previa is very labor-intensive, this is not a part you want to replace twice. While saving money is always a goal, choosing a low-quality part can lead to it failing quickly, forcing you to pay for the difficult repair all over again. Toyota ECUs from this era are known for being sensitive to sensor quality.
Here’s a breakdown of the available brands:
- Premium Aftermarket (NGK/NTK, Delphi): NGK (also sold as NTK) is a well-respected brand and often an original equipment manufacturer for many Japanese vehicles. They are generally considered a safe bet for quality and compatibility. Delphi is another major OE supplier, though user reviews can be mixed, with some reporting issues.
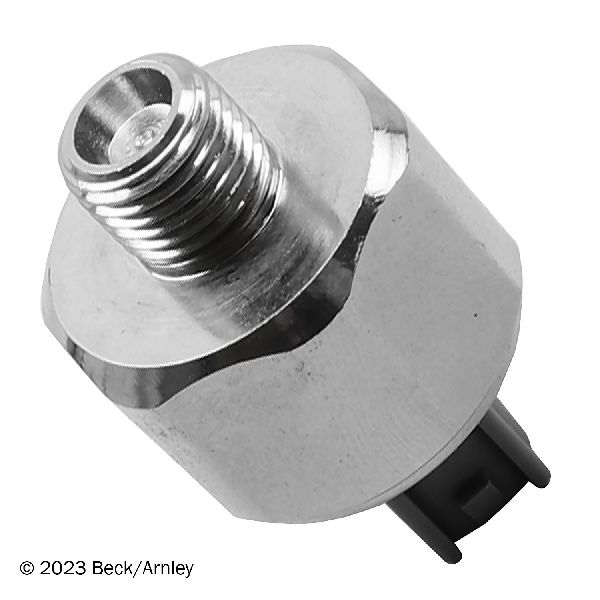
- OEM Re-boxers (Beck Arnley): Beck Arnley specializes in sourcing parts for foreign nameplates and often re-packages the original OEM part (like Denso or Matsushita) in their own box. This can be a great way to get OEM quality at a lower price, but there's no guarantee it will be an OEM part inside.
- Standard/Value Brands (Standard Ignition, Walker, Holstein, etc.): These brands offer a more budget-friendly option. Standard Motor Products (SMP) is a long-standing company with a decent reputation. However, for a critical and hard-to-reach sensor on a Toyota, it is generally recommended to stick with an OEM-level brand to ensure reliability.
Check Your Original Part
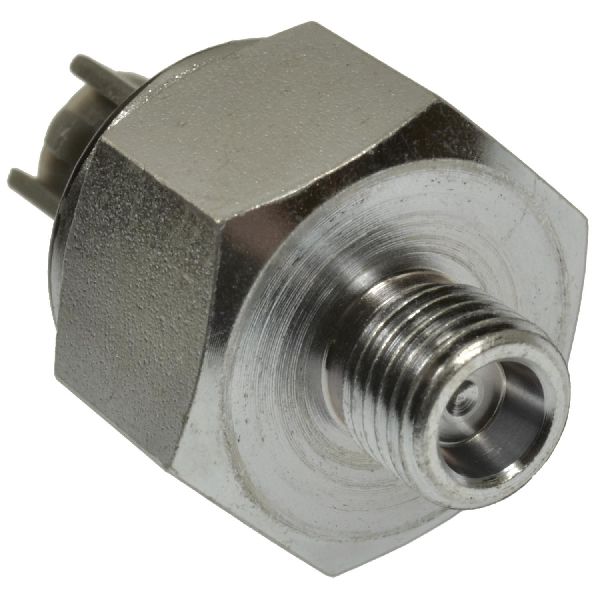
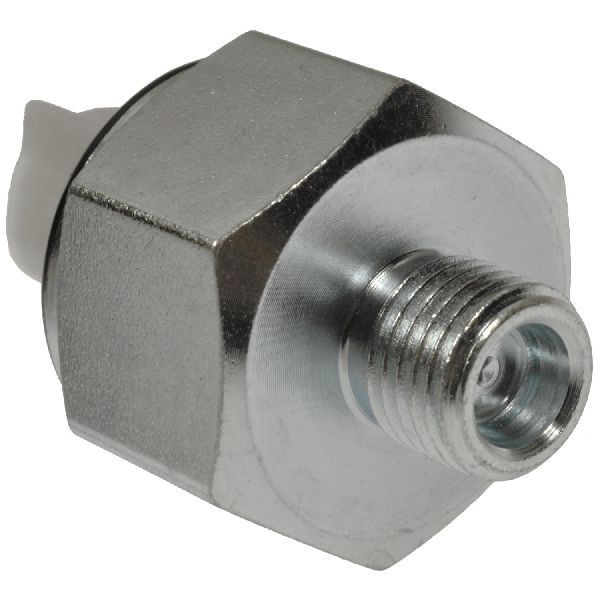
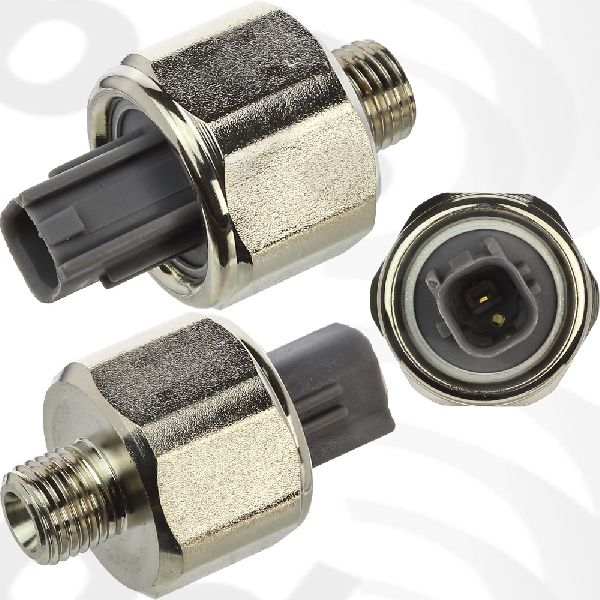
Toyota used two different OEM suppliers for the Previa: Nippondenso (Denso) and Matsushita. The sensors look slightly different. If at all possible, try to identify which one you have before ordering a replacement to ensure a perfect match. Some aftermarket parts will specify which type they replace.
Installation: A Major Challenge
Replacing the knock sensor on a 1992-1997 Previa is a difficult job due to the mid-engine layout. The sensor is bolted to the engine block, underneath the intake manifold, and is accessed from inside the van by removing the front seats and engine access panels. Access is extremely limited. Some owners have even cut an access panel in the floor under the passenger seat to reach the sensor bolt. Because of this difficulty, shop labor costs are very high.
| Part Type | Estimated Cost |
|---|---|
| New Aftermarket | $48 - $168 |
| New OEM | $135 - $260 |
| Shop Labor | $680 - $1000 |
Frequently Asked Questions
Where is the knock sensor located on a 1992-1997 Previa?
It is located on the side of the engine block, under the intake manifold. You must access it from inside the van by removing the driver or passenger seat and the engine service cover on the floor.
Can I drive my Previa with a bad knock sensor?
Yes, but it's not recommended for long. The engine computer will protect the engine, but you will have poor performance, bad fuel economy, and may fail an emissions test.
What tools are needed to replace the knock sensor?
Besides basic hand tools to remove the seats and access panels, you will need a long socket (typically 27mm) and a ratchet with extensions and possibly a universal joint to reach the sensor bolt.
Why is the labor cost so high to replace this part?
The labor cost is high because the part is extremely difficult to access. The mid-engine design of the Previa requires the mechanic to work inside the van and remove many components to reach the sensor on the side of the engine block.
Technical Specifications
OEM Part Numbers: 89615-12090 89615-12050 89615-12040 89615-12020 89615-32010
Piezoelectric sensor mounted to the engine block. Requires a 27mm deep socket for removal. Two different OEM styles exist (Denso and Matsushita) with different connector appearances.
We Have This Part in Stock


The information in this article is provided for general reference and educational purposes only. Vehicle specifications, procedures, and part compatibility can vary by production date, trim level, and region. Always consult your vehicle's factory service manual and verify part numbers before purchasing or performing repairs. Safety-critical components such as airbags, seat belts, and braking systems should be installed by a qualified professional.
- Toyota Previa: