
Engine Crankshaft Position Sensor for the 1996-2002 Chevrolet Express 1500
Solve stalling, no-start conditions, and Check Engine lights on your Vortec-powered Express van.
- A mandatory 'Crankshaft Variation Relearn' procedure with a scan tool is required after replacement to avoid performance issues.
- For reliability, choose an OEM-grade brand like ACDelco or Delphi; the labor involved makes it worth avoiding cheaper, less reliable parts.
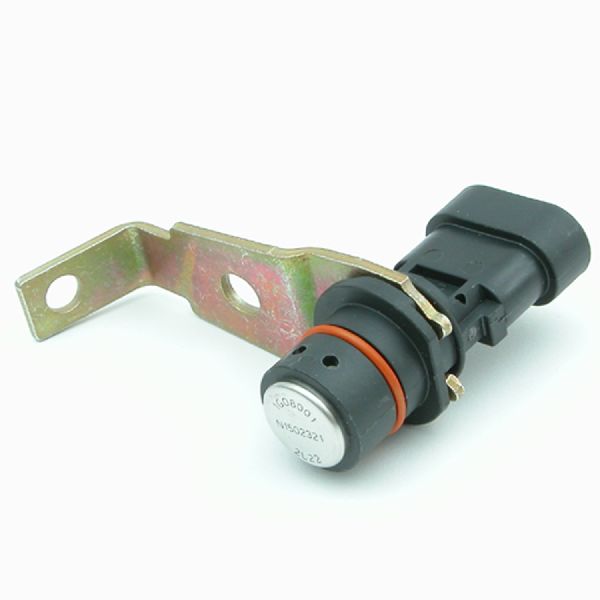
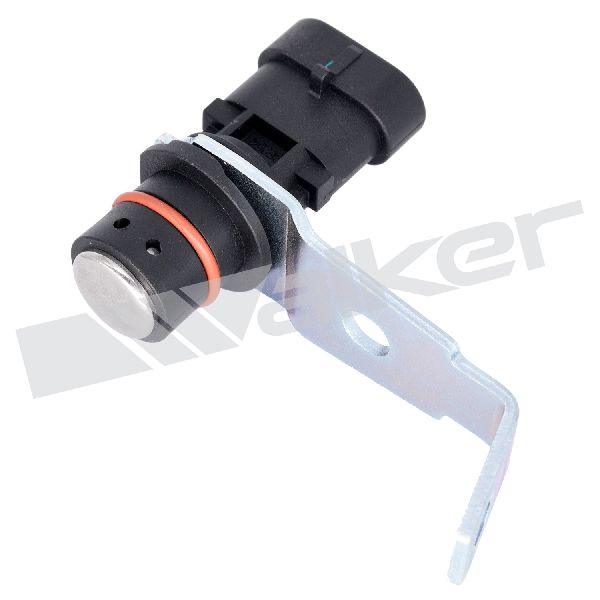
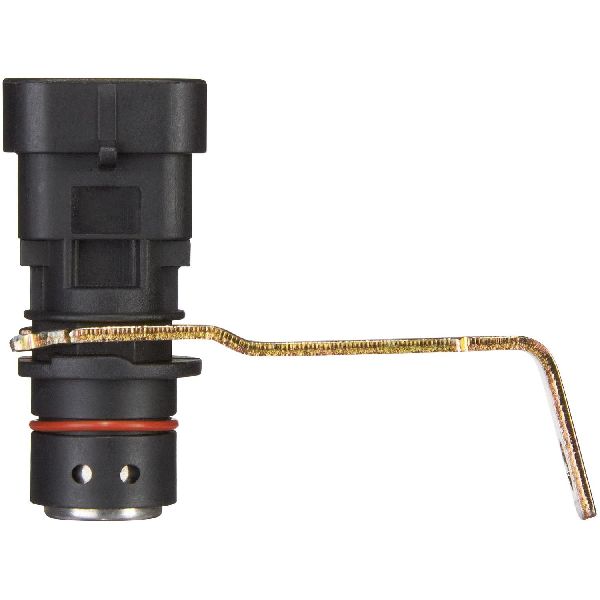
- The sensor is located on the front of the engine behind the timing cover, requiring removal of the crankshaft pulley.
- Symptoms range from a Check Engine Light and rough running to a dangerous sudden stall or a complete no-start condition.
Is Your Express Van Stalling or Refusing to Start?
A faulty crankshaft position sensor is a common reason for a 1996-2002 Chevrolet Express 1500 to crank but not start, or to stall unexpectedly. This sensor provides the engine's main computer with the most basic information it needs to run: is the engine turning, and how fast? When the sensor fails, the computer loses track of the engine's rotation, cutting off spark and fuel. Symptoms can appear suddenly and may leave you stranded.
Common Symptoms of a Failing Crankshaft Position Sensor
- Engine Cranks, But Won't Start: This is the most definite sign. The starter will turn the engine over, but it will never fire up because the computer isn't sending spark and fuel signals.
- Sudden Stalling: The engine may die without warning while you are driving. It might restart after it has cooled down for a while, only to stall again later.
- Check Engine Light: A failing crankshaft sensor will trigger a Check Engine Light. You will likely find diagnostic trouble code (DTC) P0335 stored in the computer.
- Rough Idle and Misfiring: The engine may shake, vibrate, or run poorly because the ignition and fuel timing are incorrect.
- Poor Acceleration: Your van may feel sluggish and lack power because the engine isn't running efficiently.
CRITICAL: Crankshaft Variation Relearn Procedure Required
After you replace the crankshaft position sensor on these GM vehicles, you MUST perform a "Crankshaft Variation Relearn" (also called a CASE Relearn). This procedure requires a compatible OBD-II scan tool. It allows the engine computer to learn the exact signal of the new sensor. If you skip this step, your van may continue to run poorly, have a persistent Check Engine Light with code P1336, and have inaccurate misfire detection. Most repair shops can perform this procedure quickly.
Choosing the Right Aftermarket Sensor
For a part this critical, quality matters. A cheap, unreliable sensor can fail quickly, leaving you with the same problem. Here’s how the available brands generally stack up for your Express van:
- Tier 1 (OEM Quality): ACDelco and Delphi. ACDelco is the original GM parts brand, and Delphi was a major original equipment manufacturer for GM. For reliability and peace of mind, these are the top choices. Forum users consistently recommend sticking with these brands for critical sensors to avoid problems.
- Tier 2 (Reputable Aftermarket): NGK, Hitachi, and Standard Motor Products (SMP). These brands have a strong reputation for producing quality electronic components that meet or exceed OEM standards. They are a solid choice if a Tier 1 brand is not available.
- Tier 3 (Economy): Brands like Dorman, Walker Products, and other value-focused lines. While they offer a lower price, their quality can be inconsistent for sensitive electronics. They may work fine, but the risk of premature failure is higher compared to premium brands. Using these for a critical sensor that can leave you stranded is a gamble.
Pro Tip: Given the labor involved in replacing this sensor, spending a little extra on an ACDelco or Delphi part is a smart investment to ensure you only have to do the job once.
Known Issues for This Vehicle
General Motors issued Technical Service Bulletin (TSB) 02-06-04-059 for some vehicles, including those with the 4.3L V6 engine. It notes that the crankshaft sensor can sometimes make physical contact with the spinning reluctor wheel on the crankshaft. This can cause a rough running condition and set codes P0300 or P0335. The fix may involve adding a specific shim between the sensor and the engine's front cover to create the proper air gap. When replacing your sensor, it is wise to inspect the tip of the old one for any signs of scraping or physical damage.
| Part Type | Price Range |
|---|---|
| New Aftermarket | $26.90 - $99.28 |
| New OEM (ACDelco) | $75 - $120 |
| Shop Labor | $200 - $350 |
Frequently Asked Questions (FAQ)
Can I replace the crankshaft position sensor myself?
Yes, if you are an experienced DIY mechanic. The sensor is located behind the crankshaft pulley (harmonic balancer) and the plastic front timing cover. You will need a special harmonic balancer puller tool to remove the pulley. The job takes around 2-3 hours. If you are not comfortable with this, a professional mechanic should do the work.
What happens if I don't replace a bad sensor?
You risk the engine stalling at any time, including at high speeds or in traffic, which is extremely dangerous. Eventually, the sensor will fail completely and the vehicle will not start at all, leaving you stranded. It can also cause damage to other components like the catalytic converter over time due to misfires.
Why did my Check Engine Light stay on after replacing the sensor?
There are two common reasons. First, you must clear the diagnostic trouble codes with a scan tool after the repair. Second, and more importantly, you likely need to have the Crankshaft Variation Relearn procedure performed. Without this relearn, the computer won't trust the new sensor's signal and will keep the light on.
Is the sensor located by the starter?
No. On many newer GM trucks, the sensor is accessed by removing the starter. However, on the 1996-2002 Express with the Vortec engines, the sensor is located on the front of the engine behind the crankshaft pulley and timing cover.
Technical Specifications
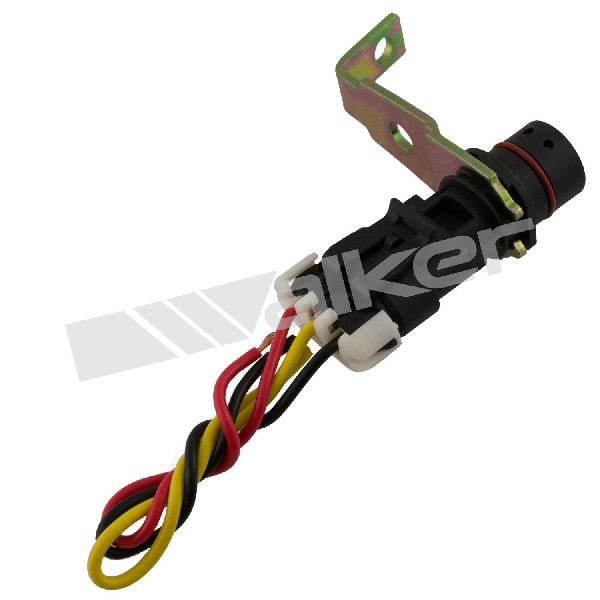
OEM Part Numbers: 12596851 12575172
Located on the front of the engine, behind the plastic timing cover. Secured with one bolt. A Crankshaft Variation Relearn procedure is required upon installation.
We Have This Part in Stock


The information in this article is provided for general reference and educational purposes only. Vehicle specifications, procedures, and part compatibility can vary by production date, trim level, and region. Always consult your vehicle's factory service manual and verify part numbers before purchasing or performing repairs. Safety-critical components such as airbags, seat belts, and braking systems should be installed by a qualified professional.
- Chevrolet Express 1500: