
Chevrolet Astro Throttle Position Sensor (TPS) Guide: 1996-2005
A complete guide to fixing stalling, hesitation, and shifting problems in your Astro van caused by a bad throttle position sensor.
- A failing TPS on the Astro often causes symptoms that mimic a bad transmission, such as poor shifting.
- Replacement is extremely easy and can be done in under 30 minutes with a single Torx screwdriver after removing the engine cover.
- No specific recalls or TSBs exist for this part on the 1996-2005 Astro, but it is a common failure item.
- For reliability, choose an OEM-equivalent brand like Delphi or a reputable aftermarket brand like NGK or Standard Ignition.
Is Your Astro Van Stalling or Shifting Strangely?
If your 1996-2005 Chevrolet Astro is experiencing issues like stalling when you come to a stop, hesitating when you accelerate, or shifting gears at the wrong time, a failing Throttle Position Sensor (TPS) is a common culprit. This sensor is a known weak point on many vehicles of this era, but the good news is that it's inexpensive and very easy to replace yourself.
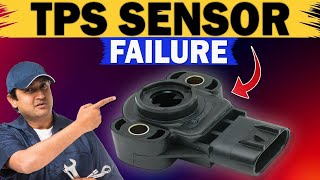
Common Symptoms of a Failing Astro TPS
A bad TPS sends incorrect information to your van's main computer, leading to a variety of noticeable problems. You might experience one or more of the following:
- Hesitation or Stumbling: The engine may hesitate or stumble when you press the gas pedal.
- Unstable Idle: The engine might idle too high, too low, or surge up and down.
- Stalling: The engine can stall unexpectedly, especially when you let off the gas to slow down or stop.
- Poor Acceleration: Your van may feel sluggish and lack power.
- Transmission Problems: The automatic transmission may shift harshly, at the wrong times, or get stuck in one gear. This is because the computer uses TPS data to control shifts.
- Check Engine Light: A failing TPS will almost always trigger the check engine light. Common codes include P0121, P0122, and P0123. 🎬 See a detailed breakdown of common bad TPS symptoms.
TPS vs. Transmission Failure
Many Astro owners have mistaken TPS-related shifting problems for a major transmission failure. Before you suspect the worst, check for TPS-related engine codes. A $40 sensor is a much cheaper fix than a transmission rebuild.
Choosing the Right Aftermarket TPS Brand
When it comes to electronic sensors, quality matters. While budget parts are available, they are more likely to fail prematurely, leaving you with the same problems. Here’s a breakdown of available brands:
Tier 1: OEM or Equivalent
These brands are known to be original equipment suppliers or meet the same quality standards. For critical sensors, this is the safest choice.
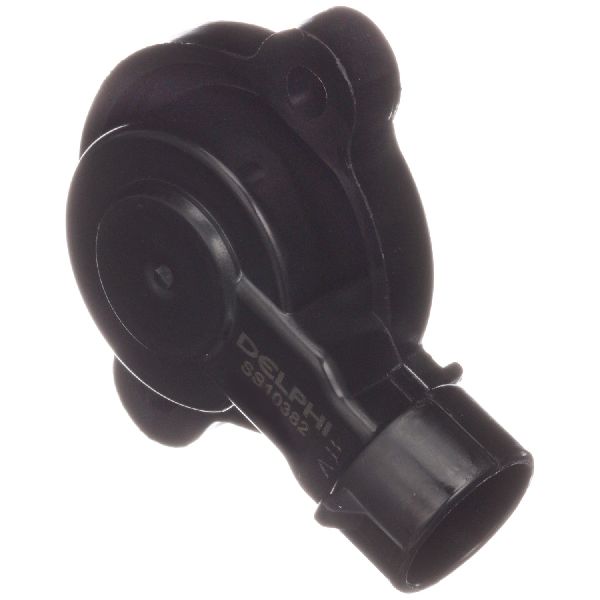
- Delphi: Delphi was part of GM and a major OEM parts manufacturer. Their sensors are often identical to the original ACDelco part and are highly recommended for reliability.
- NGK/NTK: A well-respected Japanese brand known for high-quality sensors and ignition components. A solid choice for this repair.
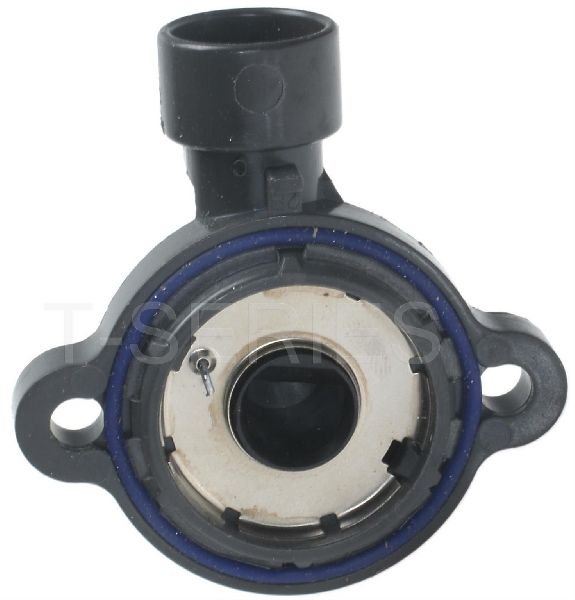
- Standard Ignition (SMP): A long-standing and trusted aftermarket brand that produces reliable sensors. Often a go-to for professional mechanics.
Tier 2: Reputable Aftermarket
These brands offer a good balance of price and quality, and are a significant step up from store-brand budget parts.
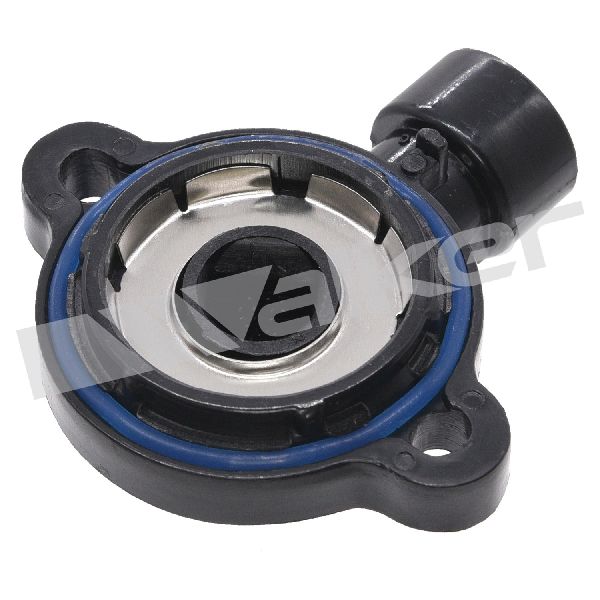
- Walker Products: A well-known manufacturer of fuel and engine management components.
Tier 3: Budget Options
These brands are the most affordable but may have a higher risk of early failure or inconsistent performance. Use with caution if you rely on your van daily.
- Dorman: While Dorman makes some useful and innovative parts, their electronic sensors can have mixed reviews.
- Replacement / True Tech / Global Parts: These are often private-label or entry-level brands. They can be a viable option if budget is the absolute primary concern, but carry a higher risk.
Pro Tip: For a part this critical and easy to install, spending an extra $20 on a Delphi or NGK sensor is a wise investment to ensure you only have to do the job once.
Cost of Replacing Your Astro's TPS
| Part Type | Estimated Cost |
|---|---|
| New Aftermarket Part | $25 - $72 |
| New OEM (ACDelco) Part | $60 - $90 |
| Shop Labor | $50 - $100 |
Frequently Asked Questions (FAQ)
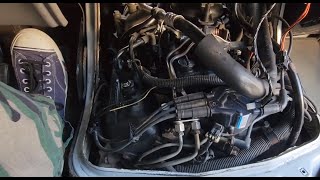
Where is the TPS located on a 1996-2005 Astro?
The TPS is located on the driver's side of the throttle body. You'll need to remove the engine cover (the "doghouse") inside the van to access it. It's a small, black plastic sensor held on by two T20 Torx screws.
🎬 Watch: Locating the TPS and Idle Air Control valve.Is this a difficult repair to do myself?
No, this is one of the easiest repairs you can do on your Astro. It typically takes less than 30 minutes with basic tools. You will need a T20 Torx screwdriver or socket.
🎬 Watch this step-by-step guide to installing your new TPS.Do I need to perform a "relearn" procedure after installing a new TPS?
For the 1996-2005 Astro, there is no special computer relearn procedure required. After installing the new sensor, it's a good practice to disconnect the battery for about 15 minutes to clear the computer's memory. This will allow it to adapt to the new sensor's readings when you restart the engine.
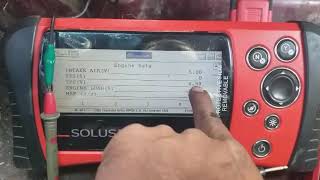
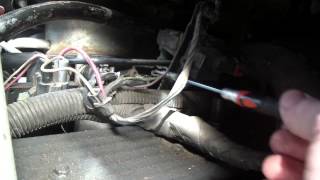
Can I test my old TPS before replacing it?
Yes, you can test it with a multimeter. You would back-probe the signal wire and check for a smooth voltage increase from about 0.5V at idle to around 4.5V at wide-open throttle. Any jumps, dead spots, or erratic readings indicate the sensor is bad. However, given the low cost of the part and the commonality of failure, most people choose to simply replace it.
Helpful Videos

Technical Specifications
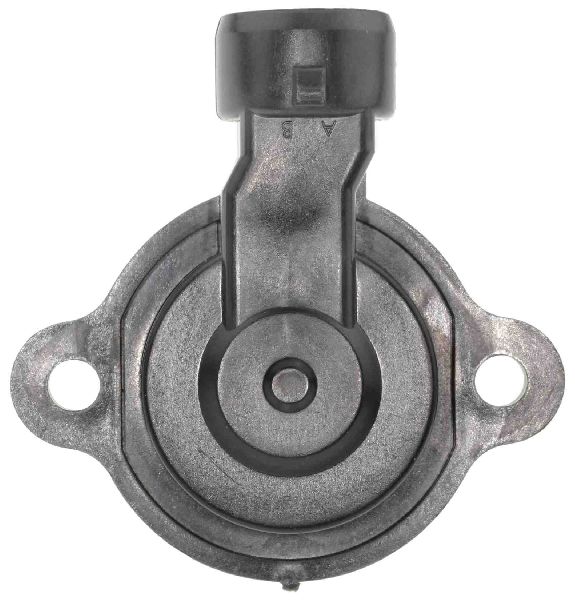
OEM Part Numbers: 17123852 213-912 213-4668
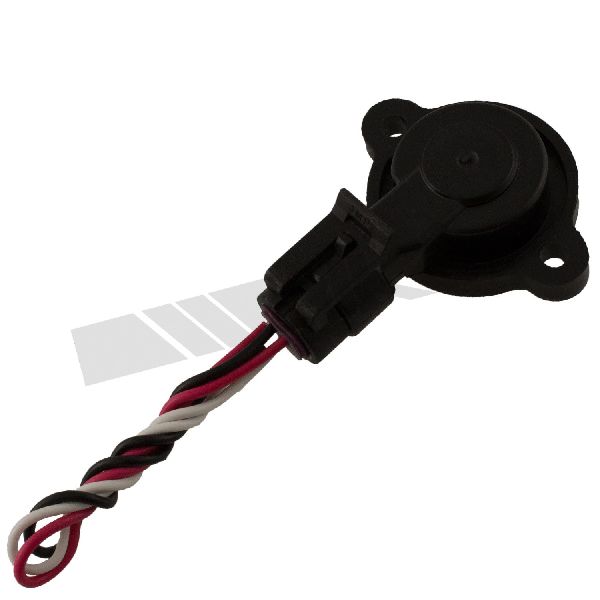
3-pin female connector, mounts to throttle body, T20 Torx mounting screws.
We Have This Part in Stock


The information in this article is provided for general reference and educational purposes only. Vehicle specifications, procedures, and part compatibility can vary by production date, trim level, and region. Always consult your vehicle's factory service manual and verify part numbers before purchasing or performing repairs. Safety-critical components such as airbags, seat belts, and braking systems should be installed by a qualified professional.
- Chevrolet Astro:
- 🎬 Helpful Videos
- 🛍️ Shop This Part
- Is Your Astro Van Stalling or Shifting Strangely?
- Common Symptoms of a Failing Astro TPS
- TPS vs. Transmission Failure
- Choosing the Right Aftermarket TPS Brand
- Tier 1: OEM or Equivalent
- Tier 2: Reputable Aftermarket
- Tier 3: Budget Options
- Cost of Replacing Your Astro's TPS
- Frequently Asked Questions (FAQ)
- 🎟️ Get 5% Off