
A/C Compressor Replacement Guide for the 1997-2003 Ford E-150 Econoline
If your van's A/C is blowing warm, the compressor might be the problem—here's what you need to know before you buy a new one.
- Always replace the accumulator/drier and orifice tube with the compressor to prevent immediate failure of the new part.
- A catastrophic compressor failure can contaminate the entire system with metal debris, requiring a full system flush and possible condenser replacement.
- Denso is an OEM-quality brand and is the most recommended choice for long-term reliability in these vans.
- The job requires special tools for handling refrigerant; for most owners, professional installation is recommended.
Is Your E-150's A/C Compressor Failing?
On the 1997-2003 Ford E-150 Econoline, the A/C compressor is a common failure point. These vans use a Ford FS10 style compressor, which is known for a few specific issues. Recognizing the symptoms early can help you decide on the right repair before more damage occurs.
Choosing the Right Aftermarket A/C Compressor
When replacing the A/C compressor, you don't have to buy an expensive OEM part from the dealer. Several aftermarket brands offer quality replacements that provide good value. However, not all aftermarket parts are created equal.
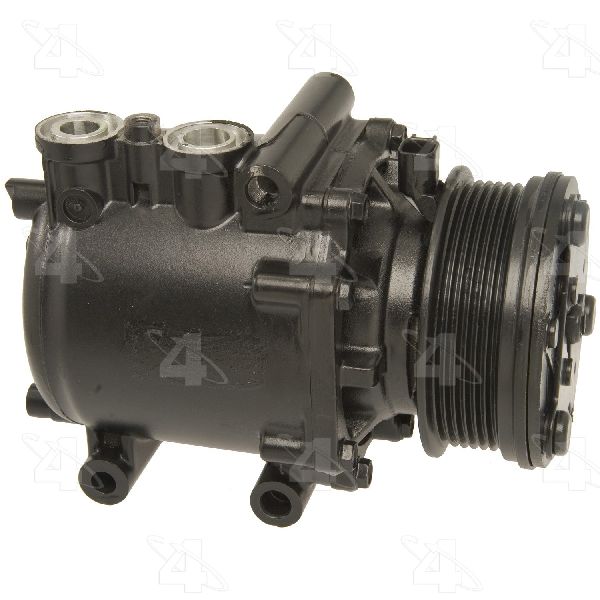
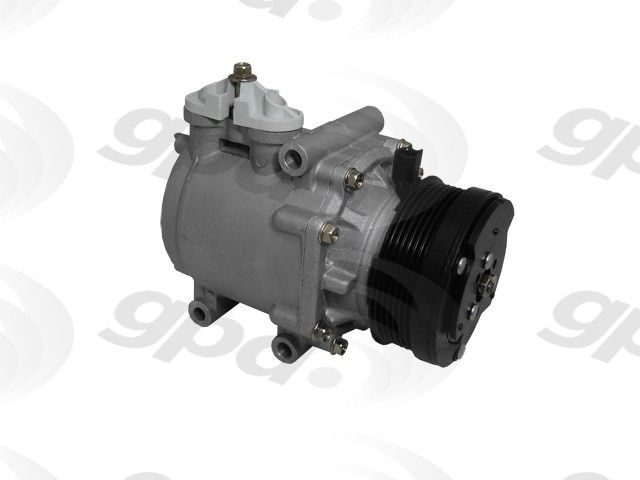
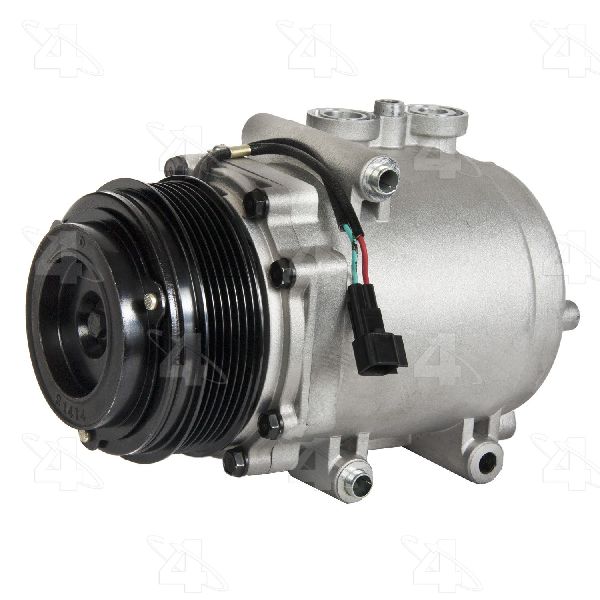
Tier 1: OEM Supplier Quality (Denso, Valeo)
Denso was an original equipment supplier for Ford, and their compressors are widely considered the best option for a long-term, reliable repair. They are built to factory specifications and are known for durability and quiet operation. Valeo is another reputable brand that often supplies original parts and is a solid choice if available. While these cost more than other aftermarket options, they are the safest bet if you plan to keep your van on the road for years.
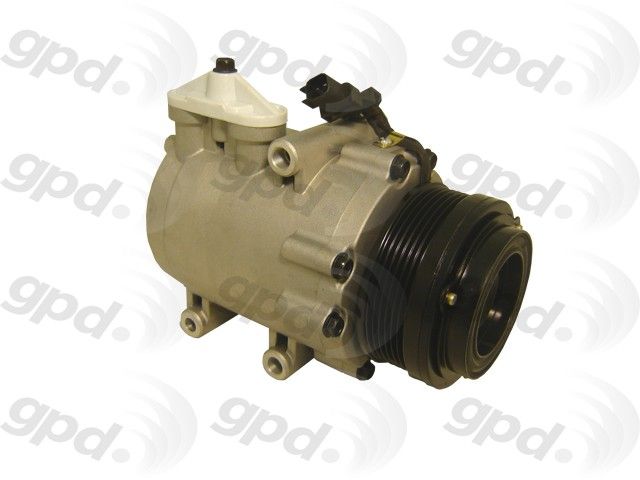
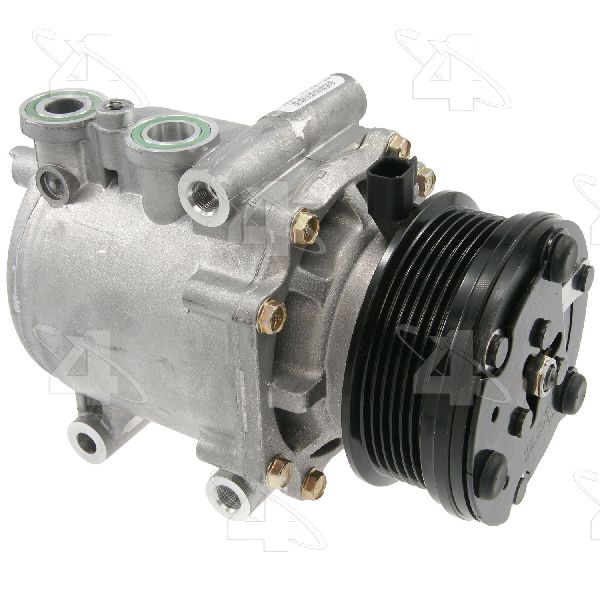
Tier 2: Reputable Aftermarket (Four Seasons, Global Parts)
Four Seasons is a well-known aftermarket brand that offers a balance between cost and quality. While some users report success, others have experienced premature failures compared to OEM units. Global Parts Distributors (GPD) is another common brand in this tier. These brands are a good choice for a budget-conscious repair, but it's critical to follow all installation procedures perfectly to ensure longevity.
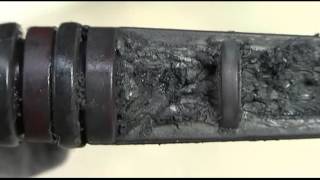
Critical: The "Black Death" Failure
A catastrophic failure of the FS10 compressor is often called "Black Death." 🎬 See what causes Black Death and how it destroys systems. This happens when the compressor self-destructs, sending metal shavings and melted internal seals throughout the entire A/C system. If this happens, simply replacing the compressor is not enough. The new compressor will quickly fail as it ingests the debris. To prevent this, you must replace the accumulator/drier and the orifice tube, and thoroughly flush the evaporator and hoses. Many mechanics recommend replacing the condenser as well, as its small passages are nearly impossible to flush completely.
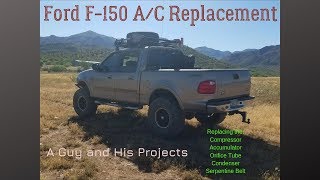
🎬 Watch a full system flush and component replacement walkthrough.Cost of Replacing Your A/C Compressor
The total cost can vary significantly based on the parts you choose and whether you do the work yourself or hire a professional. Labor costs for this job are typically estimated between $165 and $242, but can be higher in some areas.
| Part/Service | Estimated Cost |
|---|---|
| New Aftermarket Compressor | $175 - $377 |
| New OEM (Motorcraft) Compressor | $400 - $600+ |
| Shop Labor | $165 - $672 |
| Total Professional Replacement | $747 - $1,218+ |
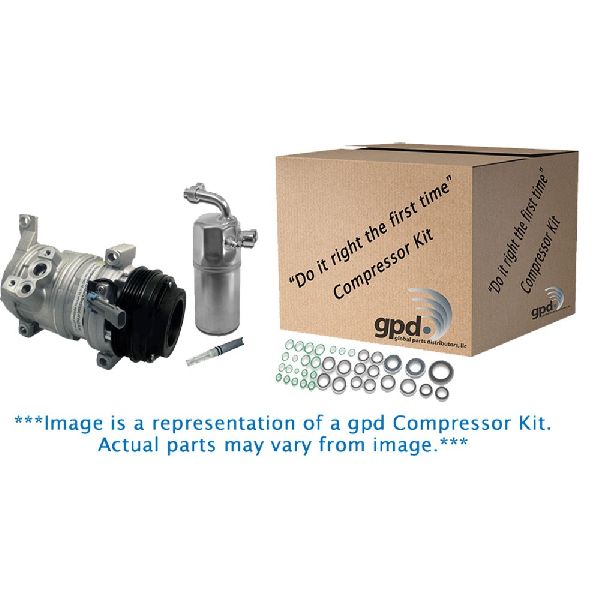
Pro Tip: Buy a Kit
To make the job easier and ensure you have all the necessary components, consider buying an A/C compressor kit. These kits typically include the new compressor, accumulator/drier, orifice tube, and the required O-rings and seals. This is the best way to guarantee your warranty and prevent a repeat failure from system contamination.
Frequently Asked Questions
Do I have to replace other parts with the compressor?
Yes. At a minimum, you must replace the accumulator/drier and the orifice tube whenever you replace the compressor. The accumulator contains a desiccant material that absorbs moisture, and it becomes saturated once the system is opened to the air. Failing to replace these parts will void the warranty on your new compressor and likely cause it to fail prematurely.
Can I replace the A/C compressor myself?
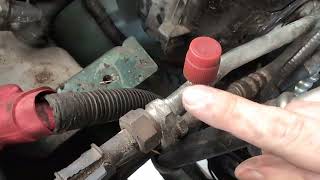
This is an advanced DIY job. While the compressor itself is held on by a few bolts, the full process requires specialized tools, including a manifold gauge set, a vacuum pump, and equipment to recover refrigerant. You must legally have the old refrigerant recovered by a certified shop before starting. If you are not comfortable with this, it is best left to a professional.
What kind of oil and refrigerant does my van need?
The 1997-2003 E-150 uses R-134a refrigerant. The system requires PAG 46 compressor oil. New compressors usually come pre-filled with the correct amount of oil, but always check the instructions. Do not add extra oil unless the instructions specify to do so.
My A/C clutch isn't engaging. Is it the compressor?
It could be, but not always. The clutch won't engage if the system is low on refrigerant, if there's an electrical issue like a blown fuse or bad relay, or if the pressure switch is faulty. Always check the refrigerant level and the A/C clutch fuse and relay before condemning the compressor.
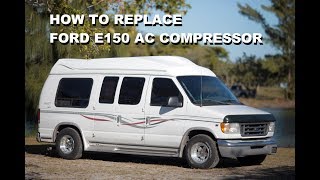
Helpful Videos

Technical Specifications
OEM Part Numbers: F7UZ-19703-HA F7UZ-19V703-HB YCC151 YCC223
Compressor Style: Ford FS10, Refrigerant: R-134a, Compressor Oil: PAG 46, Clutch Included: Yes
We Have This Part in Stock

The information in this article is provided for general reference and educational purposes only. Vehicle specifications, procedures, and part compatibility can vary by production date, trim level, and region. Always consult your vehicle's factory service manual and verify part numbers before purchasing or performing repairs. Safety-critical components such as airbags, seat belts, and braking systems should be installed by a qualified professional.
- Ford E-150 Econoline: