
A Guide to Replacing Brake Calipers on a 2000-2006 Chevrolet Impala
Address common Impala brake problems like sticking calipers and ensure your car stops safely.
- Sticking caliper slide pins are a very common problem on 2000-2006 Impalas; always clean and lubricate or replace them during a brake job.
- If you own a 2004 Impala, be aware of the specific NHTSA recall (04V317000) for improperly tightened front caliper bolts.
- Choosing a 'loaded' caliper simplifies the job by including a new bracket and pre-lubricated slide pins, addressing the most common failure point.
- For best safety and performance, always replace calipers in pairs on the same axle (both front or both rear).
Is Your Impala's Brake Caliper Failing?
A bad brake caliper is a serious safety issue. On the 2000-2006 Chevrolet Impala, caliper problems often stem from seized slide pins, a common issue for this generation. Ignoring the signs can lead to poor braking, damage to other brake parts, or complete brake failure.
Common Symptoms of a Bad Caliper:
🎬 Watch: How to diagnose sticking or dragging brakes in minutes.- Car Pulls to One Side: When you brake, the car veers left or right. This is a classic sign of a stuck caliper or seized slide pin on one side.
- Spongy or Soft Brake Pedal: If the pedal feels mushy or goes closer to the floor than usual, it could be a leak in the caliper's piston seal.
- Uneven Brake Pad Wear: Finding one brake pad worn down much more than the other is a tell-tale sign of a malfunctioning caliper, often due to sticking slide pins.
- Dragging Sensation: It might feel like the car is struggling to move, as if the brake is slightly on all the time. This is caused by a caliper that isn't releasing its grip on the rotor.
- Visible Brake Fluid Leak: Puddles of a clear, oily fluid near a wheel indicate a leak from the caliper seal or bleeder screw.
- Burning Smell: A hot, chemical smell from a wheel after driving points to a dragging caliper creating excessive heat.
Recall Notice for 2004 Chevrolet Impala
NHTSA issued recall 04V317000 for some 2004 Impala models. The bolts holding the front brake caliper to the steering knuckle may not have been properly tightened at the factory. This could cause the bolts to loosen or break, potentially leading to a locked wheel, severed brake hose, or loss of braking control. While this recall work should have been completed years ago, it highlights a known potential issue for this specific model year.
Choosing the Right Aftermarket Caliper
When shopping for a new aftermarket caliper, you have several good options. They generally fall into three tiers based on quality, features, and price.
| Brand Tier | Brands | Best For |
|---|---|---|
| Standard Replacement | Cardone (Remanufactured), BBB Industries, Dynamic Friction | Everyday driving and budget-conscious repairs. These are rebuilt original parts that meet factory specifications. |
| Premium / OEM-Quality | ACDelco, Raybestos, Centric | Owners who want long-term reliability and OEM-level fit and finish. Raybestos and Centric often offer brand-new calipers (not remanufactured) that provide excellent value without a core charge. |
| Performance Upgrade | PowerStop | Drivers looking for enhanced braking performance, often with features like powder-coated finishes for better corrosion resistance and appearance. |
Pro Tip: The Sticking Slide Pin Problem
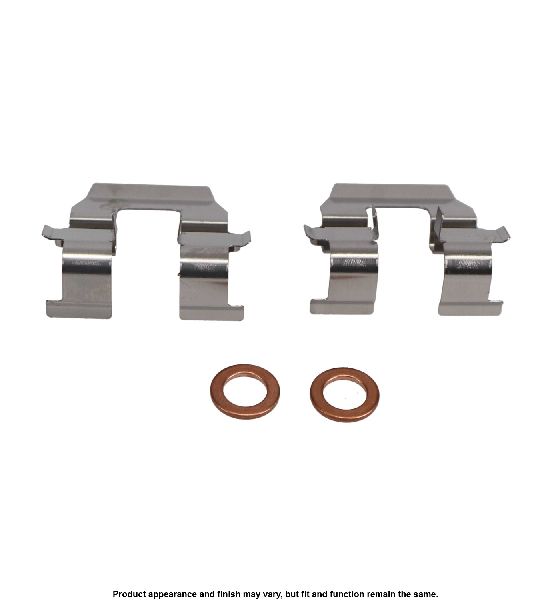
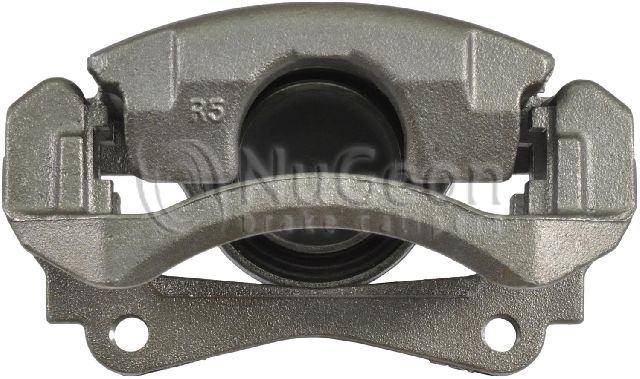
The most common failure point on these Impalas isn't always the caliper piston itself, but the slide pins the caliper moves on. These pins can rust and seize inside the caliper bracket. When replacing your calipers, it is critical to clean and lubricate the slide pins and bores with high-temperature brake grease. If the pins are heavily corroded, replace them. A 'loaded' caliper often includes a new bracket with pre-greased pins, solving this problem automatically.
🎬 See this walkthrough for replacing your Impala's front brake kit.Frequently Asked Questions
Should I buy a 'loaded' or 'unloaded' caliper?
A loaded caliper comes with new brake pads and all the necessary hardware, including the mounting bracket and pre-lubricated slide pins. It's the easiest option for a DIY replacement. An unloaded caliper is just the caliper itself. You'll need to buy pads and a hardware kit separately. If your caliper bracket and slide pins are in good shape, an unloaded caliper can save you money.
Should I replace brake calipers in pairs?
Yes, it is highly recommended to replace calipers in pairs (both front or both rear). This ensures even braking performance and prevents the car from pulling to one side. Since both calipers have been subjected to the same conditions and mileage, if one has failed, the other may not be far behind.
What is the difference between a new and a remanufactured caliper?
A remanufactured caliper is an original factory part (a 'core') that has been disassembled, cleaned, inspected, and rebuilt with new seals, boots, and pistons. Brands like Cardone specialize in this. A new caliper is manufactured from scratch with all-new components. Brands like Raybestos now offer completely new calipers that are price-competitive with remanufactured ones and don't require you to return the old part (no core charge).
How difficult is it to replace an Impala's brake caliper?
For a DIYer with some experience, it's a manageable job. It involves removing the wheel, unbolting the old caliper, transferring the brake line, installing the new caliper, and bleeding the air out of the brake system. The most critical and potentially difficult step for a beginner is properly bleeding the brakes to ensure a firm pedal.
🎬 Watch: A helpful guide on how to bleed brakes by yourself.Helpful Videos

Technical Specifications
Calipers are specific to front or rear positions. Some models may have different caliper sizes based on wheel size (e.g., 15" vs 16" wheels) or police package options. Always verify the exact fitment for your vehicle's year and trim level.
We Have This Part in Stock


The information in this article is provided for general reference and educational purposes only. Vehicle specifications, procedures, and part compatibility can vary by production date, trim level, and region. Always consult your vehicle's factory service manual and verify part numbers before purchasing or performing repairs. Safety-critical components such as airbags, seat belts, and braking systems should be installed by a qualified professional.
- Chevrolet Impala: